May 24.
Finally the Garden shed material arrived to the local hardware store and we can start building our “Natural Dye House”. It was rather a short notice from the hardware store and it was a quick decision to pick it up and build it over this Weekend. Unfortunately the weather cast changed in the last moment and Sunday is predicted to rain. so I had a big rush to finish it (or at least come to the point that it can stand in the rain) in one day.
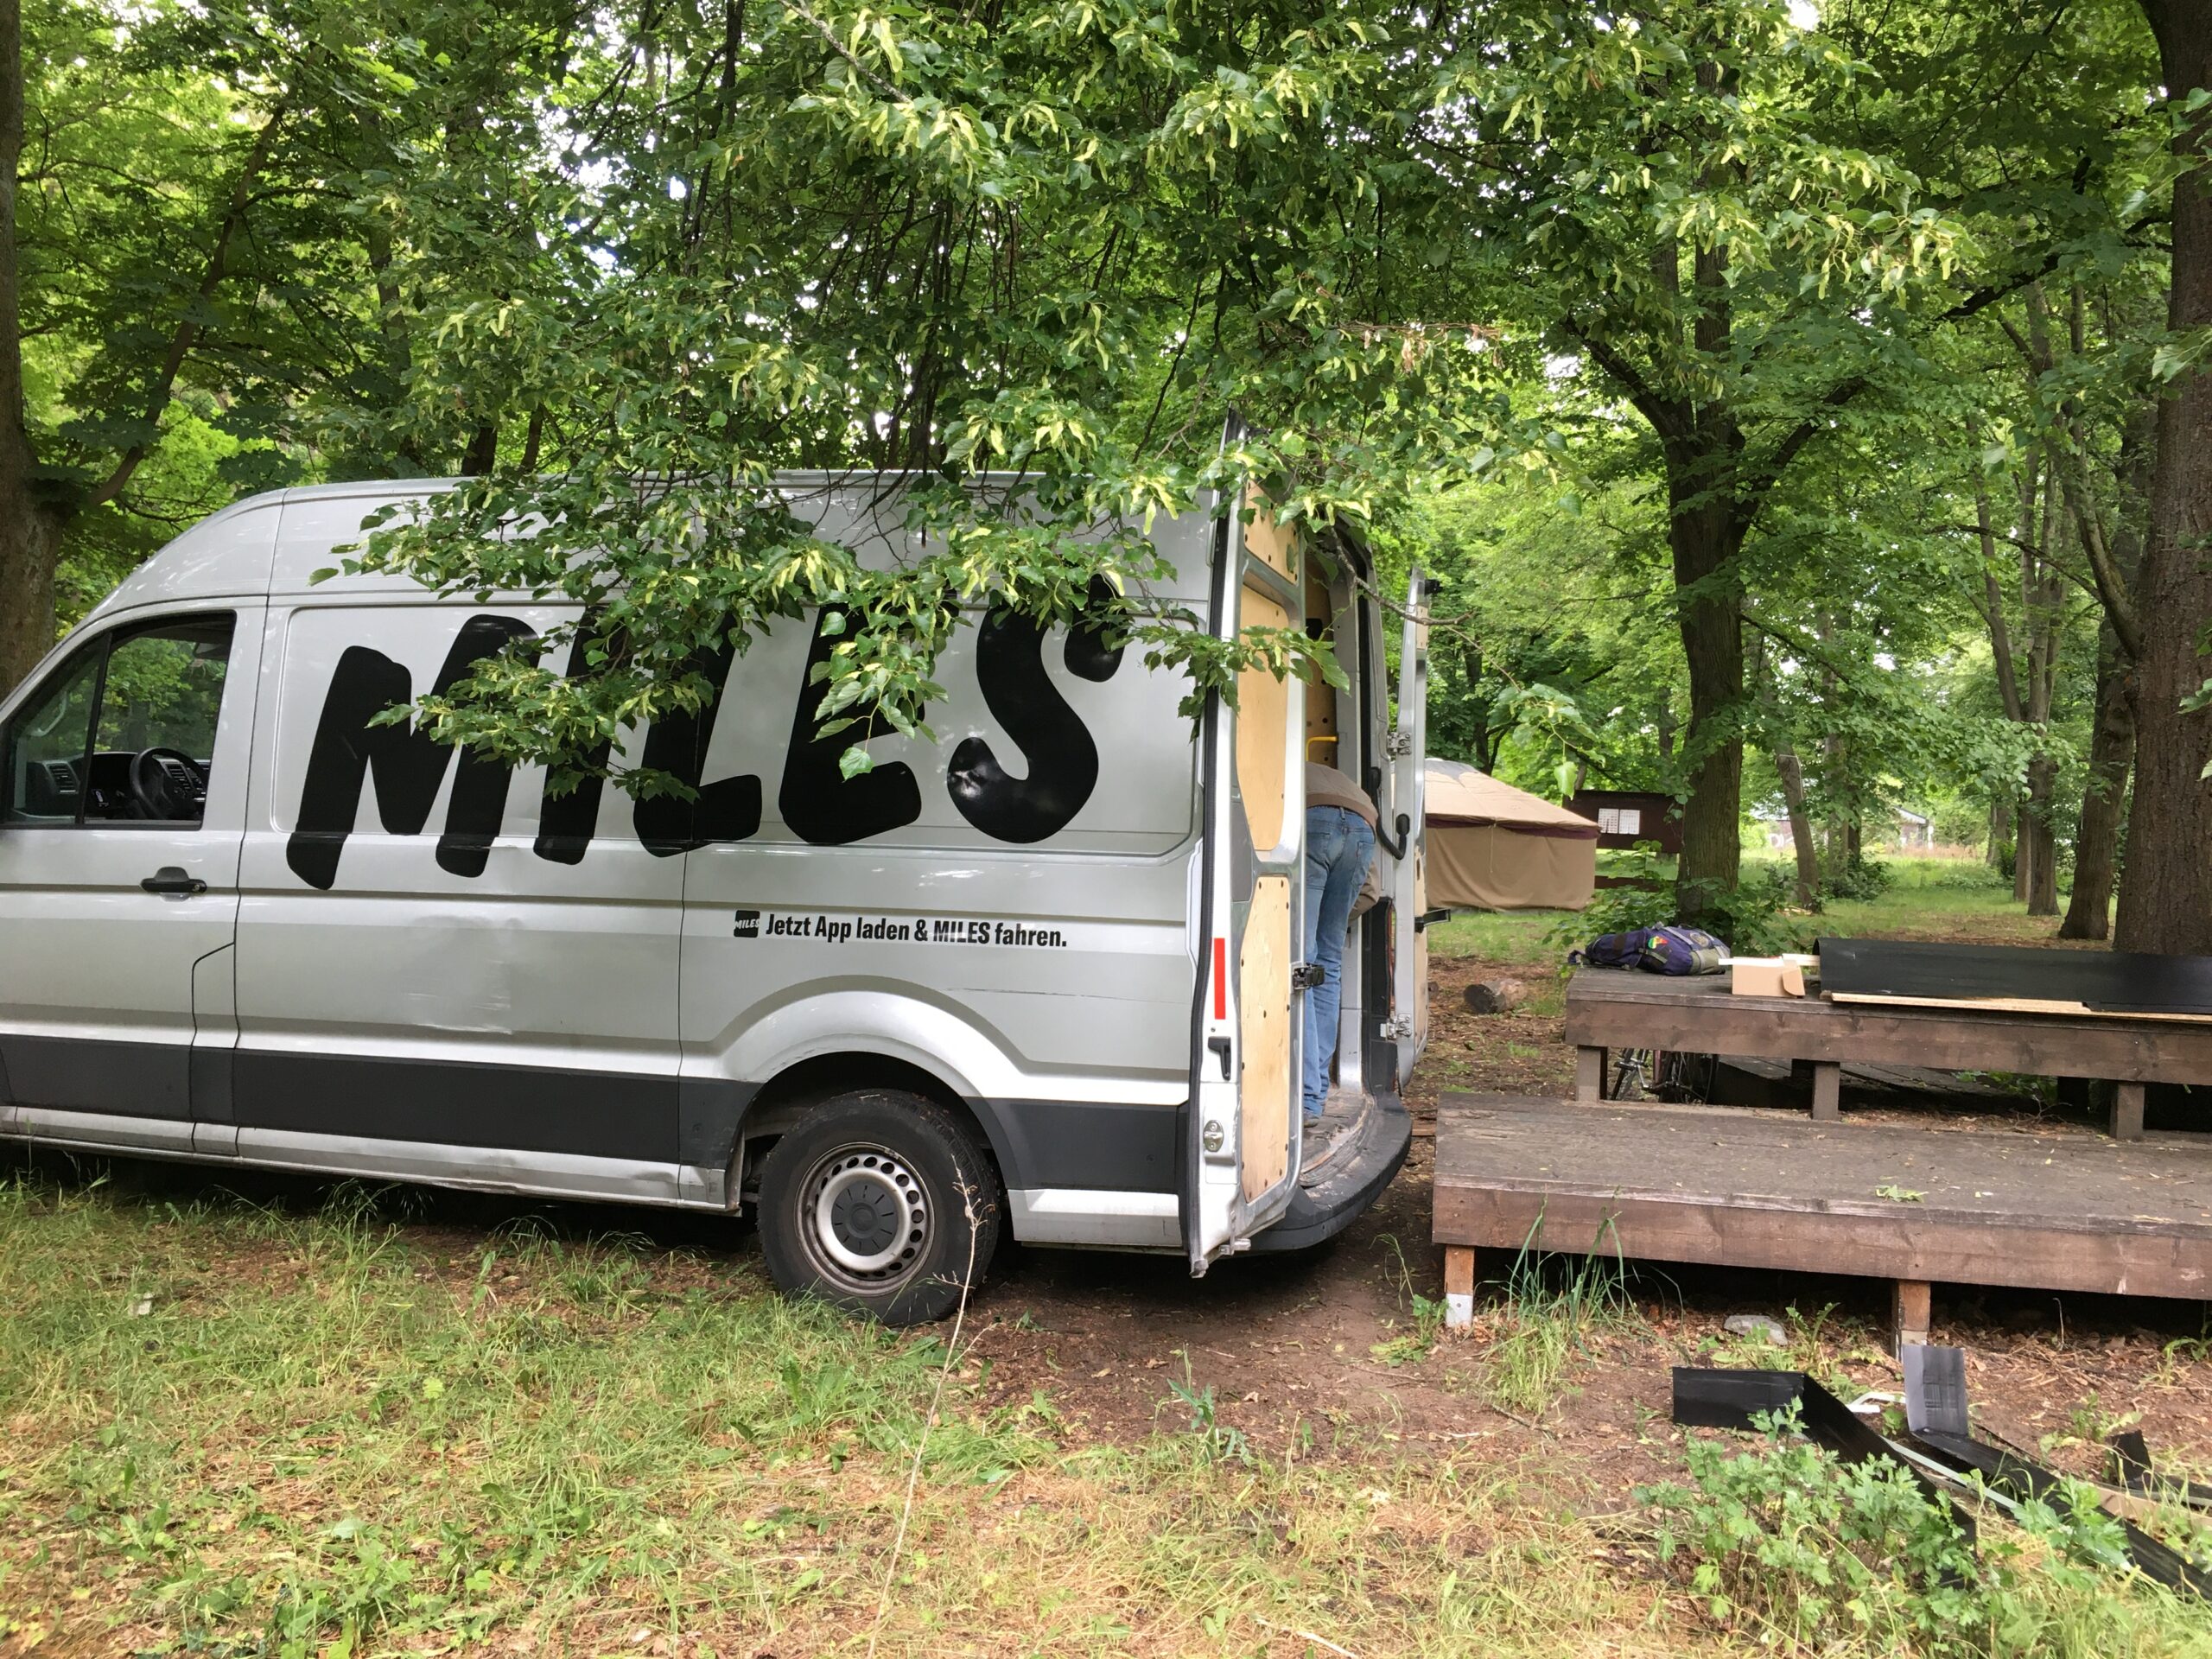
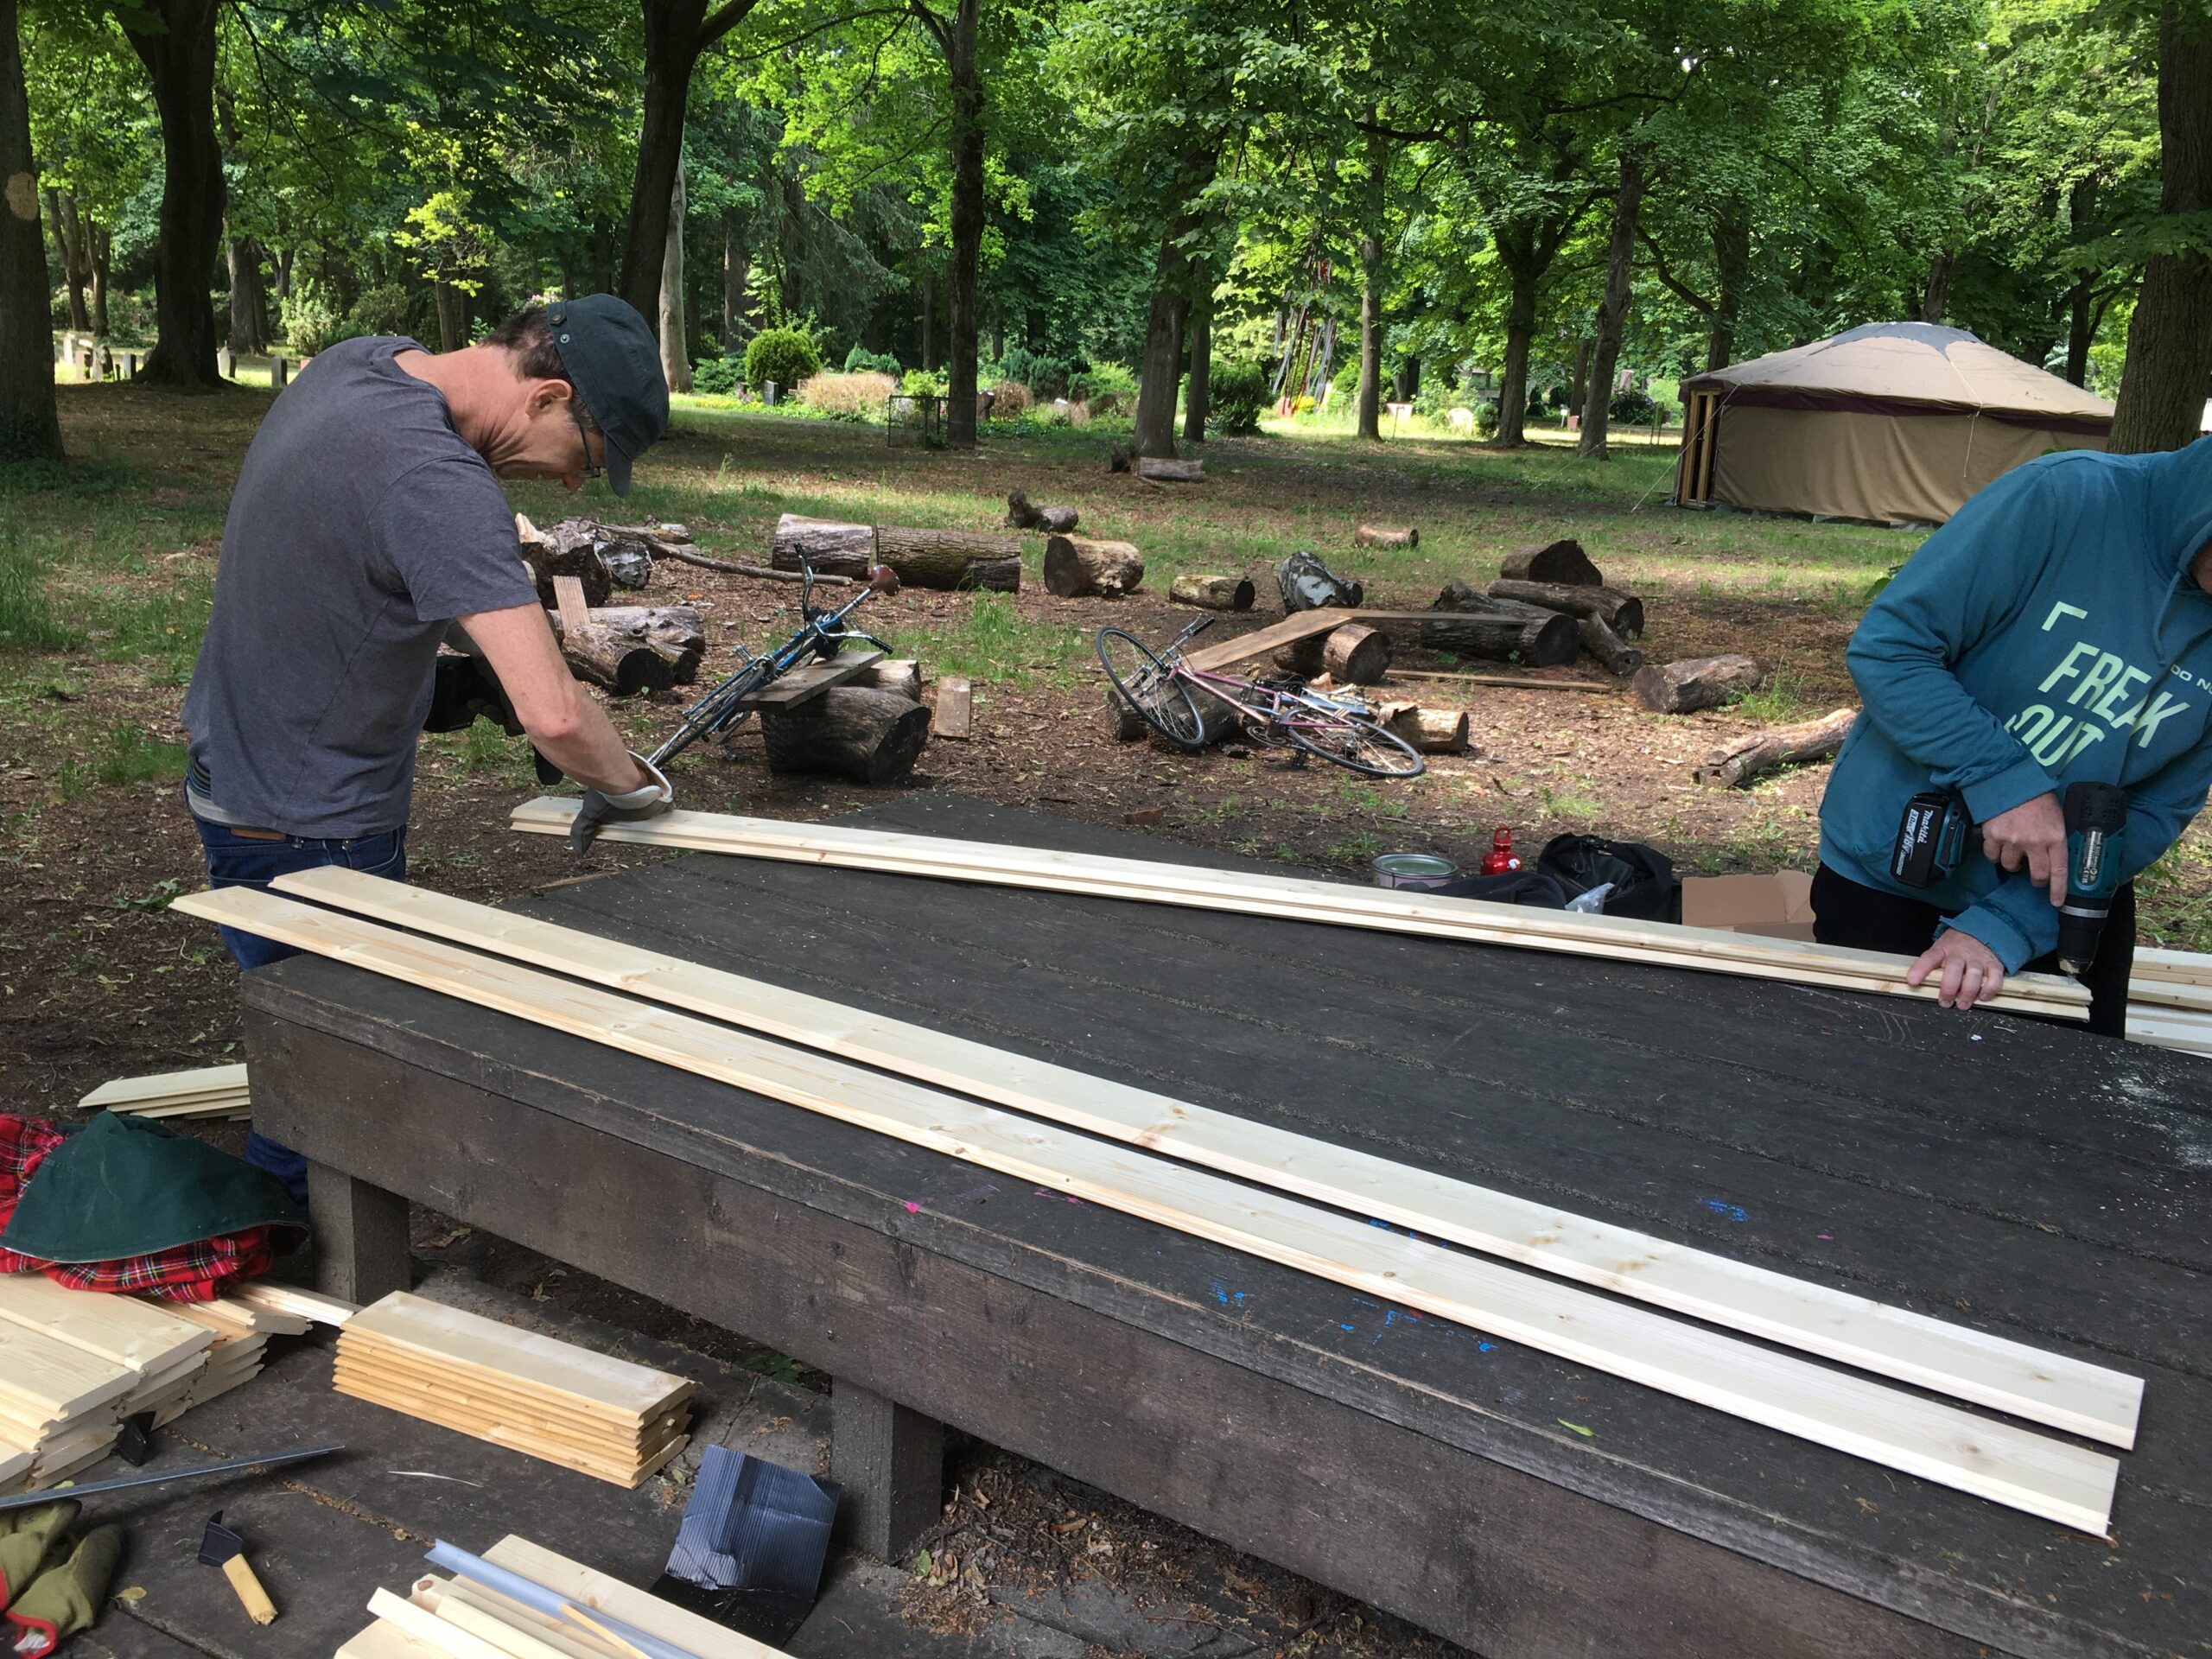
As the normal big trucks can not come into the garden, we went to the storage of the hardware store with the rental transporter van in the morning. Ingo, Mika and Joel were on this mission. I was afraid that the loading and off-loading of the material becomes difficult but so far everything was very smooth. The people of the hardware shop used forklift to load the materials. At the garden, we noticed the bench next to the space we plan to build the shed has a perfect height to off-load. We just slide out the materials and ready to build!
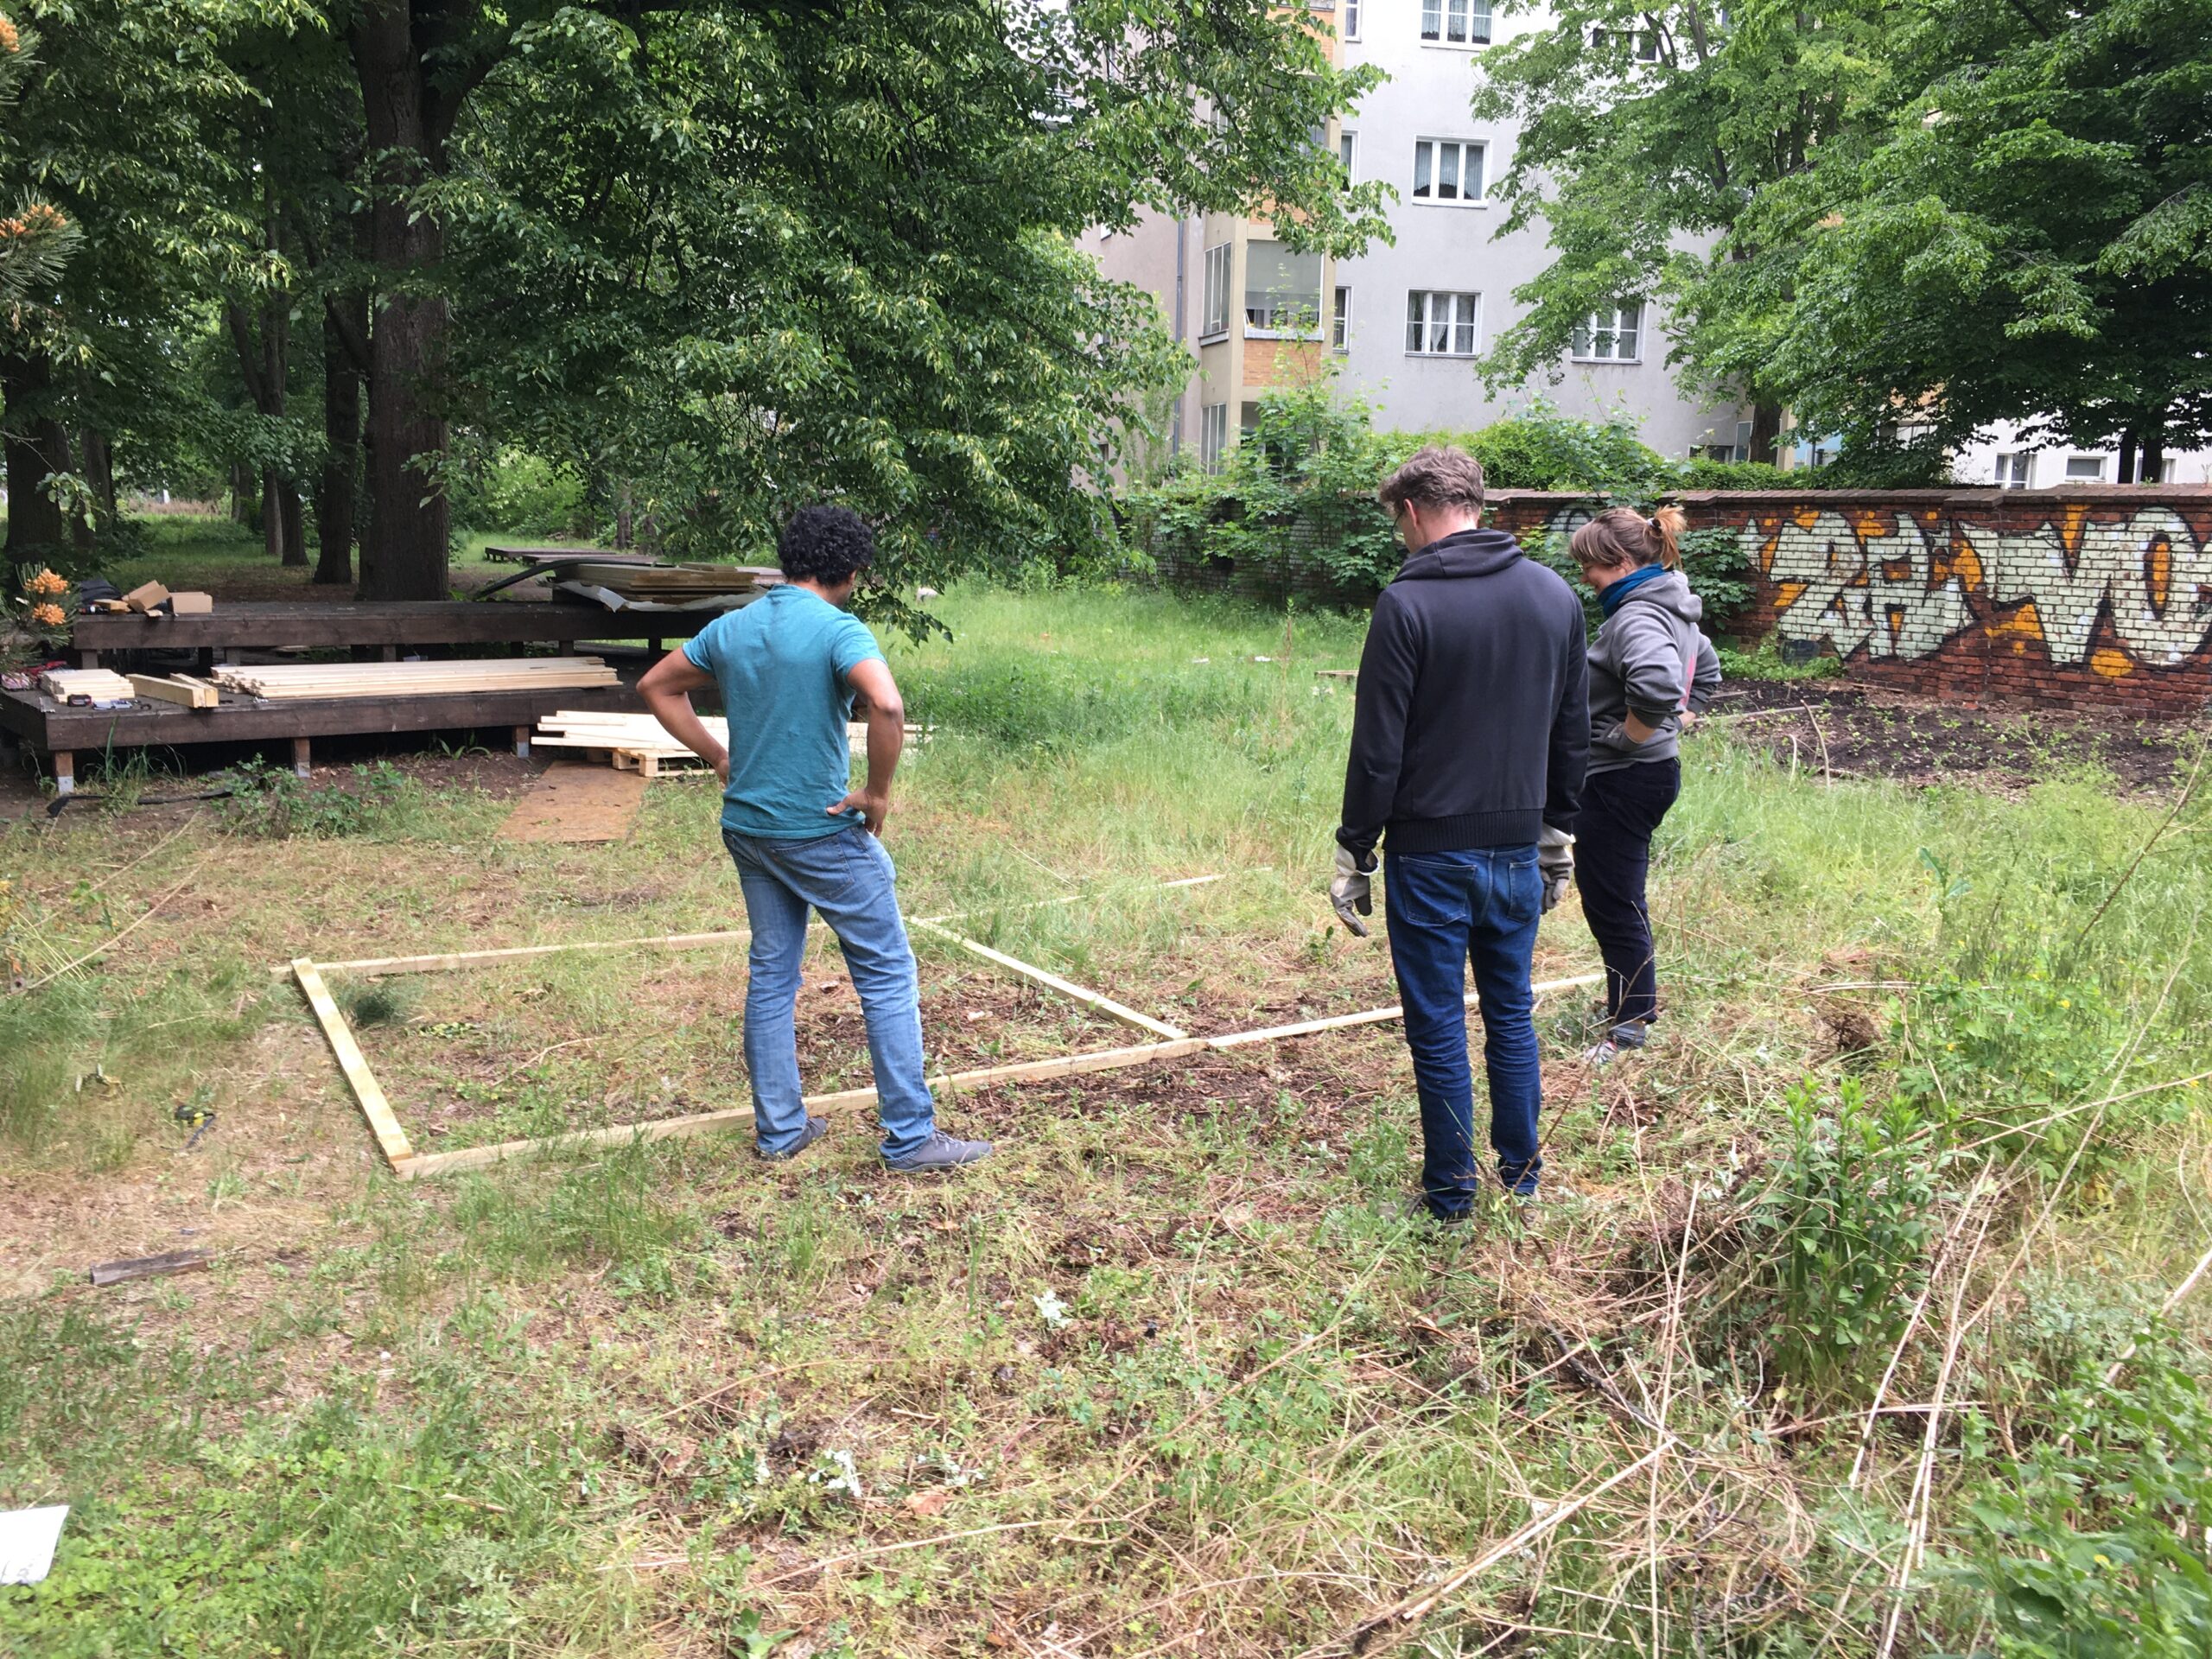
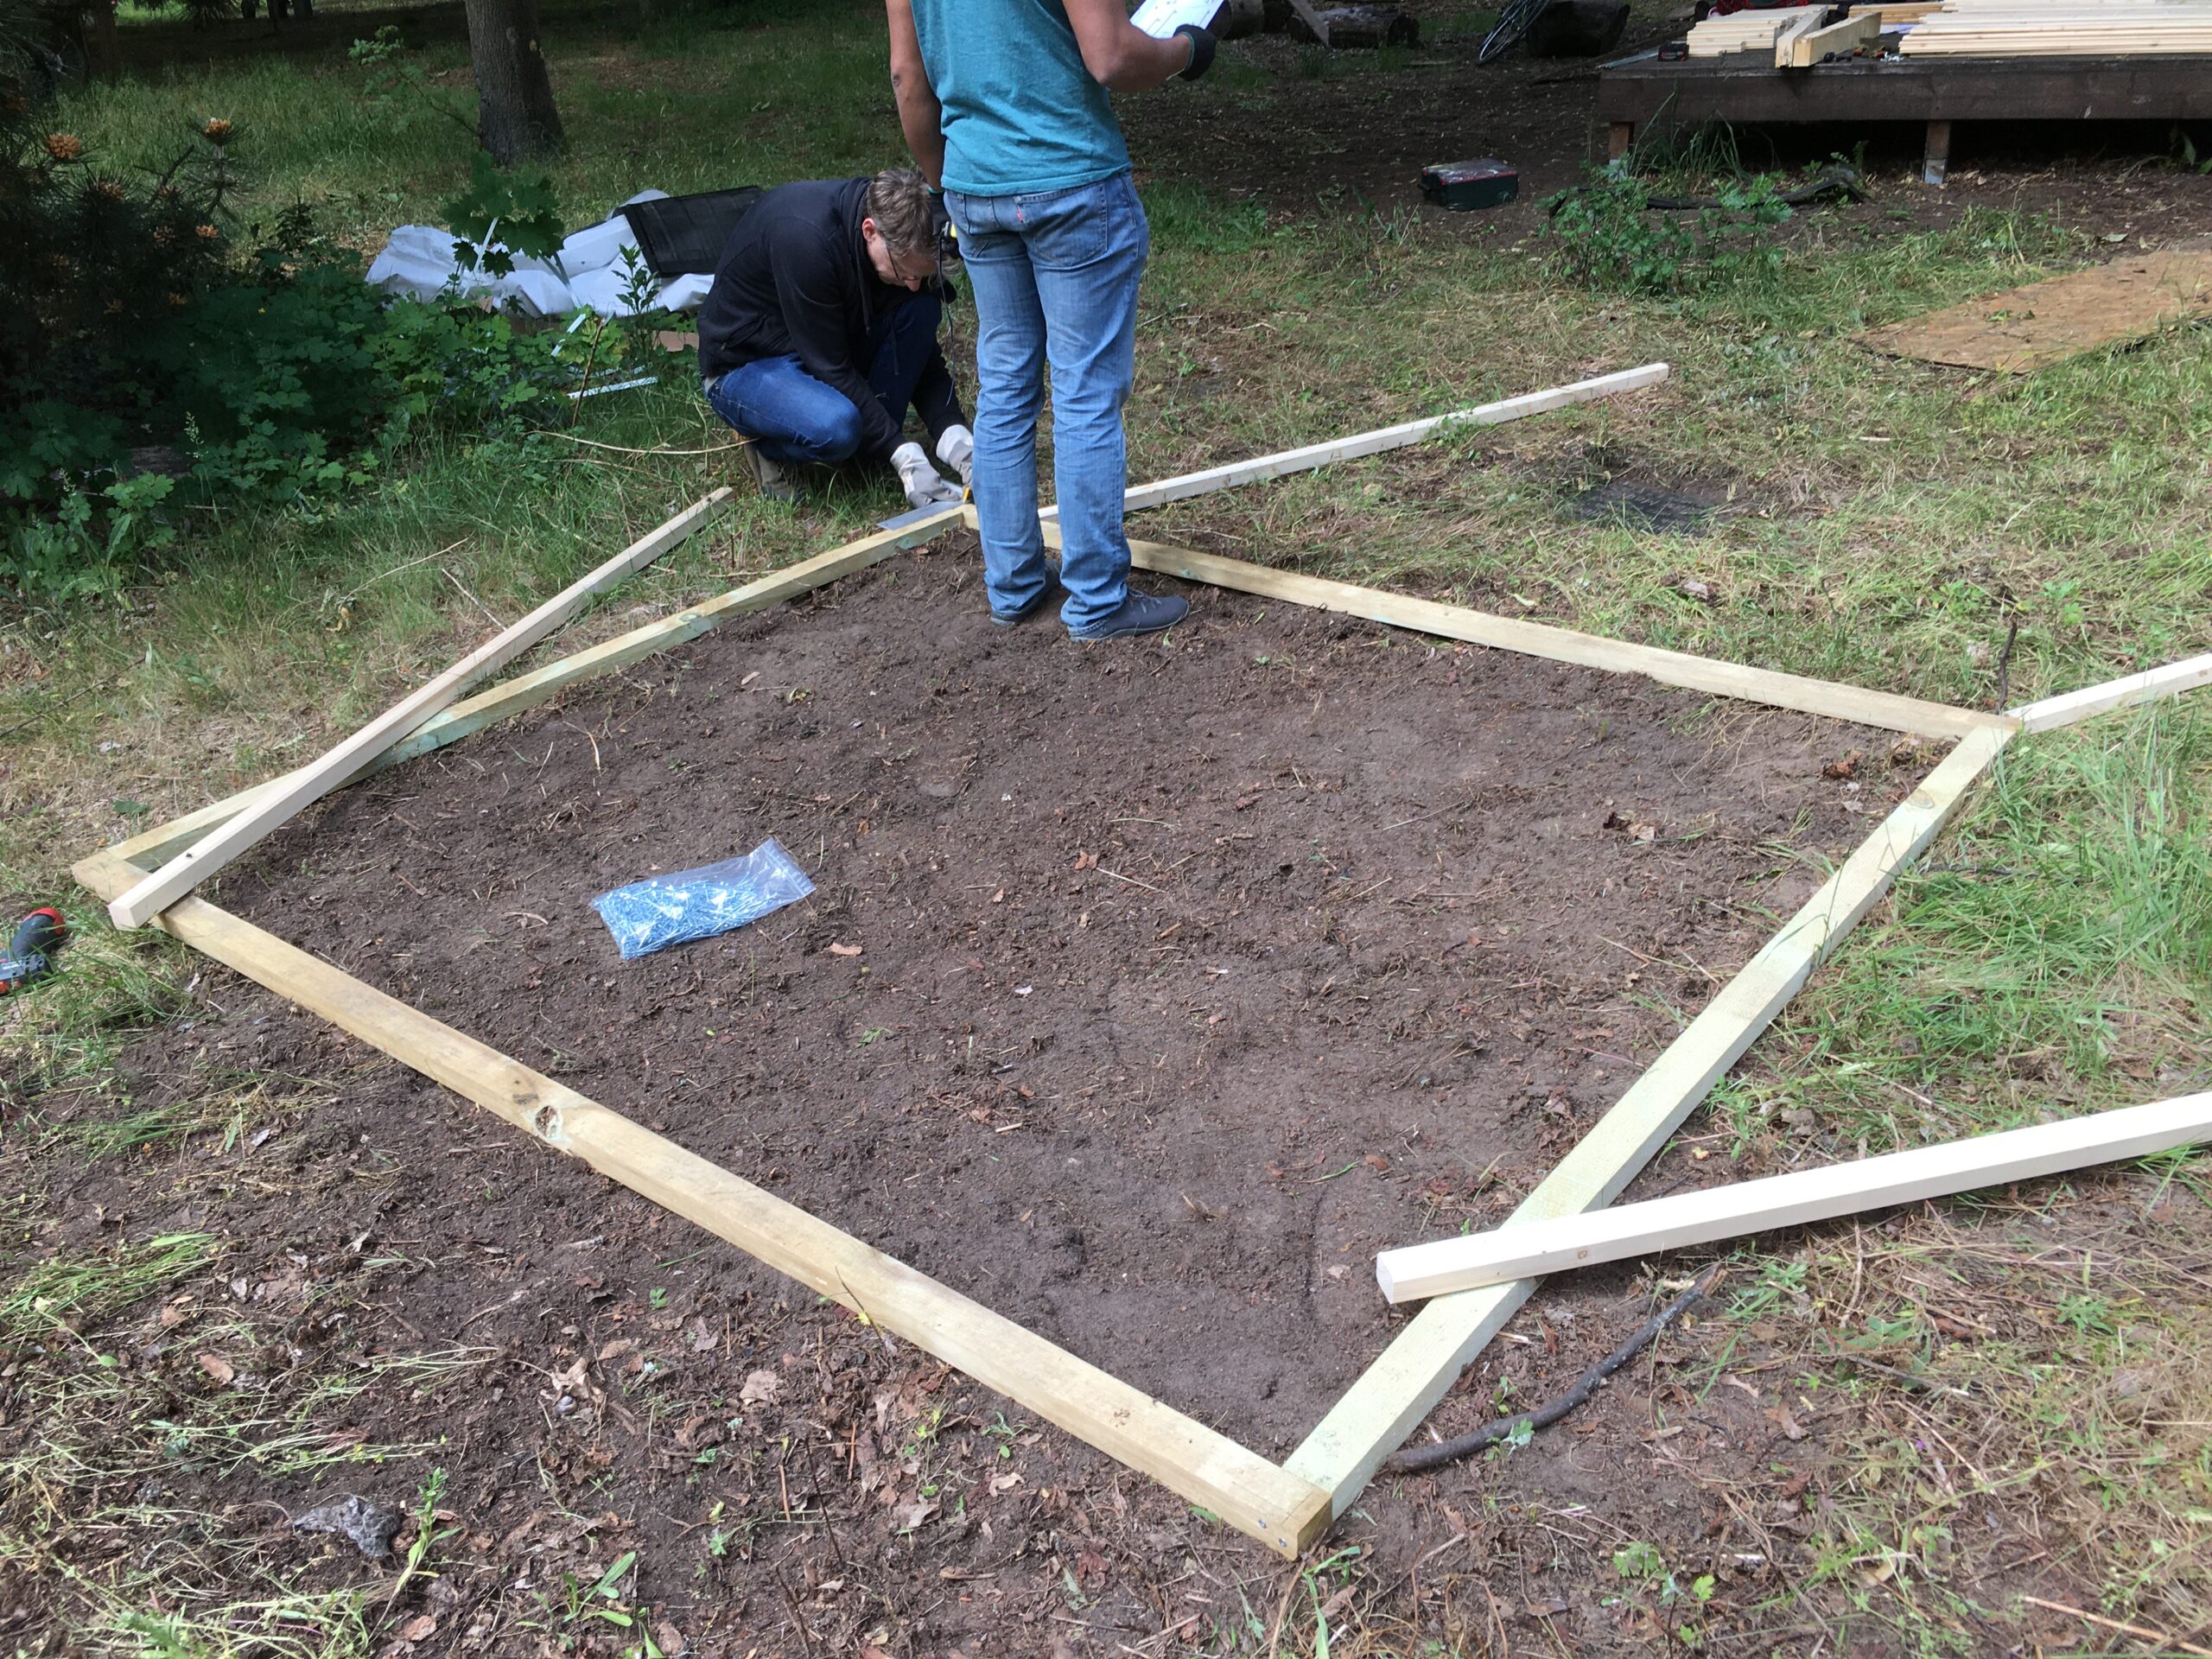
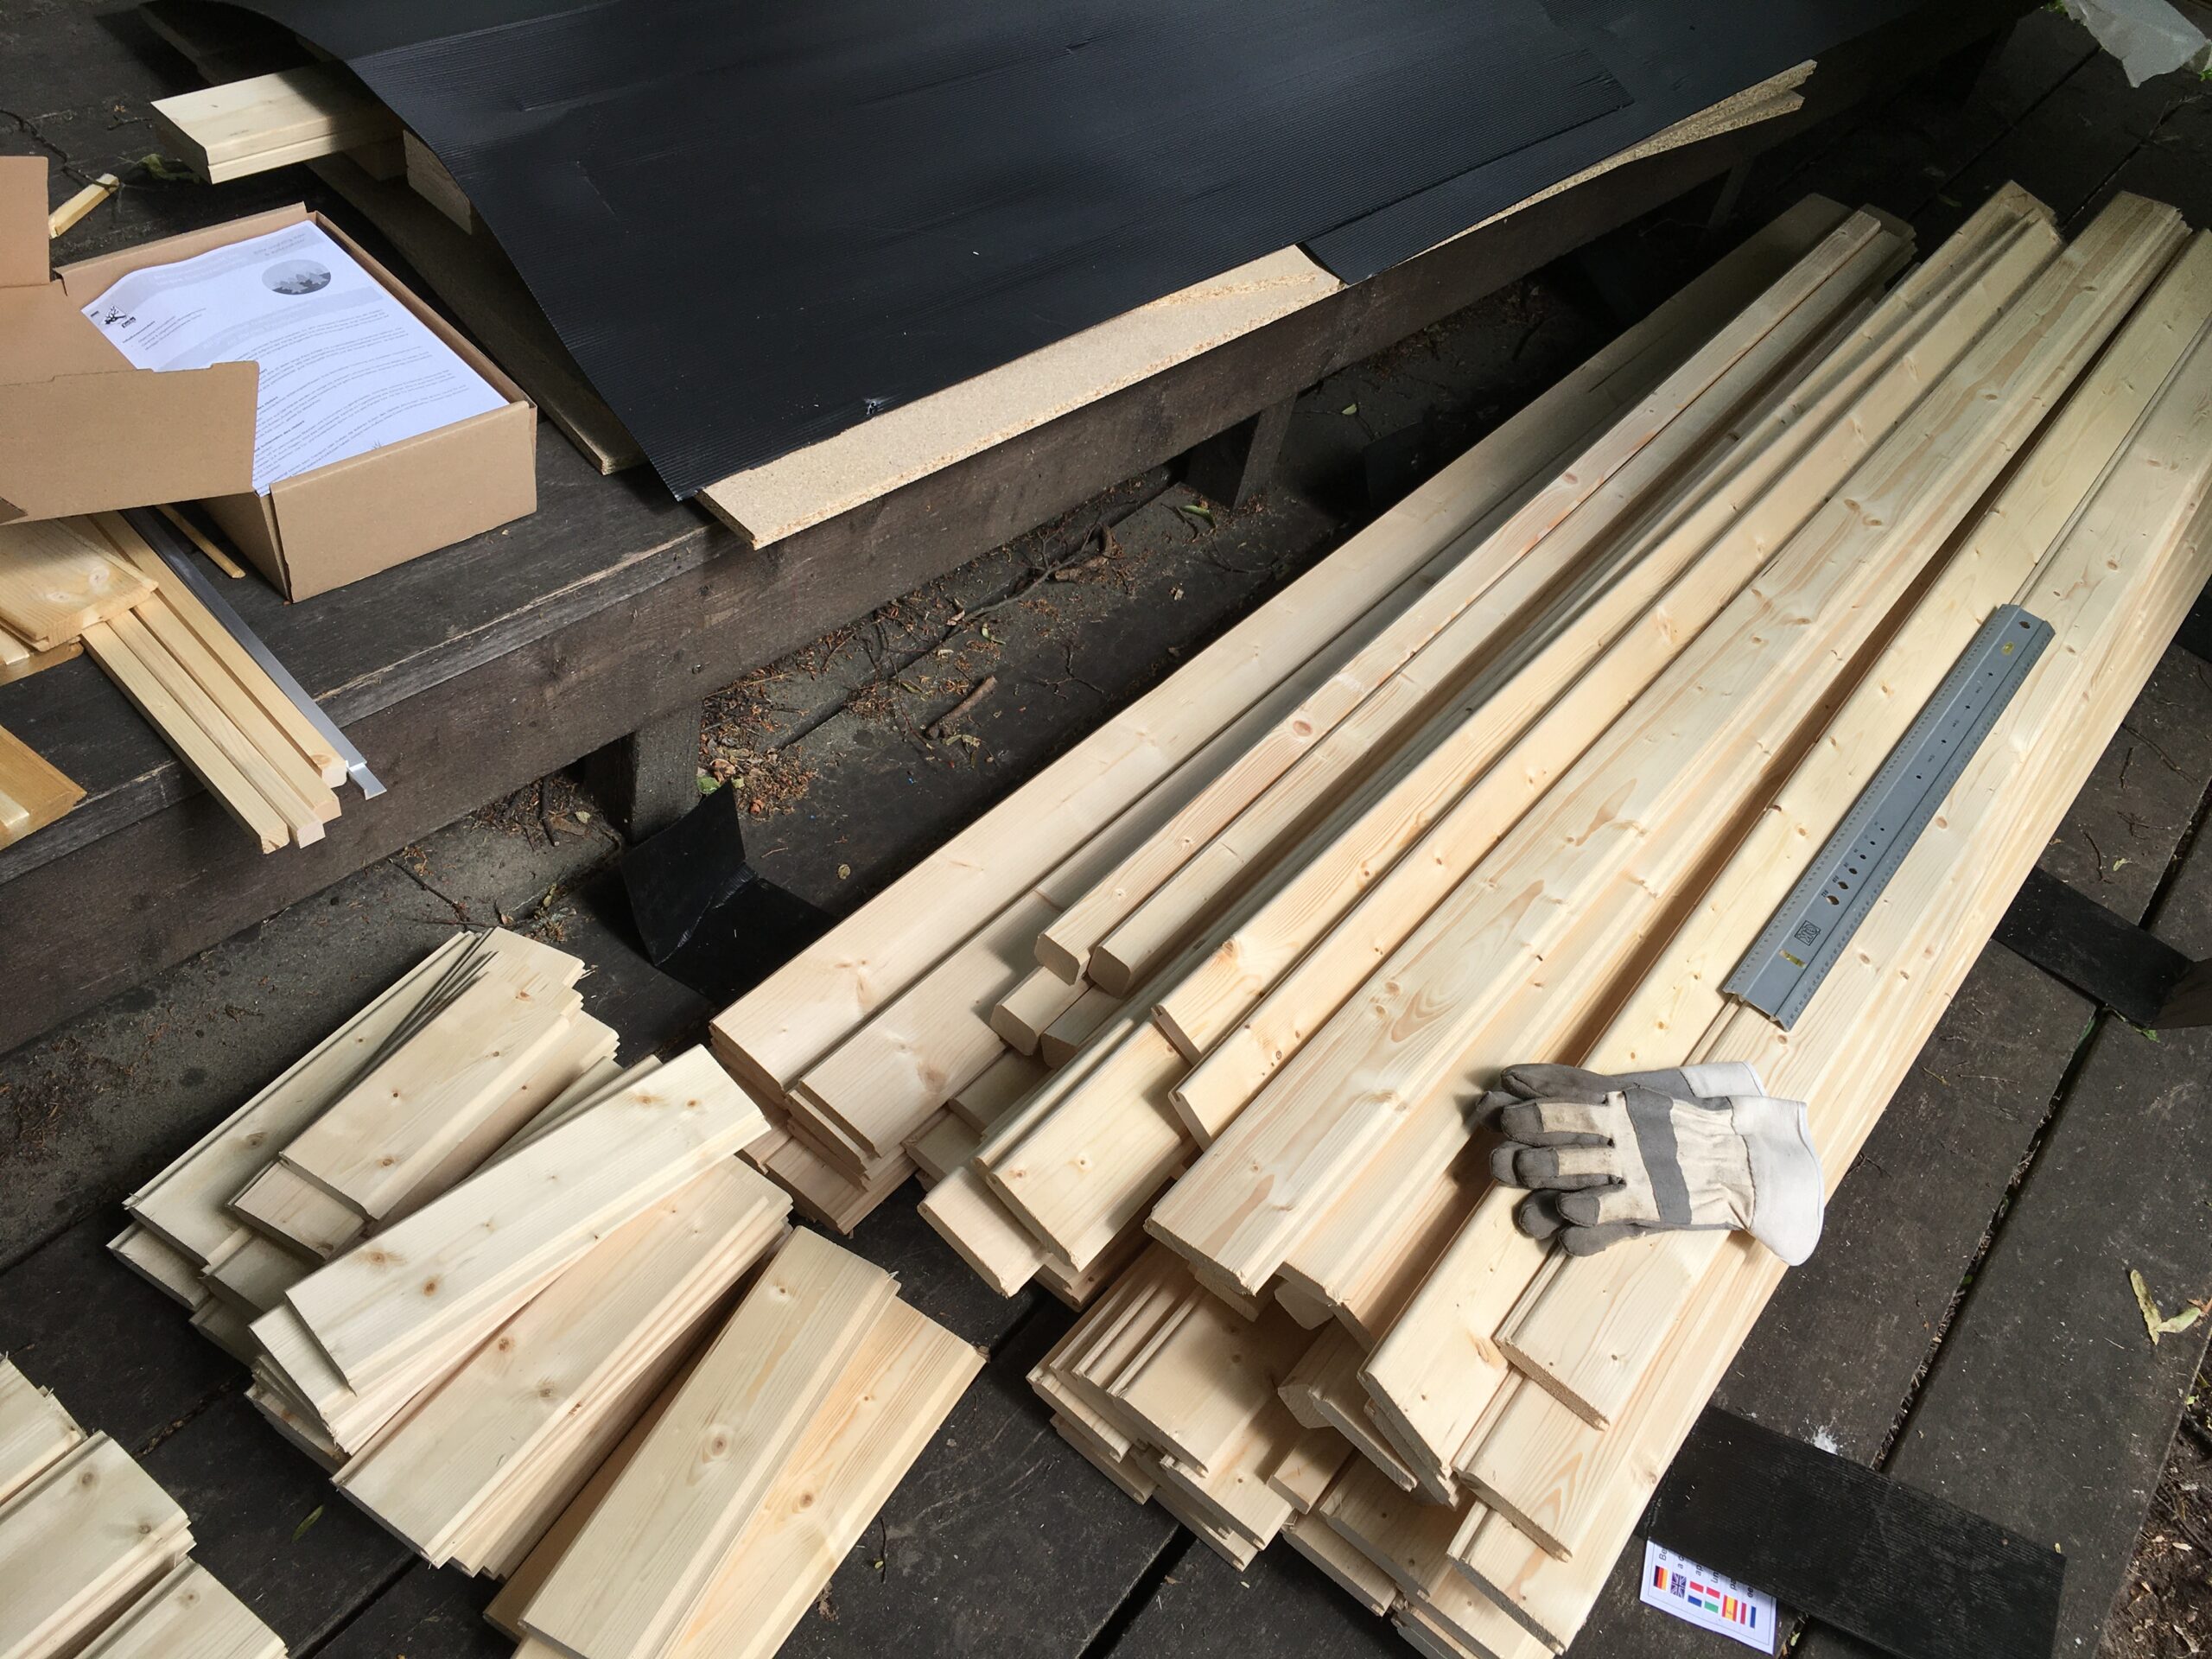
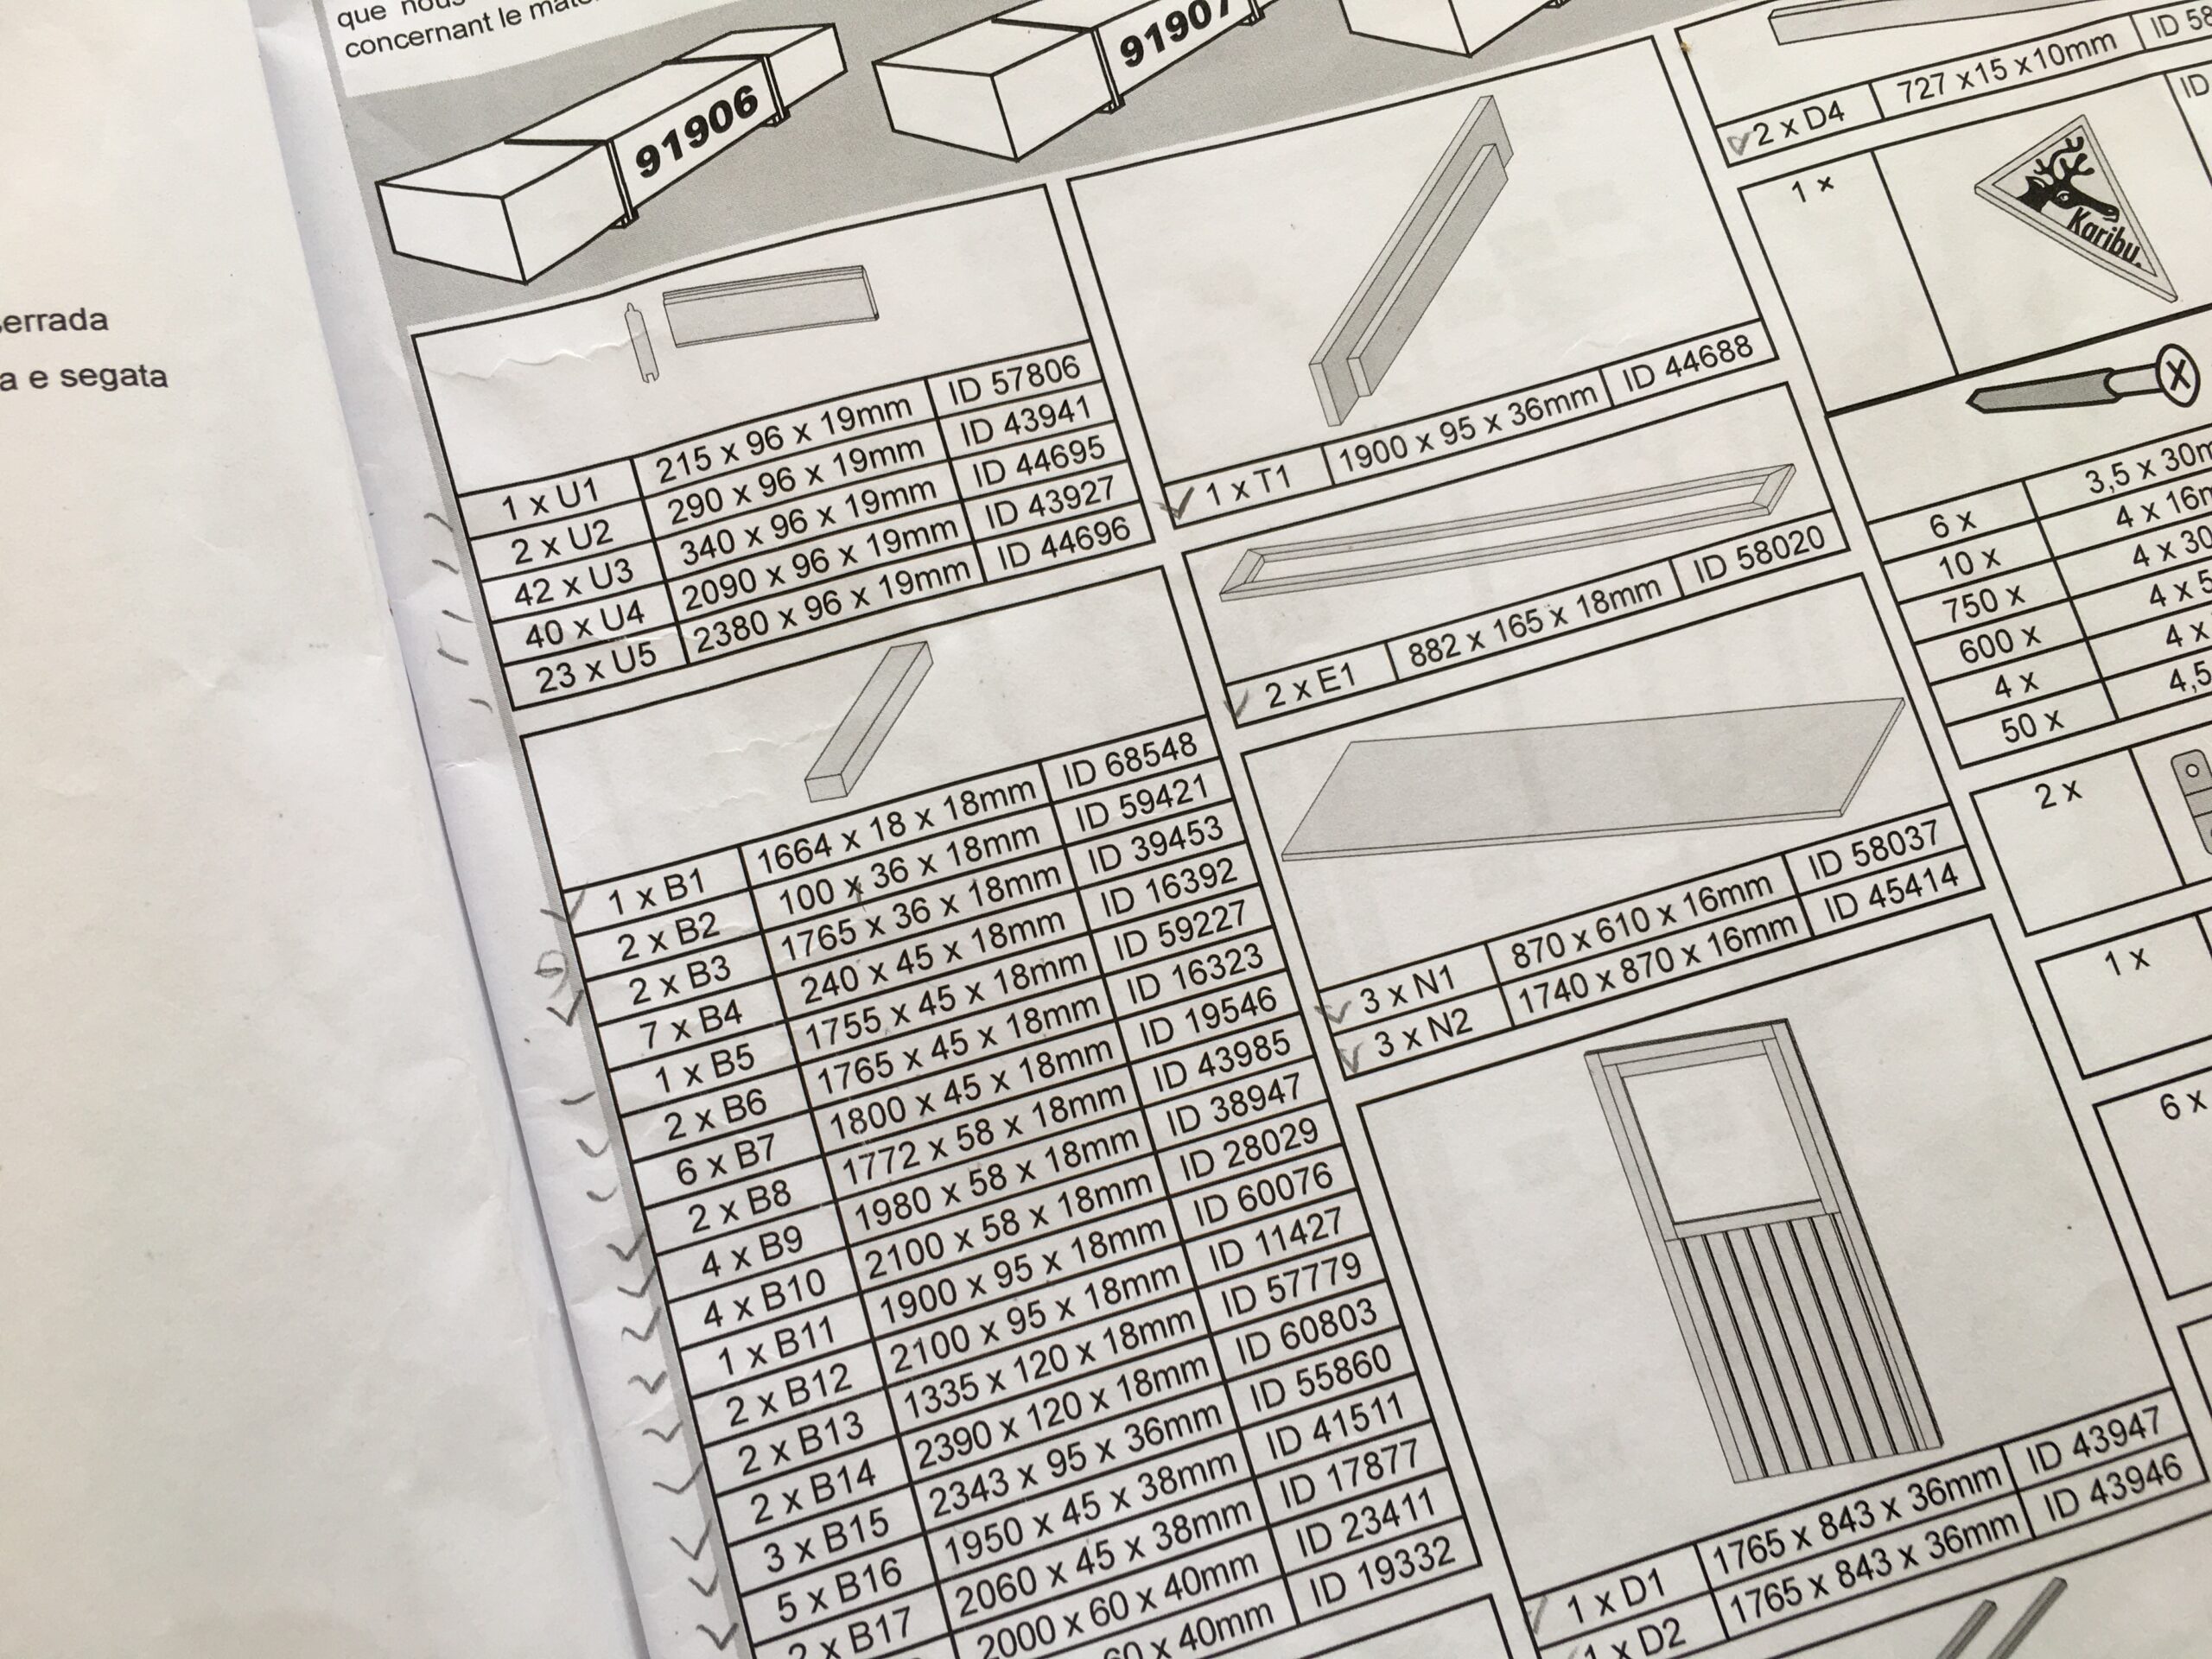
It took us sometime to check the materials list and make sure all the parts are there. We also marked the materials as the instructions are only marked with parts numbers. Then we lay the first floor base and parts for the roof to decide where and which direction the house is placed. Sarah joins here and help us making the decision. After this point, when the shed is built once, we can not (or more we do not want to) move the shed… so it is important we give all the thought. After turning the base and trying out options, we decided that it stands next to the tree facing the flower field.
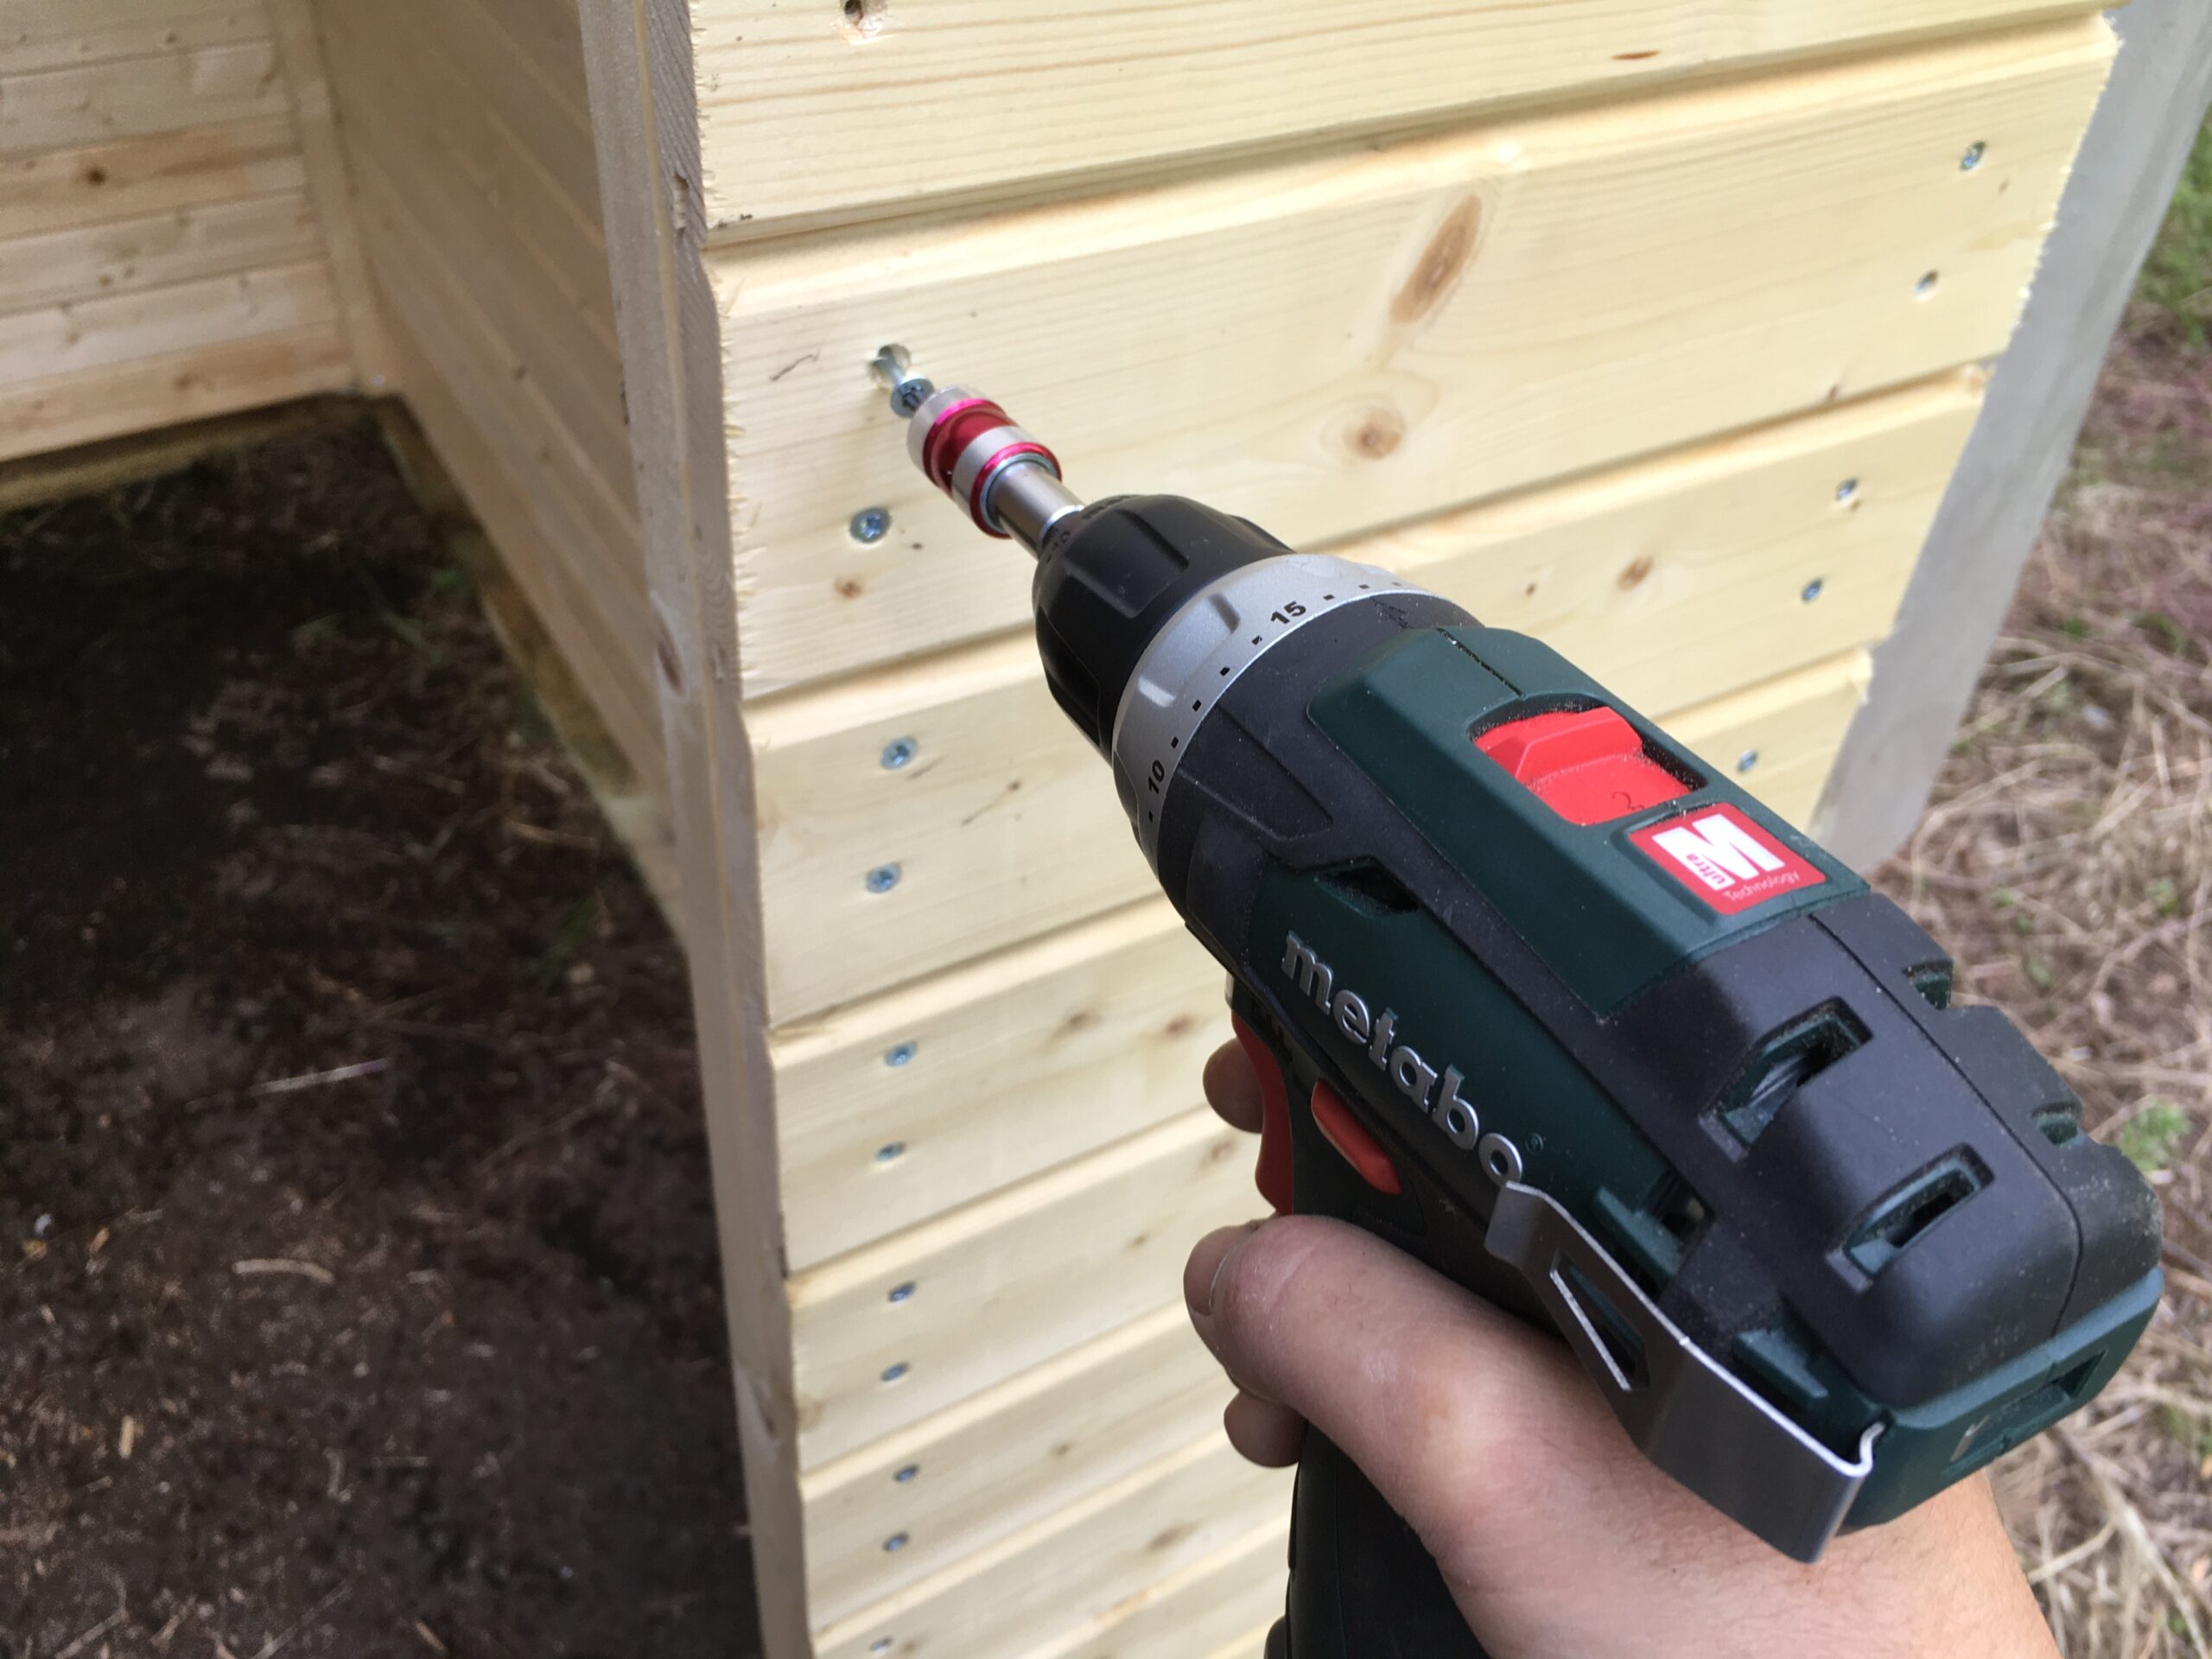
Gesa also joins now. We learned that all the wall parts needs to be pre-drilled. All the 3 hand drills we have is in full action.
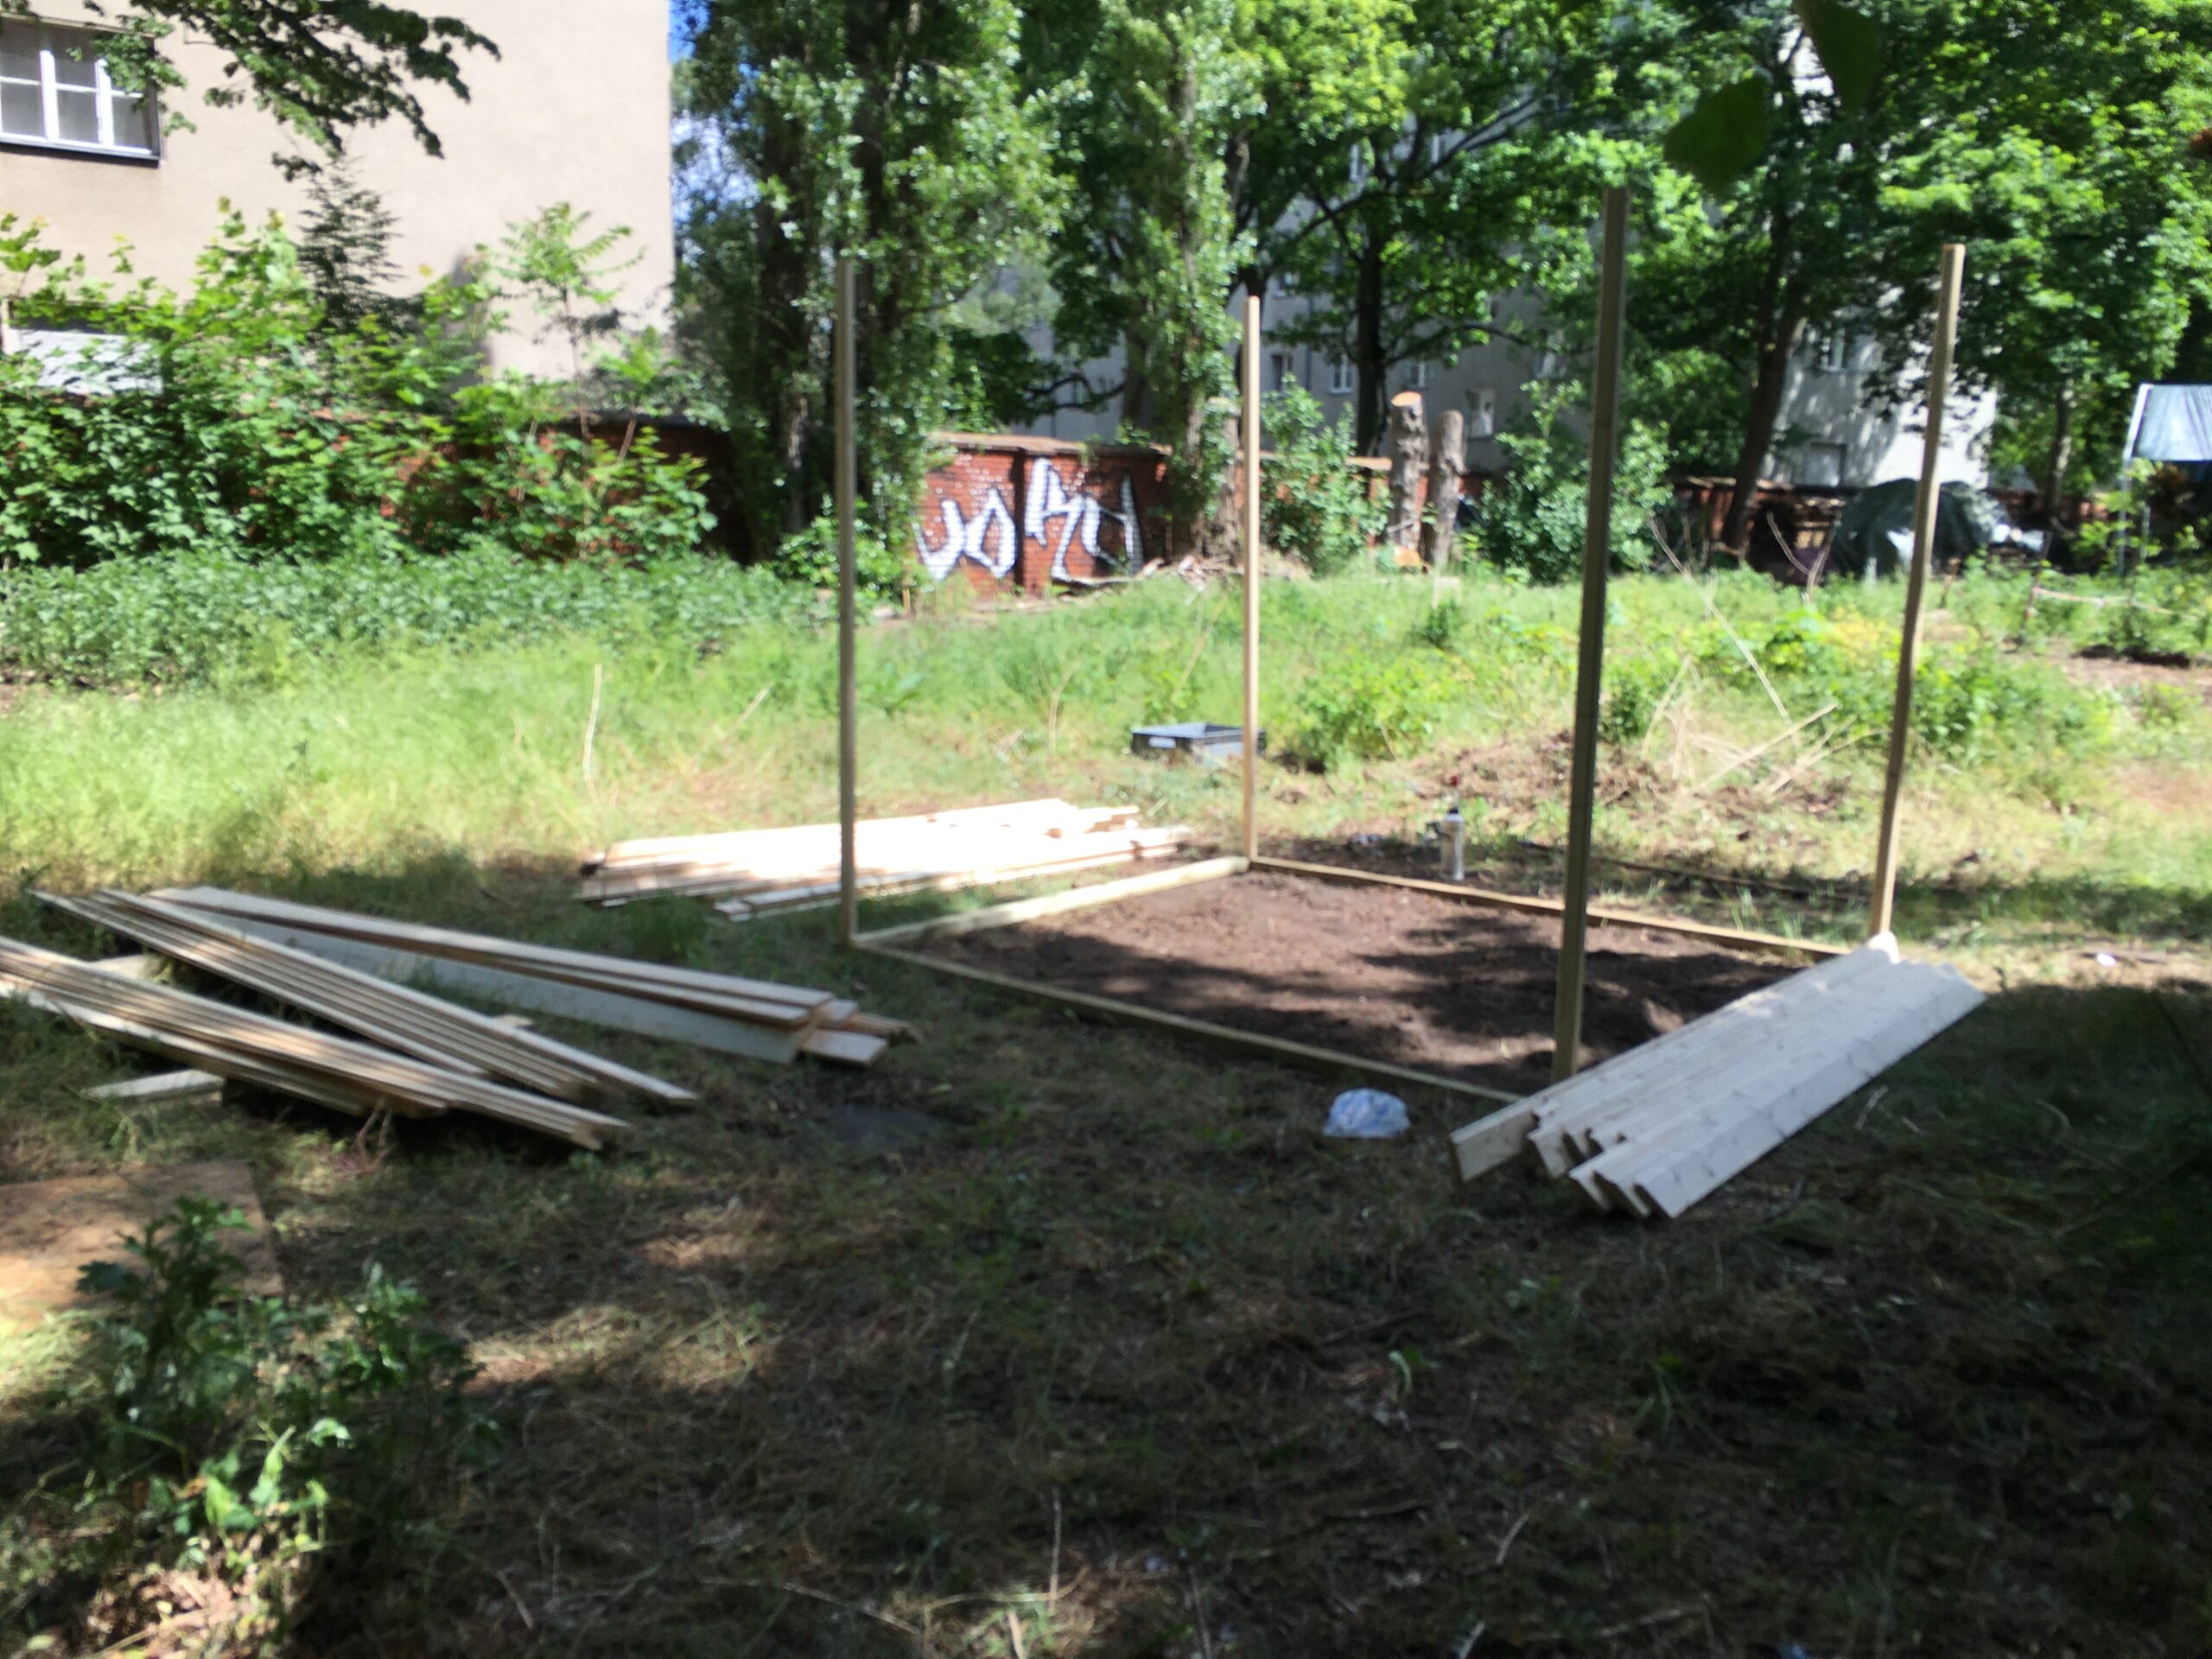
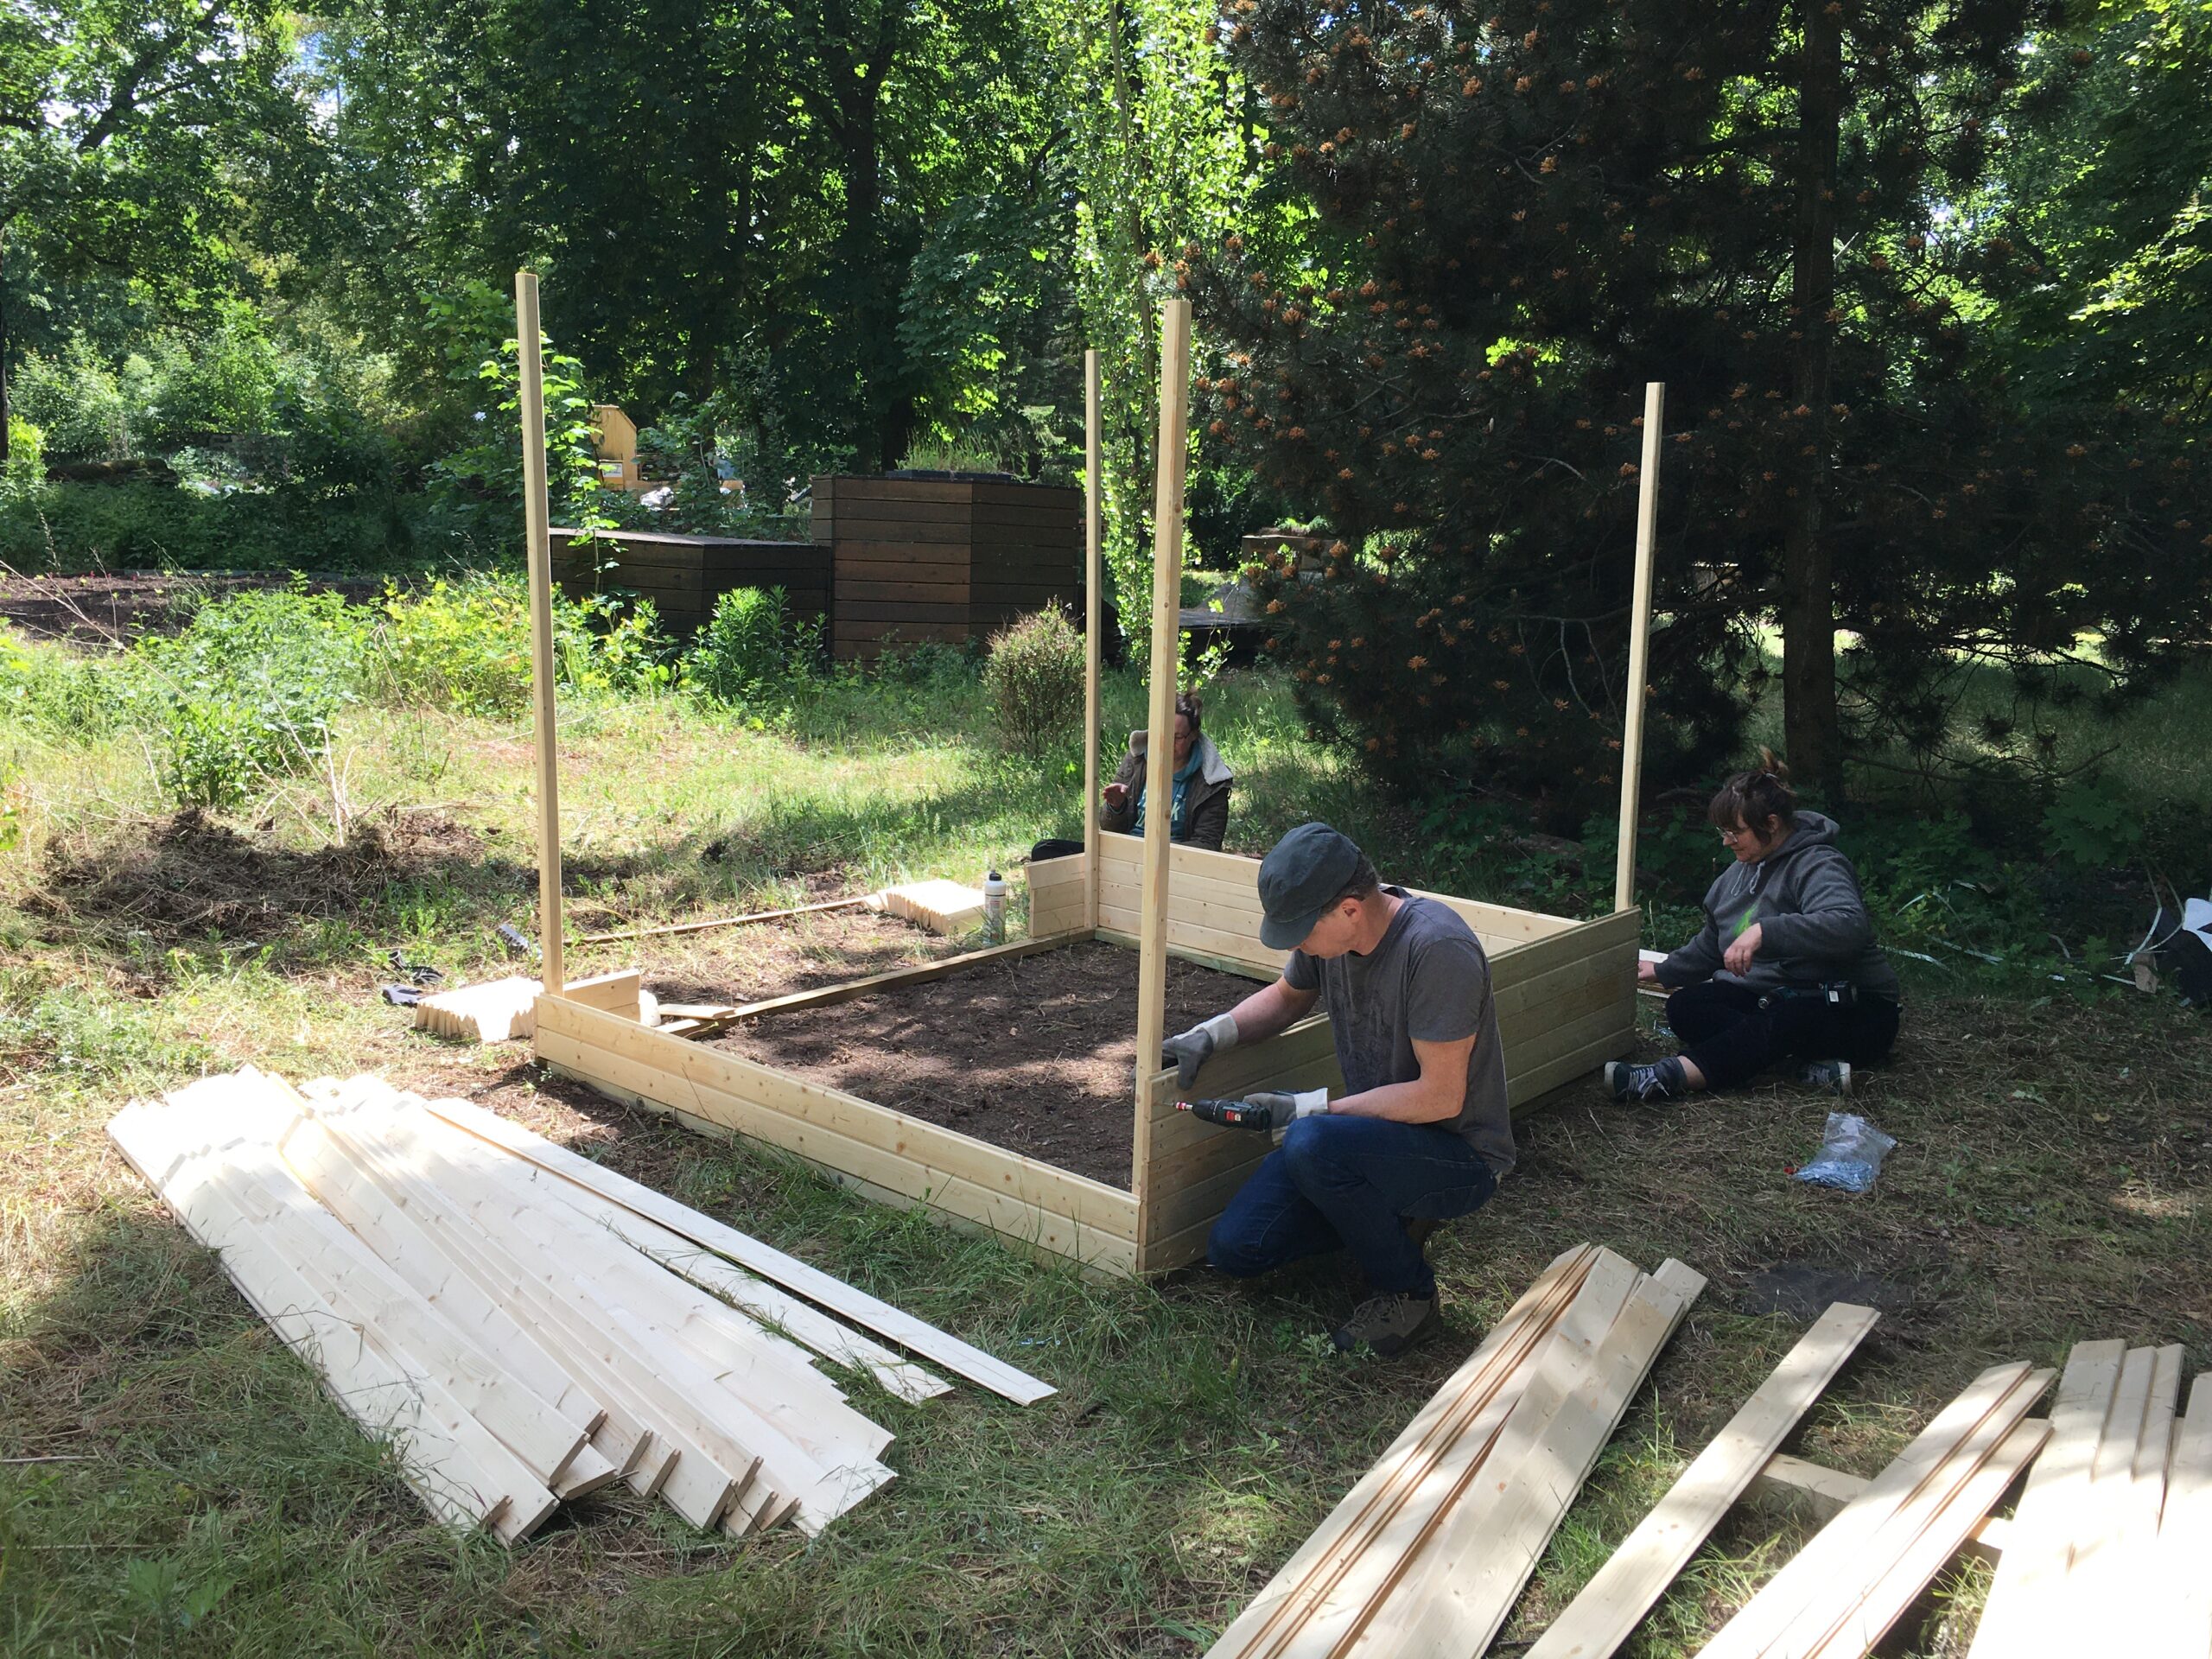
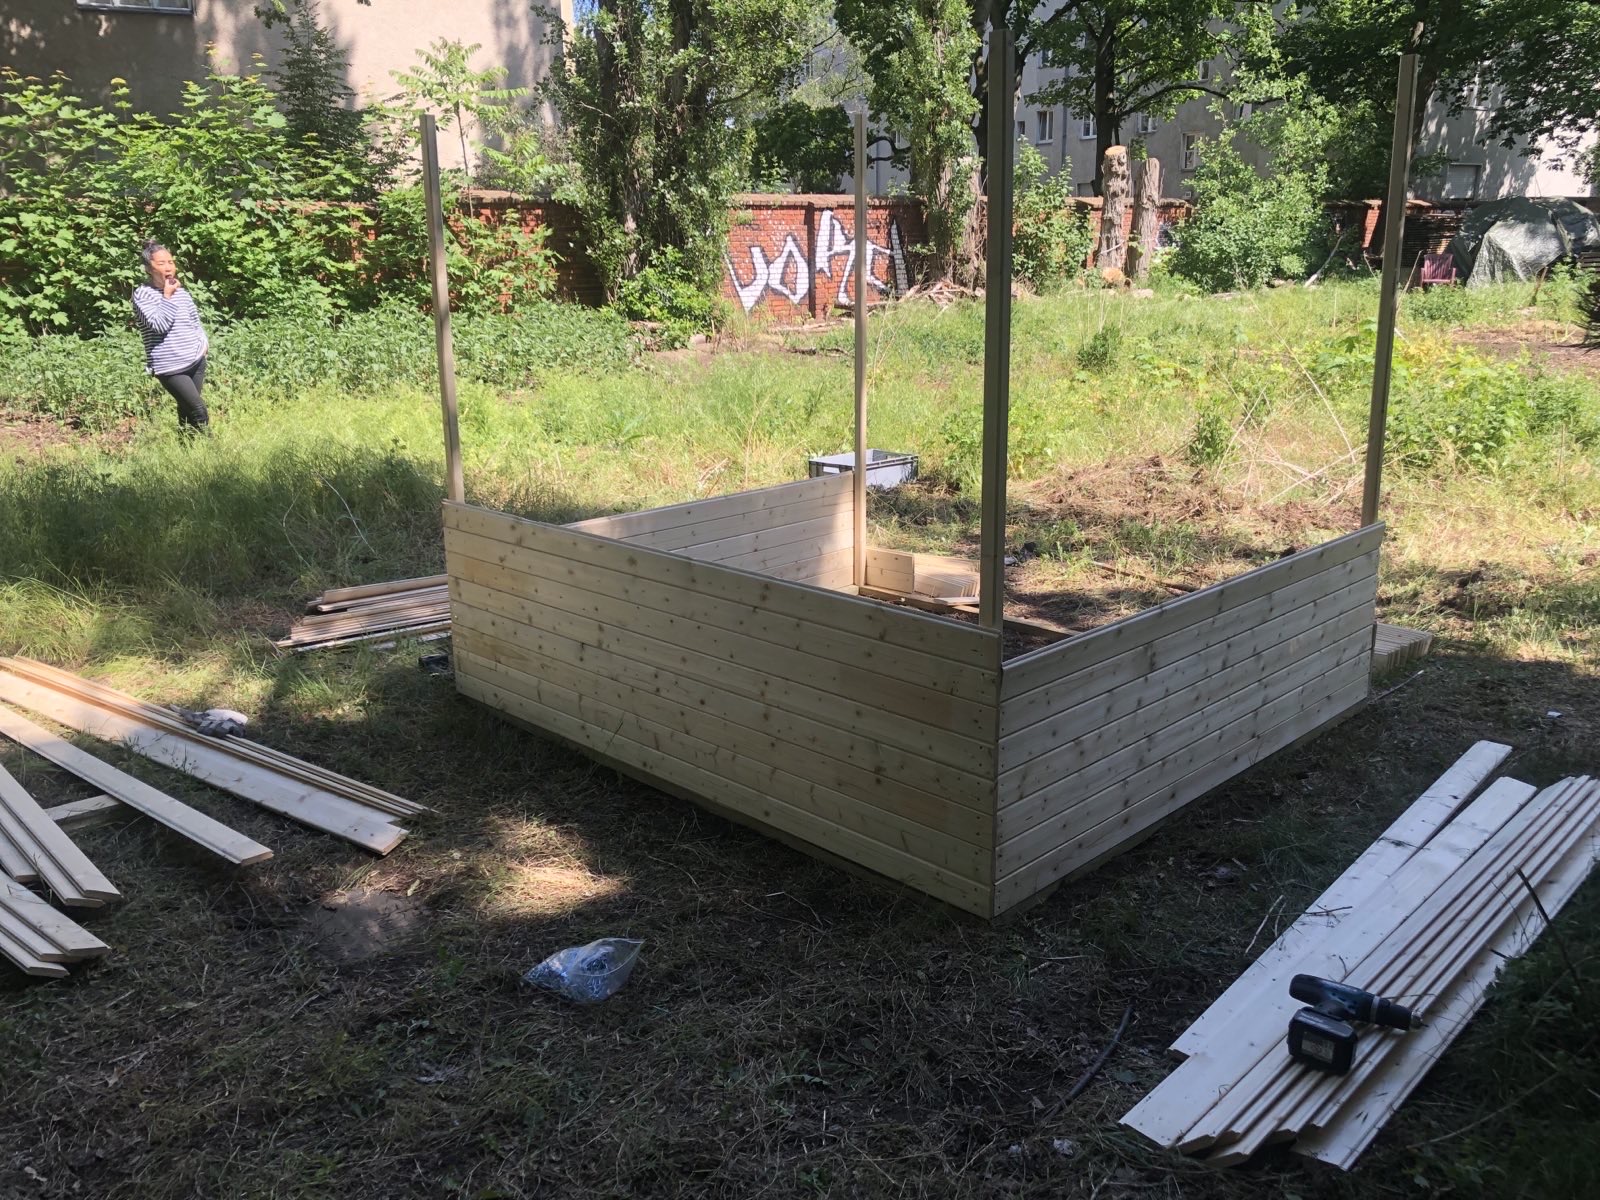
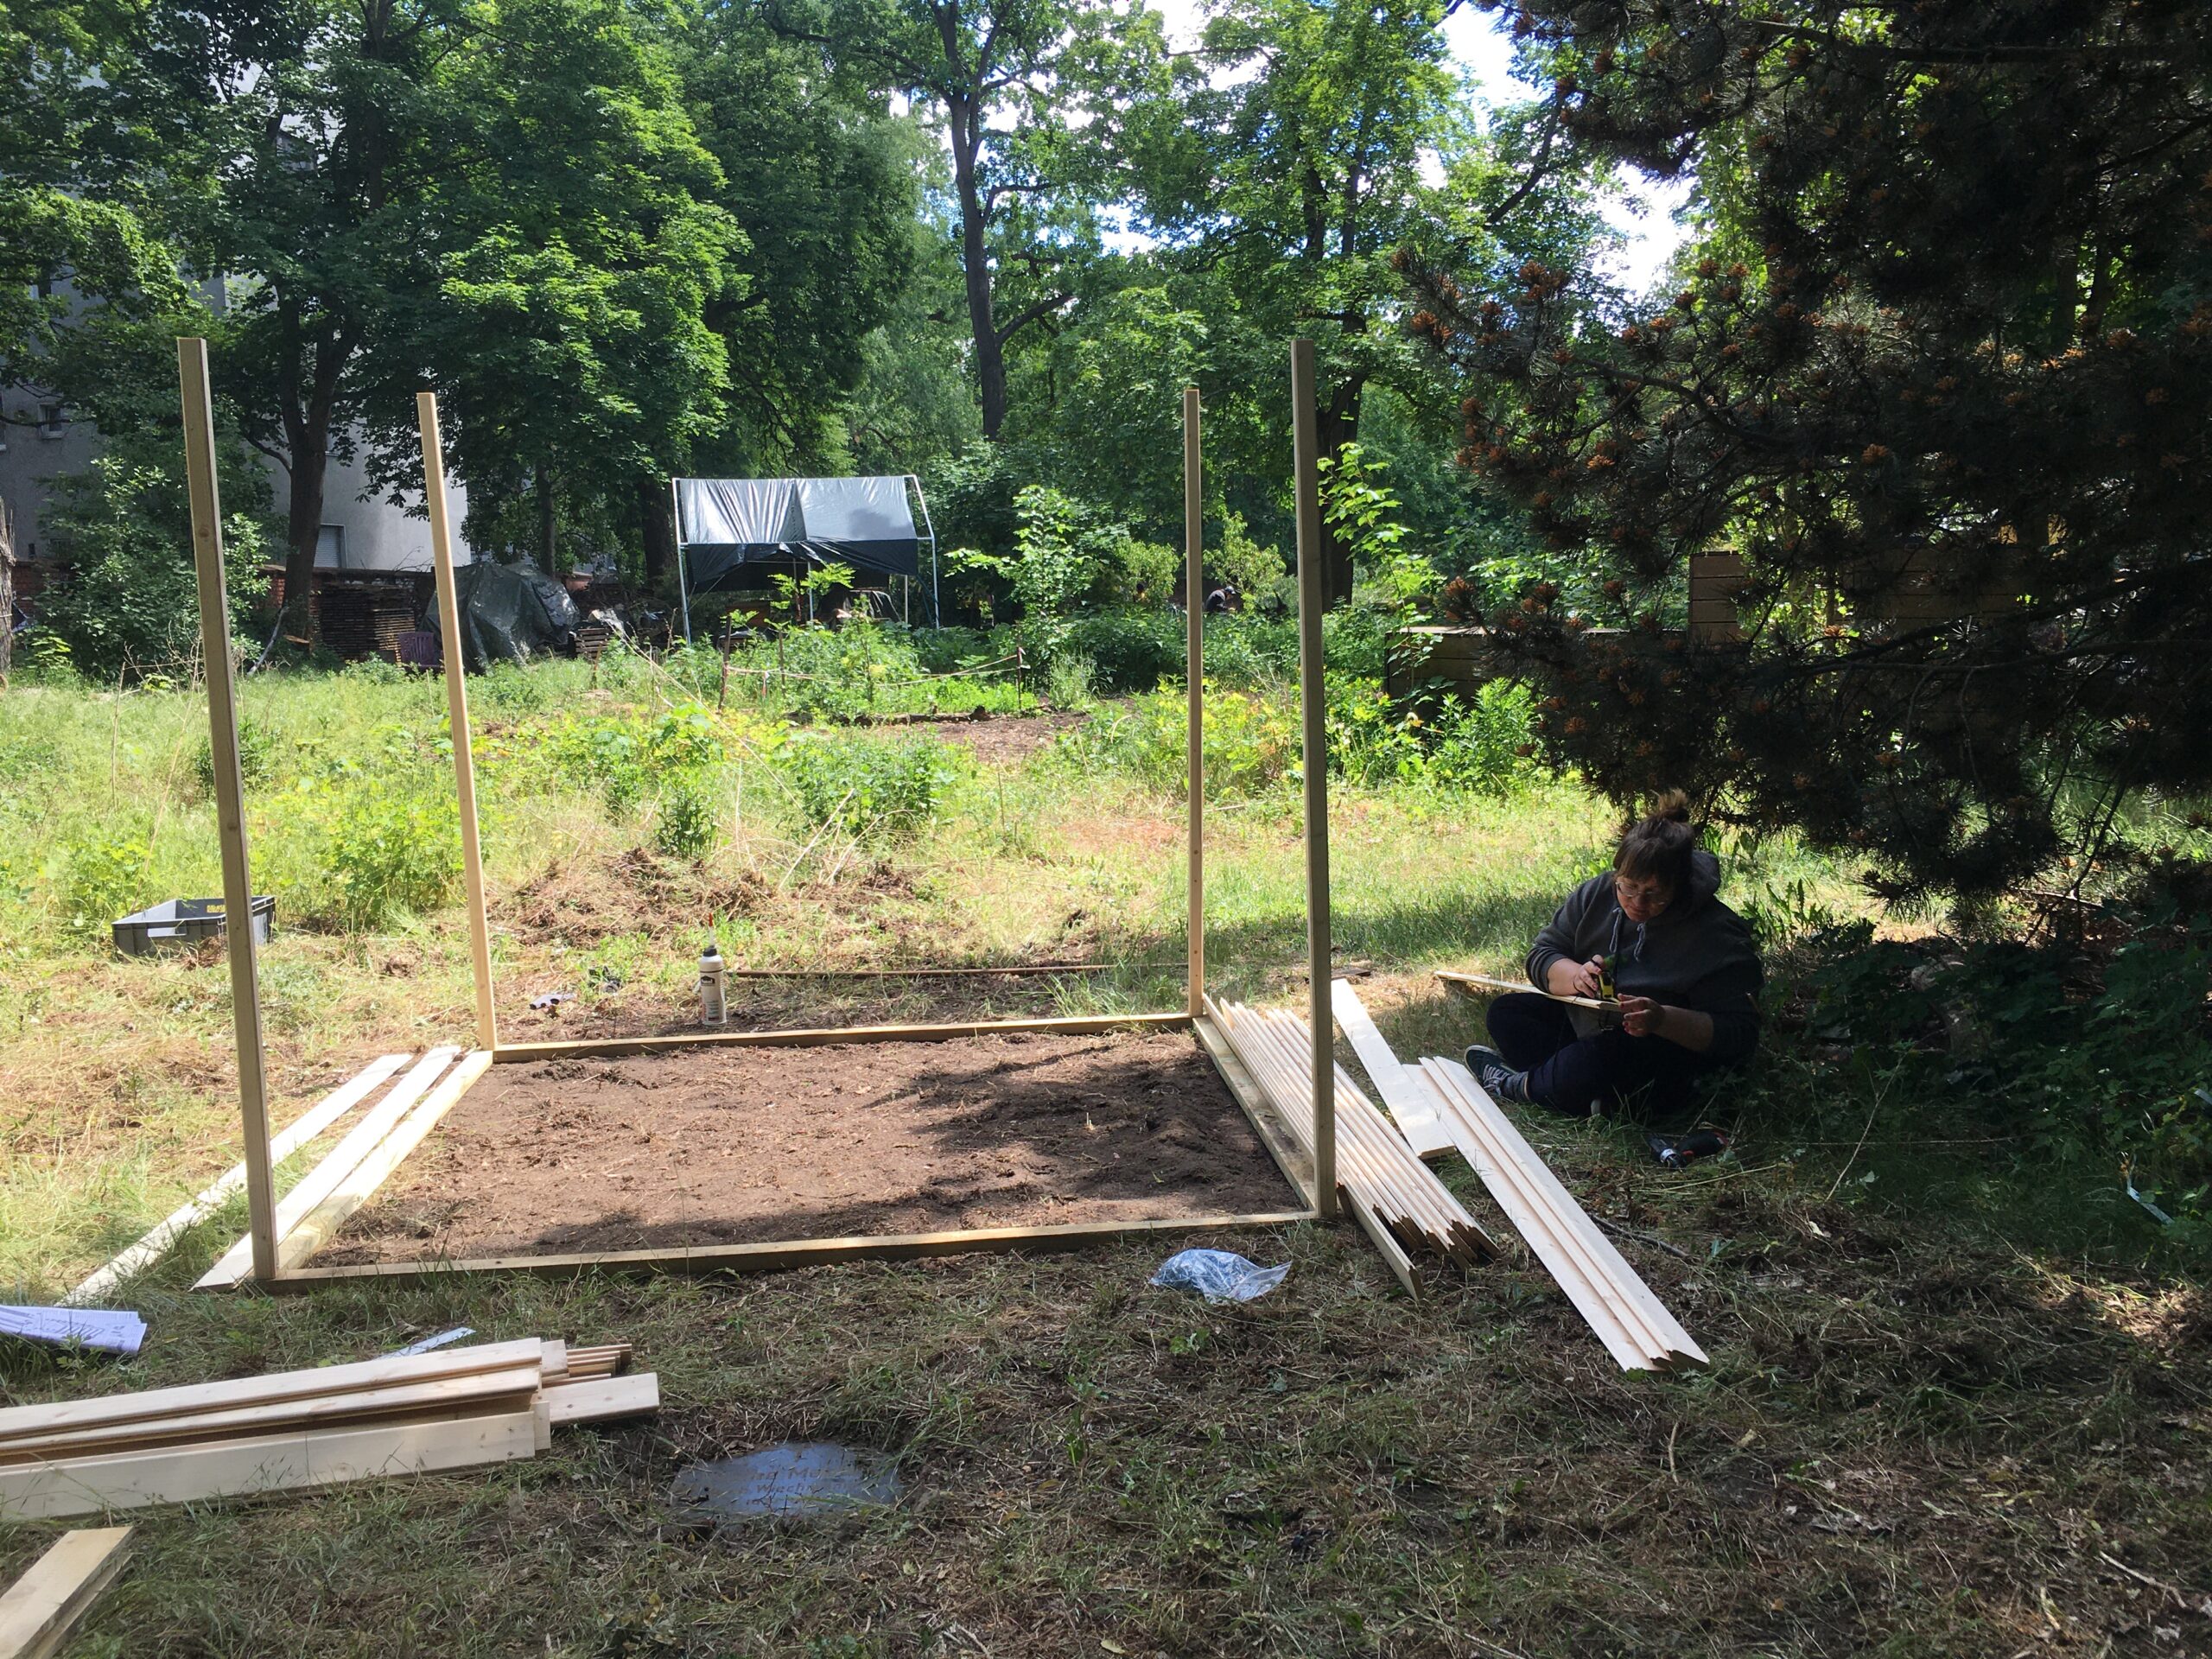
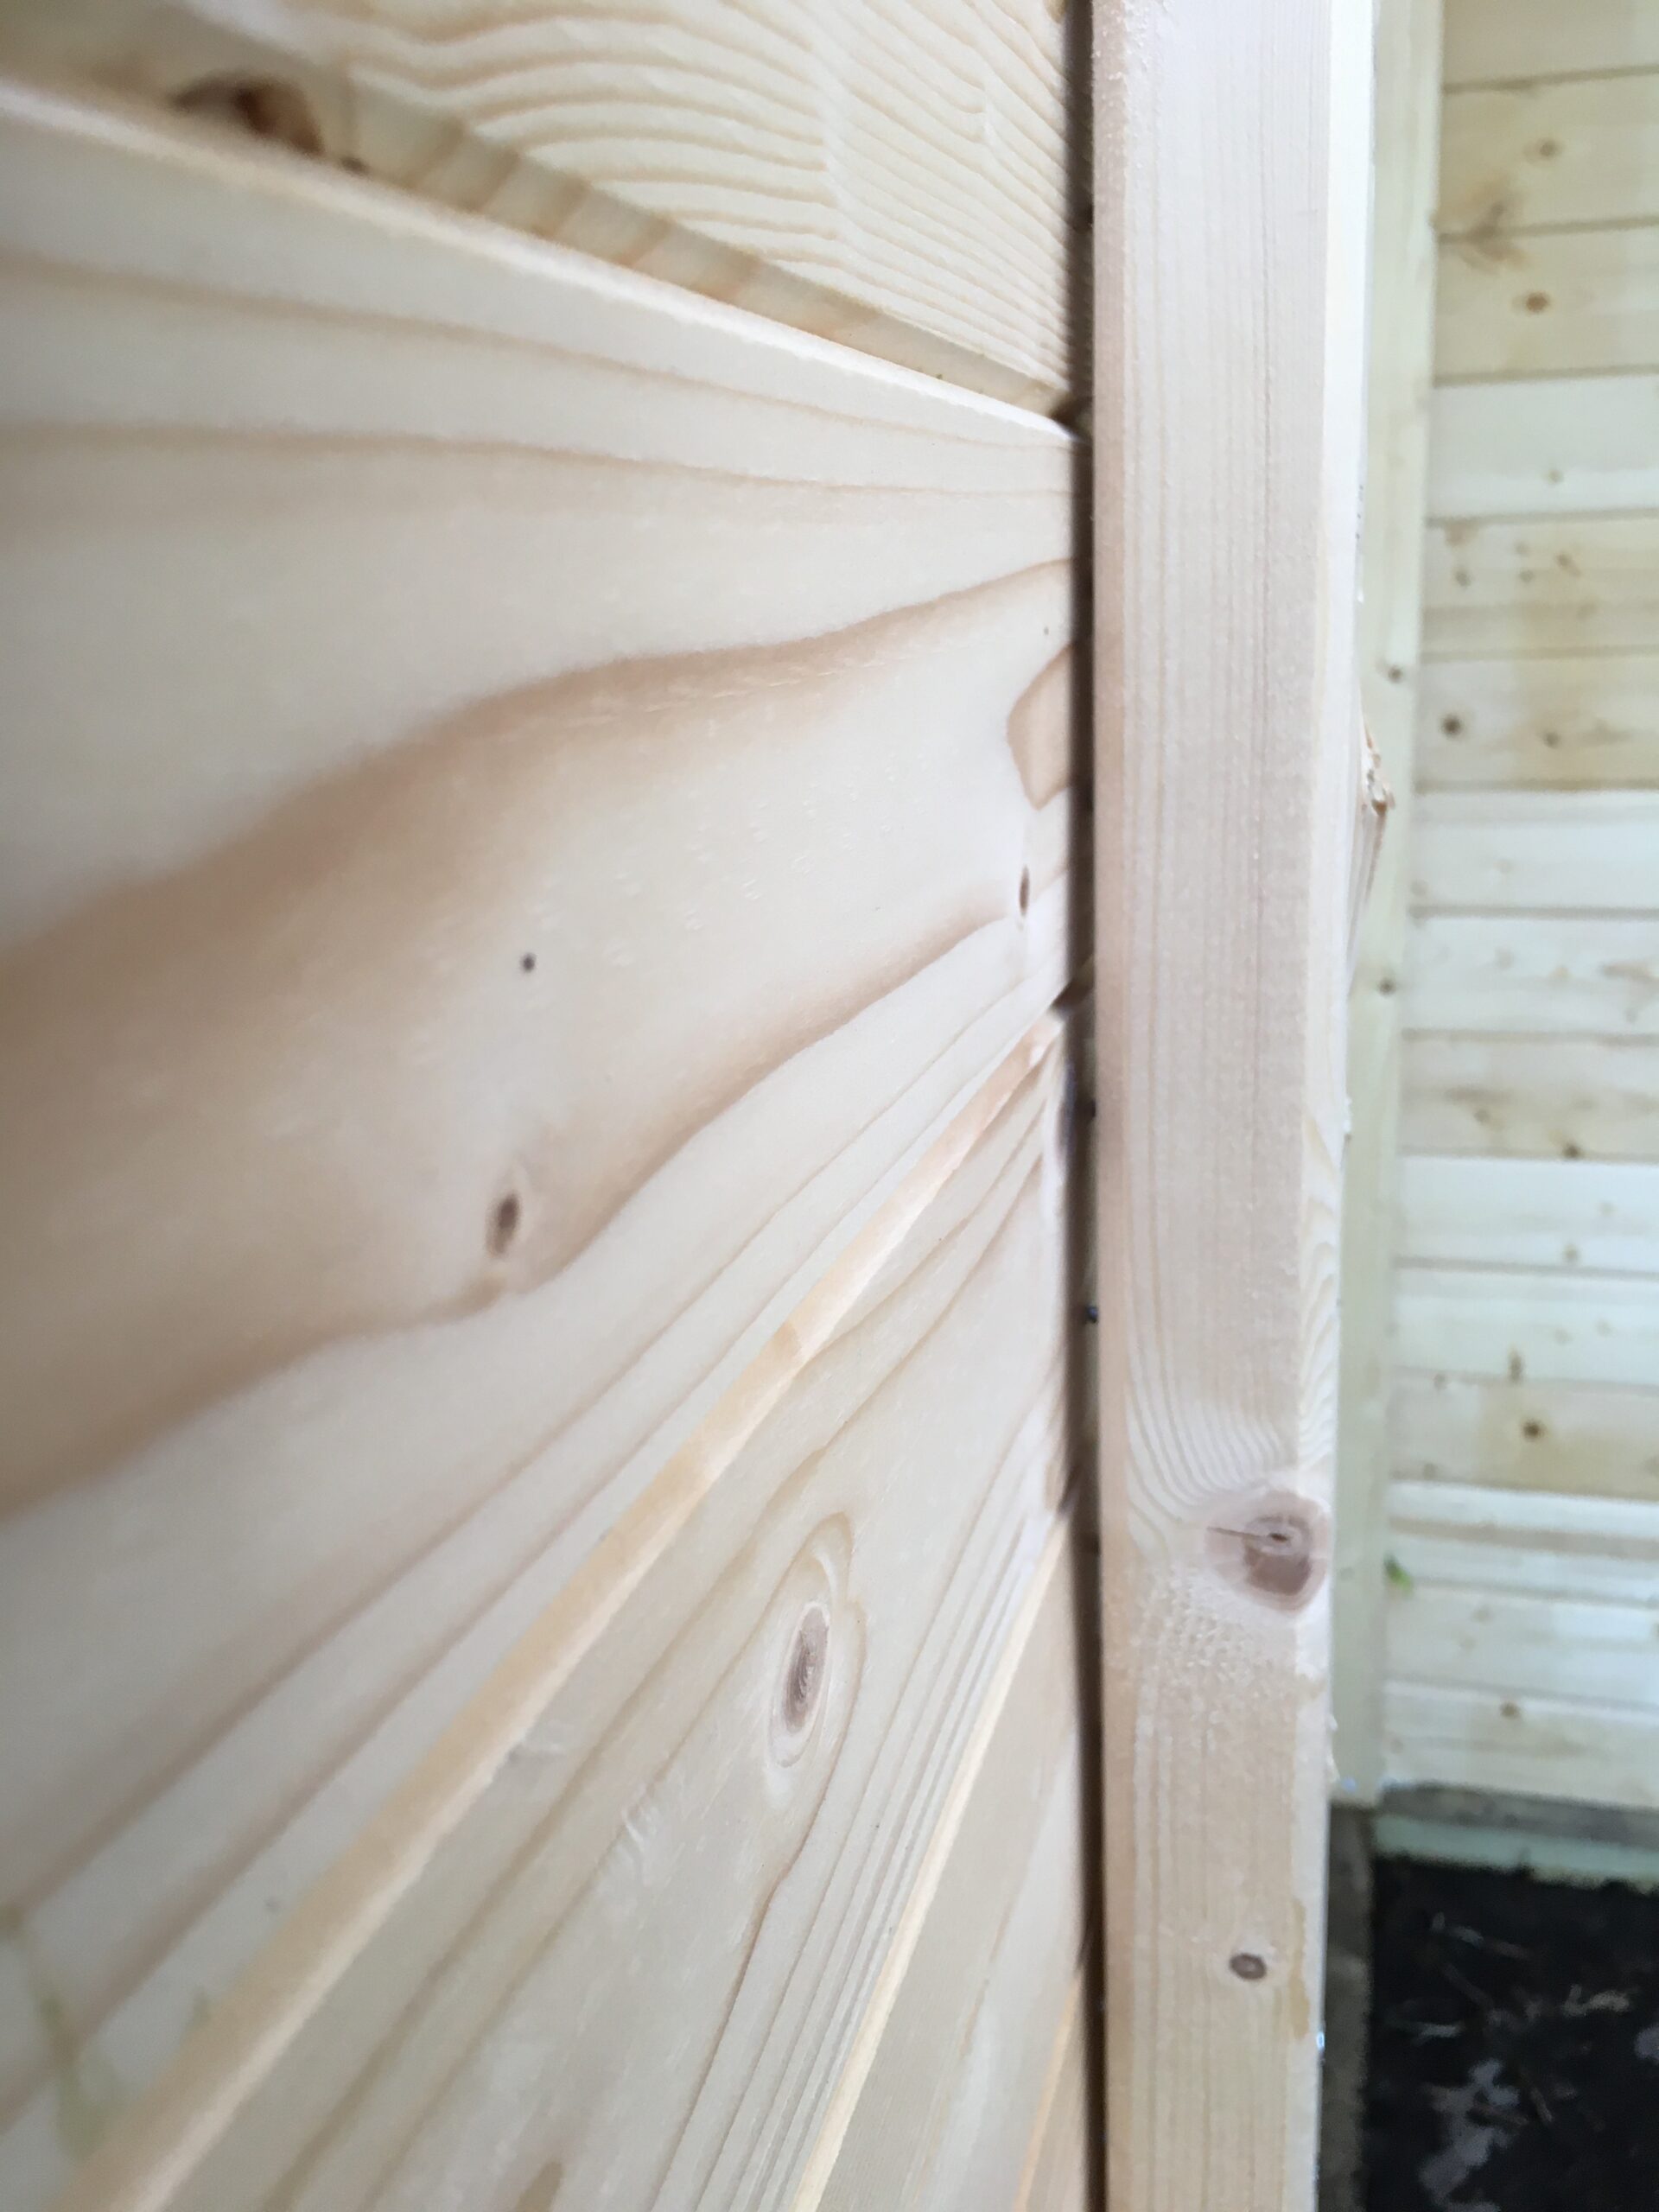
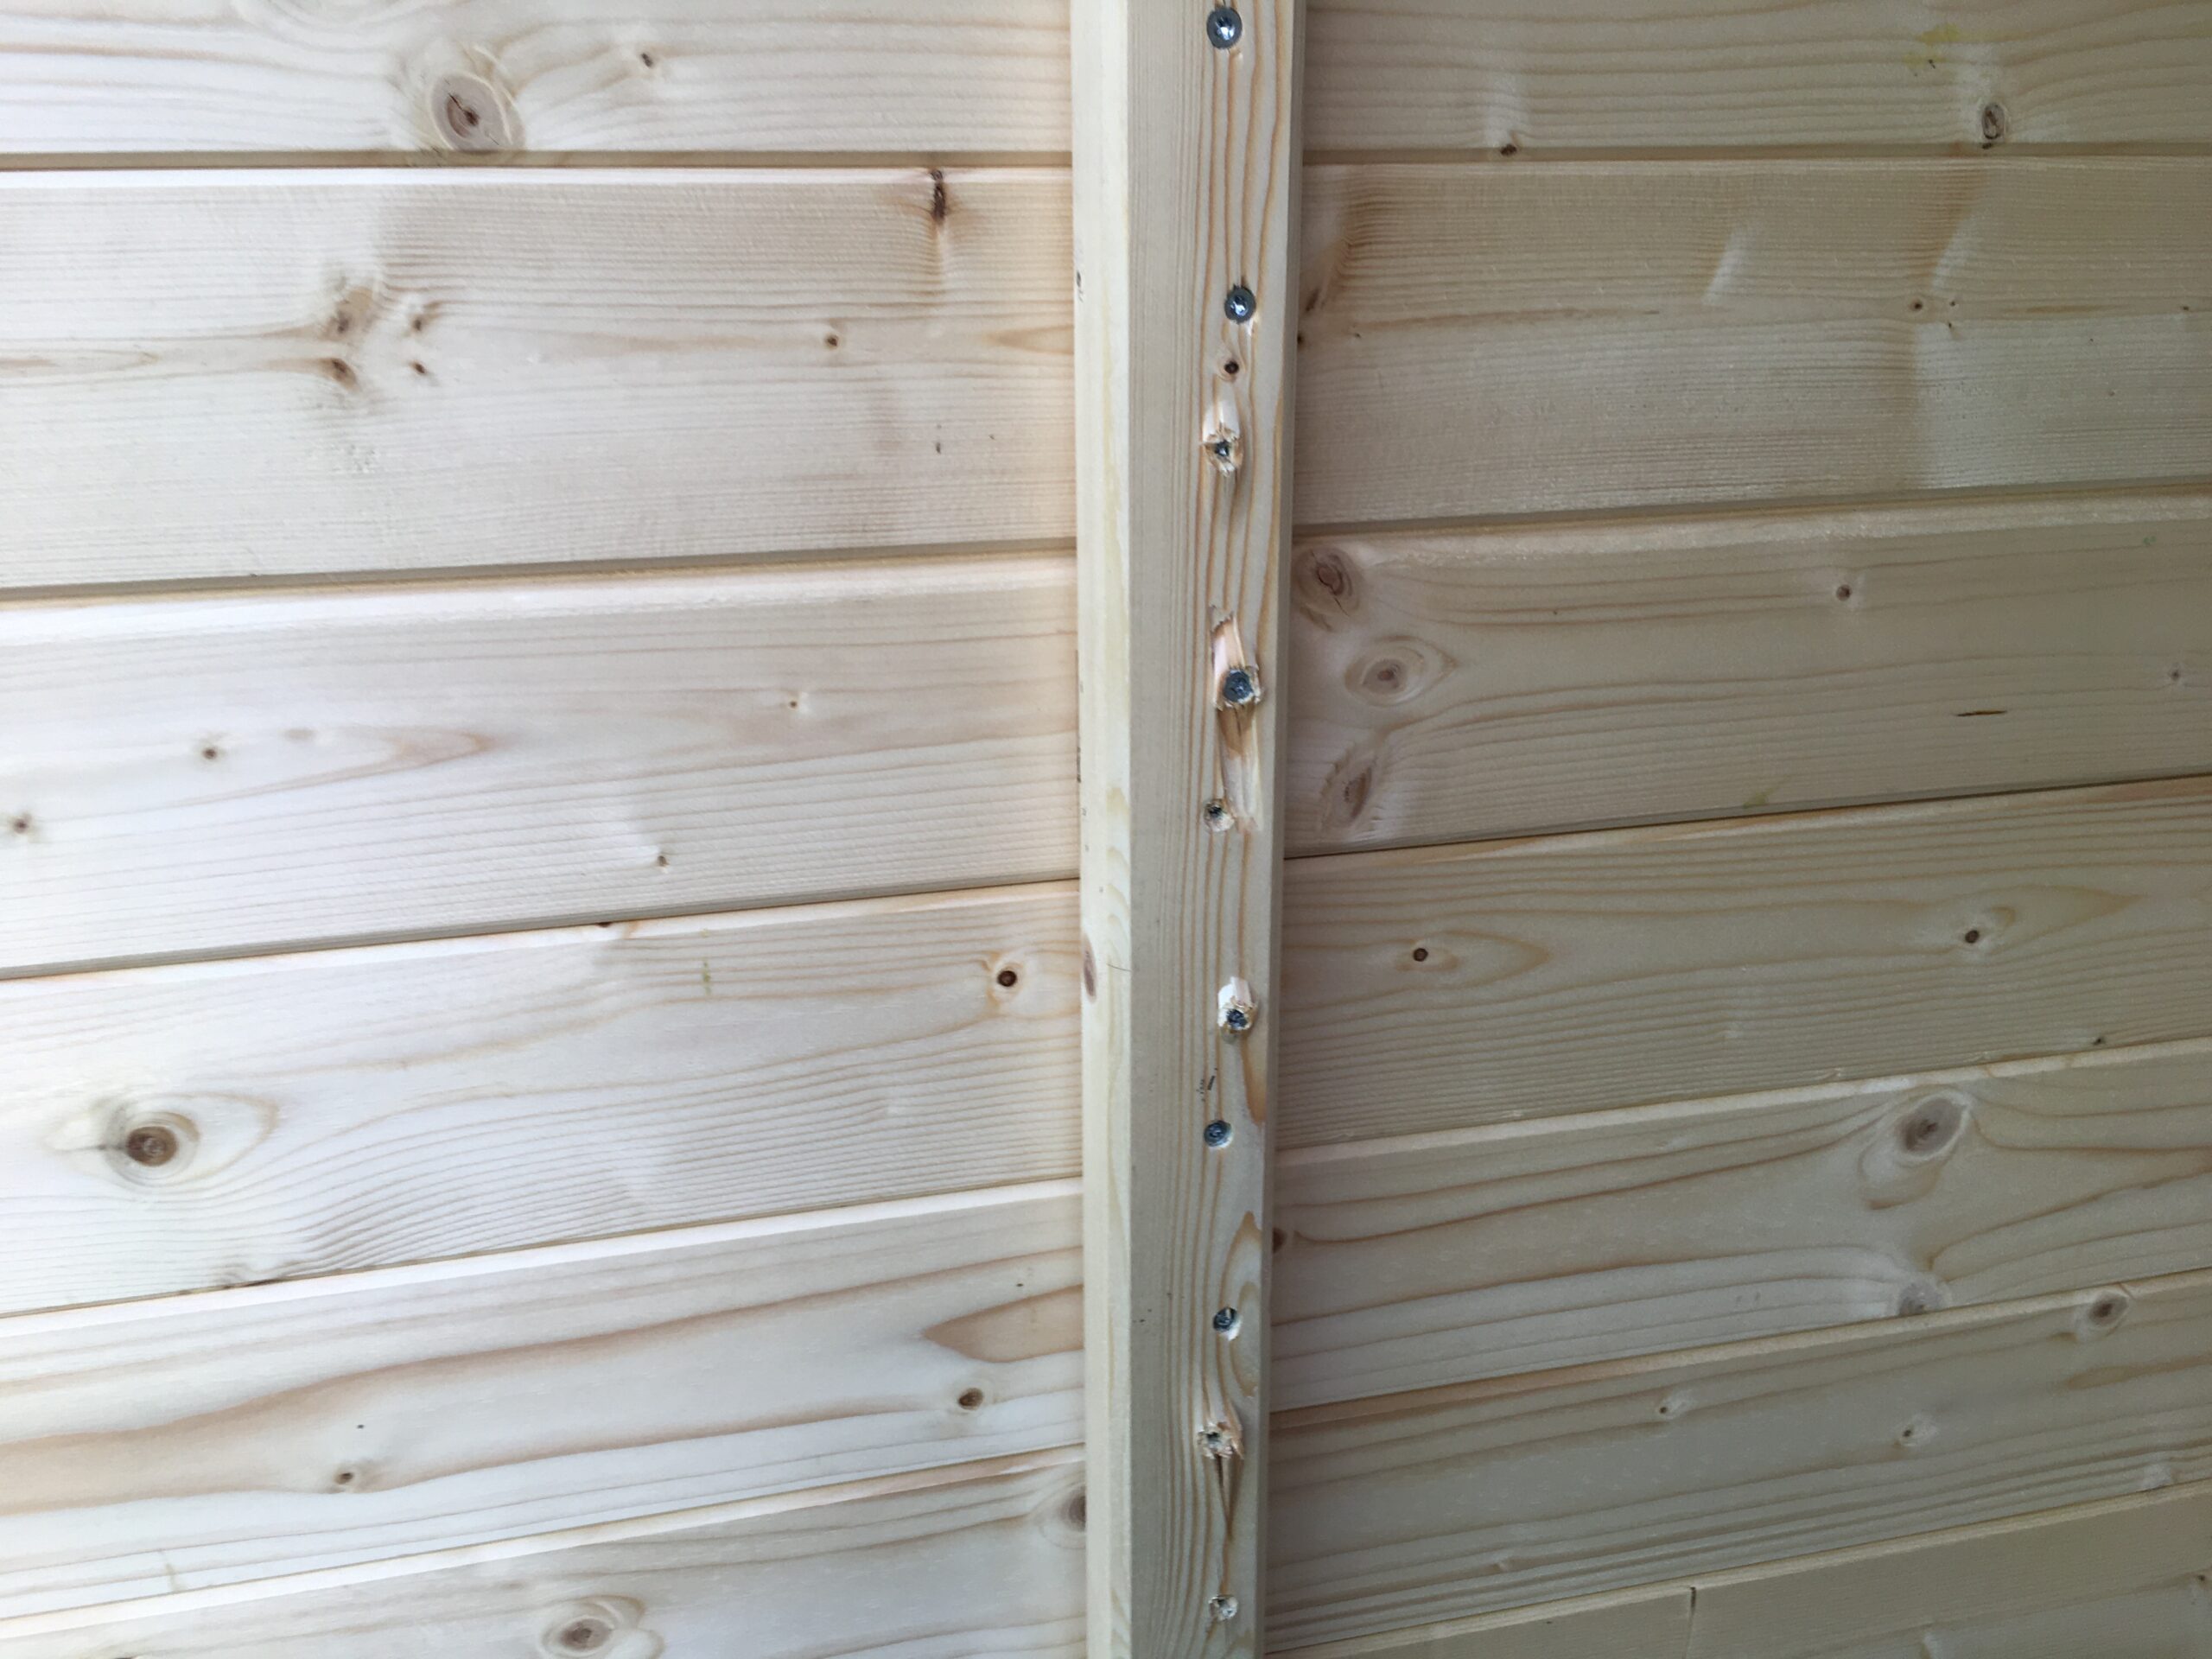
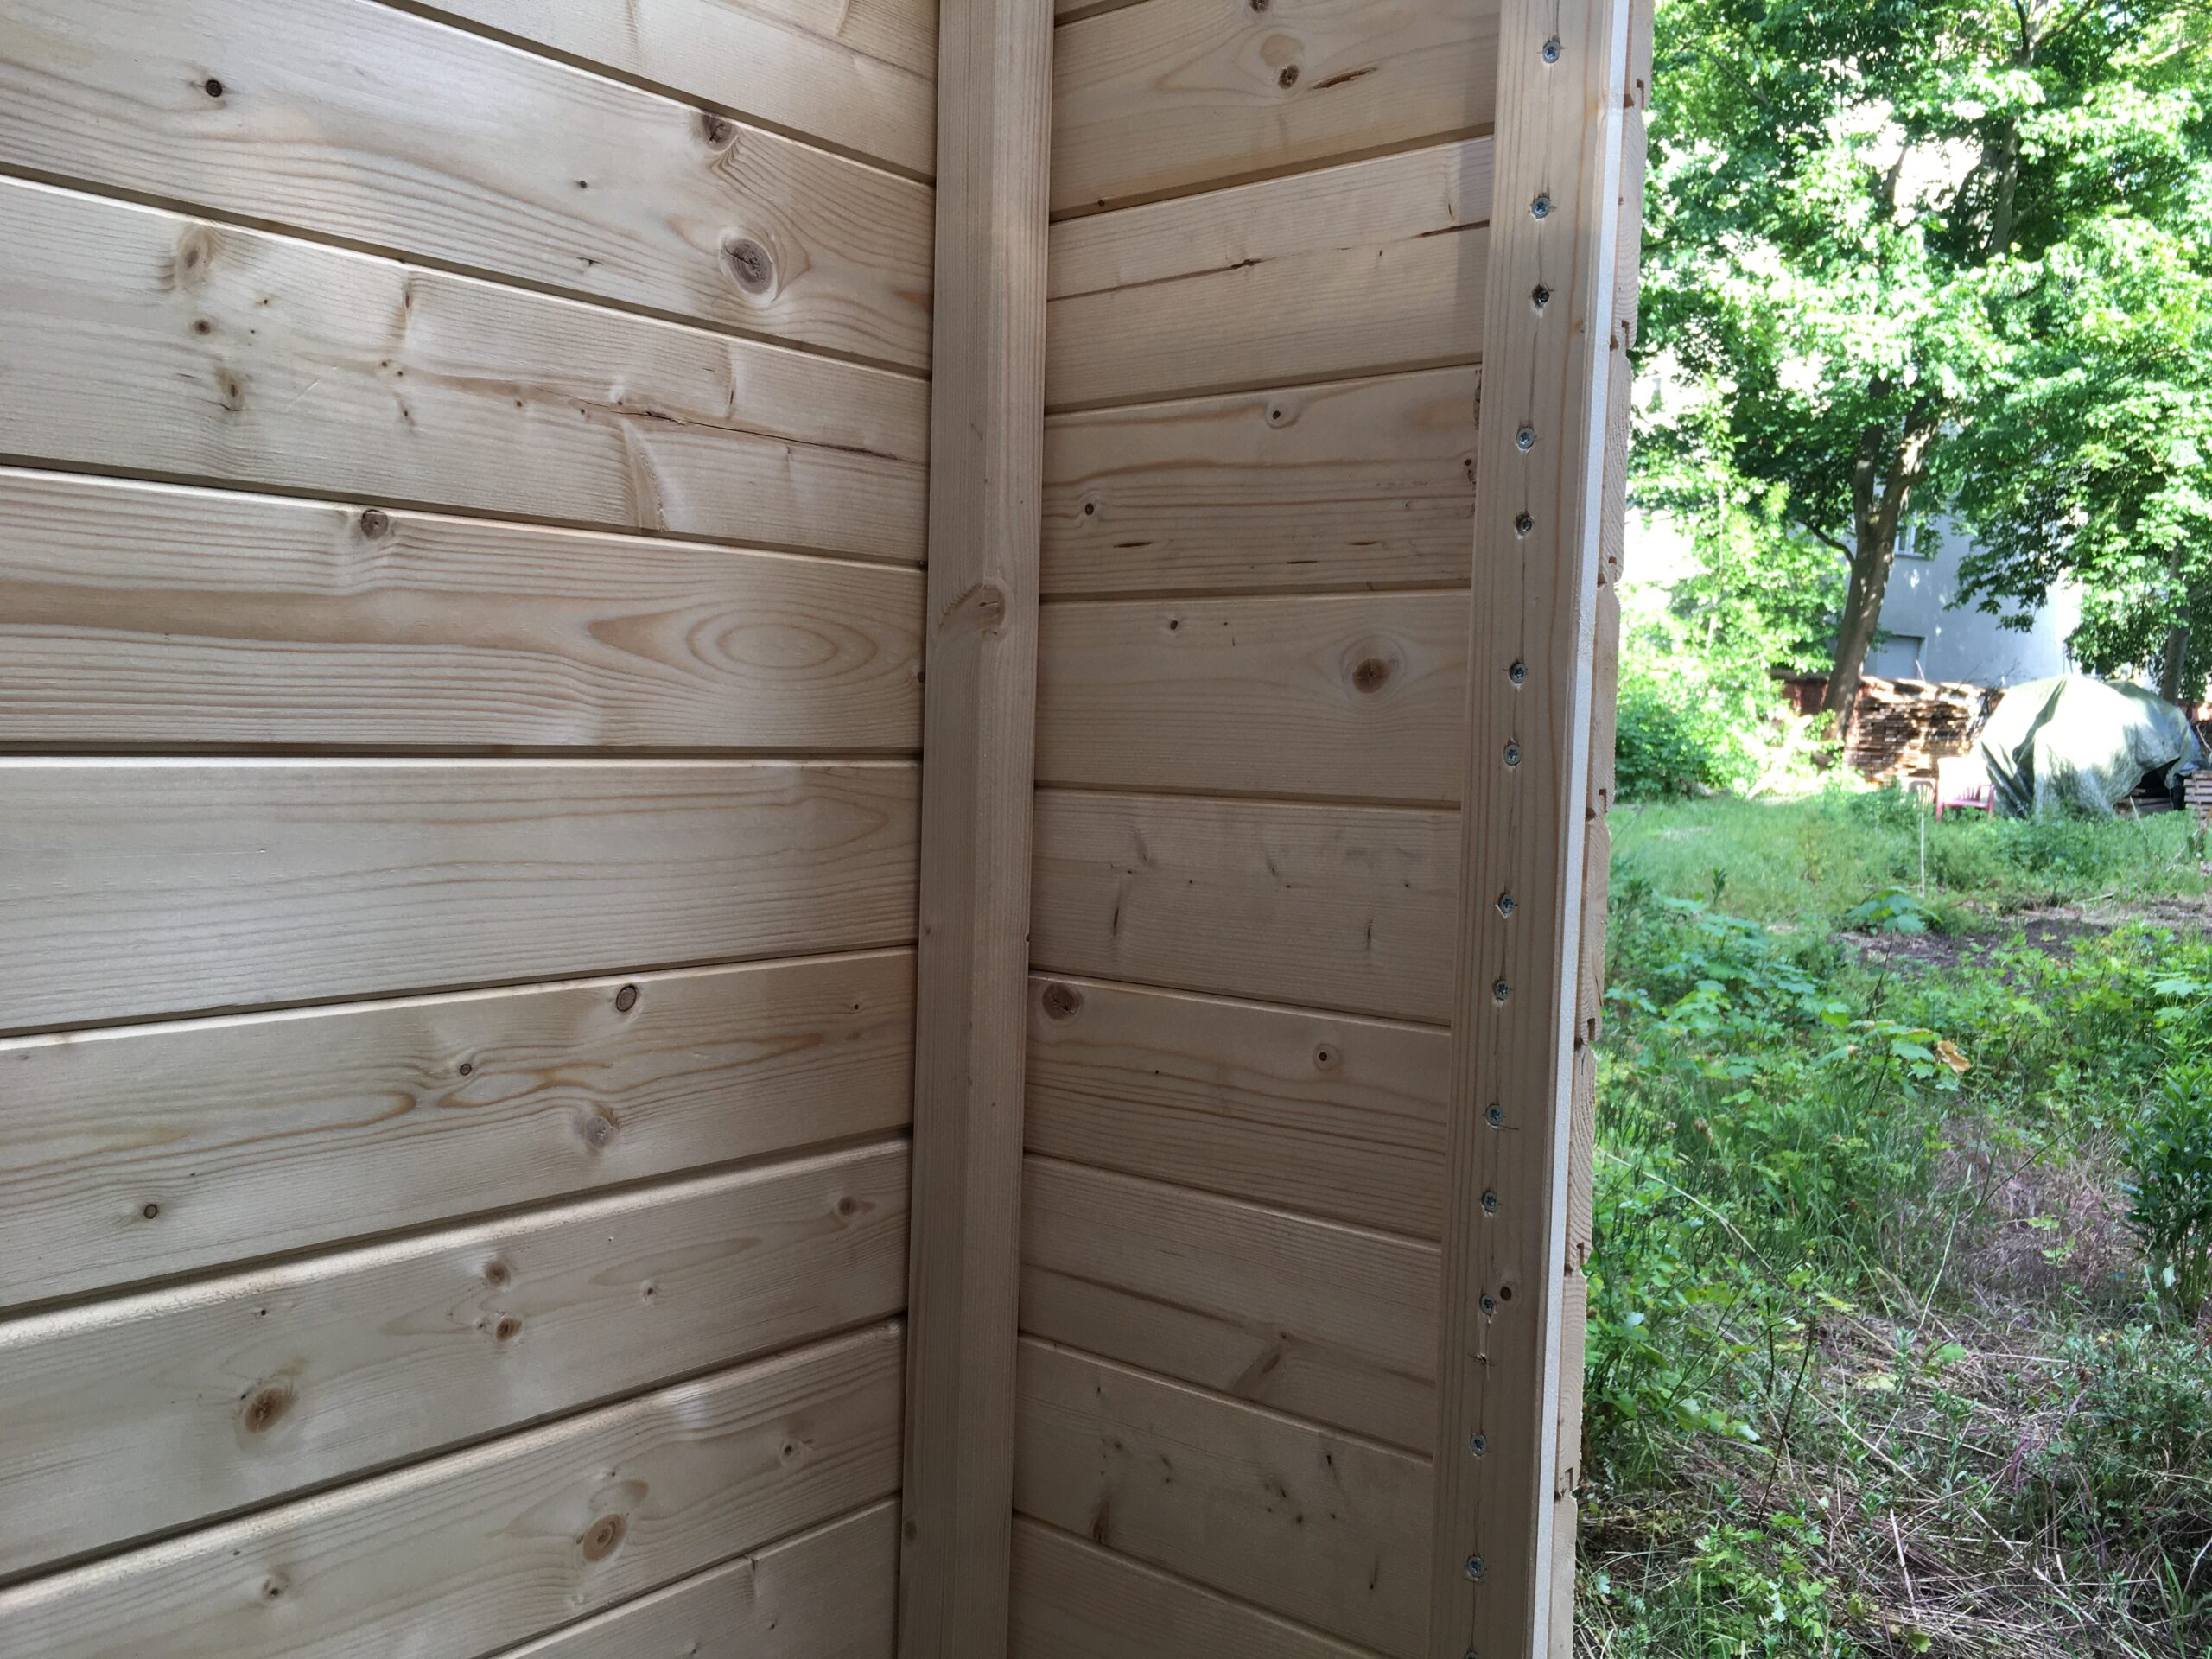
We start to build up the walls. Our strategy was to go ups with 3 sides of the wall, one by one at the same time. These wall boards are specially shaped so it slides on to the lower board. The both end of the boards are screwed down to the corner pillar wood (what you see sticking up from the floor). It looks easy, but it was very tricky to keep the straight angles. After building up few boards, we notice it is starting to tilt, then we had to take them out and do it again. We had to re-do the screws so many times as it was keep getting tilted or “schief gegangen”.
Chris came by some point and brought us nice strawberries and cakes for a break. We have been working from the morning non-stop. It was nice to have some break and fresh treats. Thanks Chris!
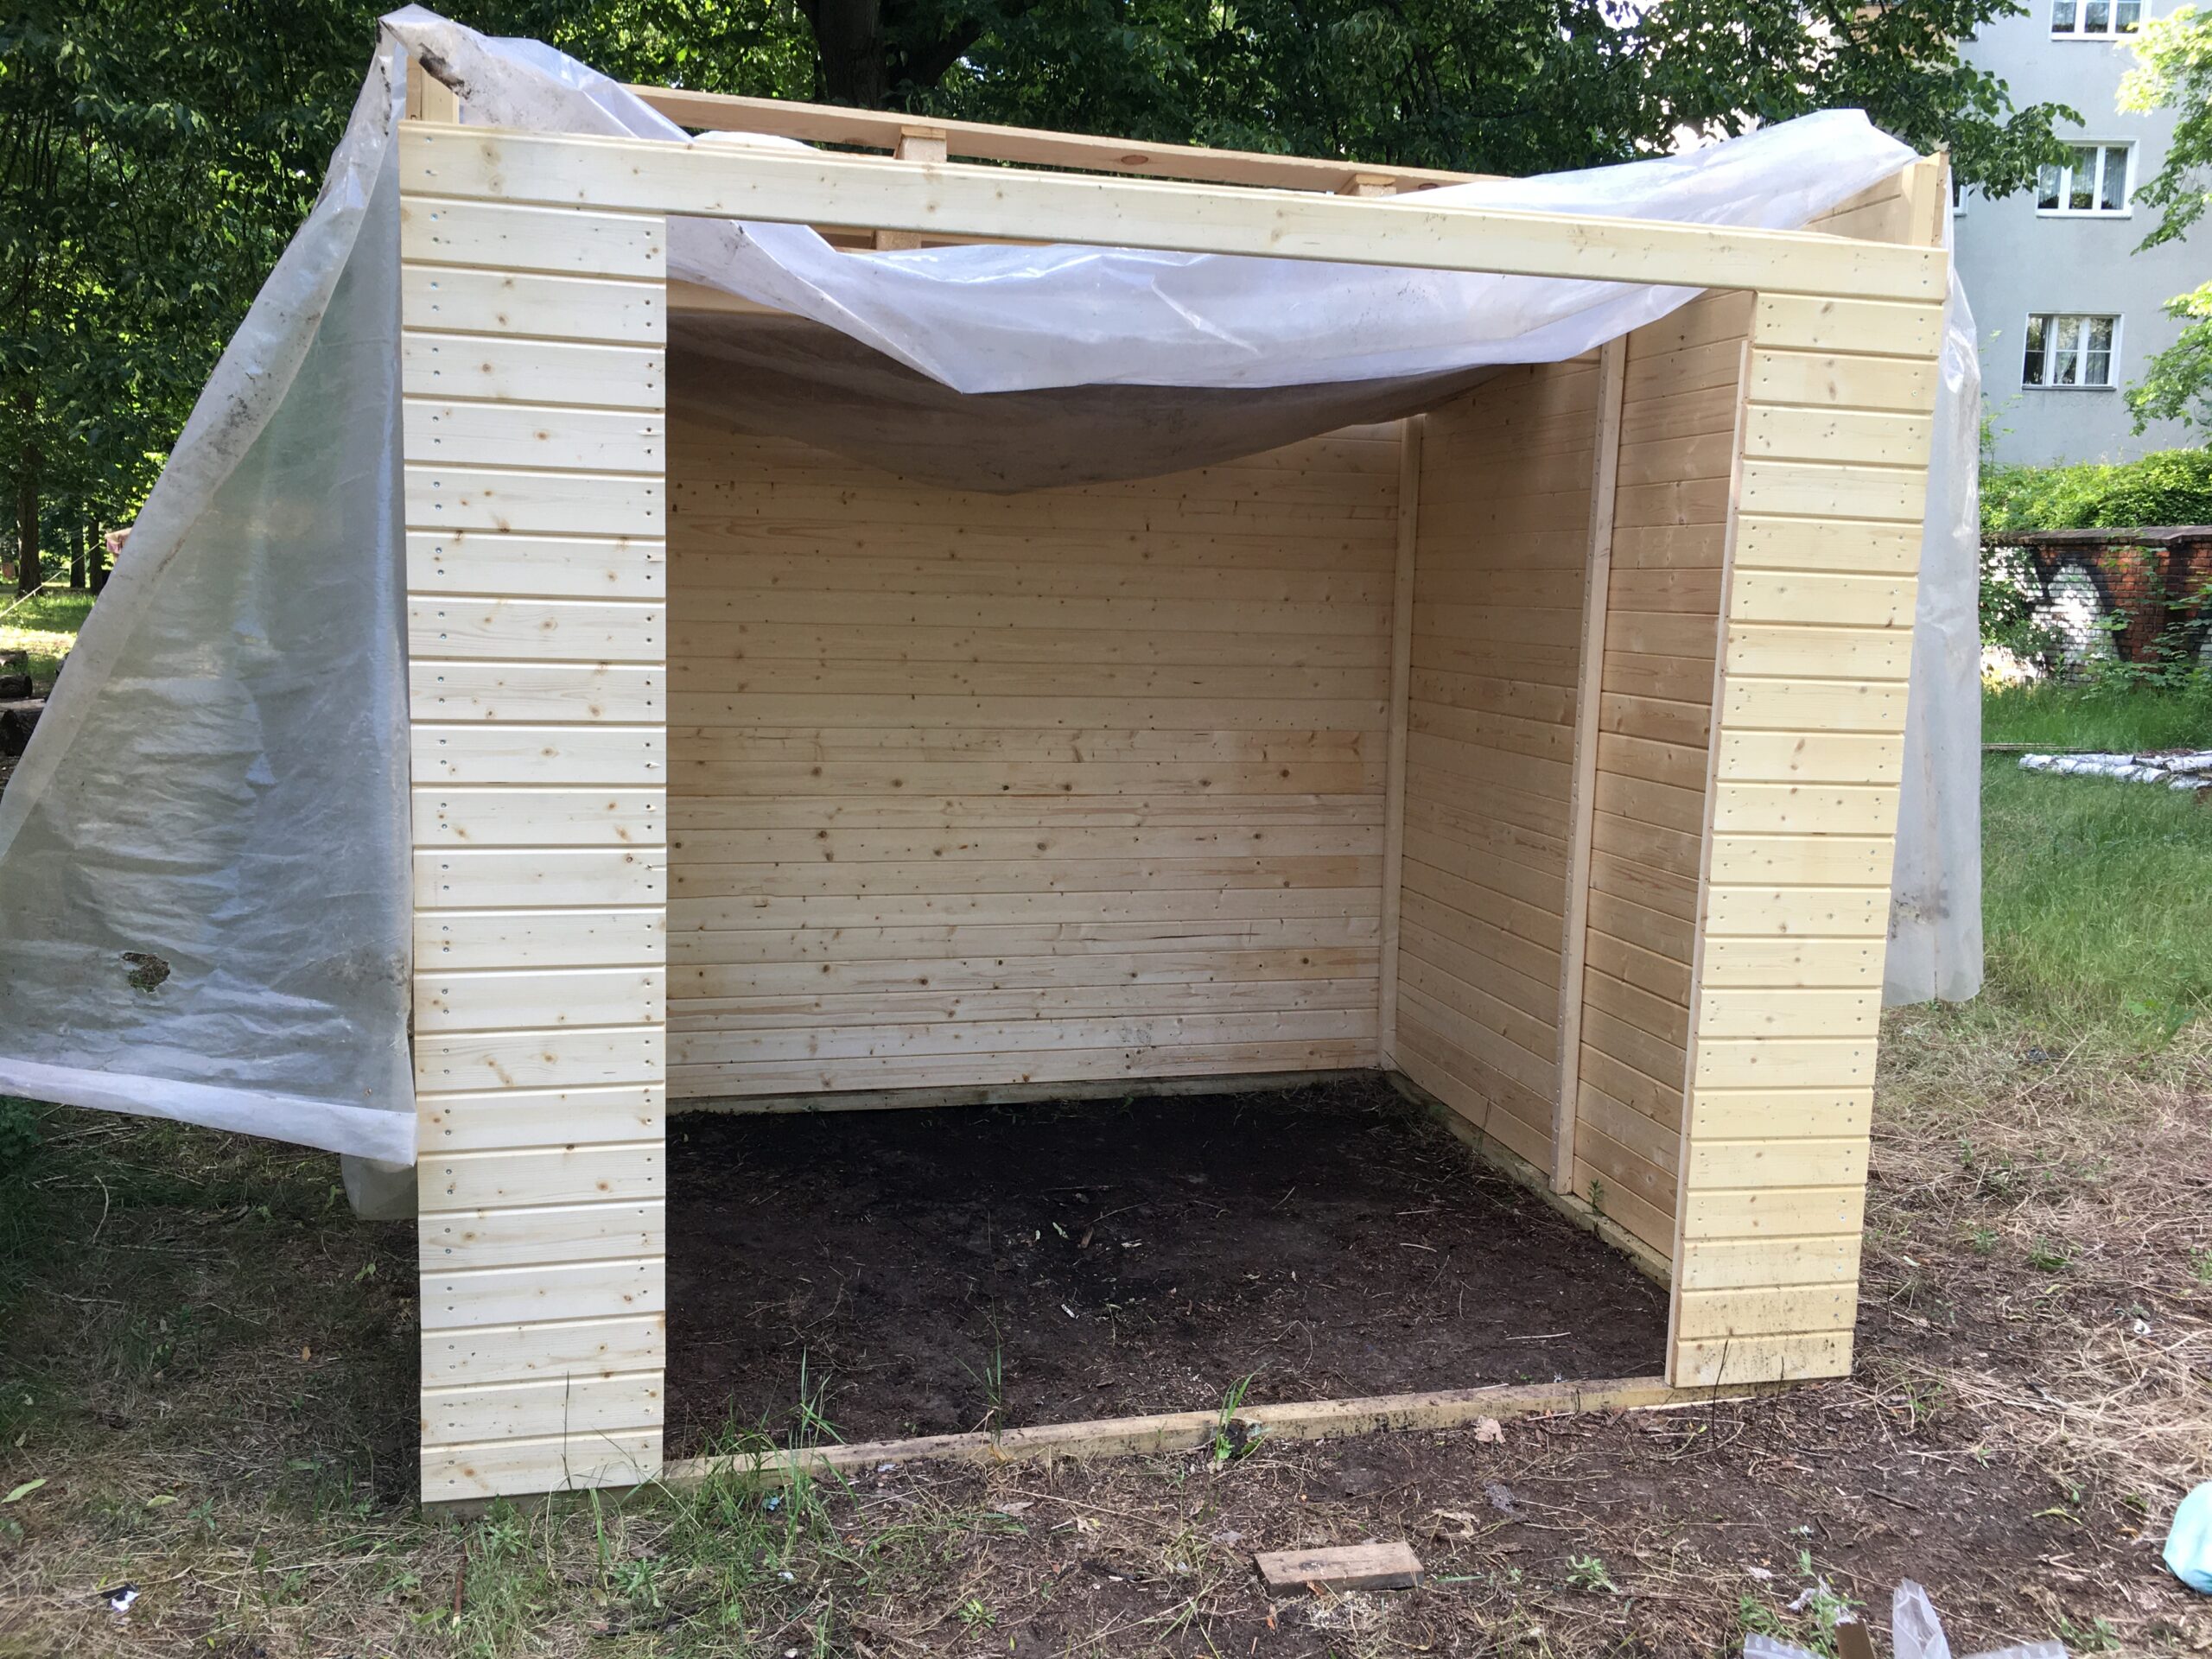
Rene came by and said “oh, it is big!”. Yes, somehow I also had this impression as well. It was bigger than I thought. On the other hand when 3 persons are standing inside, the shed feels already full. So if 2 or 3 persons works inside to dye with Indigo, it is a good idea that there are enough working space.
A neighborhood boy joined us shortly and helped us build the front wall next to the wall. It was a good electric drill practice. I forget about how exciting the electric drills are. I am sure if I could have used them when I was a child, I would have found it fascinating.
Then we discussed shortly, how people have built things before there was electric drills. We have been screwing down long screws whole day. I can not imagine how one would do this with hand screws. Of course i there were no electric drills, you do not plan to use screws to fix wood pieces, but use nails. But hammering is also not very easy and can get quite sporty. Or one can use Joining to get stable connections but it is a whole craftsmanship to learn. We had a moment of respect to the people of earlier times, and to our electric drills!
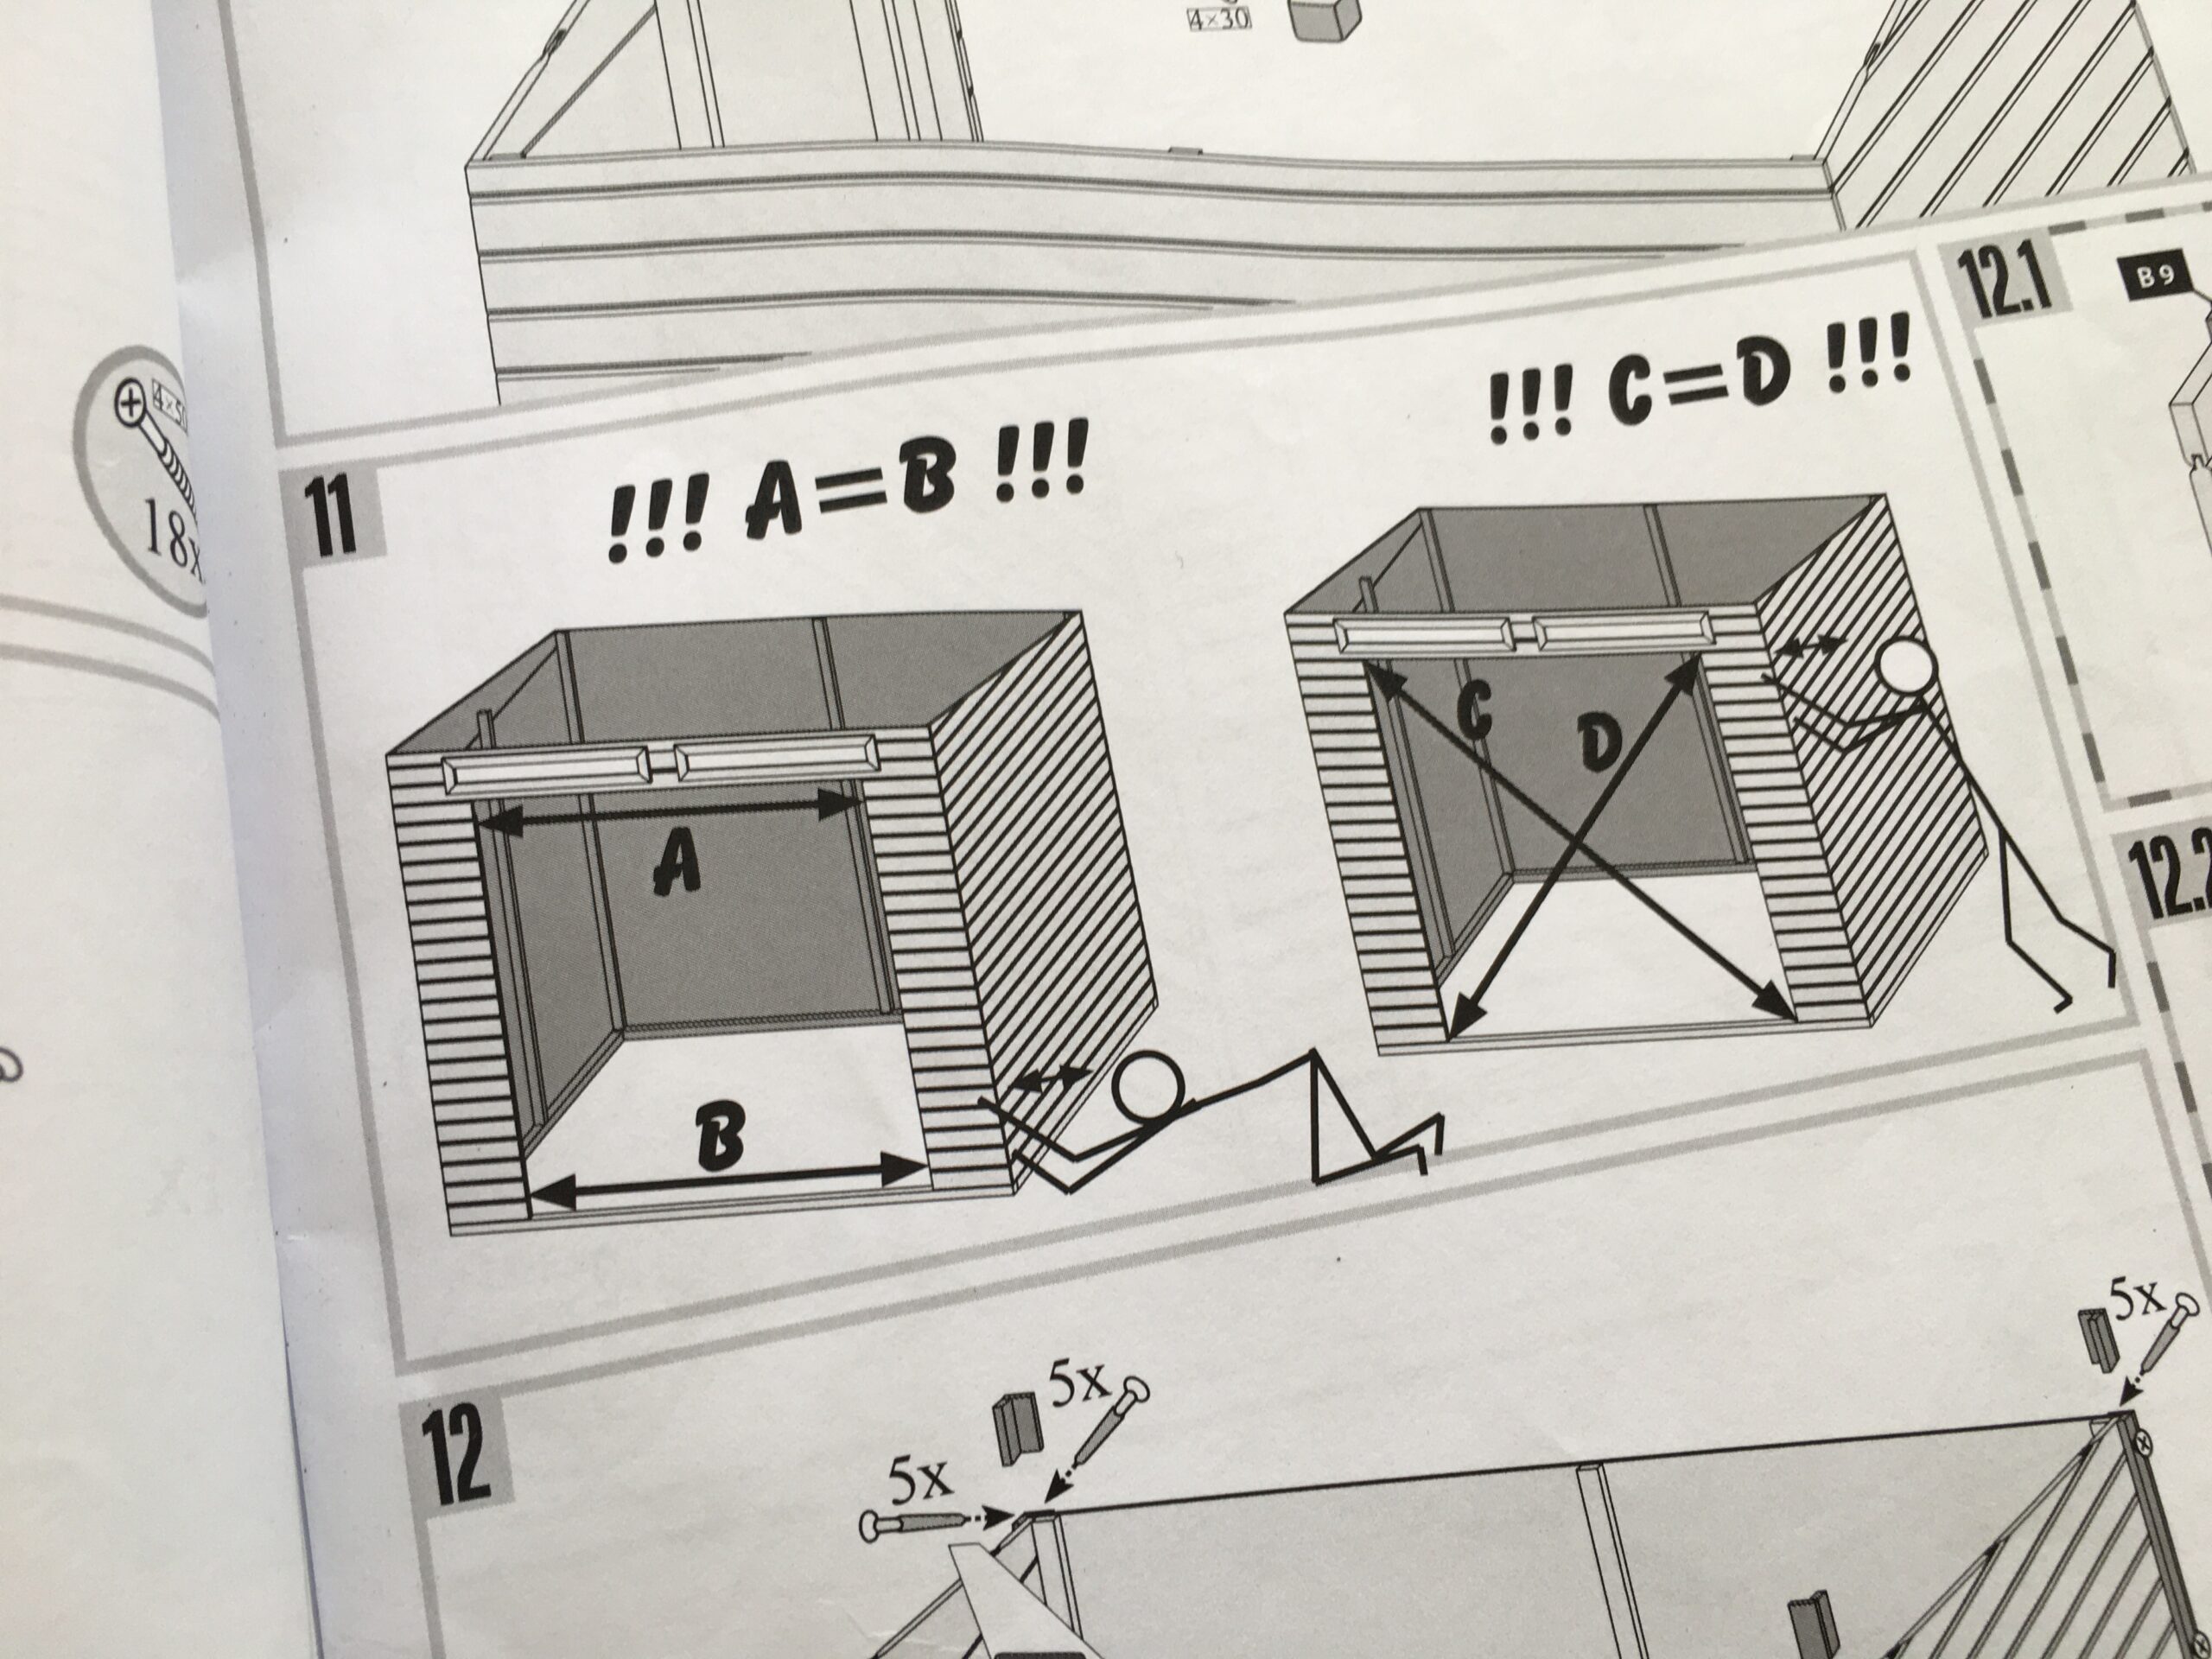
The most difficult thing was to get the entrance length and angles right. As we started to build the front wall, we noticed the entrance is not 90 degrees and top and bottom of the entrance is not in same length. It feels like the whole construction skews as you push one wall. One of us had to push or lean on the wall with the water leveler and keep the whole construction “straight” as the others screw in/out the walls to get the angles right. Finally we got the bottom of the entrance and top of the entrance as same distance as in the manual written “!!! A=B !!!”. We had to cheer at this moment, as you can imagine;)
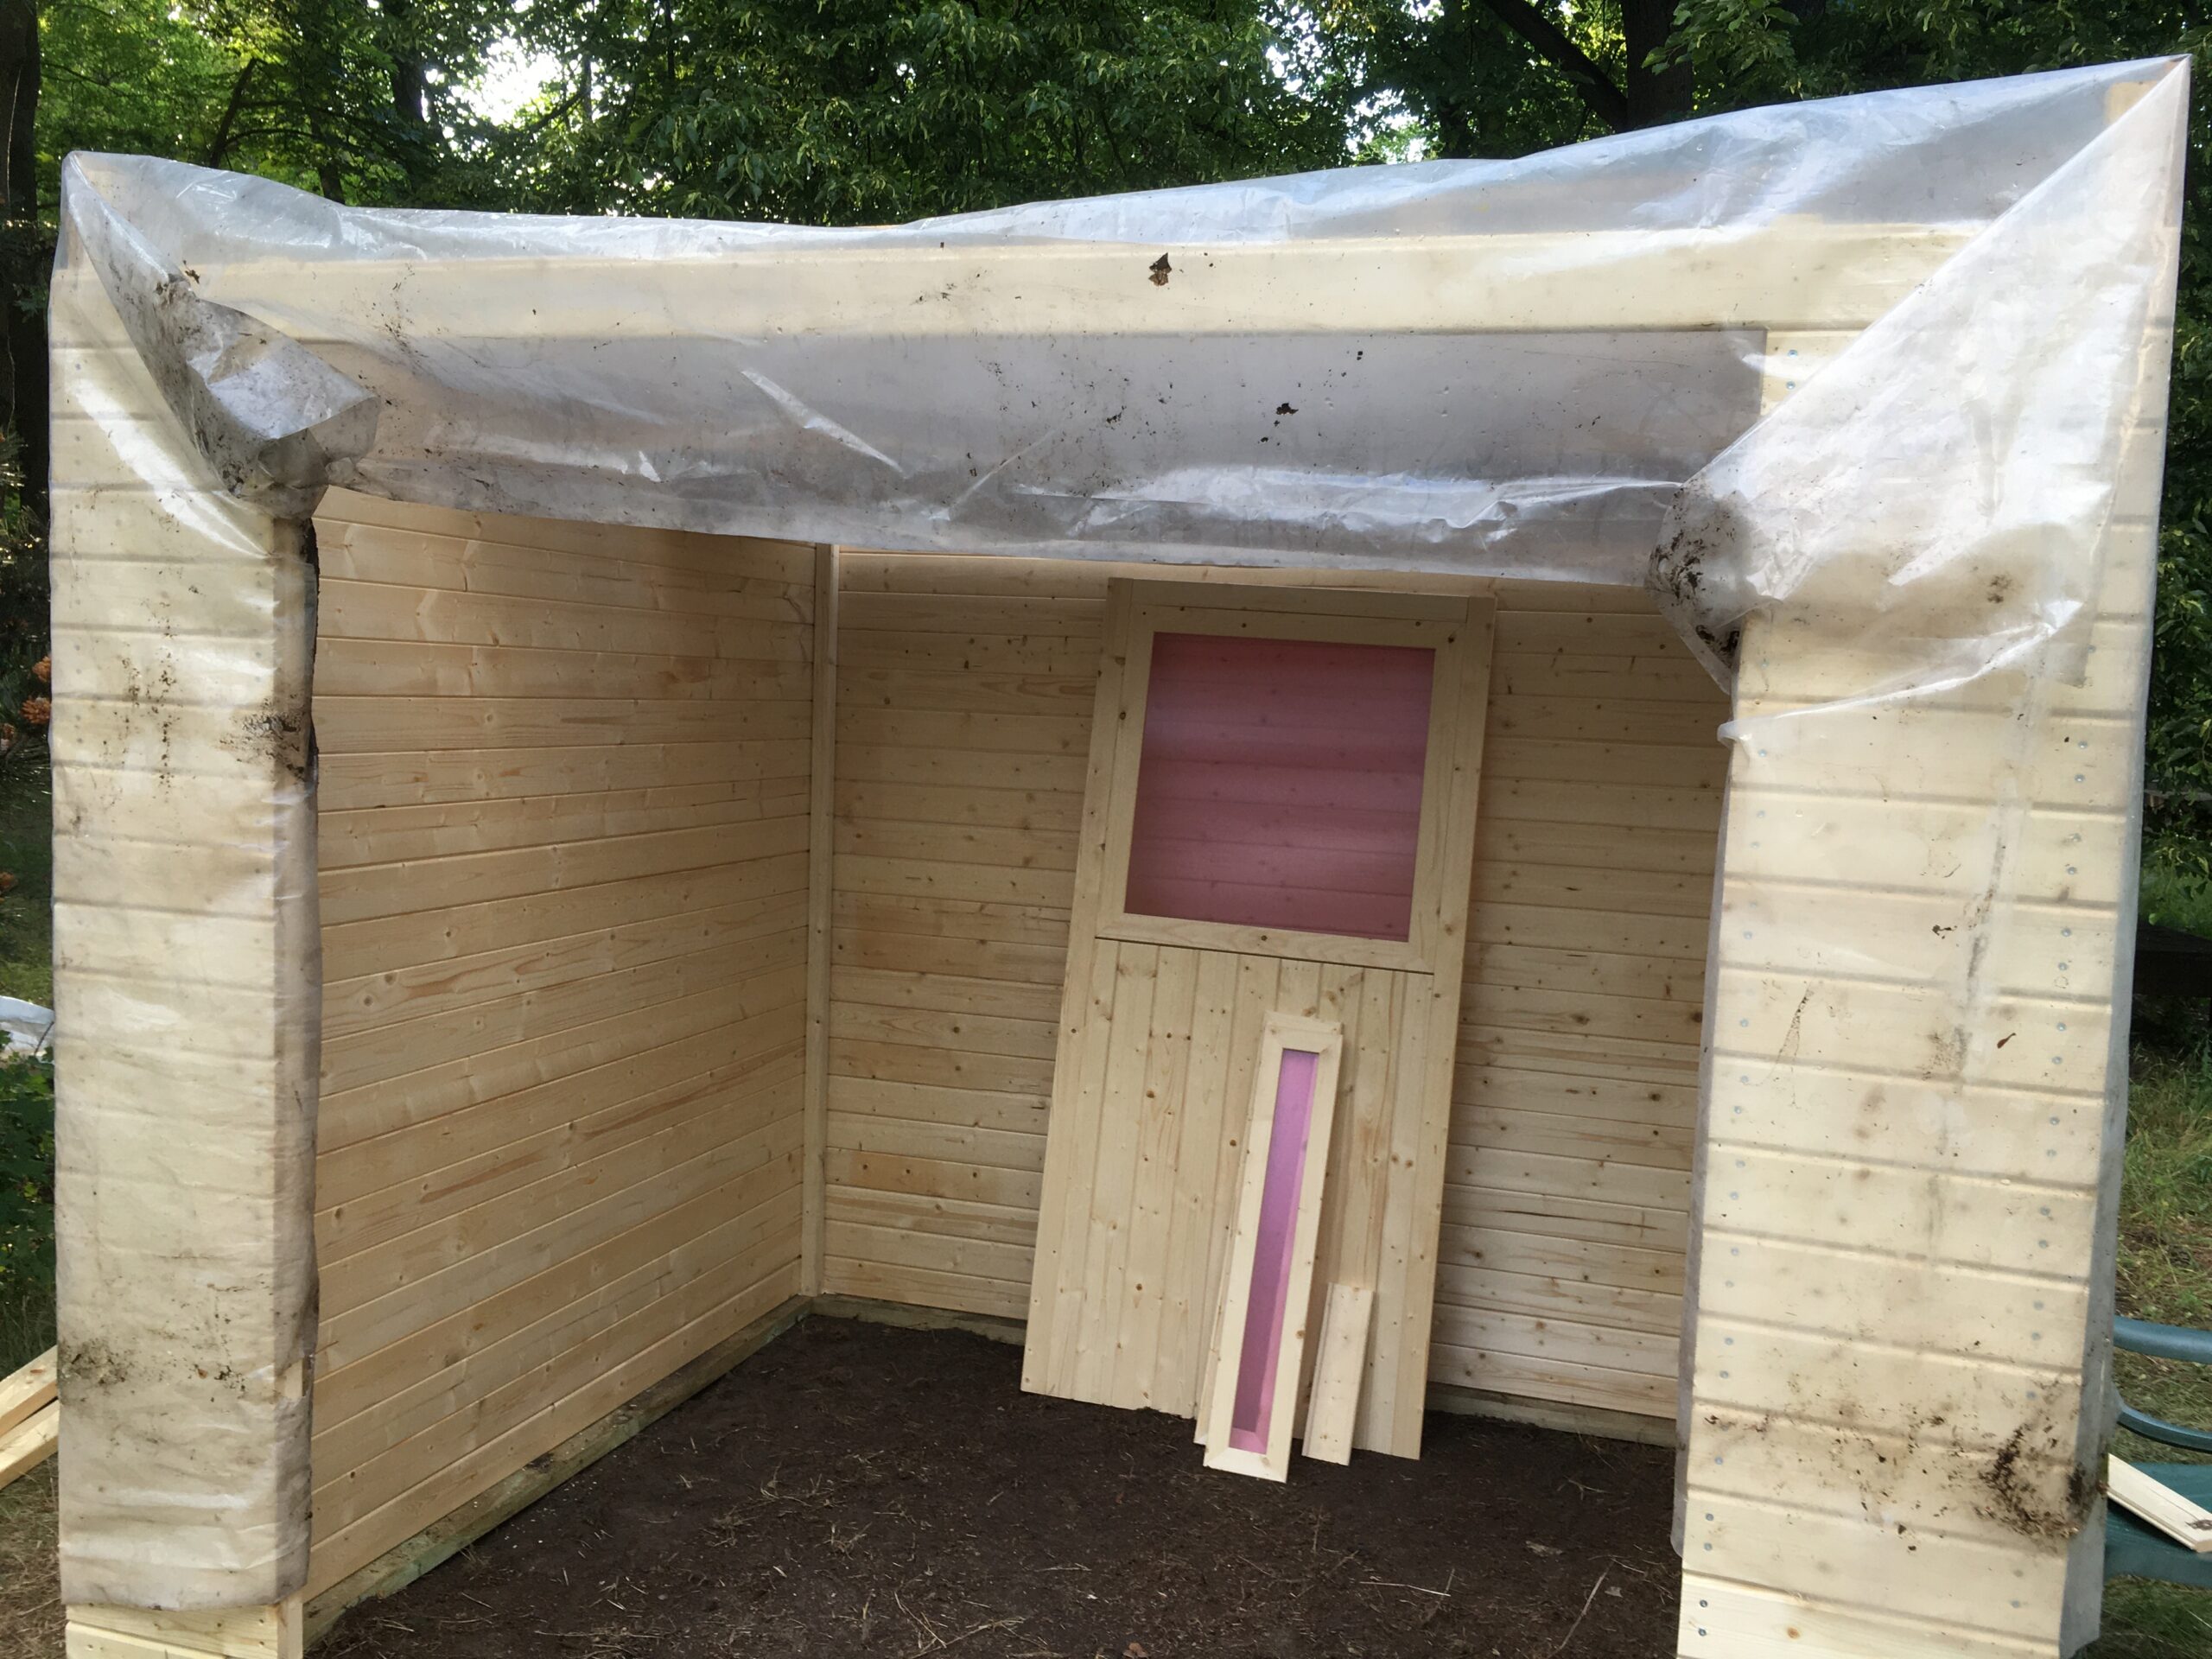
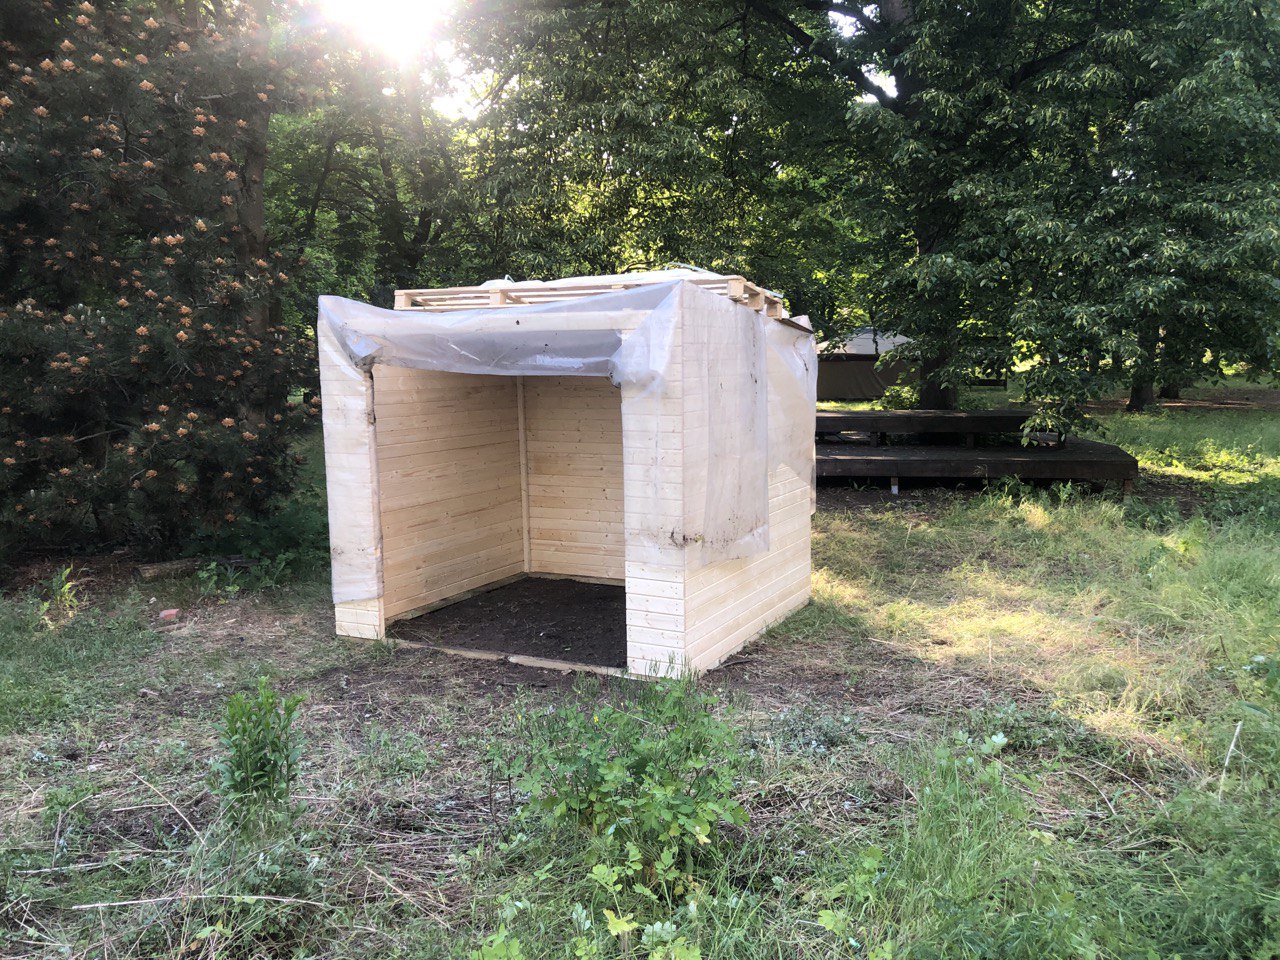
It was passed 18:00, everyone is tired and hungry. We did not manage to place the roof, but decided to stop for the day. We placed one of the ceiling beam and covered the whole construction with plastic foils. I hope this holds enough against the rain.
After storing all the not-yet used materials and placing the tools back, we headed home with a lot of muscle aches and hungry stomach. One step closer to the Natural dye house at the Elisabeet!
May 29.
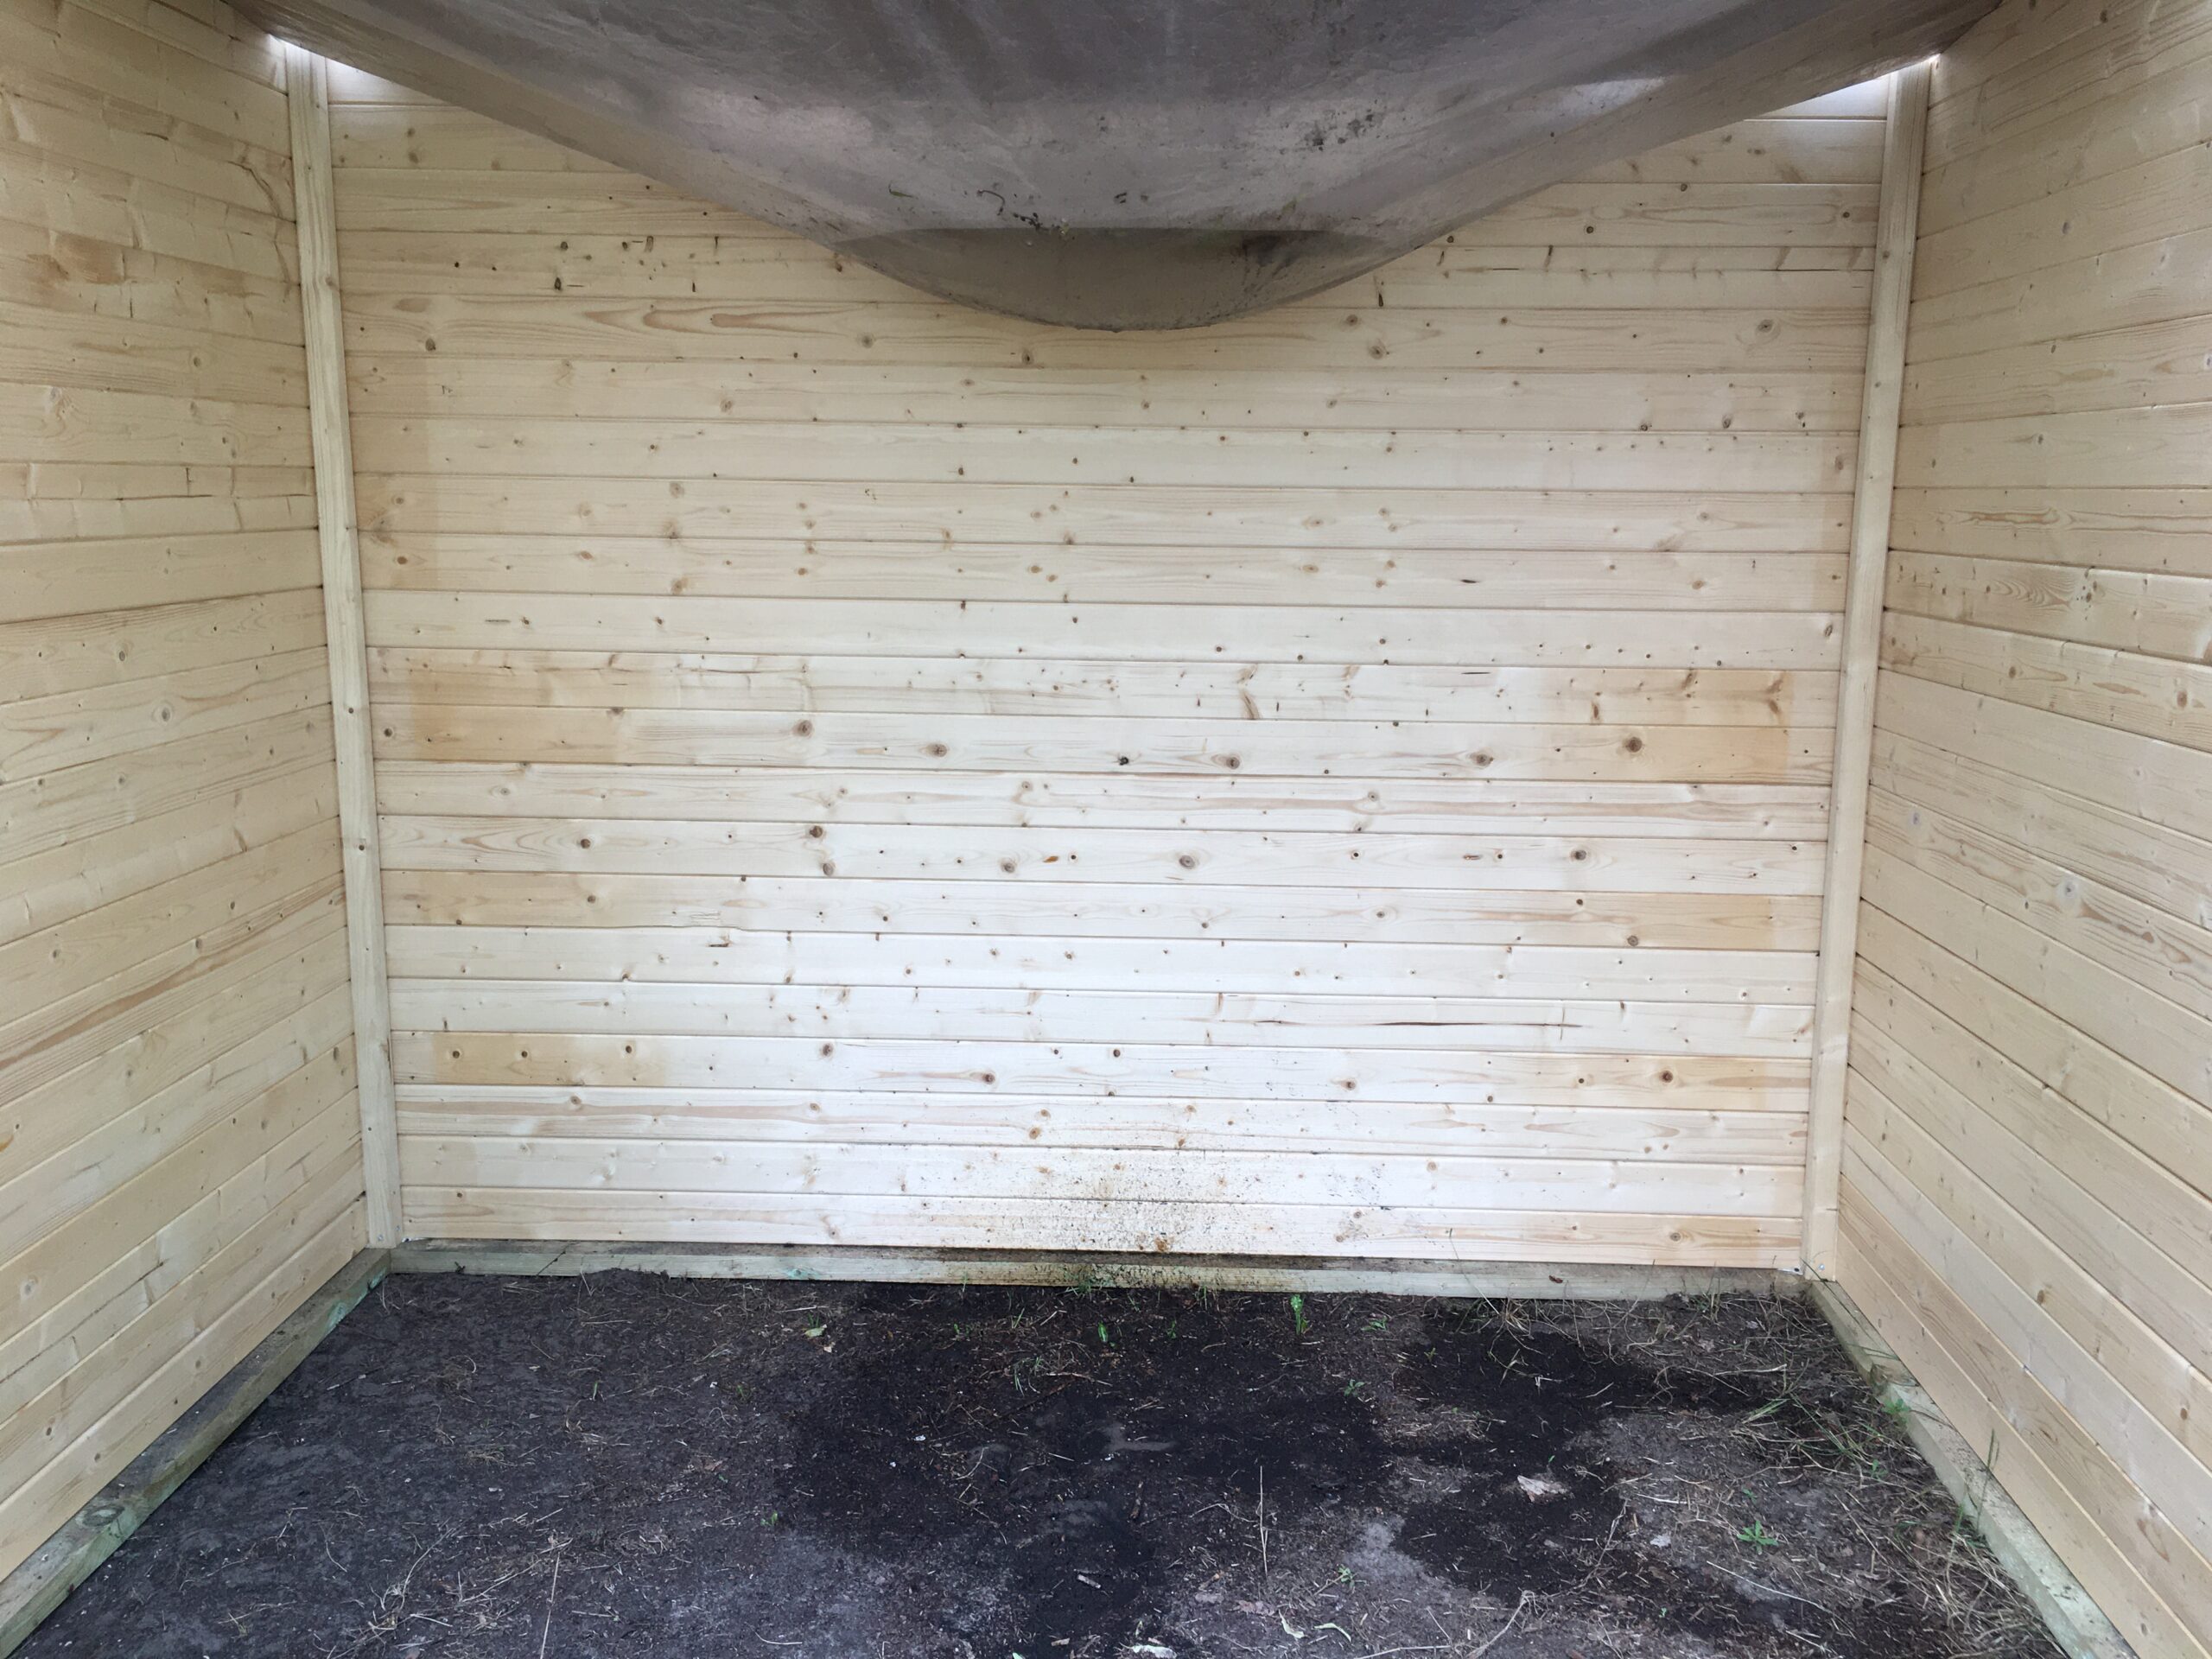
I went to check if the haus is still standing on Thursday. It is a national holiday in Germany. It is still standing, but it rained the last days and I see the plastic sheet we covered the top collected rain water and it is hanging in the middle. I let the water out by tipping the sheet and it splashed water inside. It looks quite messy inside.
My purpose of going there on off-day was to fix the mistake that was made in the 1st building session. We were supposed to use B6 wood to fix the short wall, but instead we use B16, which was supposed to be used to hold the middle of the wall. So I unscrewed the B16, replaced with B6, then placed B16 in the middle of the wall and fixed the wall… then I notice I did a bad job in fixing the wall. It went in too much and the end of the screw is coming out from the other side! I screwed them out but now it looks very ugly.
May 30.
This is the regular This is the regular Mitmachtag that volunteers come to the Elisabeet to work with vegetables and necessary tasks.
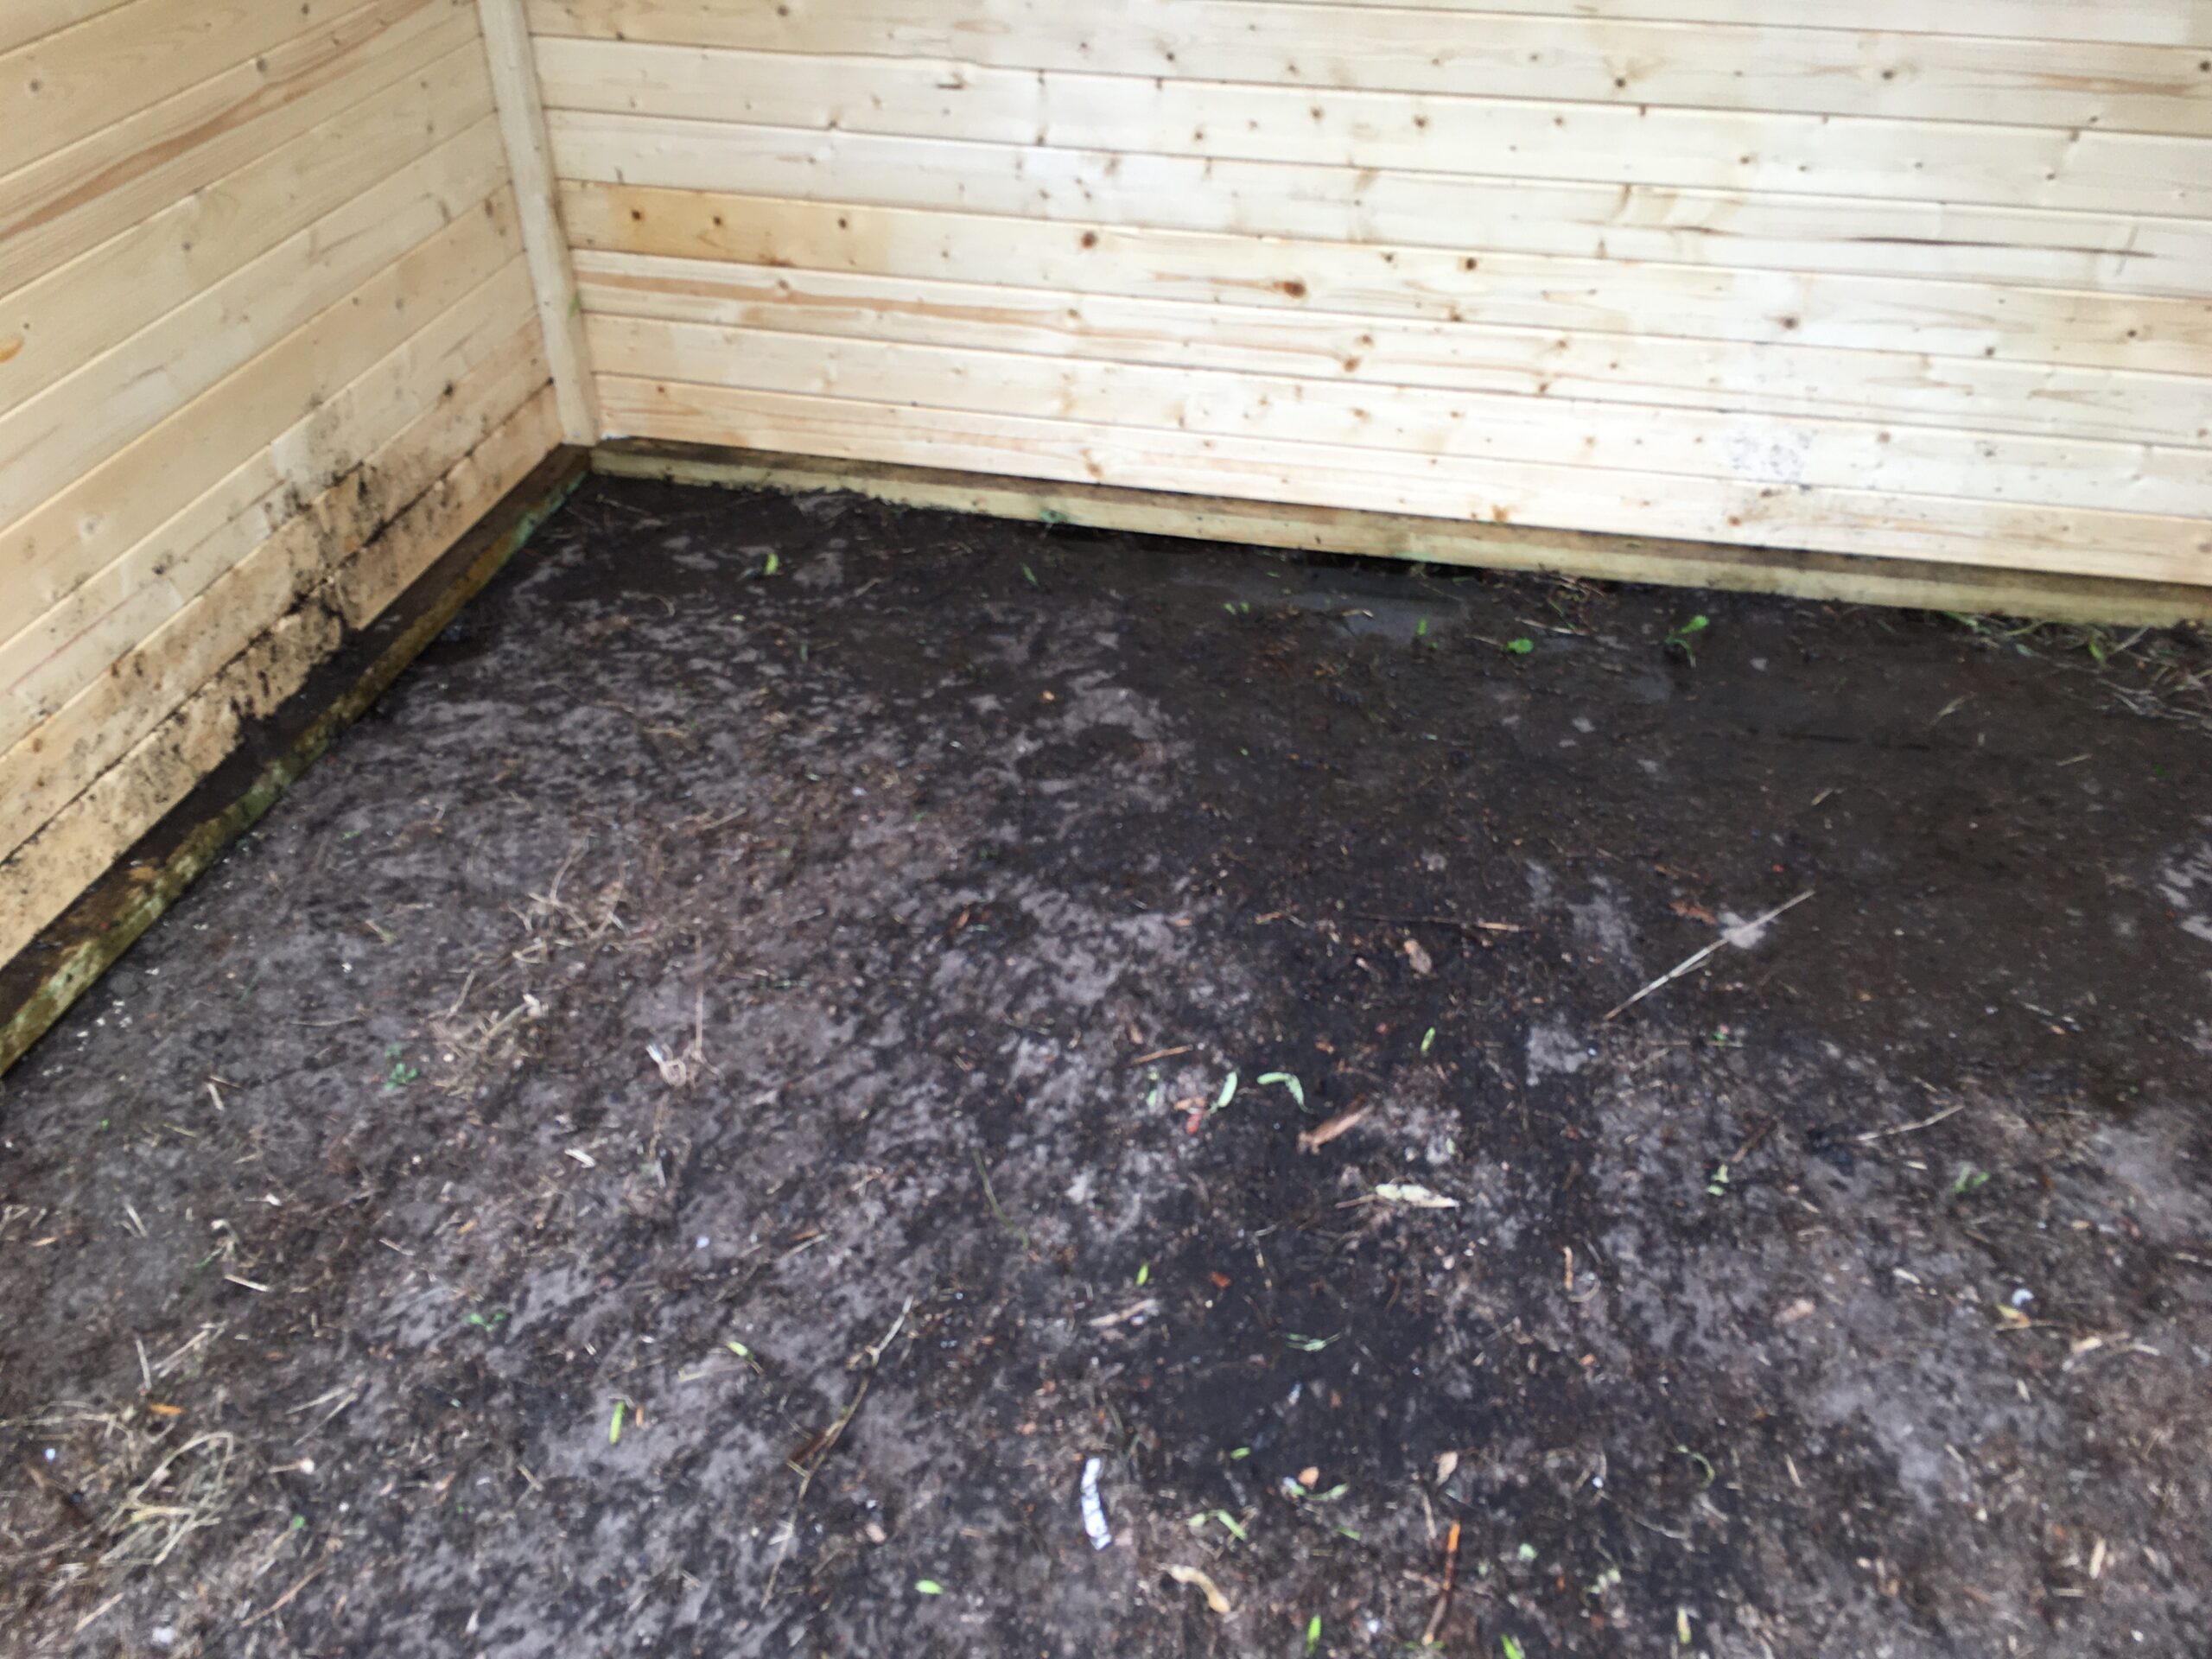
I started to wonder if it was a bad idea that we started to build the Gartenhaus directly on the soil and did not make any foundation. I started to ask Tobi and Max, who have built the Gartenhaus some years ago at the Elisabeet that is used as a tool shed. They said it was built on top of stone plats and wood beam foundation. The shed they built is still standing very stably until today. Aha, so probably we do need a foundation structure as well. Tobi suggested that we can use stone plates that is placed at the Friedhof garbage area. It is not clear what they were before but there are quite many of these ~60cm x 40cm x 5cm thick stone plates. This will make a good foundation. The only problem is that they are quite heavy. Toby and Max helped me to carry enough stones to the building site. We used an electric cargo bike of the Elisabeet to transport, which was super helpful. We still needed to load and unload the stones, which was a lot of work. (thanks Tobi and Max!). Afterwards, more people joined us to tilt the half built Gartenhaus so we can insert the stones underneath. We placed the stones all around the edge so now the Gartenhaus is standing on the stone. The only problem is that the stones are not leveled straight and the structure of the Gartenhaus is not standing on the stones straight and the weight is not distributed equally.
I regret that we did not plan the foundation from the beginning. If we lay the stones and leveled it first before building the structure… it would have been much easier… Well, it is done the way it is.. and definitely it is a good idea to have stones under the wooden structure.