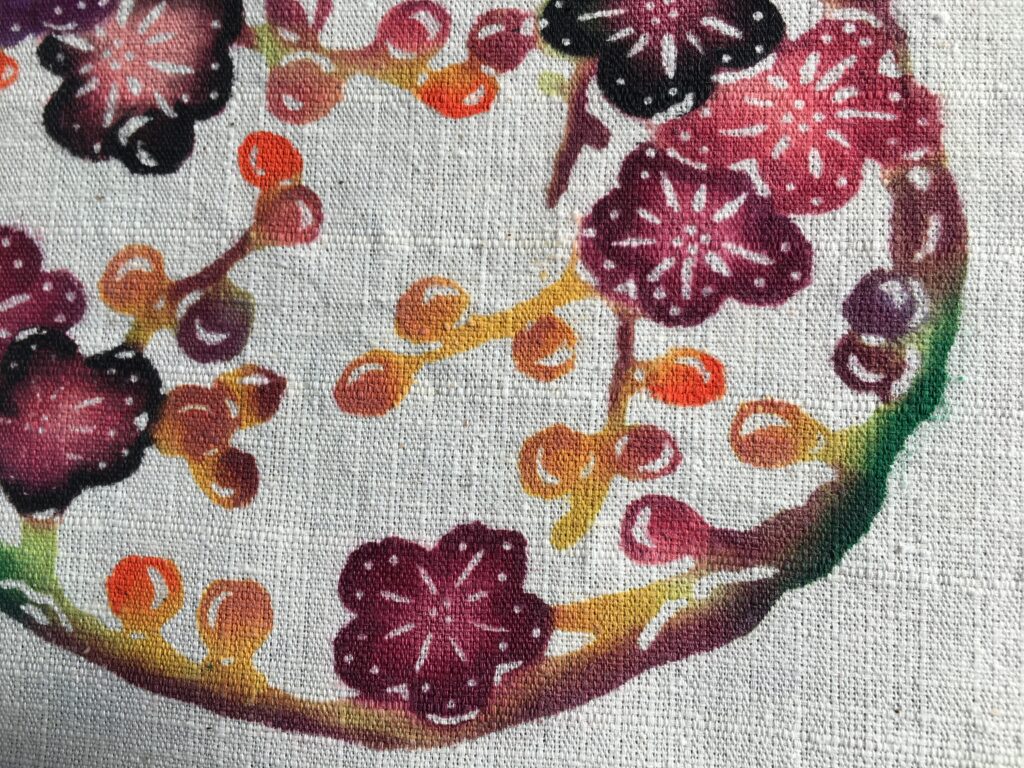
In 2024 February, I had a chance to stay in Ishigaki Island, Japan and took a Bingatazome 3 days workshop from Akira Takashina at the Rampu Koubou. Bingatazome is a traditional fabric pattern dye technique from Okinawa region. Bingata also uses Kata stencil to place resist on a fabric, then color the remaining pattern with mineral based color with characteristic gradation color.
Ms. Takashina also glows and dyes with Indigo, but as it was in the winter season, she has already finished the indigo crops from the last year and indigo workshop was not available unfortunately. My motivation to take this workshop was of course to experience the Bingata, but particularly to see the proper Kata stencil making process and compare with our DIY method we developed for the Indigo Hyphae project.
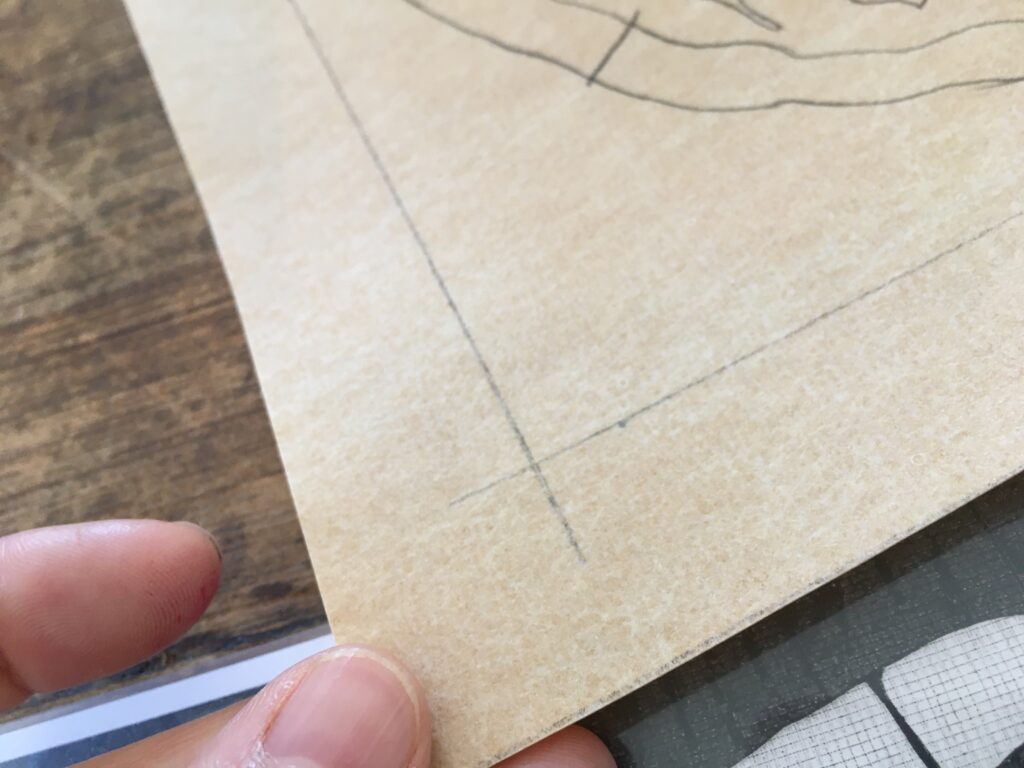
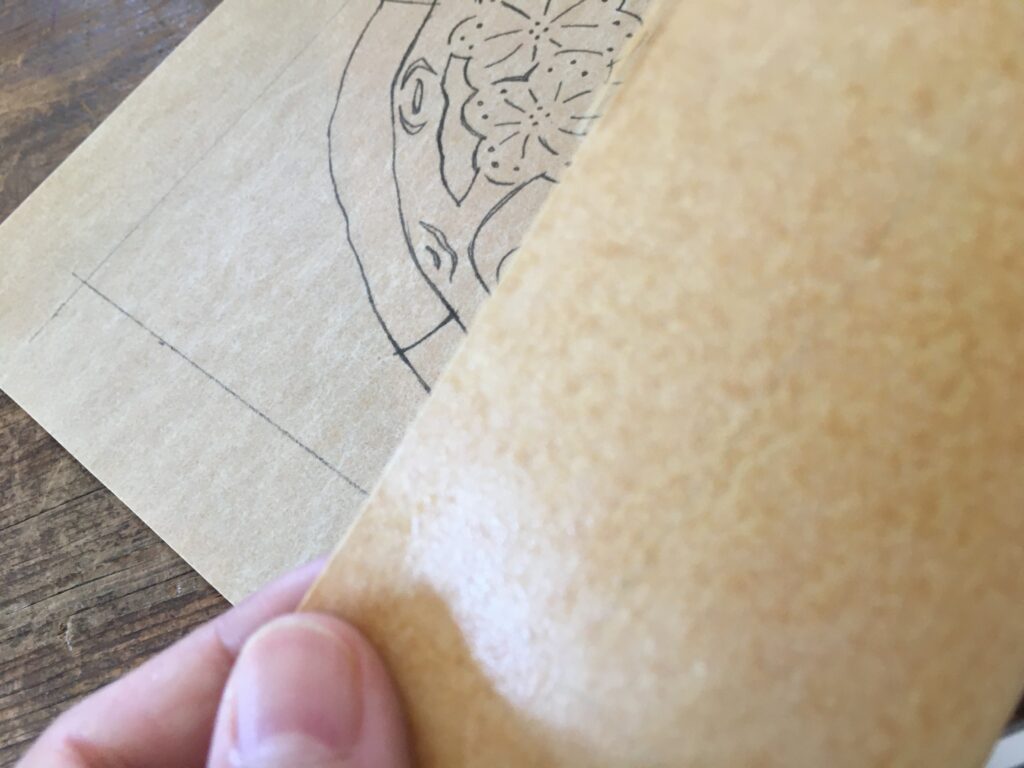
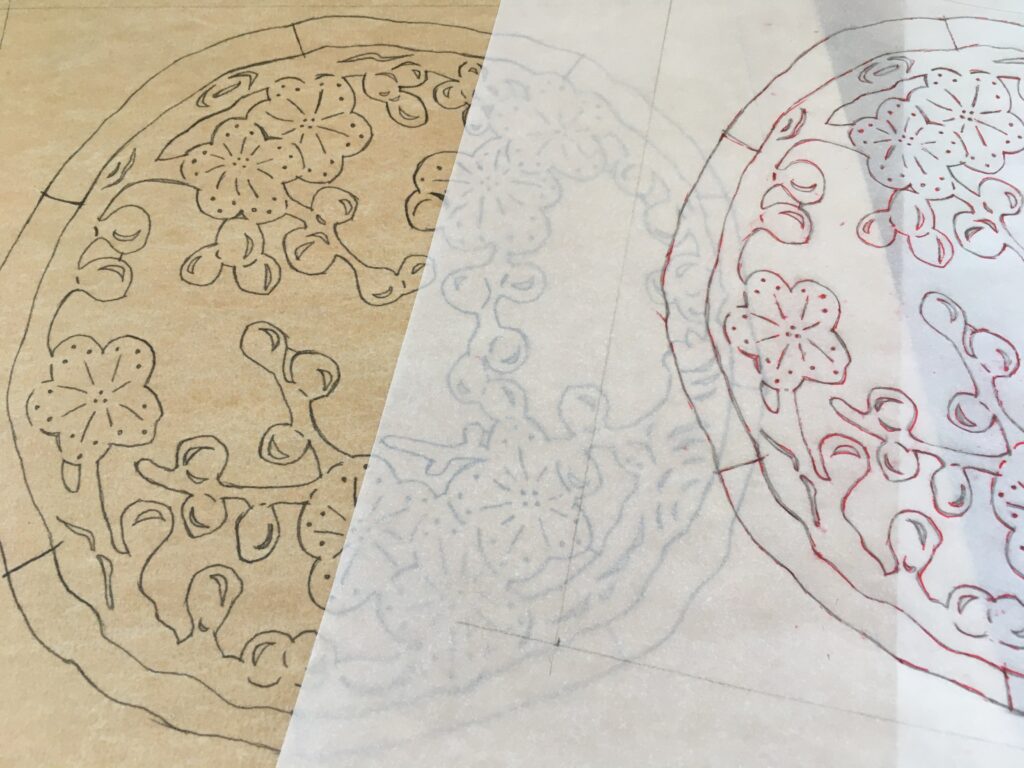
The kata stencil is made with Yo-katagami N. It is really hard to tell what exactly it is. The base is some kind of paper, but coated on both side. It is water resistant so it can be wet and washed many times without getting damaged or deformed. It has sides. The shiny side is the back side.
I was given the “workshop pattern” of plum blossoms. The pattern was copied first to tracing paper, then copied onto the Yo-katagami by using carbon paper.
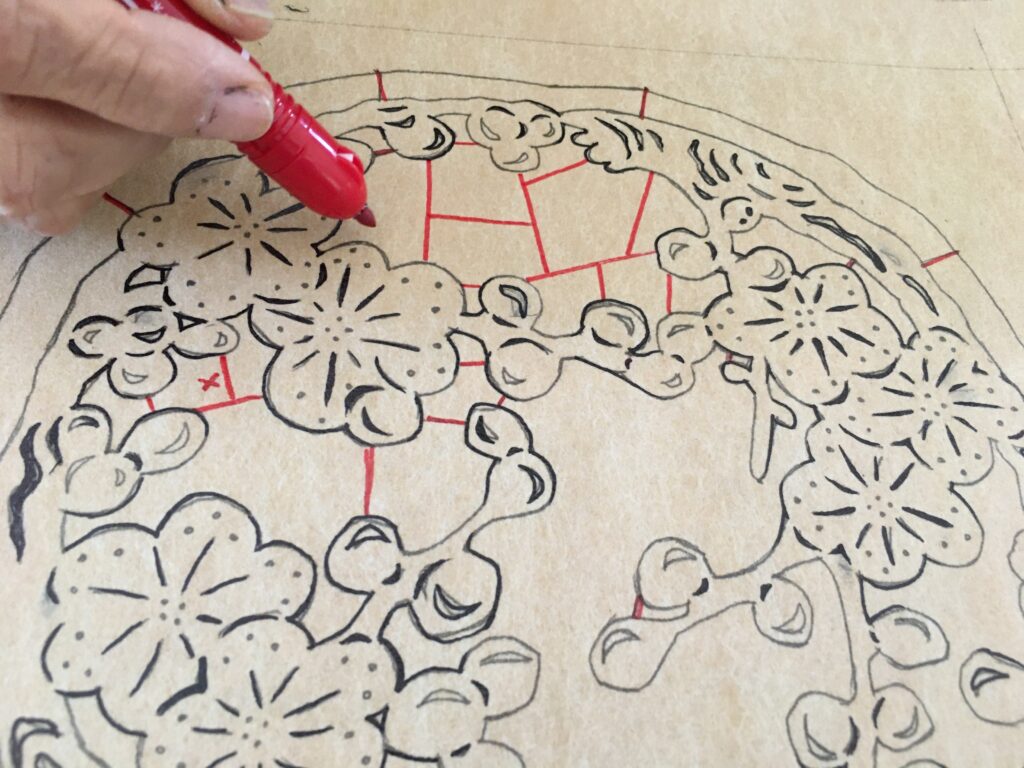
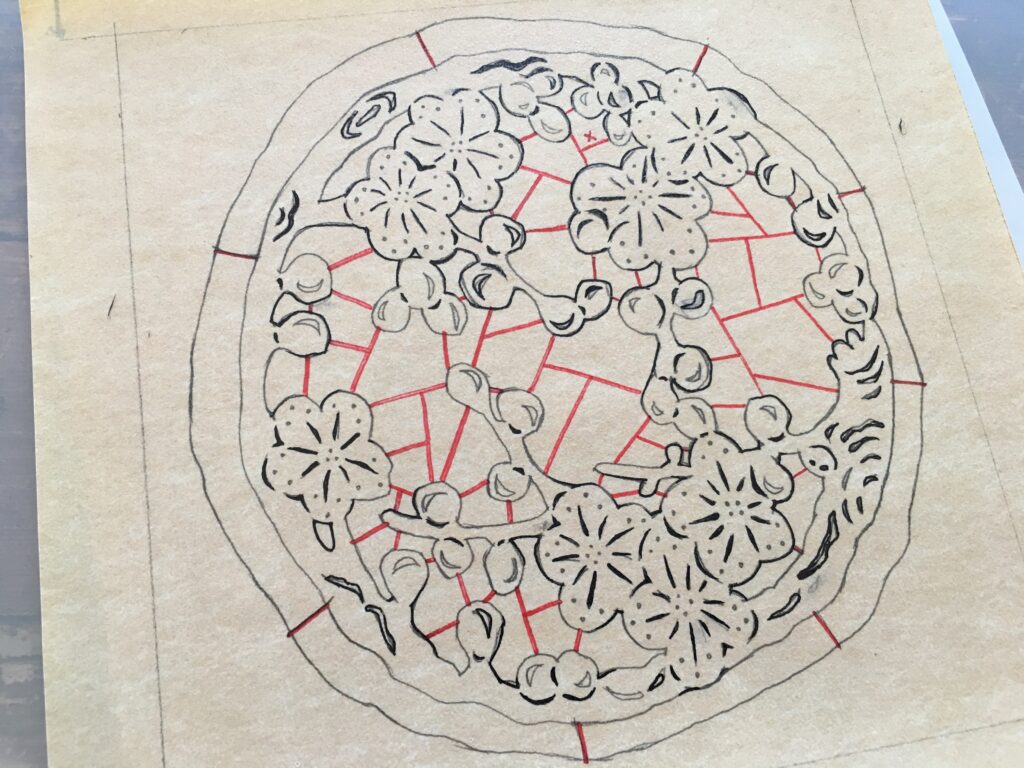
Then add “bridges” or “support” for cutting with a red marker pen. This is like the support material for 3D printing. It helps to keep the pattern to “float in the air”, meaning to leave the shape that is not attached to the frame. The support material will be taken out at the end of the stencil making and do not play a role in the pattern itself.
Now it is time to cut the kata stencil. The traditional way to cut bingata is called Tsukibori, which is to move the knife like stabbing the paper, and not to slide the knife to cut. The Tsukibori technique is too difficult to master in a shot workshop, so instead we use normal knife and cut the stencil paper in “normal” ways. The knife we used is the normal design cutter from Olfa. One tip from the teacher is to change the blade often enough. It is better to use sharp blade than struggle with not well cutting knife. The traditional stencil curver used dried tofu as a cutting mat to protect the blades. We used rubber cutting mat instead as the modern alternative.
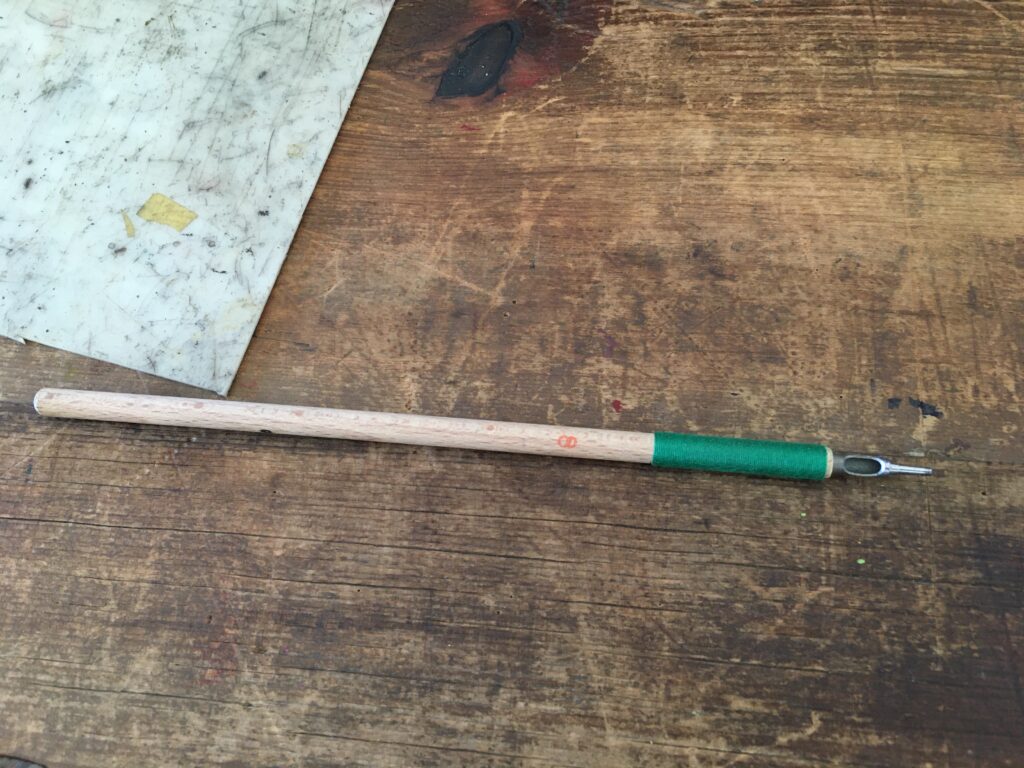
To cut out the small circular shapes, there is a special round cutter for kata/stencil cutting called Marutou (picture below in the center). The one I used is Np.8. This knife is sold at the Katazome equipment shops and is quite expensive.
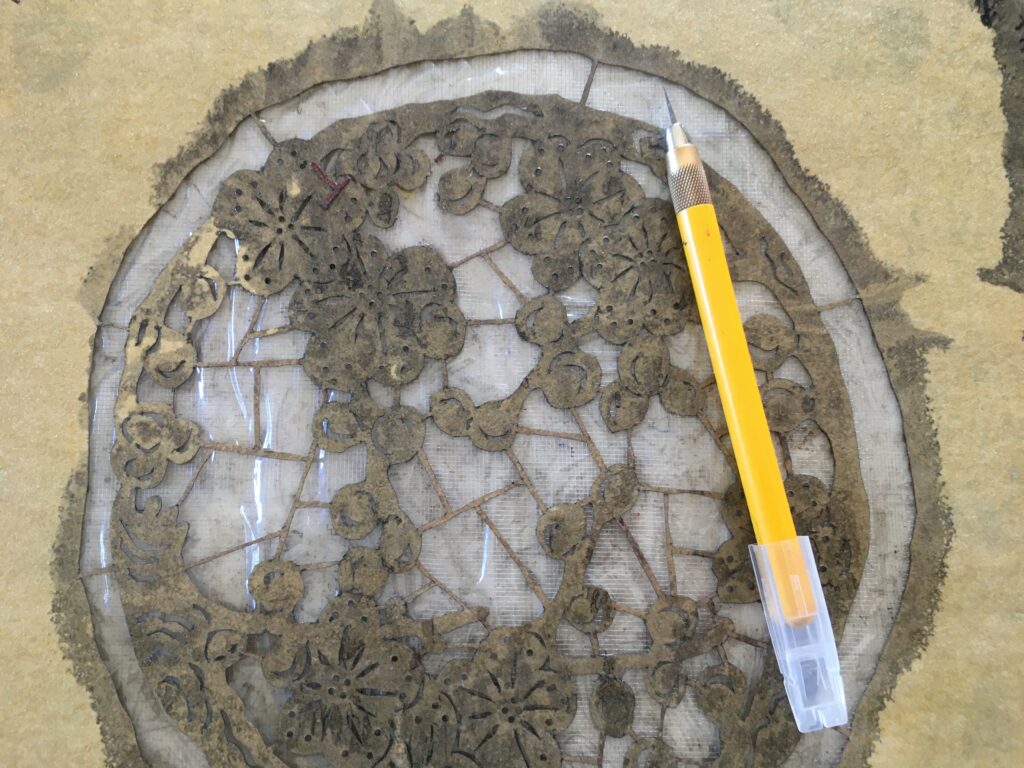
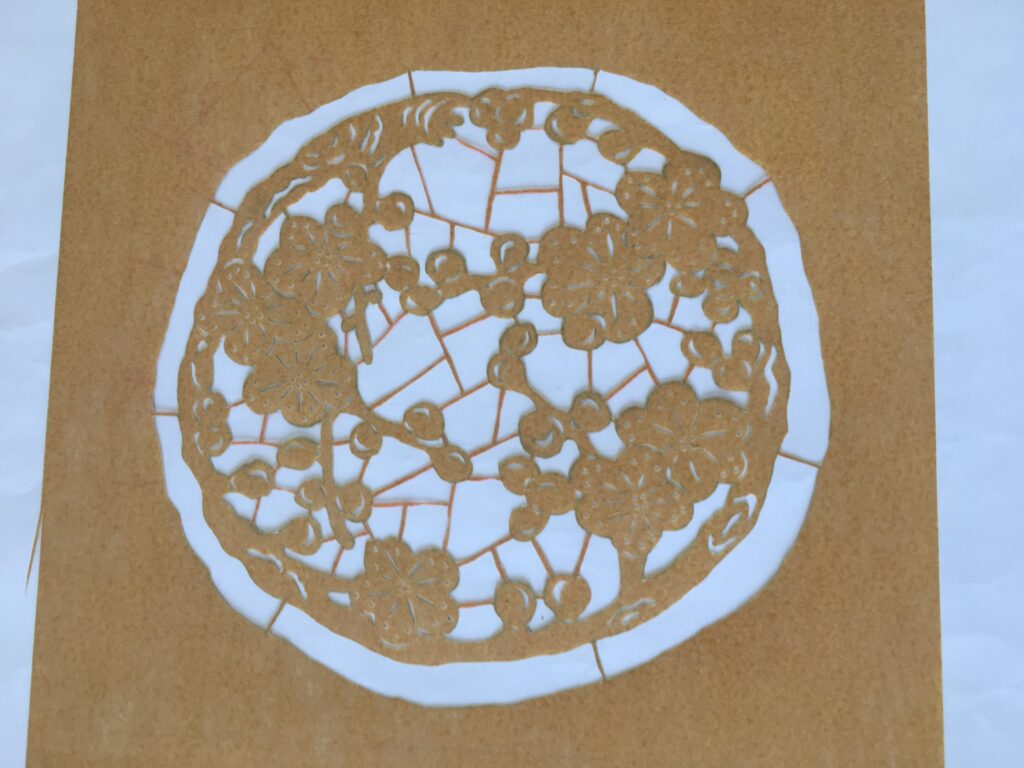
After finishing off the stencil cuts, it is the time to add screen/紗 onto the stencil. There are synthetic fiber screens (Tetoron Gauze) and silk screens that can be used for kata stencil. We used the Tetoron screens.
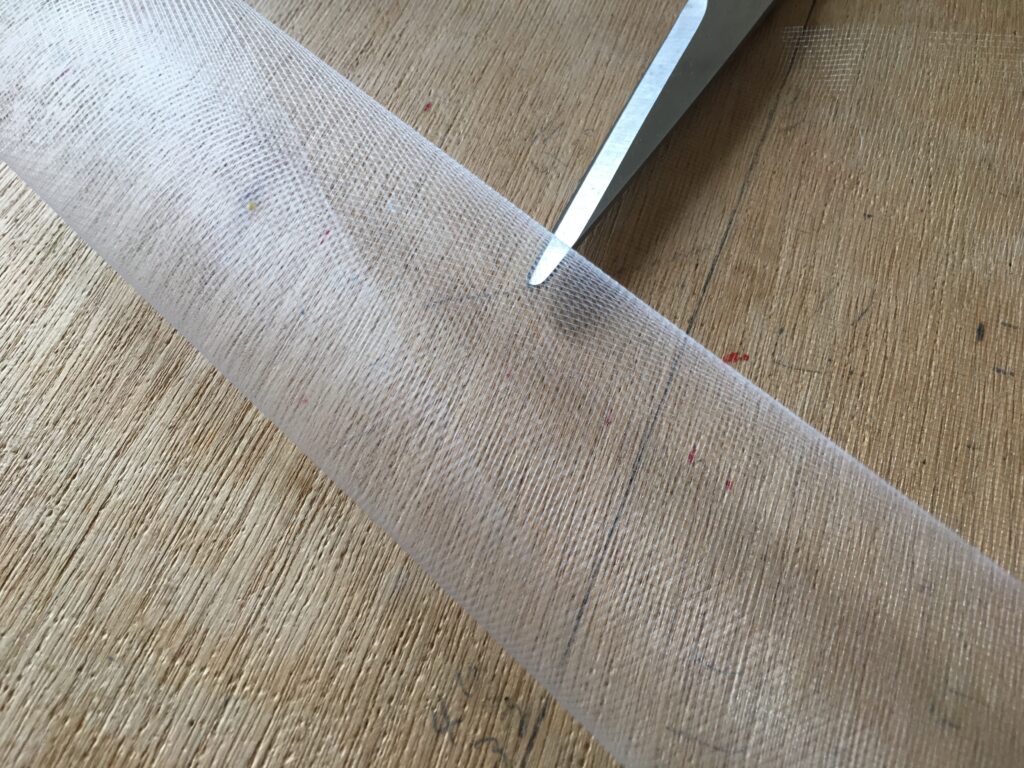
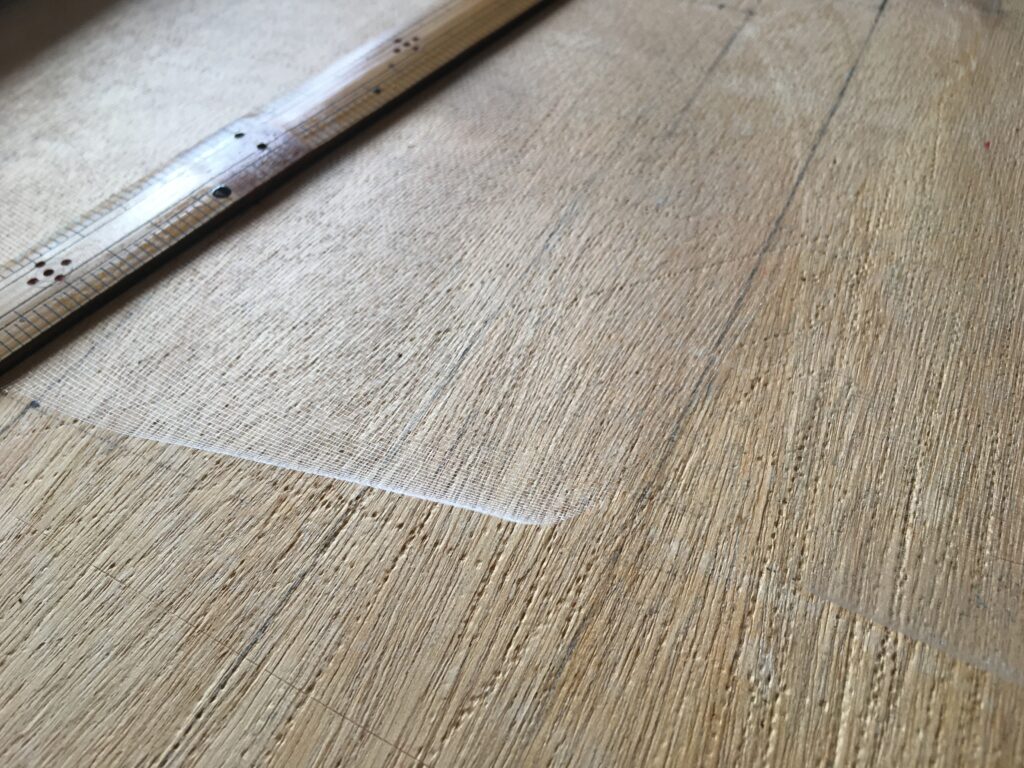
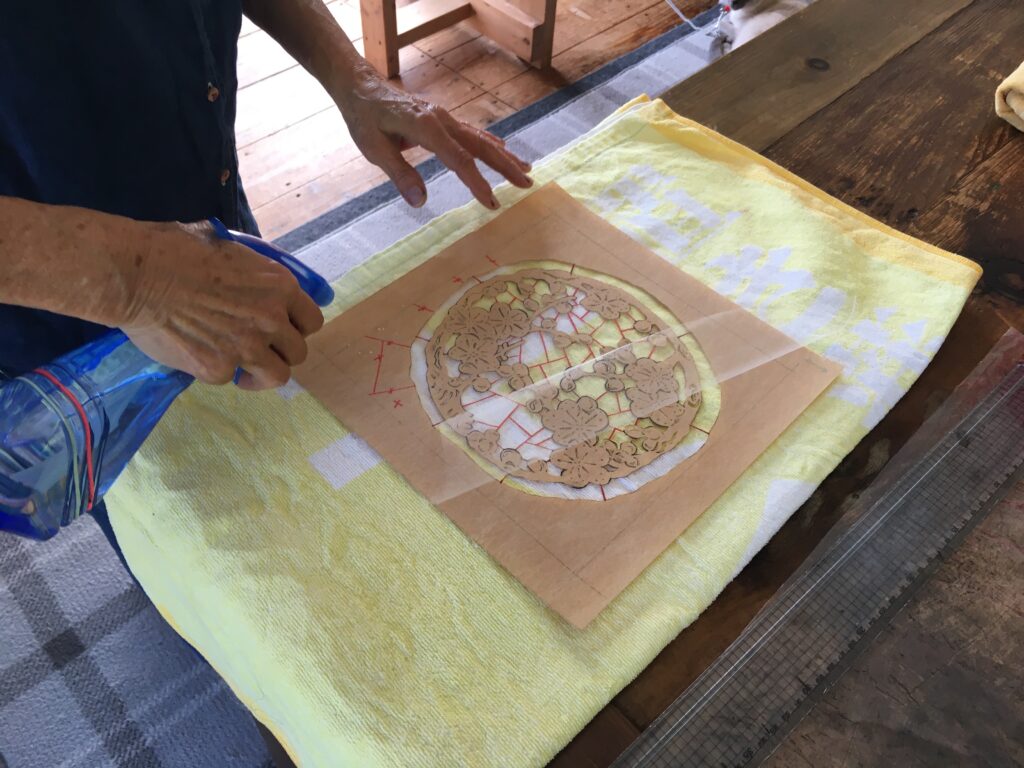
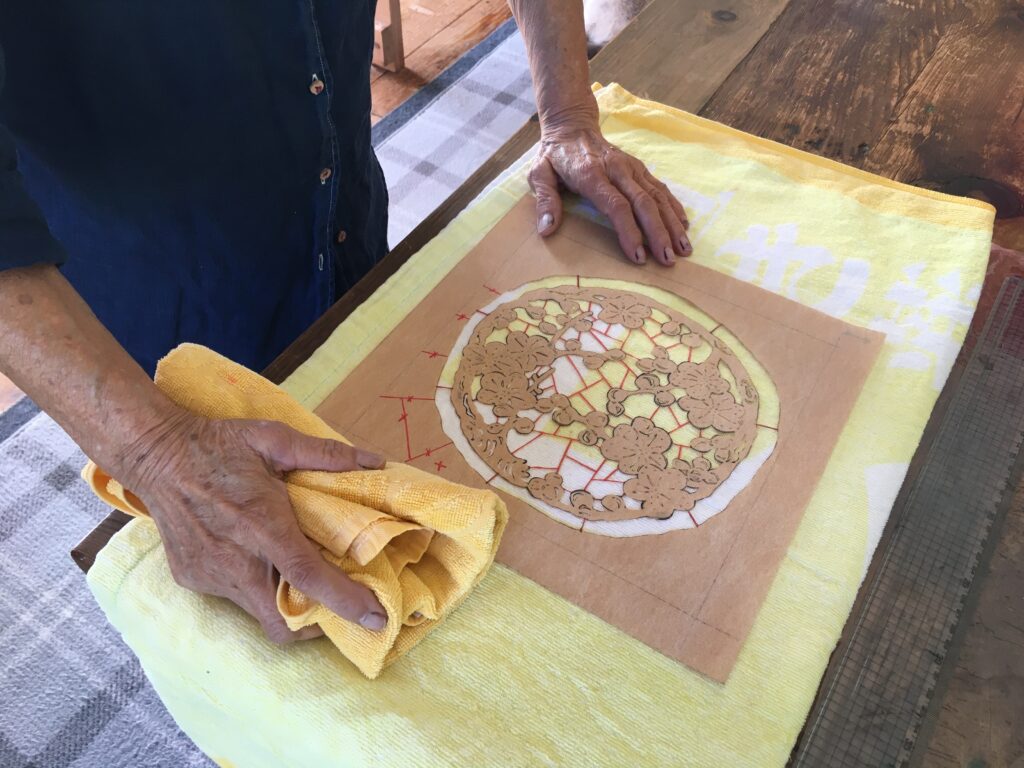
First, cut of the screen in the size of the stencil. Place the stencil with the front side up on a towel and place the screen on it. Spray on water so the screen sticks onto the stencil. Press with a towel to remove extra moisture.
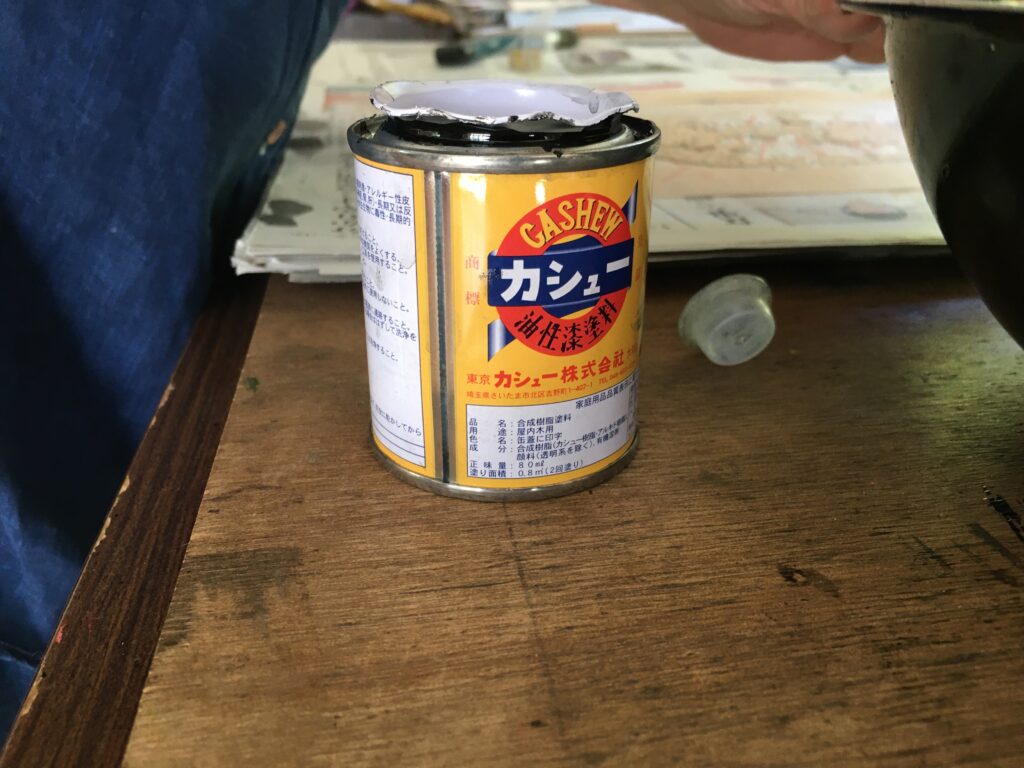
Prepare the glue. The glue is called Cashew, which is a synthetic Urushi glue. So far, I only found this in Japan sold from the Cashew company and not in anywhere else. For this size of stencil, you need small tea spoon of cashew with 3 times more paint thinner. Mix them well before using it.
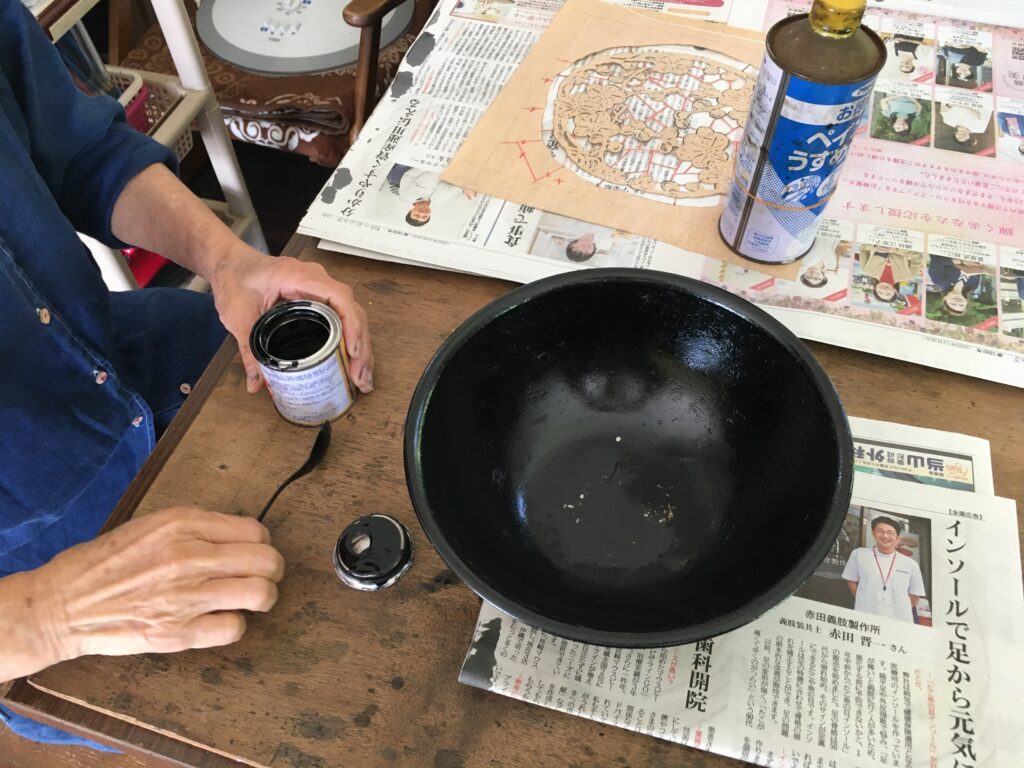
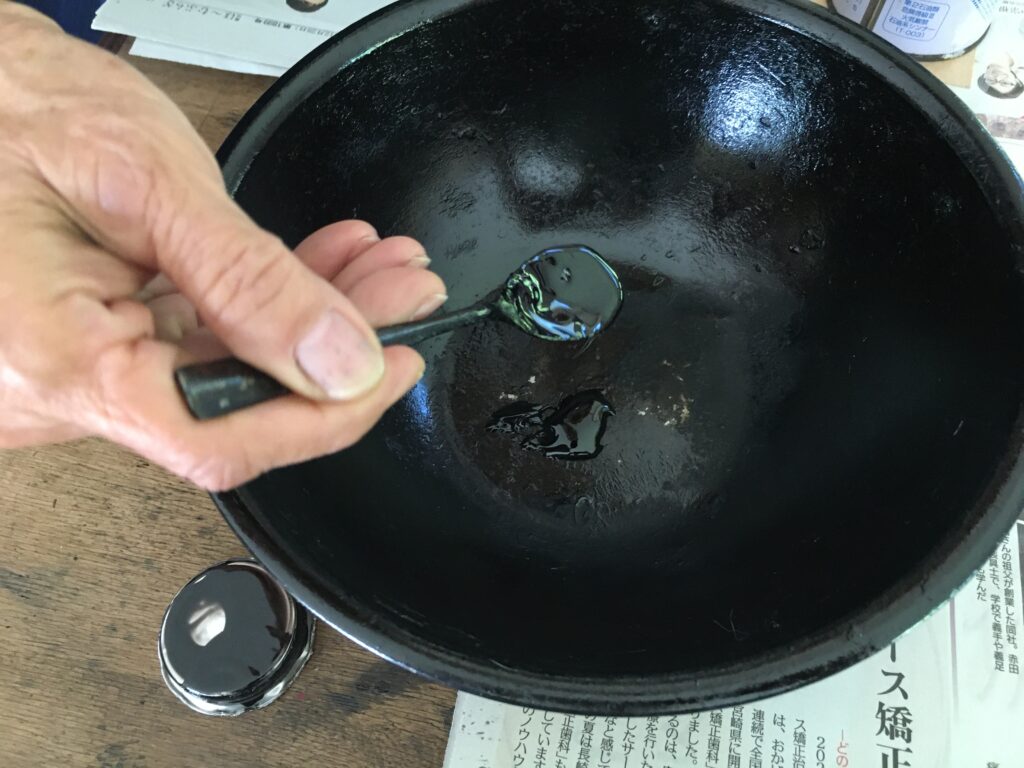
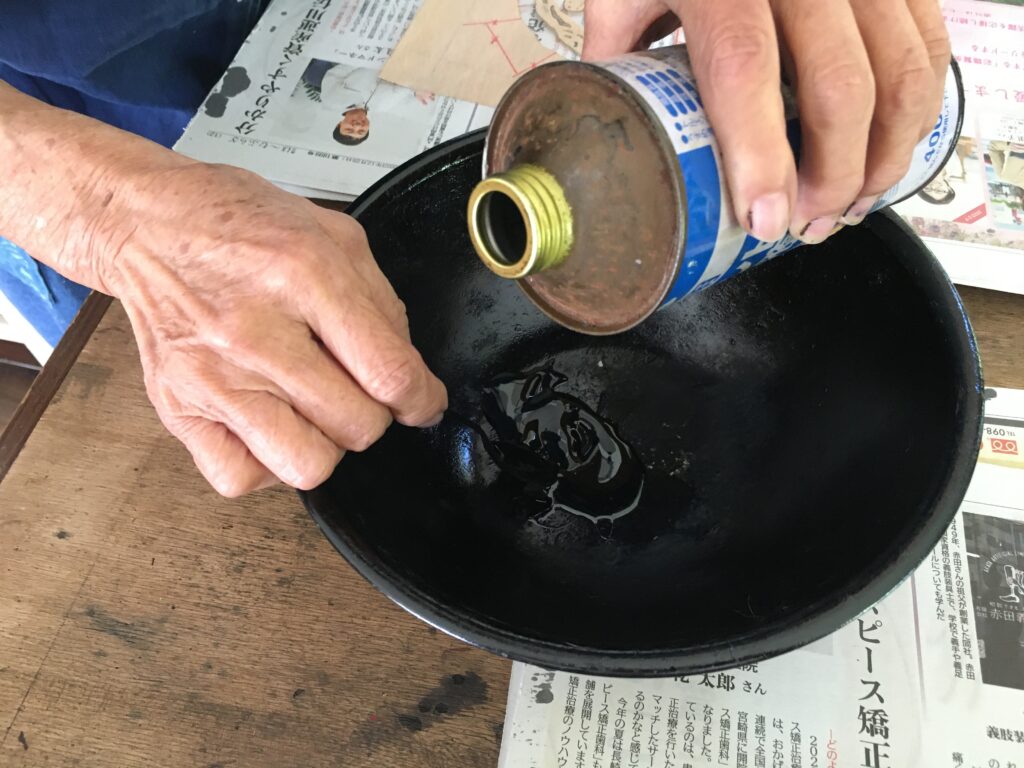
Then, apply the cashew glue on the stencil with a brush. Start from the center, brush it outward.
After the stencil/screen is covered with thin layer, remove the stencil from the newspaper and place it on a clean newspaper surface. Use a clean brush and brush off extra glue on the screen.
When cleaning is done, place it on a plastic sheet, screen side down. cover with plastic sheet and place weight (in this case, bunch of newspapers) on the glued stencil and wait for ~1h until the glue dries.
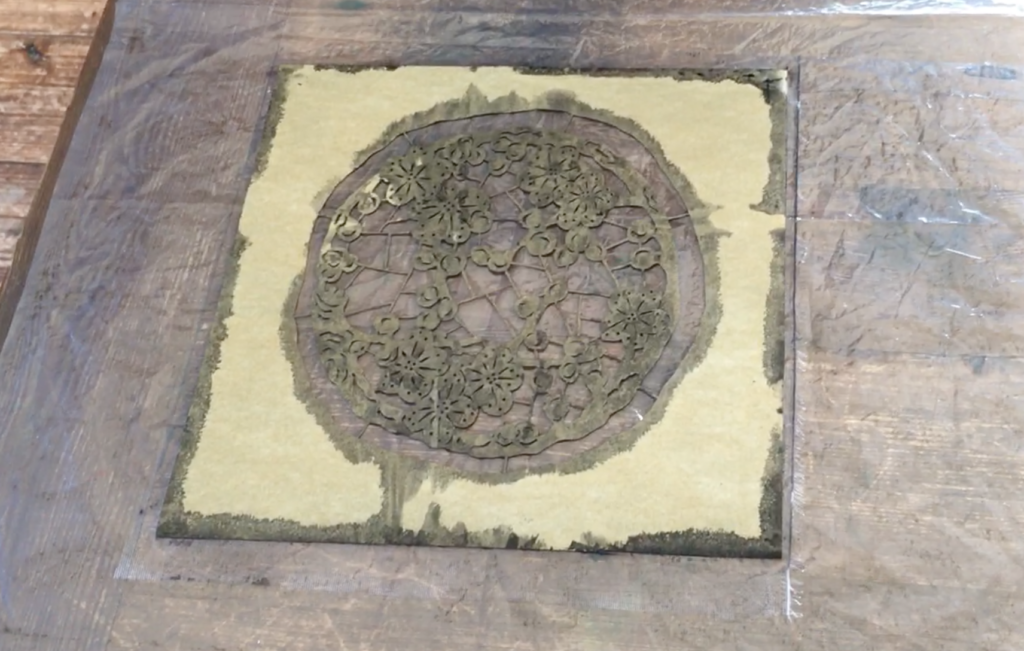
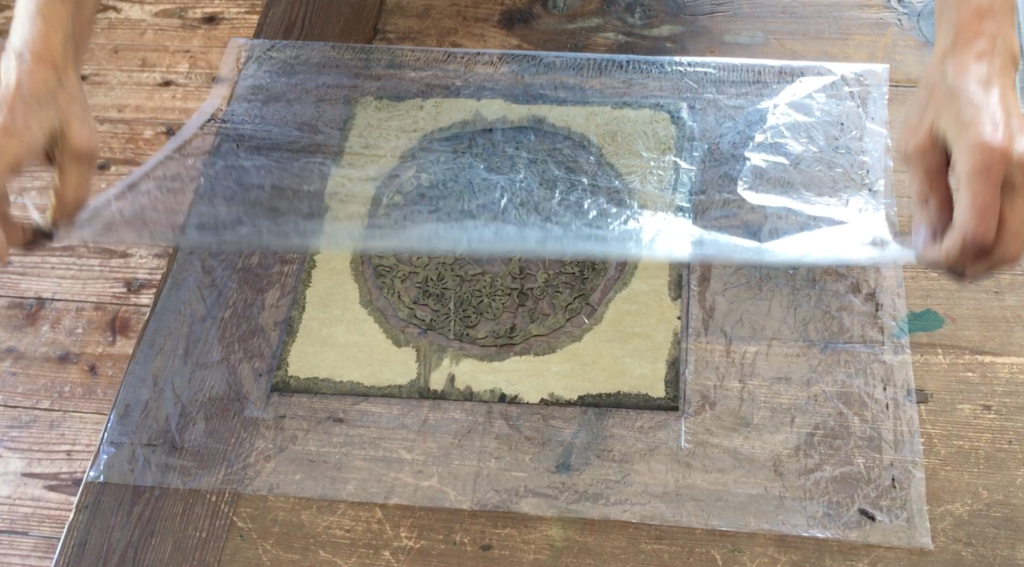
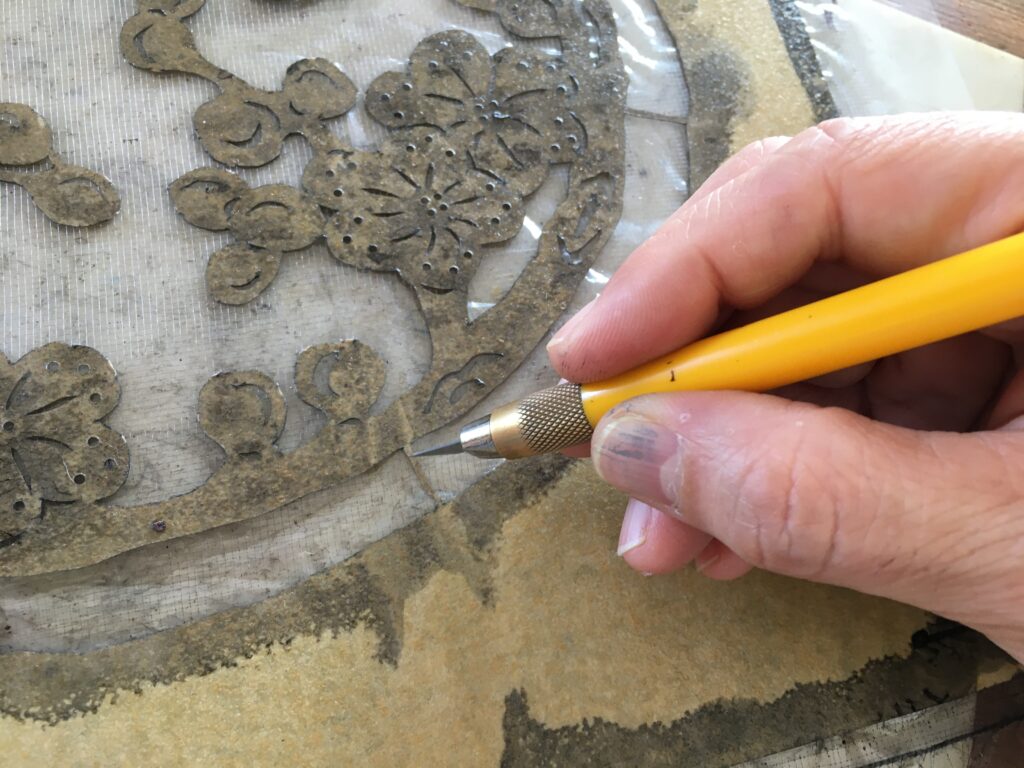
When the glue drys completely, you can remove the stencil from the plastic cover (actually in the photo, the plastic on the screen side is still there). Now from the back side (not on screen glued side) you can cut off the “support bridge”. Make sure to NOT to slide the knife so you do not cut off extra screen material. Just poke/stub where the bridge is with the knife. This way, you may cut 1 string of the screen but not make big holes on the screen.
When all the support bridge is cut off, the stencil is ready to be used. You can see the kata stencil from the front/screen side. The glue made interesting pattern because of the plastic film. As long as stencil paper and screen is glued together well, it does not matter if it had uneven glue pattern or not. The resist will be applied from the screen side.
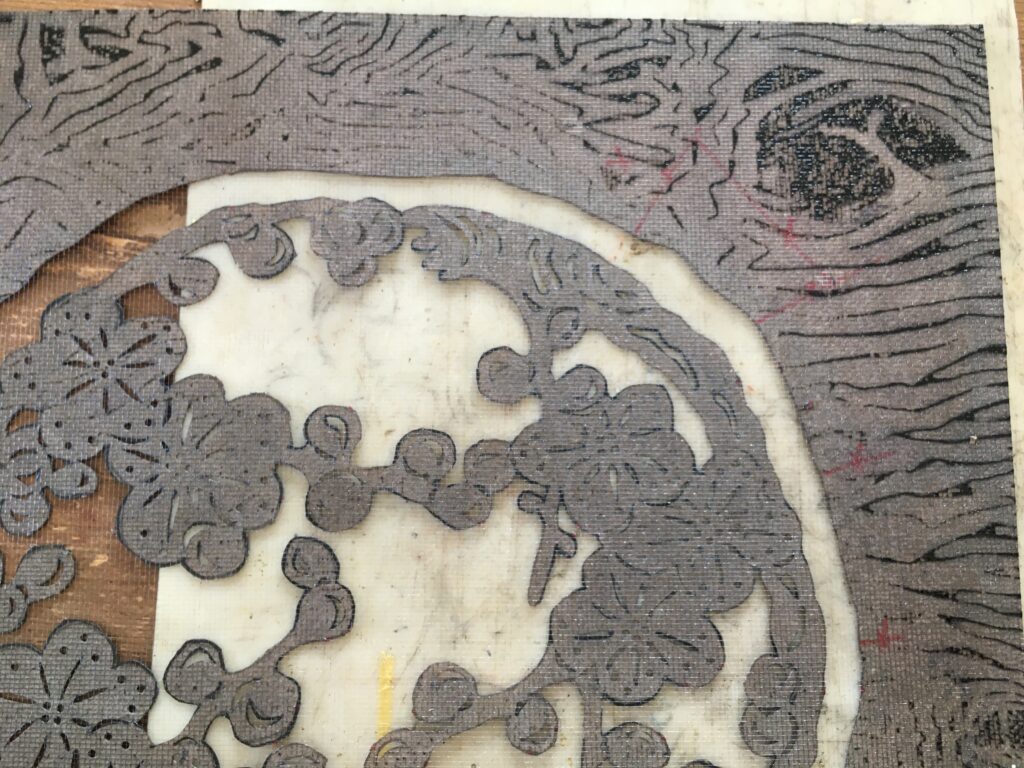
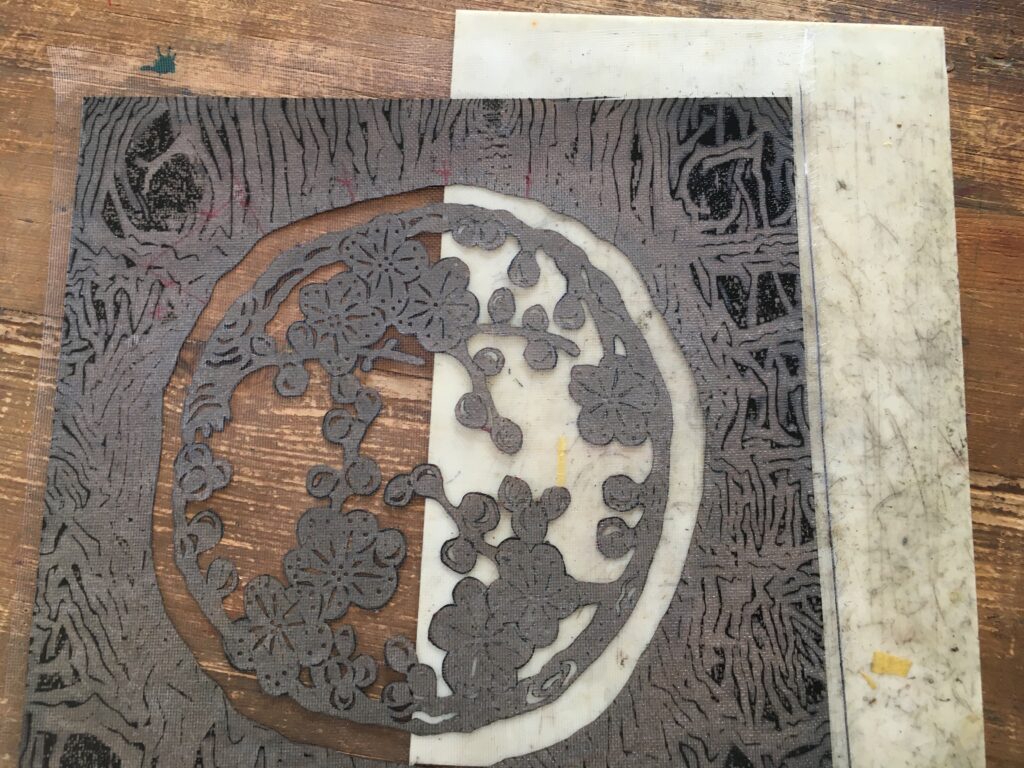
The resist/pap is same as Katazome pap. it is the mixture of rice powder and rice bran. The one we used was already made by a store and bought as a resist. You can find how to make it here >> https://www.youtube.com/watch?v=RQadcPNCJAk
The Japanese katazome resist is much thinner than the ones we made at Zeugfärberei, also the kata stencil is much thinner than the ones we made for the indigo hyphae project and the resist/pap layer applied on the fabric is much thinner than the ones we made in the project. It will be interesting to go back to Zeugfäberei and try thinner pap with this kata stencil to do katazome with the indigo vat there.
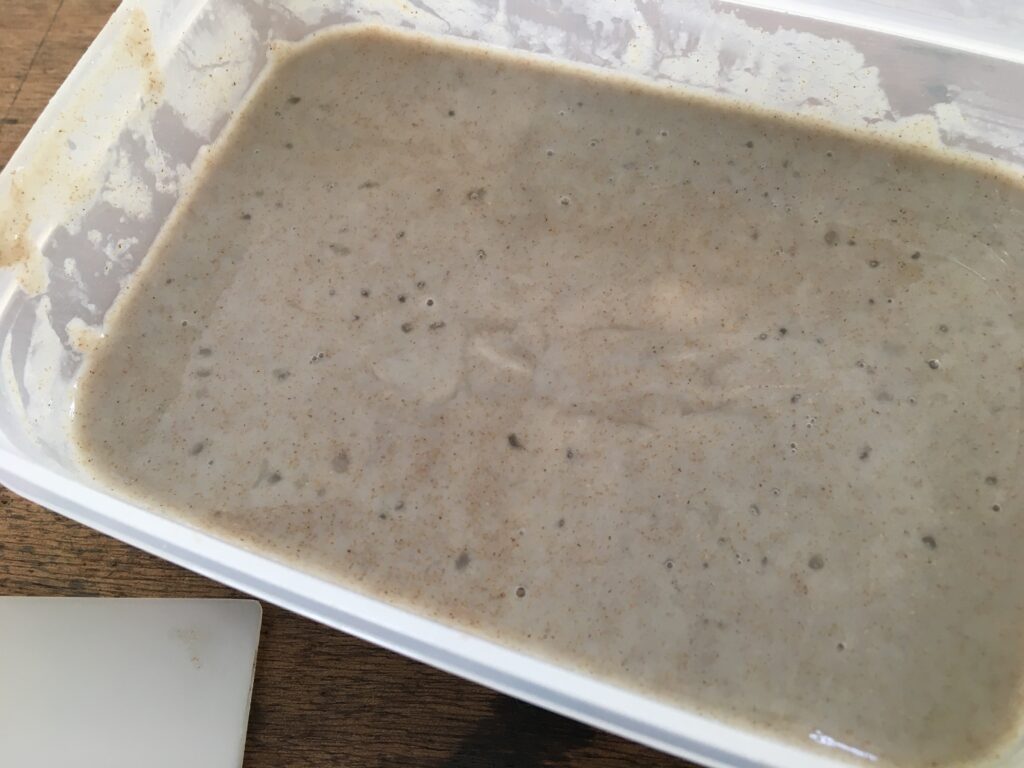
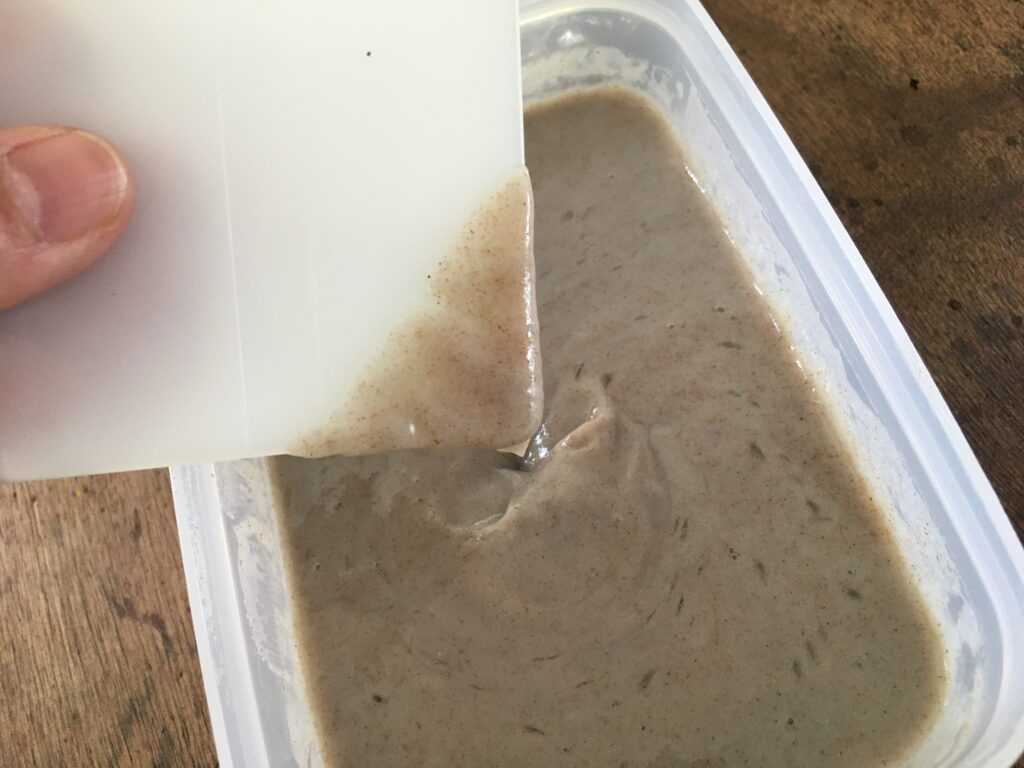
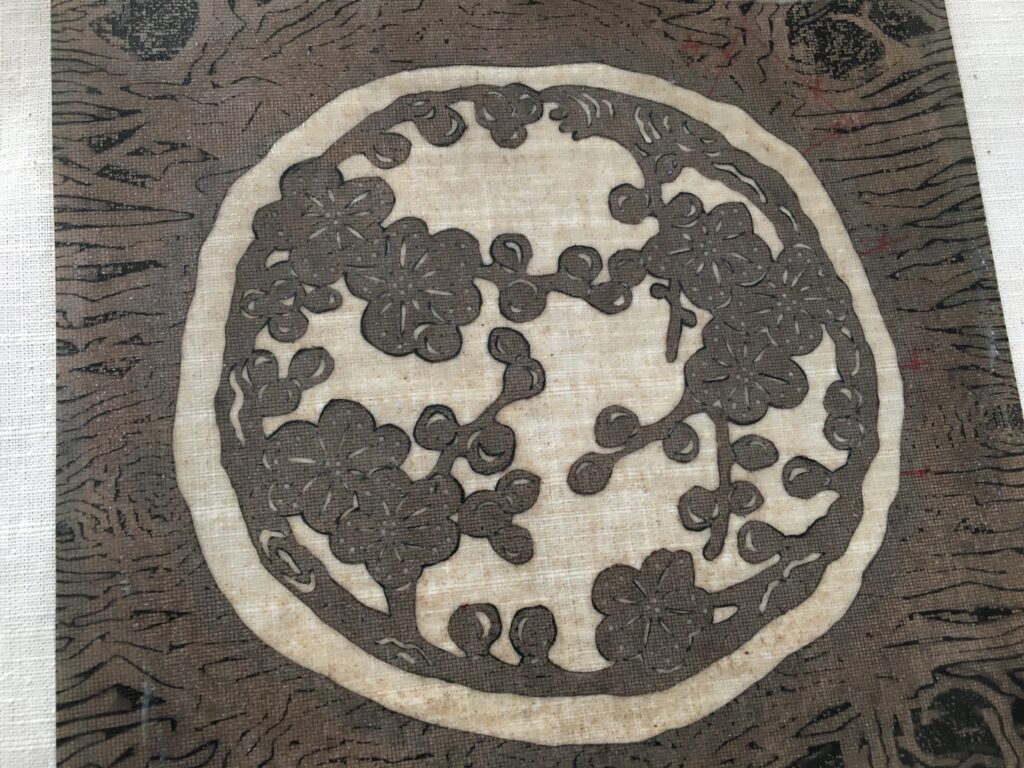
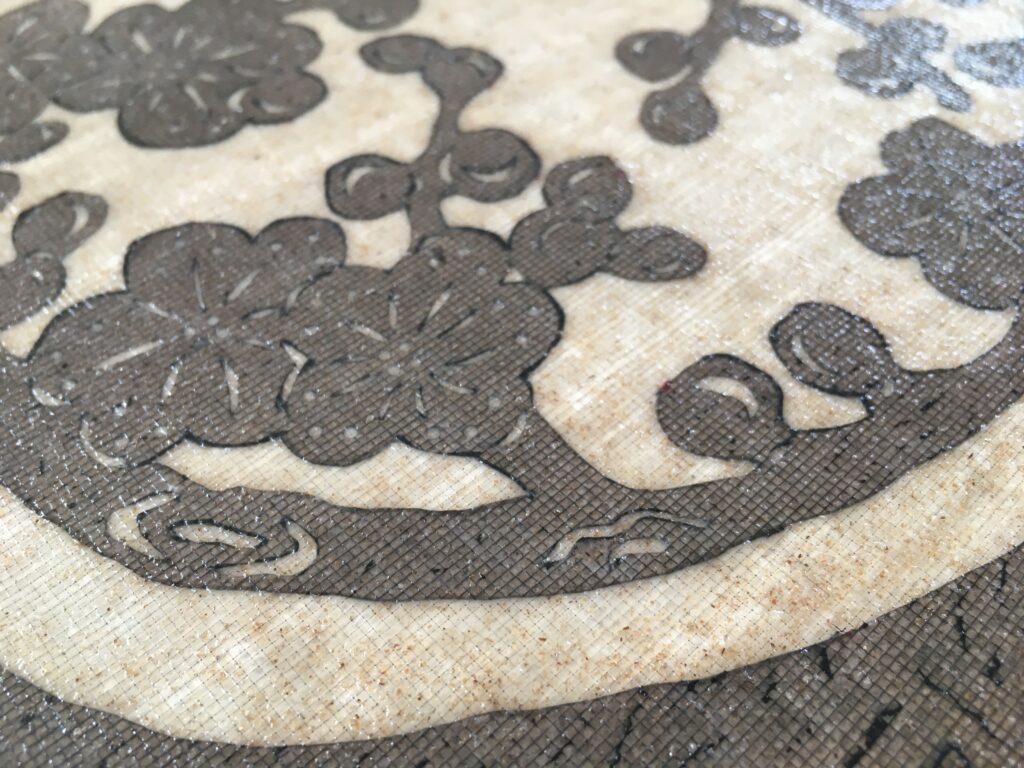
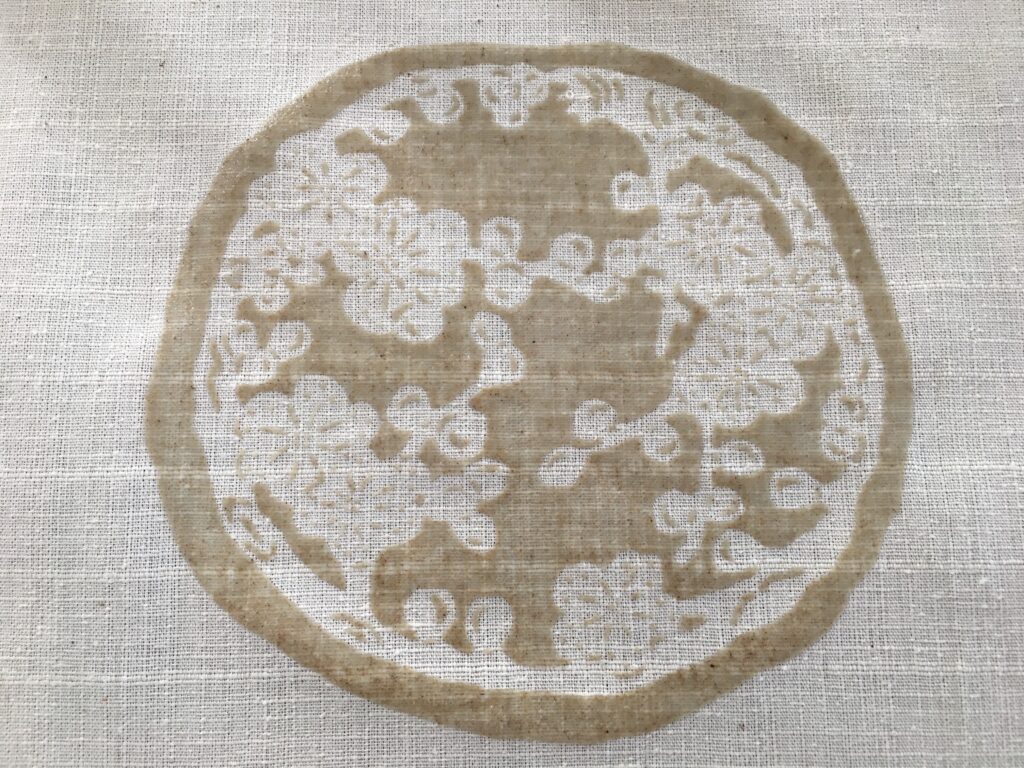
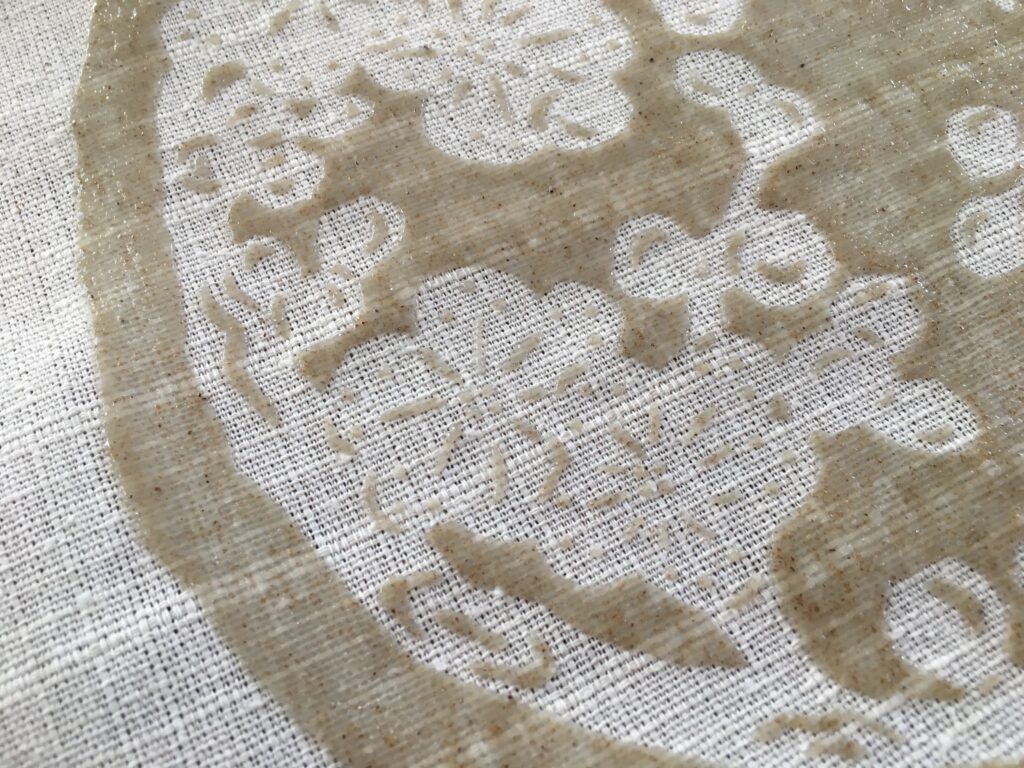
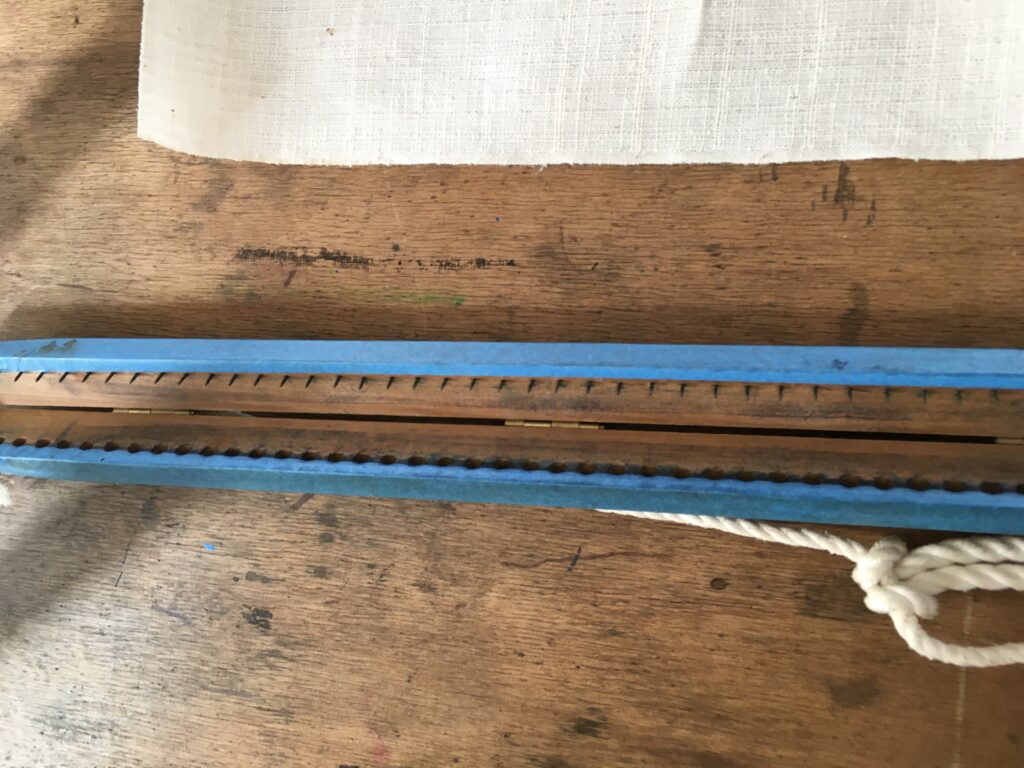
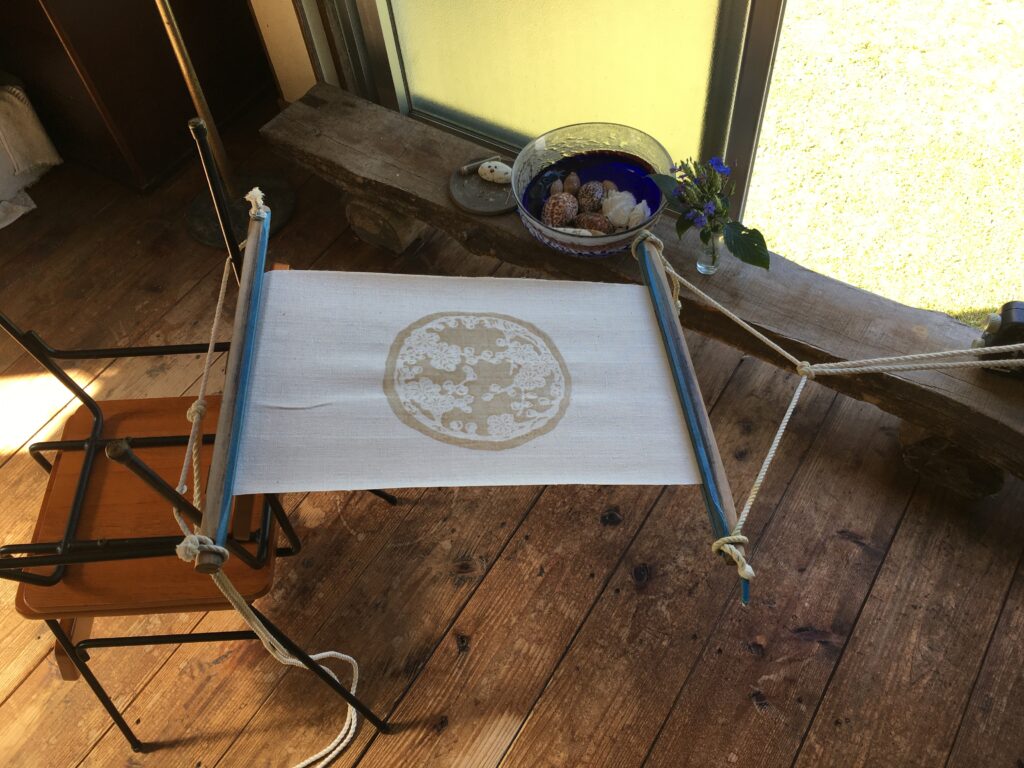
The fabric is then stretched with a stretching tool. It pulls the fabric from top/bottom. Then you can add Sinshi (bamboo stick with needle at both end) to stretch the fabric on side ways from the back side. Then brush on the Soy milk (呉汁) on the resist/pap side of the fabric and wait until dry.
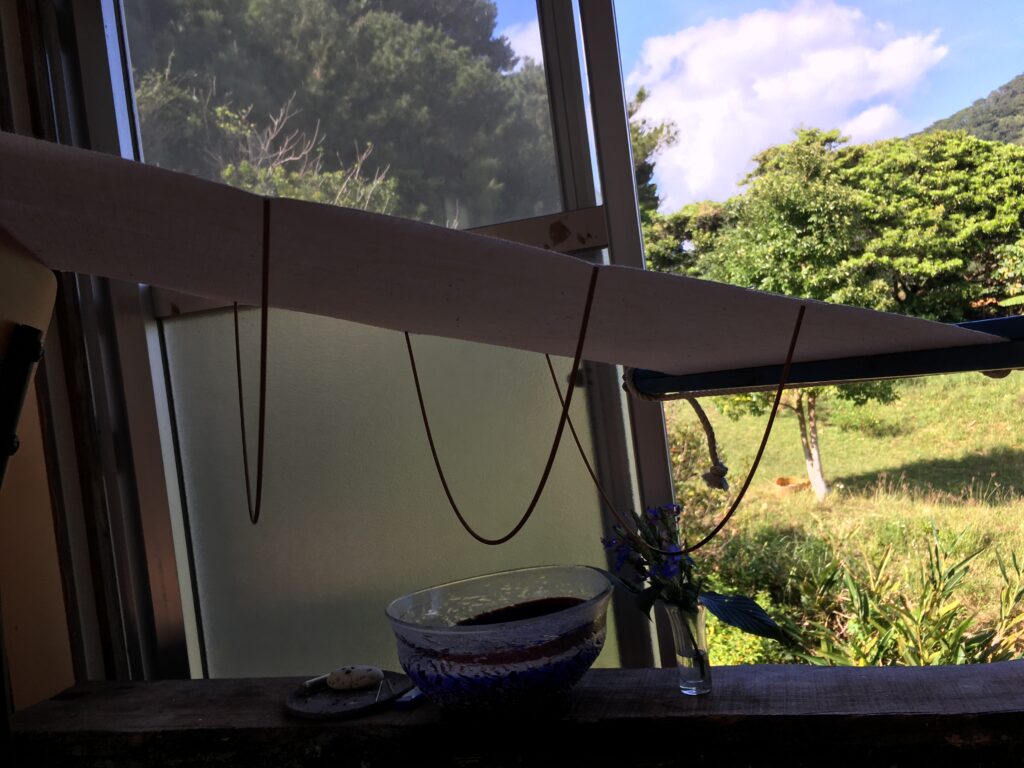
From Here is the process of Bingata colors. Bingata is colored with mineral/stone pigments. One can mix few of the mineral pigments to achieve the color desired. When the color is mixed well, add in soymilk and awamori (Okinawan distilled alcoholic drink, similar to vodka) to achieve the thickness as a paint. Before applying on fabric, then anti-bleed agent made of seaweed is also added to avoid the color bleeding into unwanted part of the fabric.
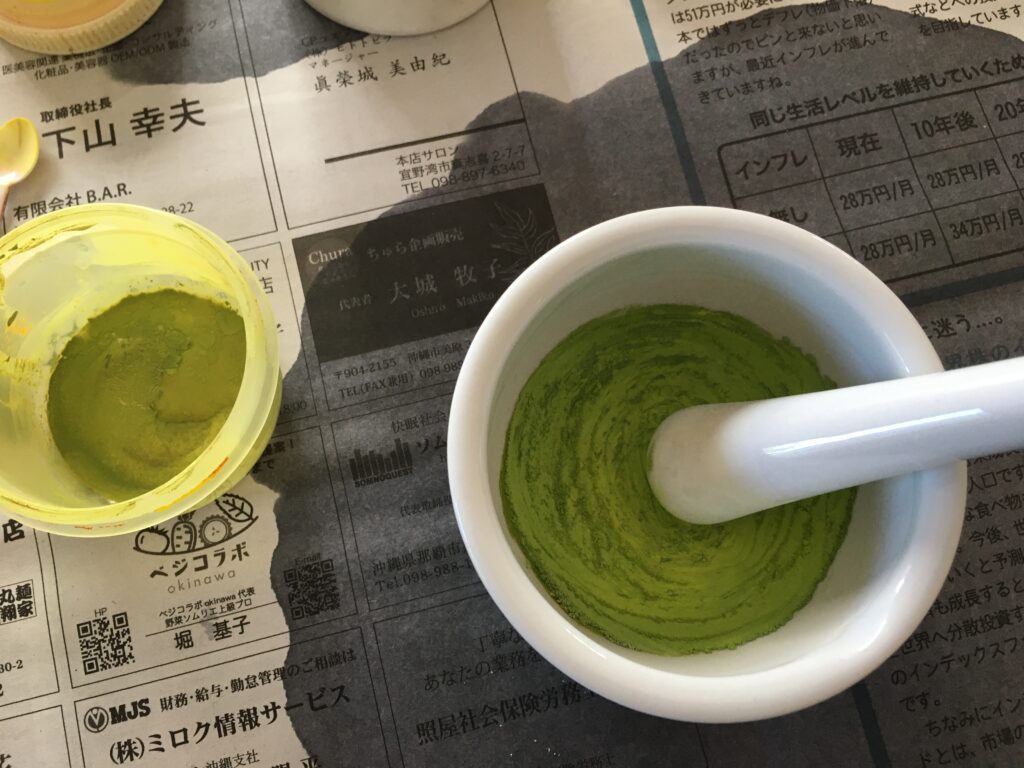
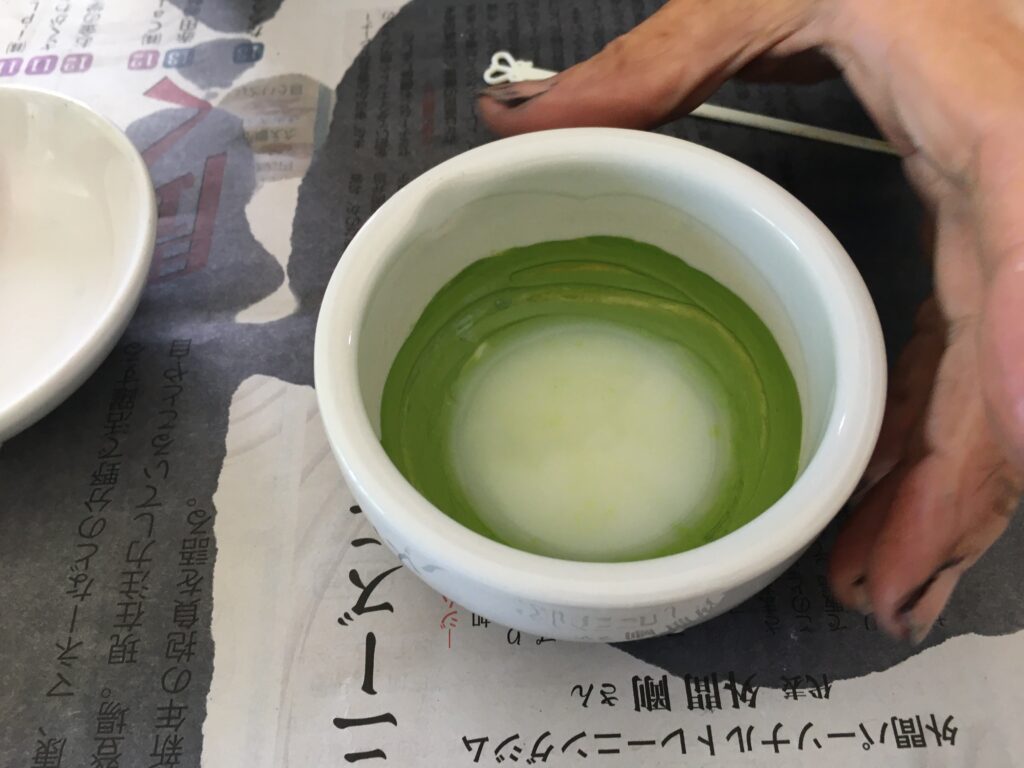
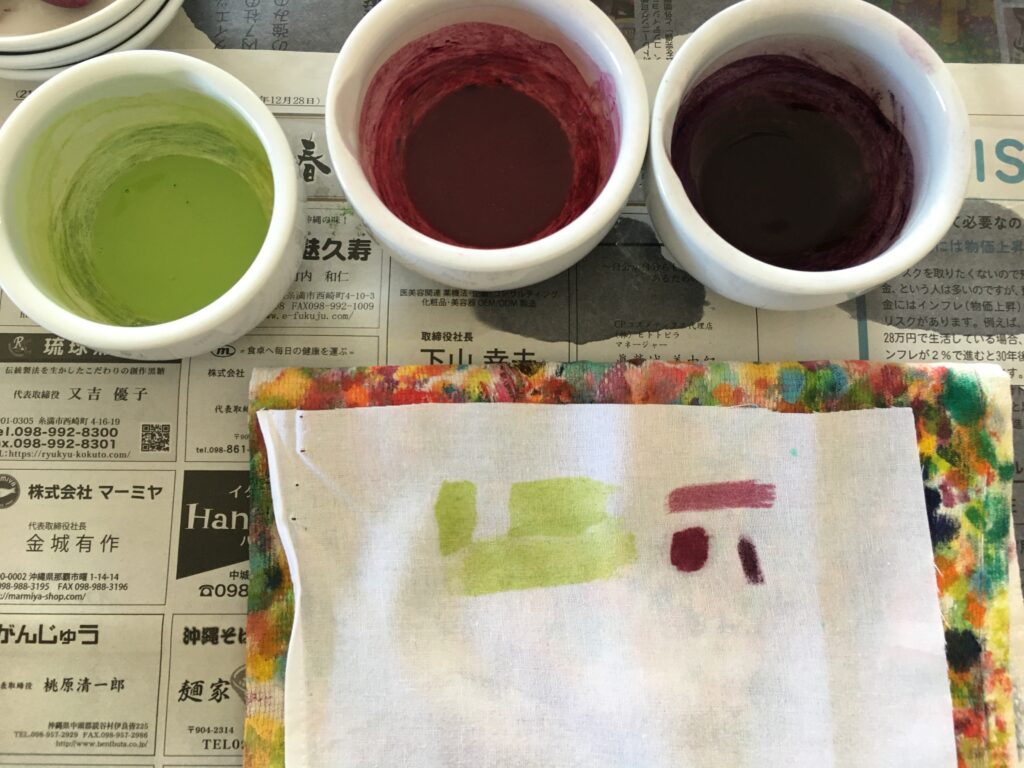
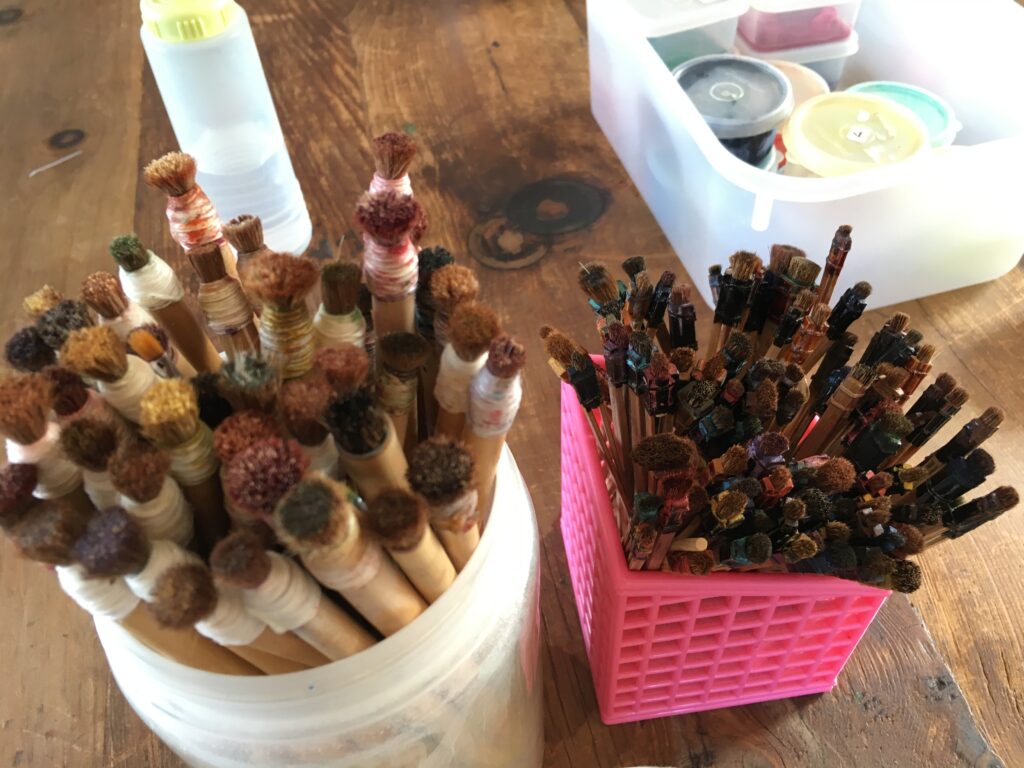
To apply color, one use two brushes per color. One brush to place the color, like normal painting, and the other brush to rub and blur the pigment. This is very particular to the Bingata technique.
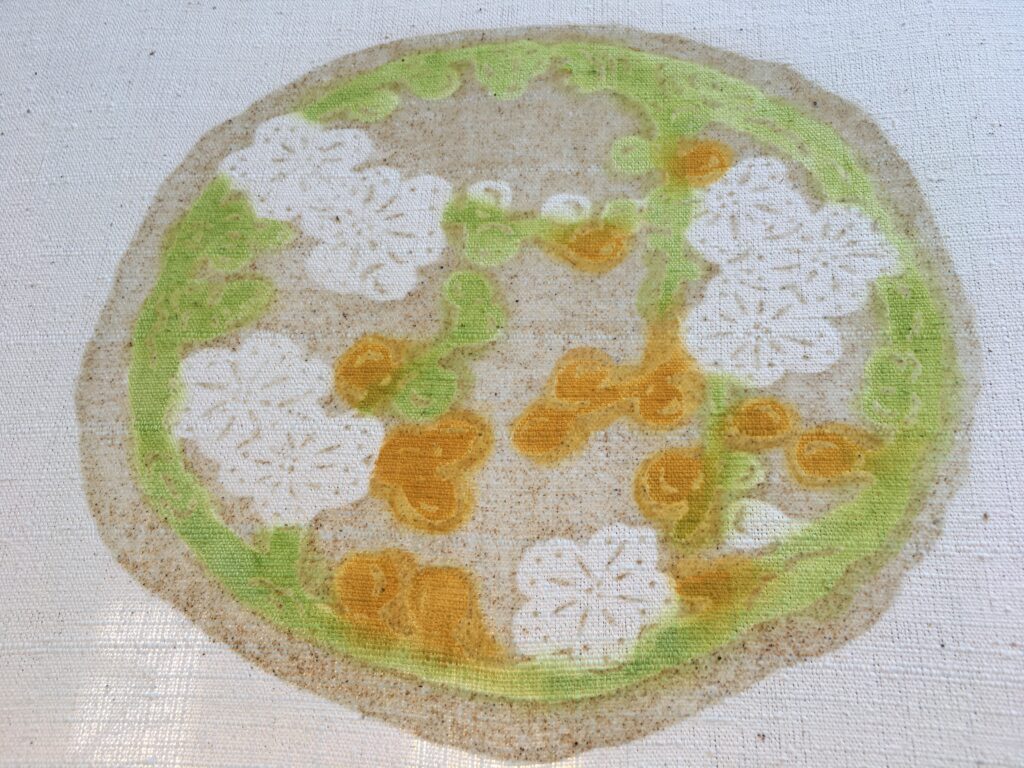
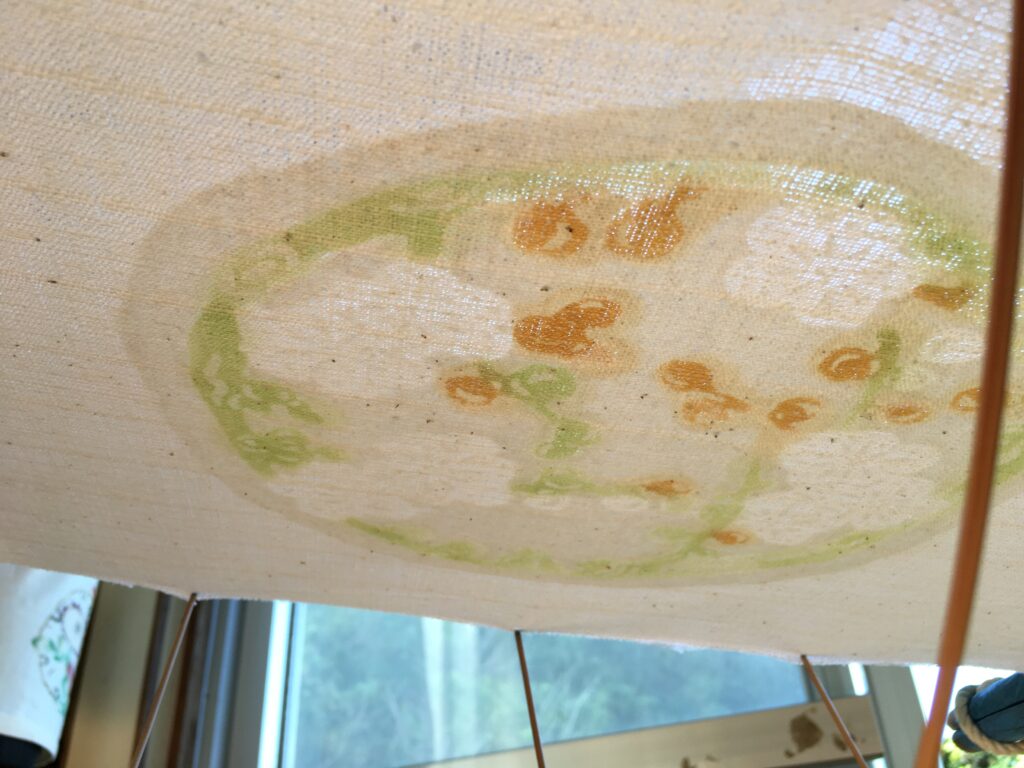
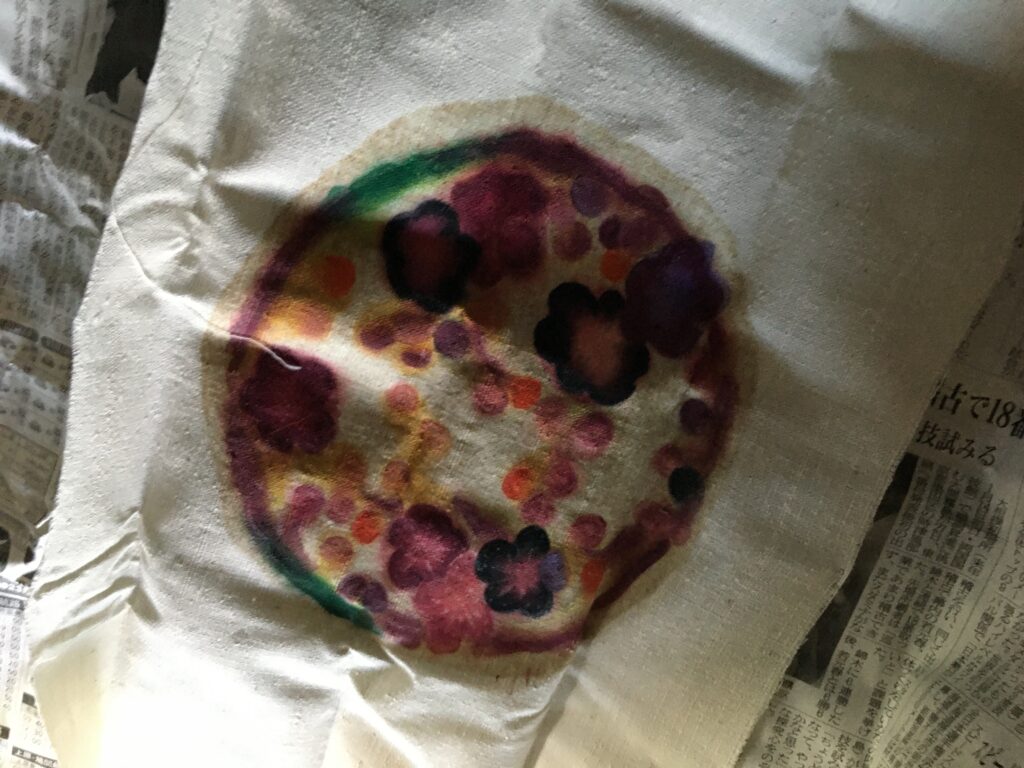
After the base color is placed, one add “kuma” color, which makes the gradations on the patterns. It is often practiced as lighter color as base, and darker shade of the base color as “kuma” gradation. One needs to brush diligently to blur the kuma color after placing it so it becomes proper kuma gradation. The bottom left image shows when the coloring process is finished. It does not look so much of a gradation at this moment… but the resut looks different from how it looks here.
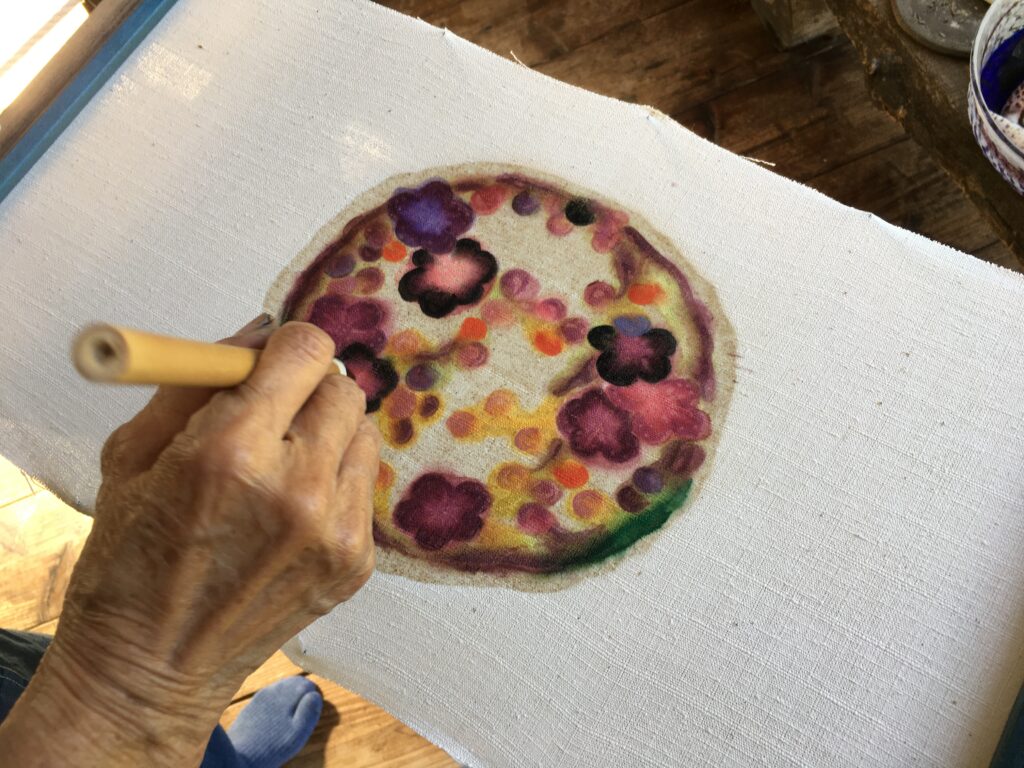
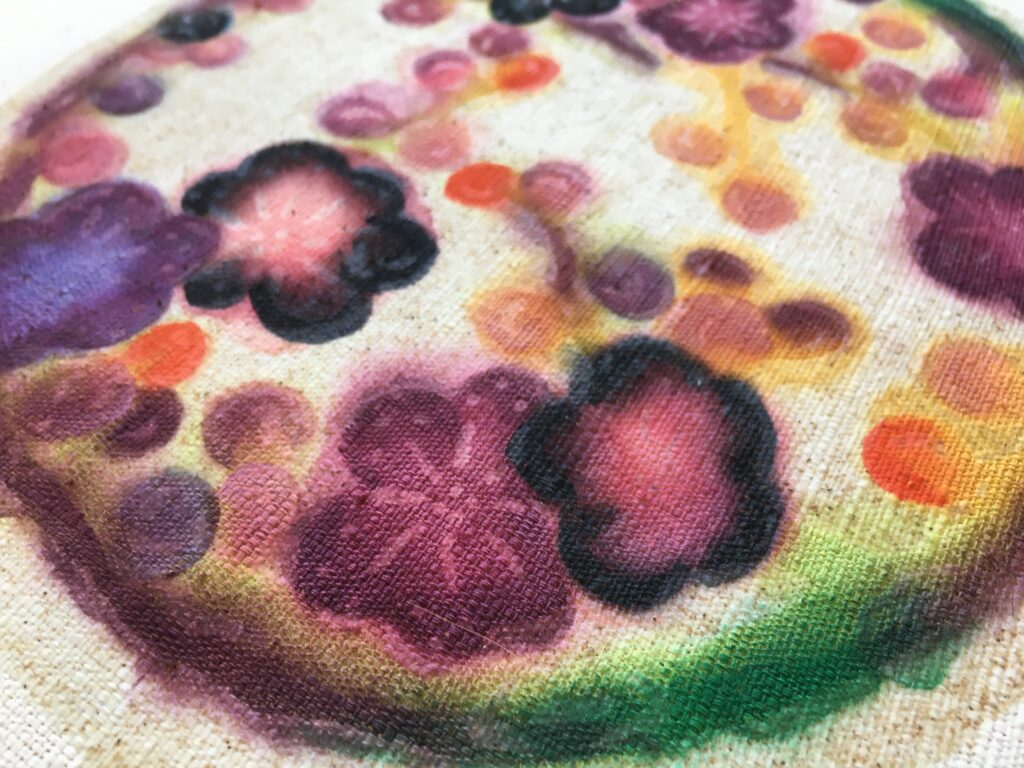
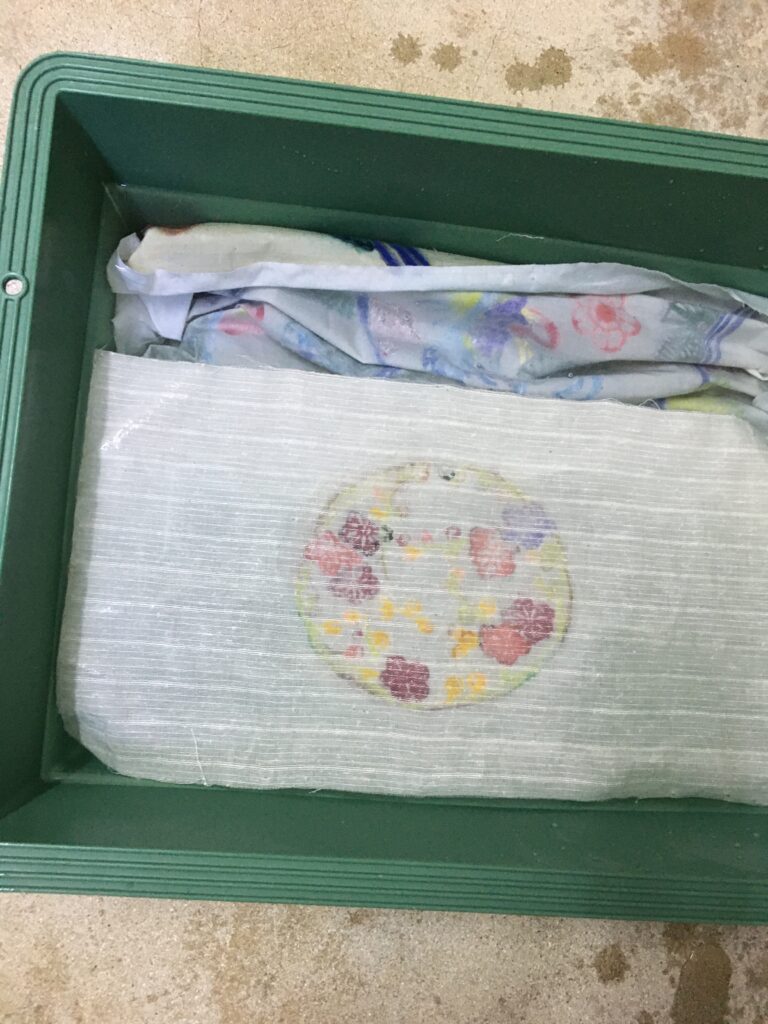
Apply myouban/alm liquid over the colors, by brushing onto the fabric overall. Then wrap it in newspapers and steam it for 10min. This is similar process with reactive dye print process.
When steaming is finished, dip it in warm water and let the resist/pap dissolve in water. When the pap comes out naturally, gently shake the fabric and wash the resist material off completely, and dry the fabric. The color is fixed on the fabric. One can wash the fabric (gently) and the color should stay on, though, these colors are not for wash-machine safe. It will not be suitable for frequently wash-able fabric.
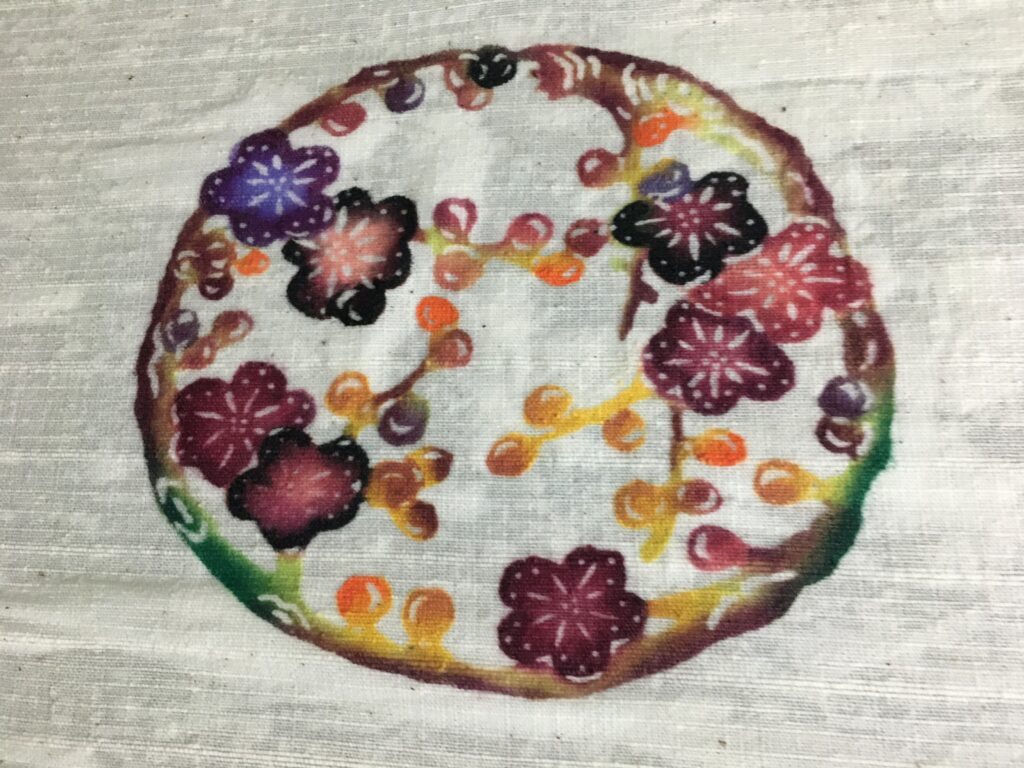
Now you can see the colored pattern. The resist/pap protected the fabric from coloring the outside of the pattern part. Even though the image looked messy and somehow childish before washing off the excess color, the outcome image looks much more crisp and precise. Some green color “bleed” to the outside of the pattern. This is due to too less anti-bleeding liquid, or I pressed the color too strong at this corner.
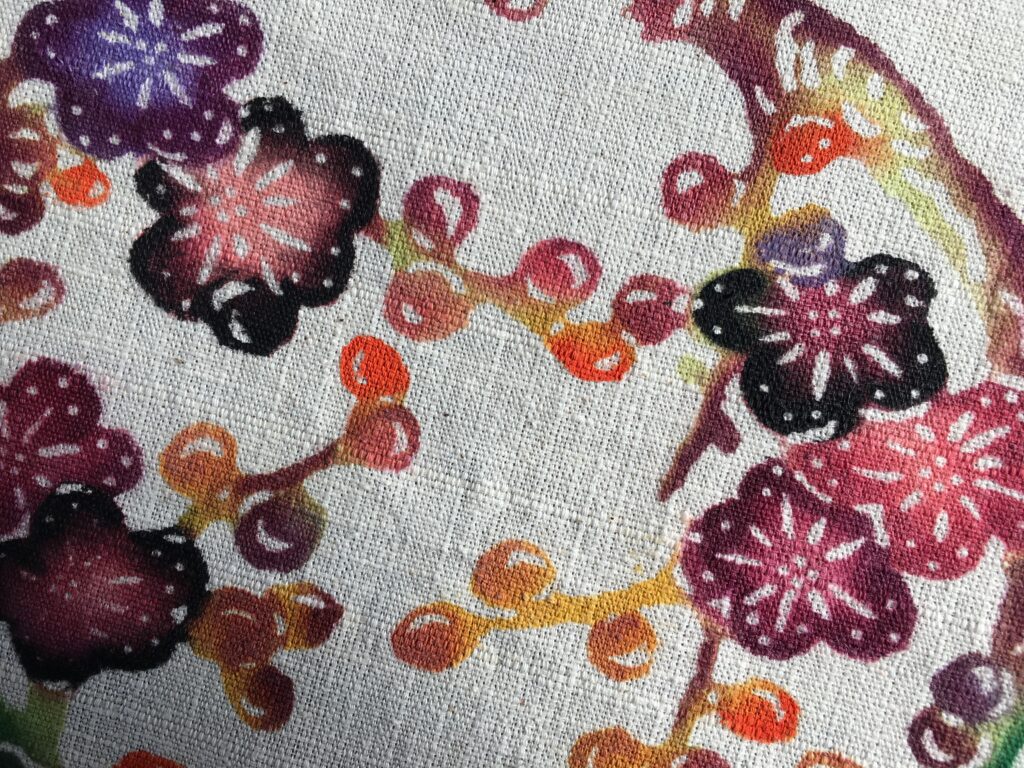
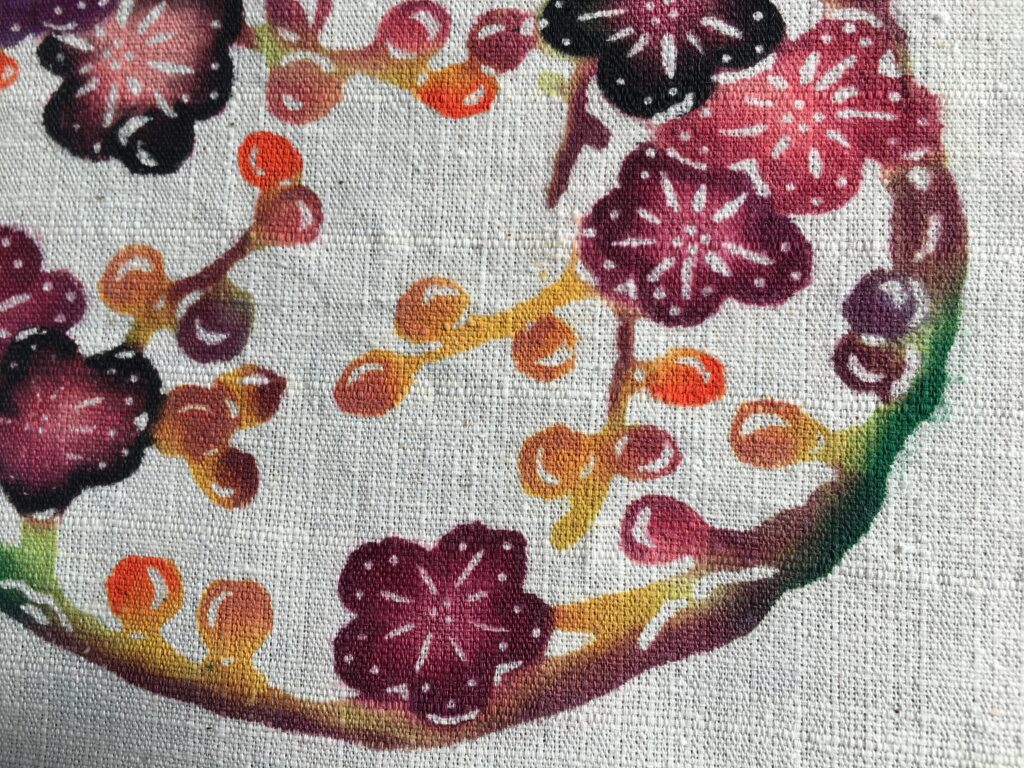
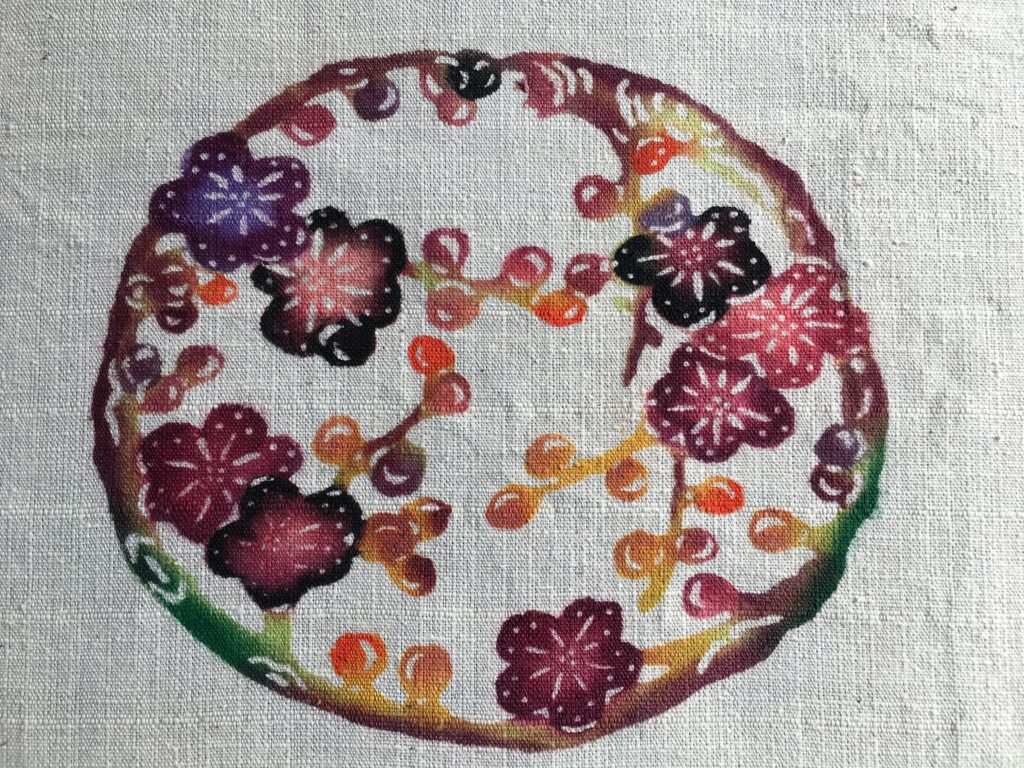
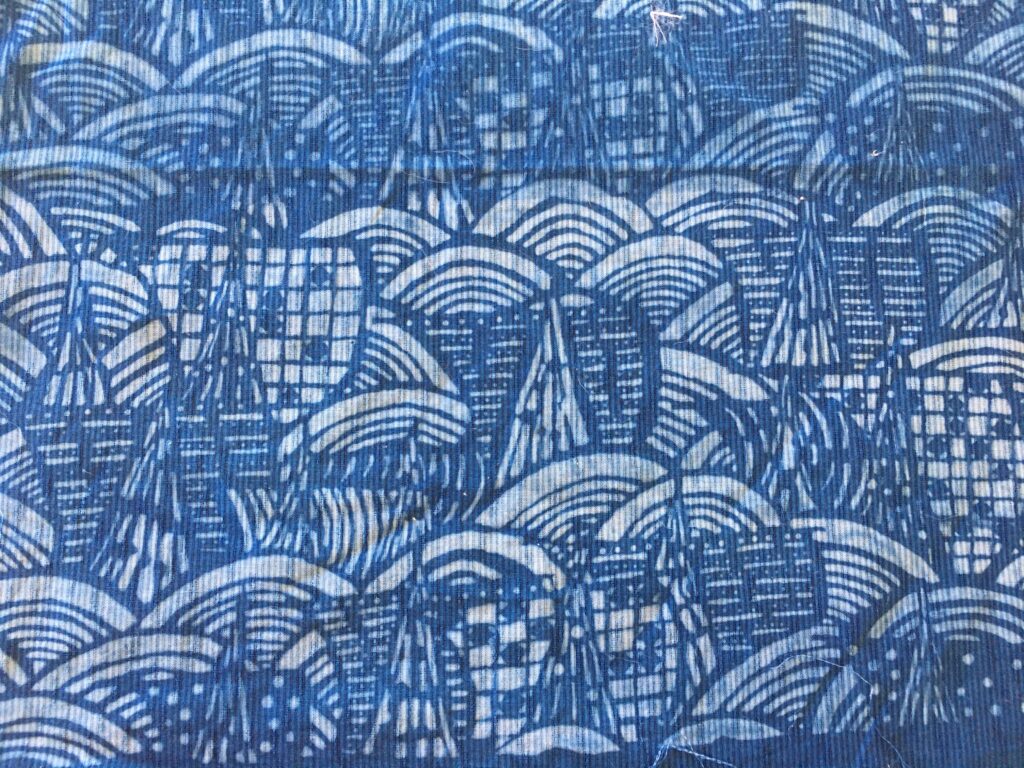
The Rampu koubou is actually an indigo dye workshop, and Ms. Takashina produces also indigo dye fabrics with various techniques. She grows Indigofera tinctoria , the Indian kind of indigo plant, as Ishigaki is in tropical climate area. She produces Doro-Ai (mud type indigo dye) extract from the plant she grows. This is a common ways of indigo dye in Okinawa-Taiwan (and much of the other warmer part of the world) area. Below images are some of her work I took photos at her studio. They are made with discharge technique on indigo fabric. One would dye the entire fabric with Indigo first, then print the discharge/bleach material to remove the indigo color. William Morris from Art and Crafts movement was practicing this technique in the UK in late 19th century.
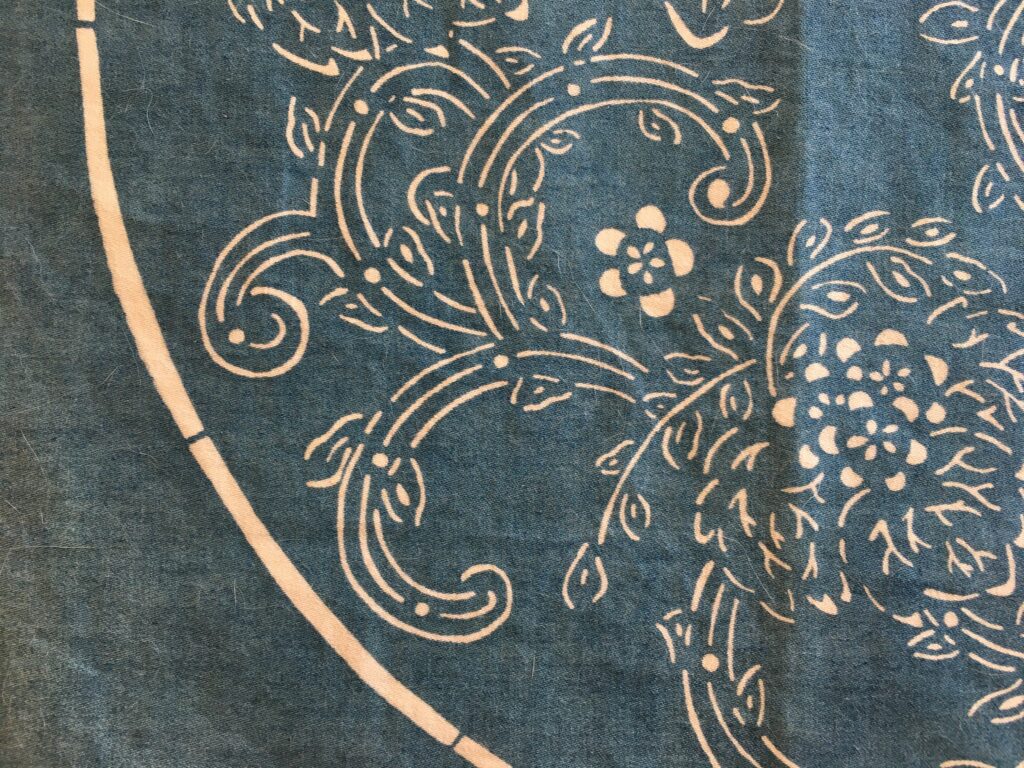
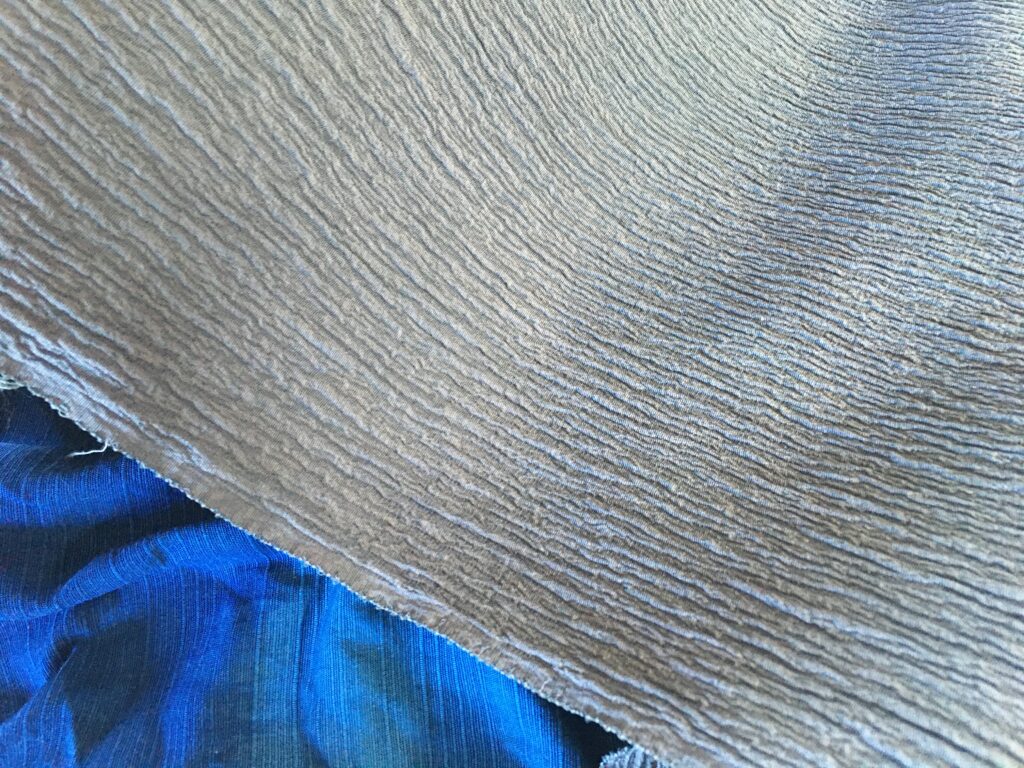
She also showed me the silk chirimen she died with fresh indigo leaves. The fresh leaves dye differently than the extracted indigo, often known as 浅葱色. Her fabric shows a slight gray/purple tint, which is very beautiful. (of course it is hard to capture the color tone in photos!)
