One of the technique used with indigo dye in Japan is to use Katazome resist on fabric to dye fabric with patterns. The resist (防染糊) is made of rice powder and rice bran. The pattern is applied on fabric using kata stencil. The fabric is then stretched, dried, and soy milk (呉汁) is applied on the surface, dried and finally dipped in indigo vat.
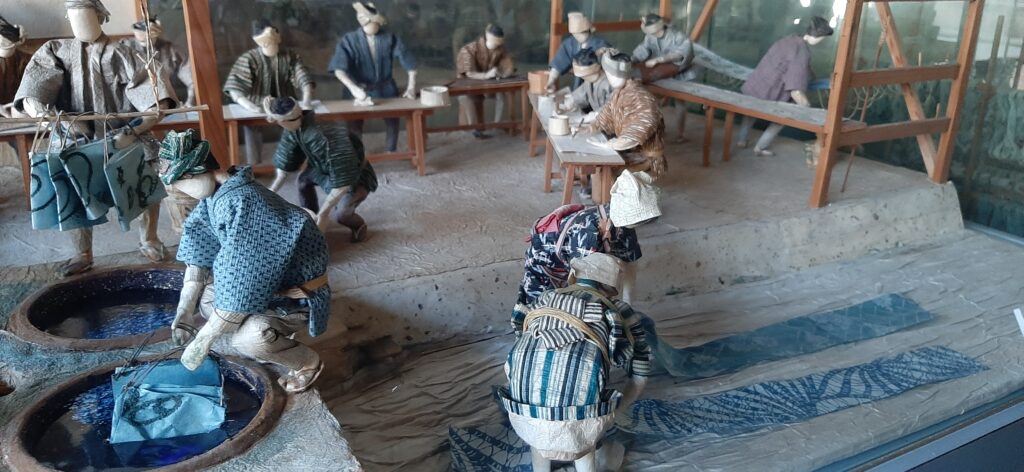
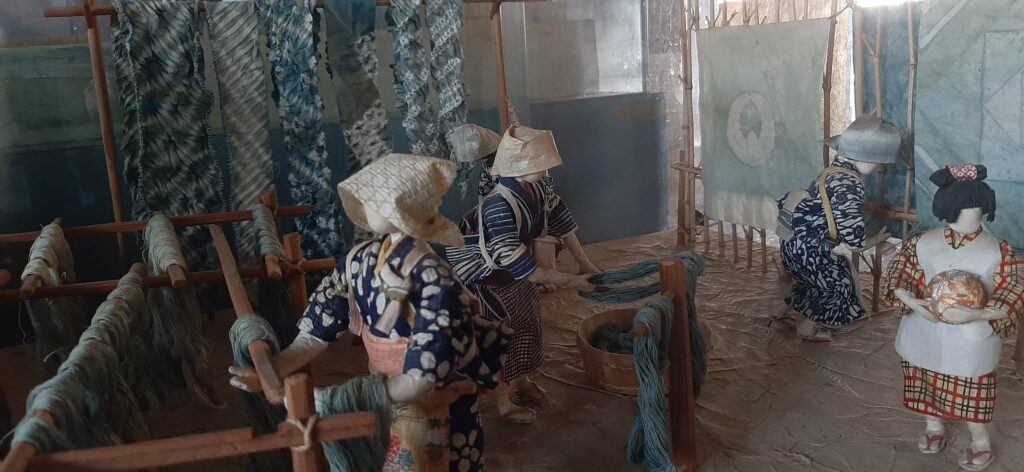
You can see the Katazome and shibori indigo dye process in diorama, exhibited at the Ai-no-Yakata below. It exhibits the livelihood of the artisan’s work and summarizes the work process, which is still practiced today.
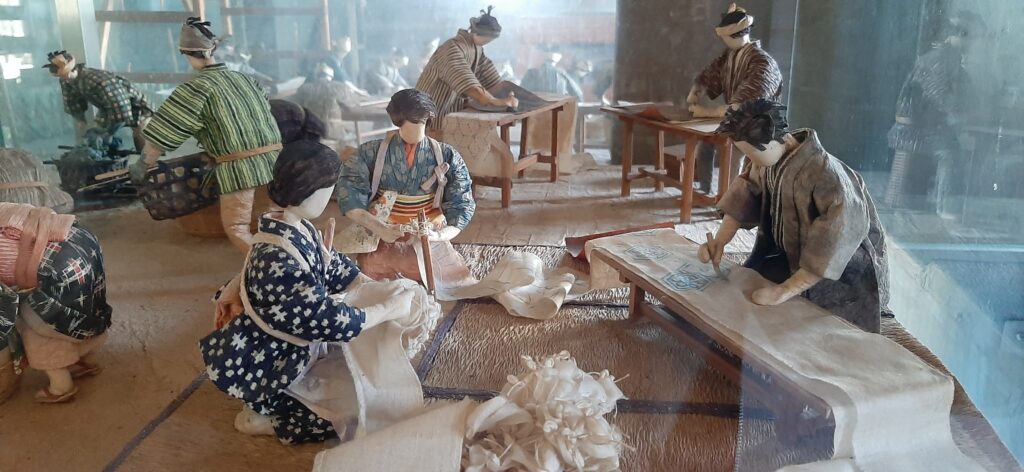
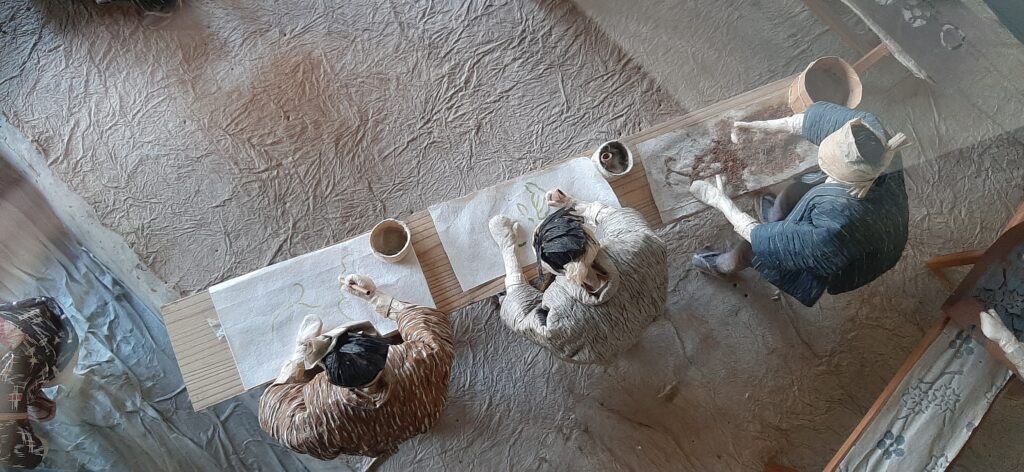
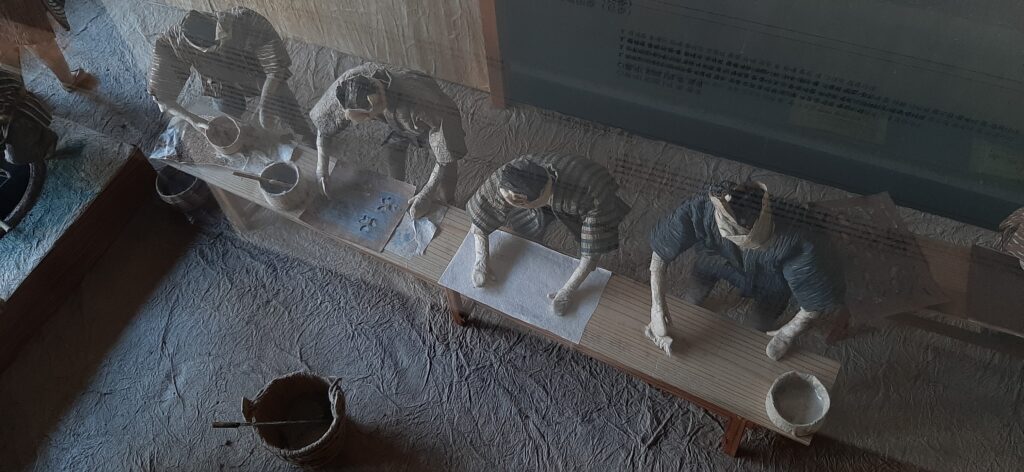
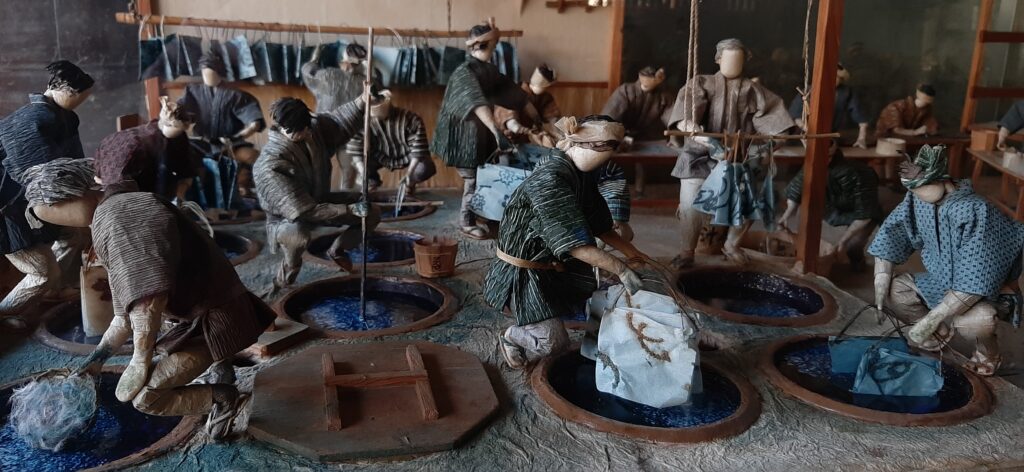
At Furysyo Dye Factory, they use Katazome with Indigo 注染 (dye pour) technique, beside more common ways of applying resist on fabric with katazome and dipping into küpe. 注染 (dye pour) is often applied when making tenugui with synthetic dye. The chef of Furusyo is the only one in Japan who practice this technique with Indigo dye.
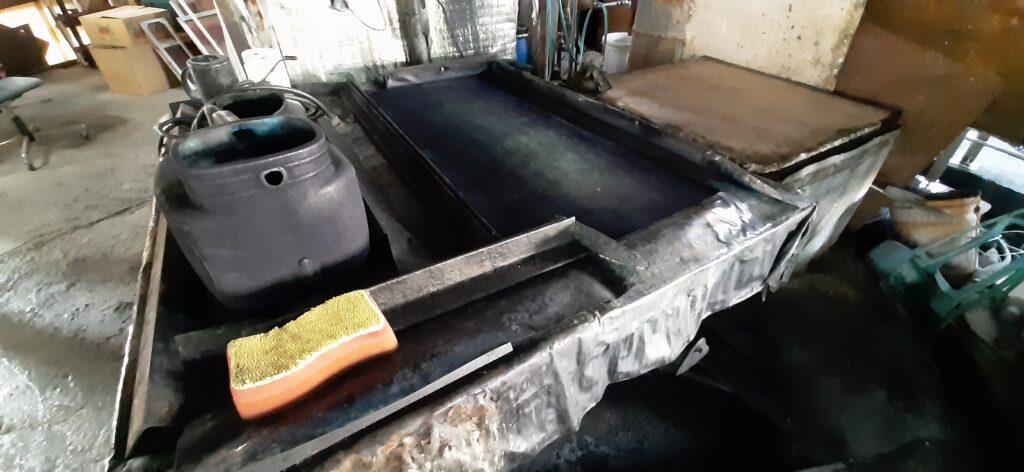
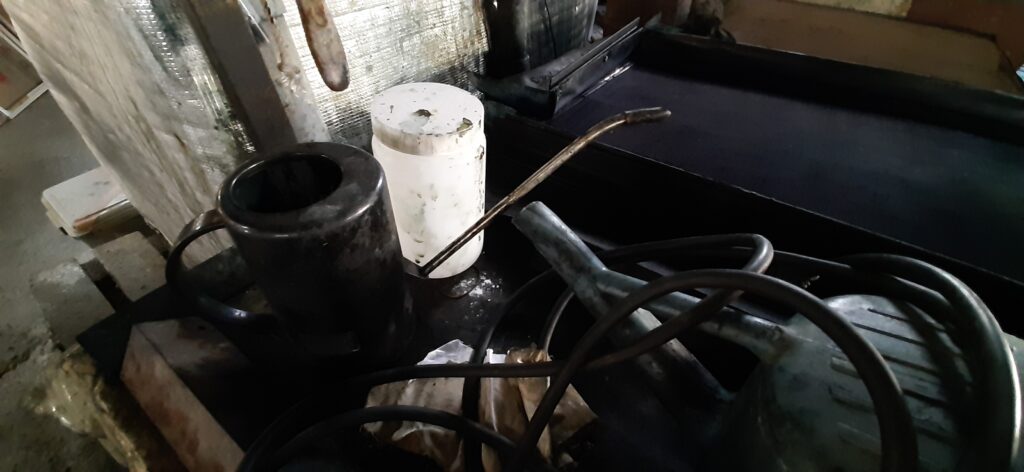
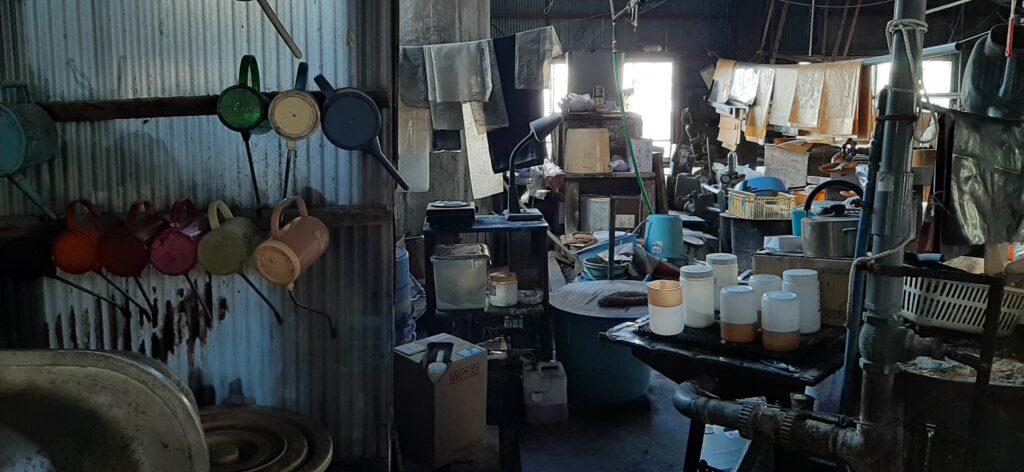
By placing the resist from both side of the fabric the dyed fabric has pattern on both side. After applying the resist with kata on both side and making layers of resist and fabric, one pour the indigo dye through the material and suck the dye with air using vacuum. This introduces enough oxygen to the applied dye to oxidize the indoxyl to indigotin to fix blue on the fabric.
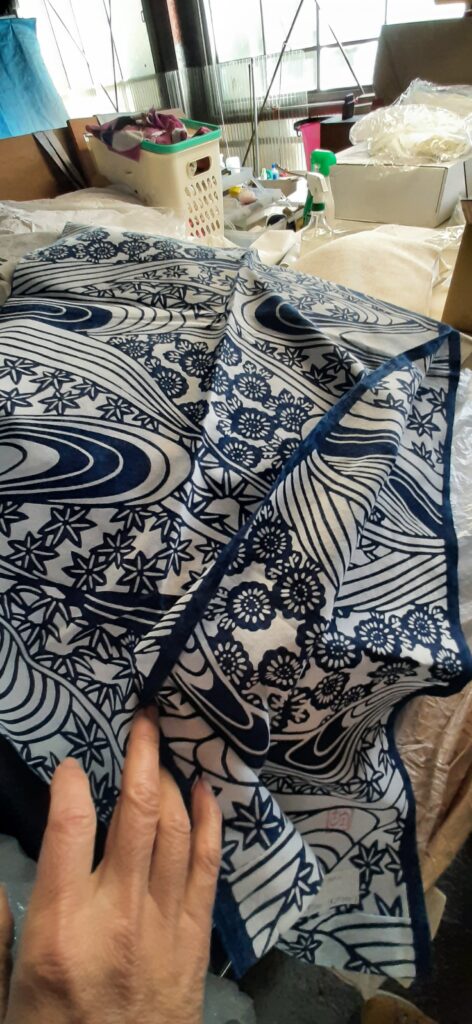
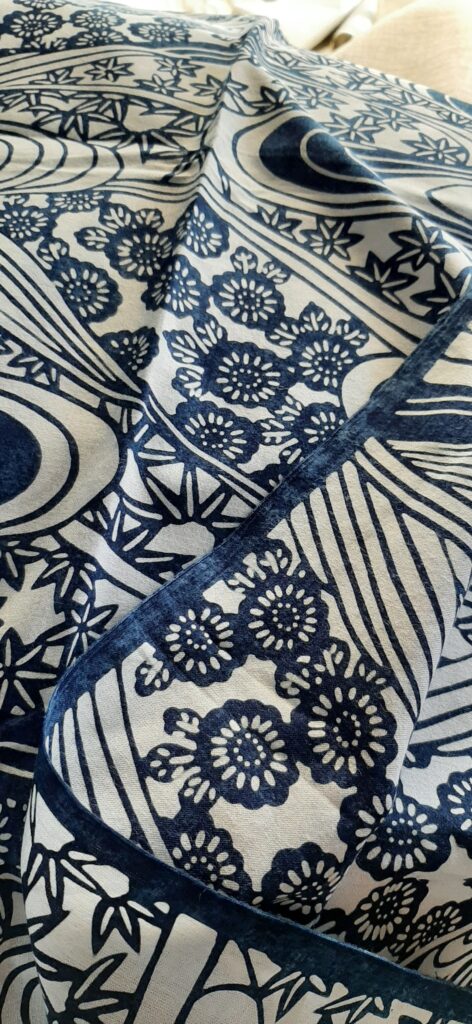
The above image is a Noren (fabric hanging used at entrances) fabric they produced earlier. You can see that the both side of the fabric is resist dyed. The resist pattern has to match exactly on both side to get this result. Noticing the pattern being quite detailed, it is impressive that they can produce such fabric with indigo dye.
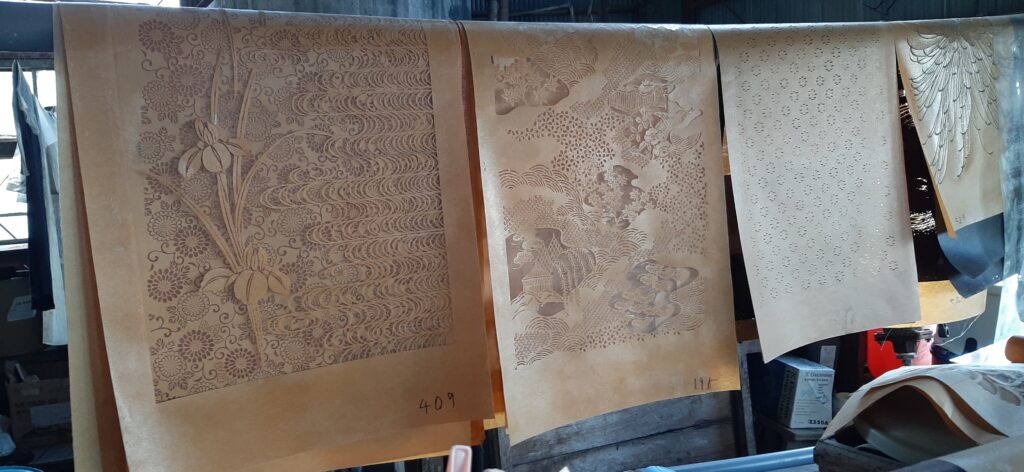
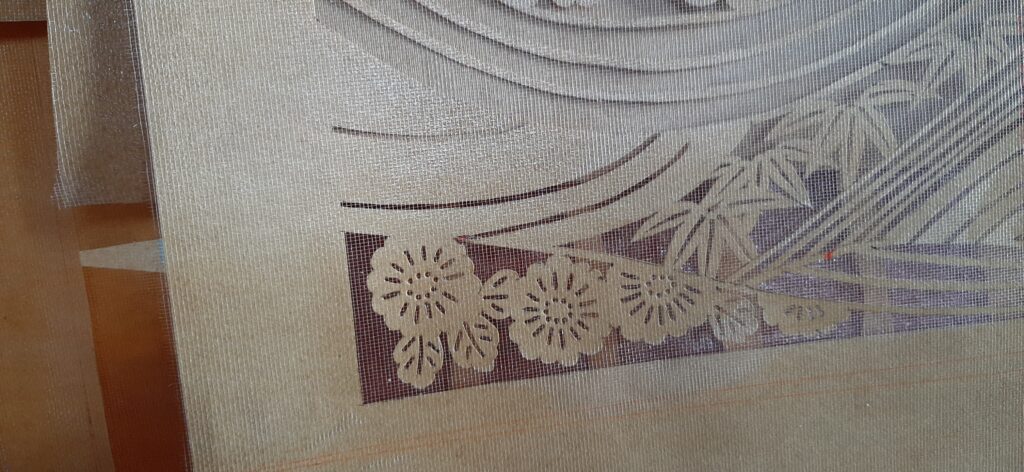
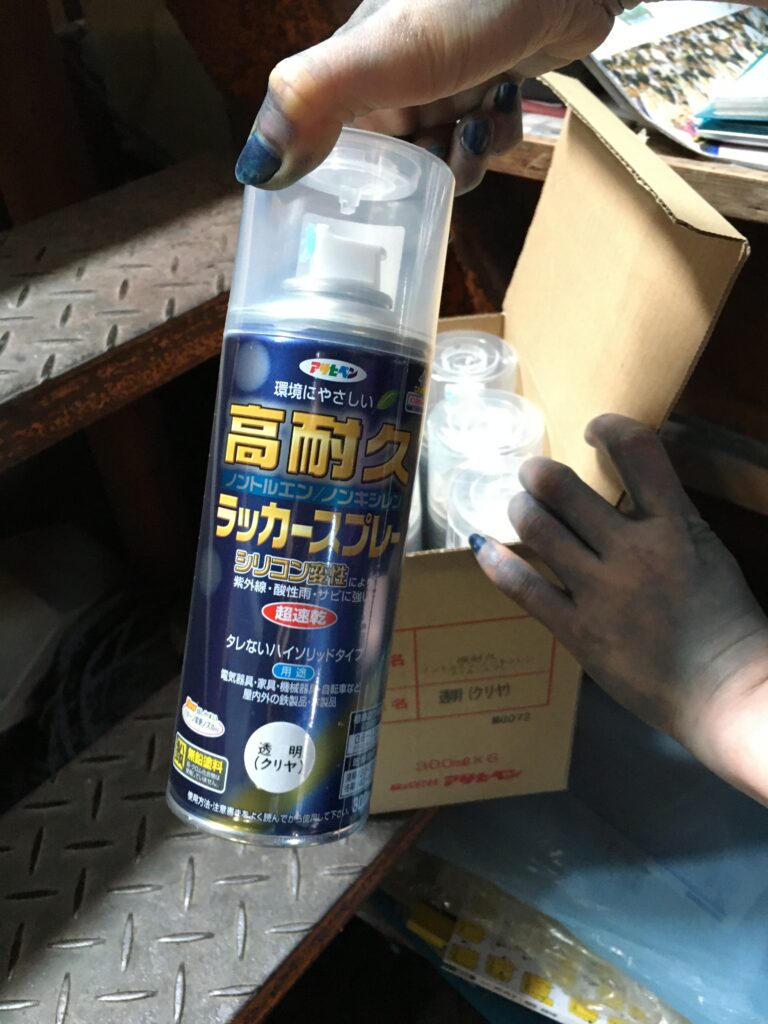
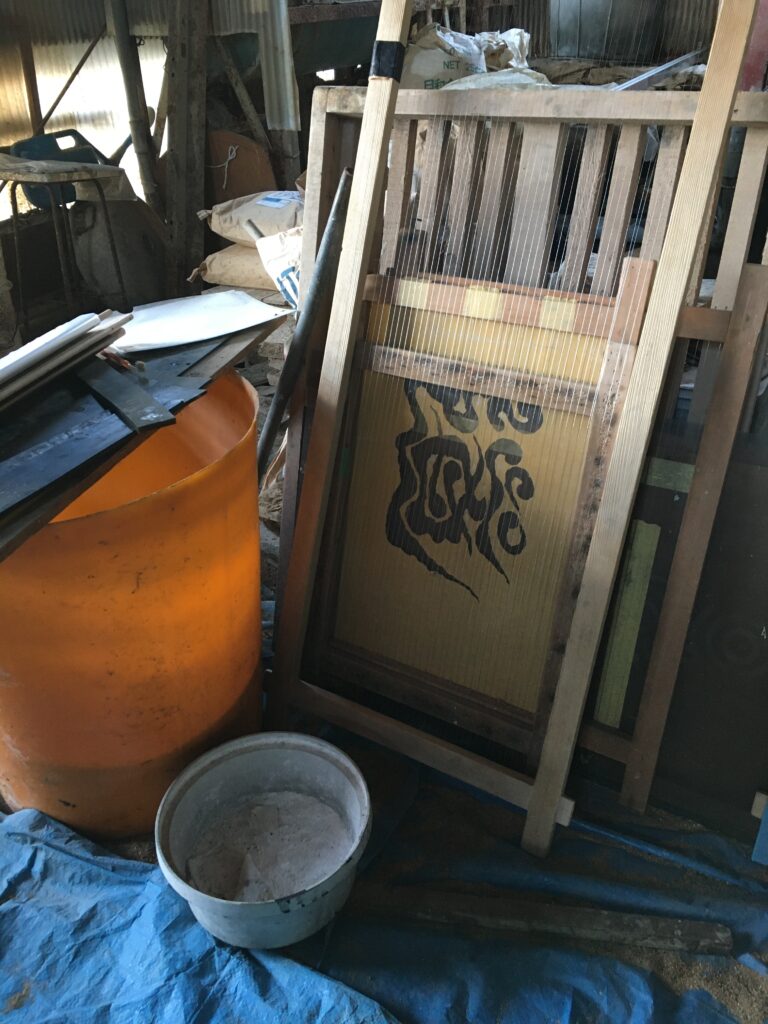
The Kata stencil is made of synthetic paper that is strong against water. The pattern is traced on it and usually hand-cut. The prepared paper is then glued with 紗 screen with water resistant transparent spray lack (at Furusyo dye factory, others often use the casyhu glue) before stenciled with resist glue on fabric.
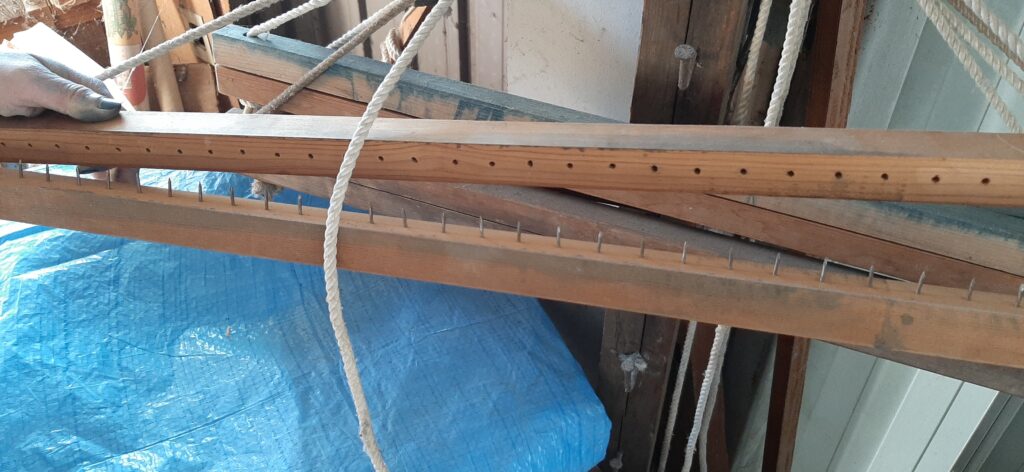
I asked about the resist/pap stability and indigo dip dyeing, as I tried katazome with indigo for Indigo Hyphae project, the pap was coming off from the fabric and resulting some part of the white pattern to be colored in light blue color. They told me that they stretch the fabric in the air after printing, using tools like this and spray water from the back side and smear with thin bamboo stick. This will let the resist/pap to go into the fabric even more and bite into it better. This stretch tool looks like something we can make in DIY way. I would like to try it.
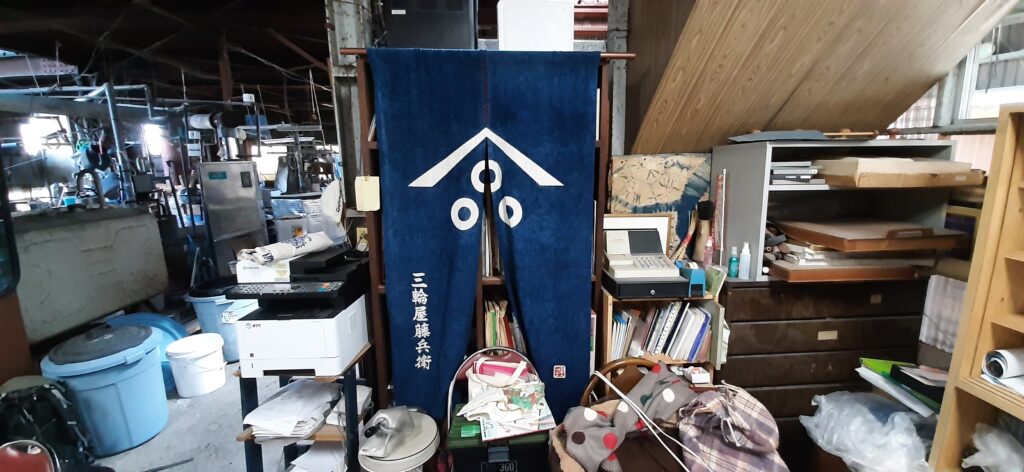
This Noren is made by Michiko’s grandfather 40 years ago. Looking at the deep blue color still intact, I am impressed of the quality of the indigo dye fabric they can produce. Michiko told me that it is actually good to wash these indigo dyed fabric once in a while to remove the scum/Abschaum to prevent blue from turning yellow tint.
When we visited Furusyo Dye Factory, they did not have an order to work on 注染 (dye pour) made fabric so we could not see it in action. (They only produce with the order) I would love to see this technique in action as it sounds extremely interesting and highly technical.
If you are interested, here are some 注染 (dye pour) examples from Tenugui artisans in Japan. (The dye used here are most likely synthetic dye)