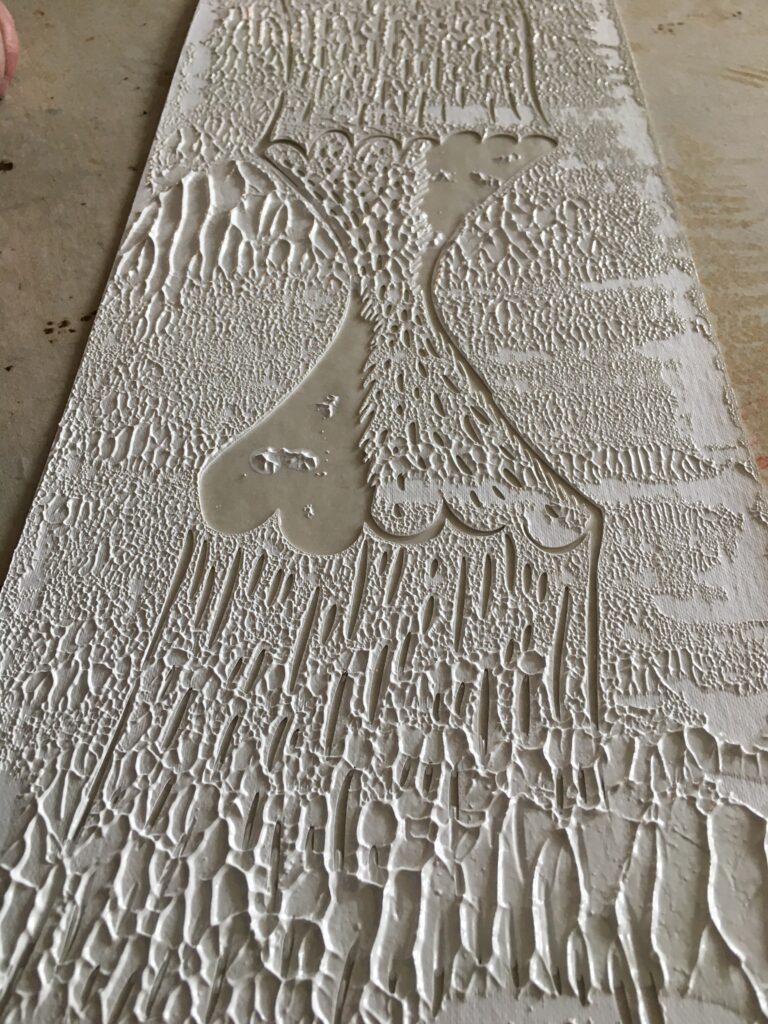
In this project, I wanted to bring in the technique of Katazome into the practice they do in Zeugfäberei. This was inspired by Janina’s Papp recipe as she took the idea of Katazome papp (bousen-nori) in her recipe.
Katazome is an old printing technique that uses paper stencils. It is used for various types of fabric coloring beside indigo dyes. I have been to short workshop by Mr. Akasaka in Kyoto… but far from saying I know how to do Katazome.
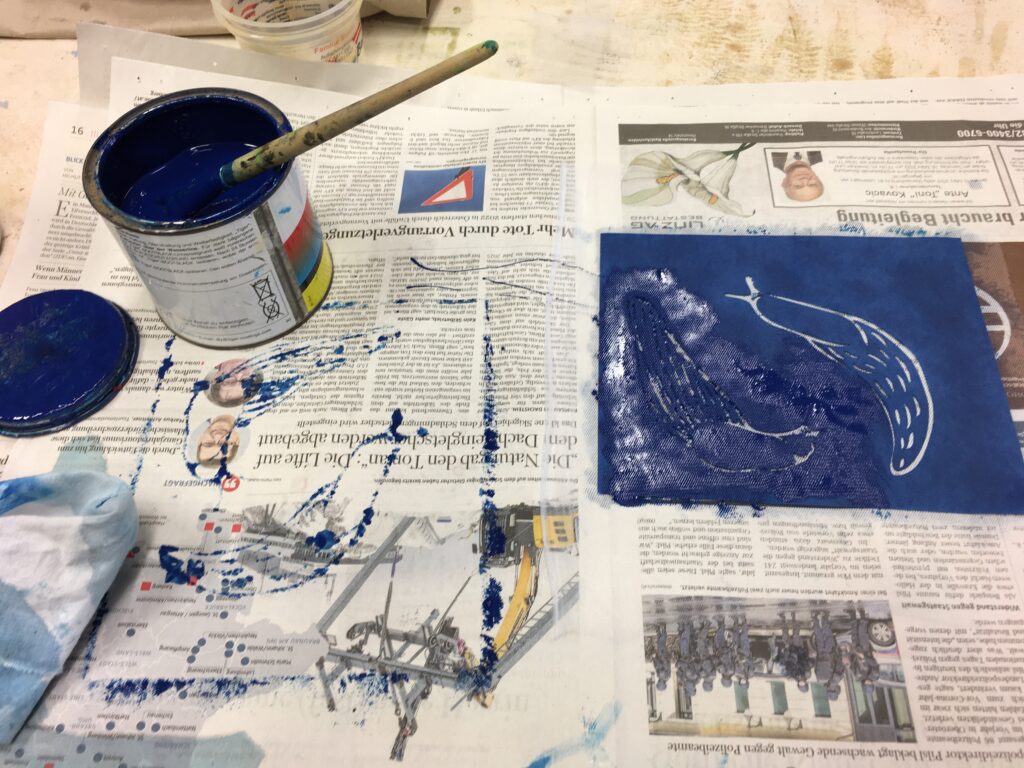
What I find it interesting is that it is a traditional craft practiced by skilled craftsman on one hand, it is also widely spread as DIY technique for hobby dyer in Japan. and even the way the craftsman do is using new materials and adapted to situation now to be more “practical” as these prints are made for everyday use, like Tenugui towels.
So, I took my challenge as to find DIY kata stencil making process that can be done in Zeugfäberei, with materials available in Austria.
Here are what is used in standard Katazome Kata stencil papers.
Paper:
The traditional material of Kata is washi paper coated with Sibugaki juice (bitter persimmon juice) to add water resistance, and glued in layers. Now a days they use ST paper, which is washi paper fused with plastic layers.
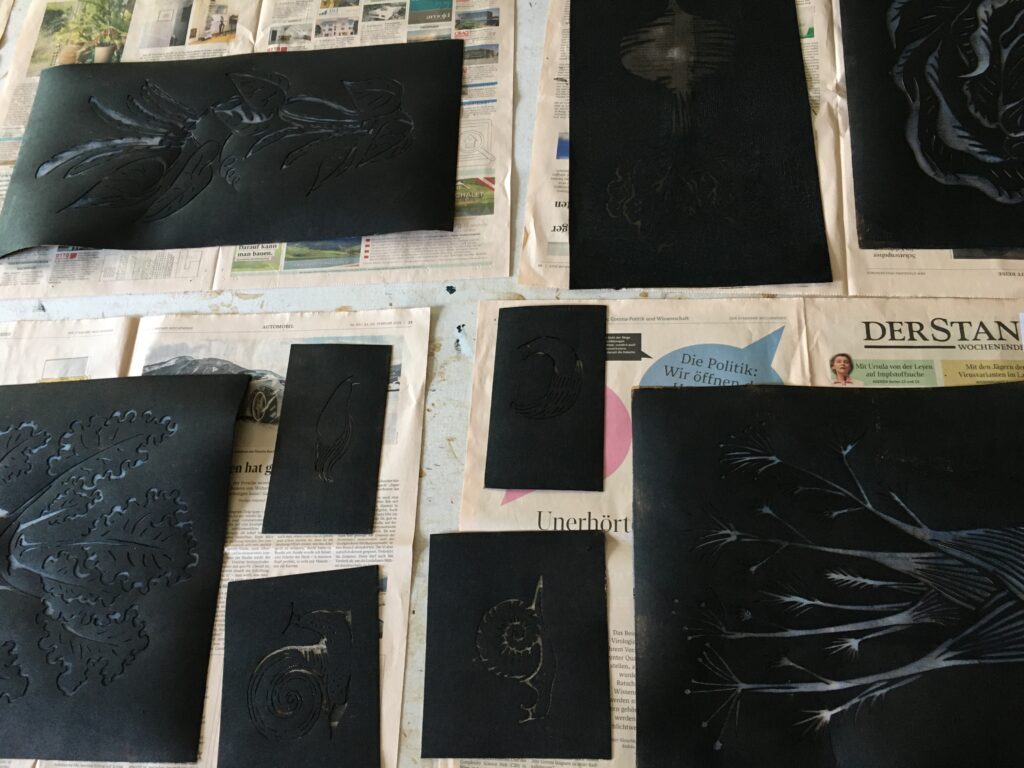
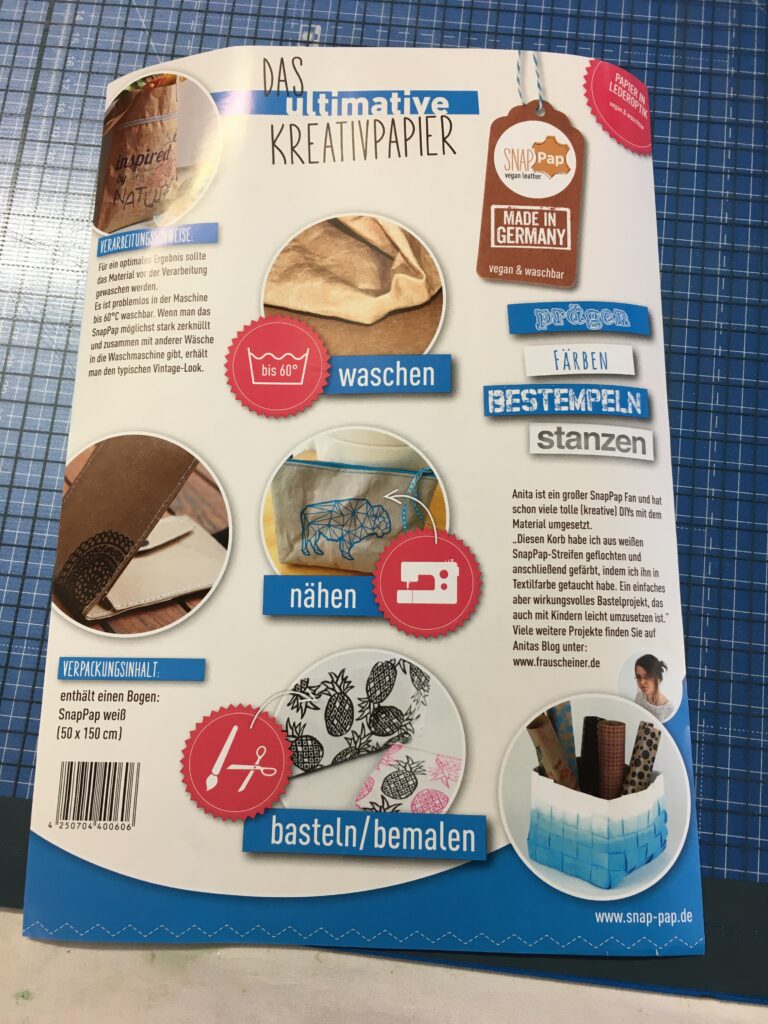
Austria version: I tried first with plotter sticker material. It works ok, but the sticker is too weak to stick the screen (therefor I need extra gluing process) and it is a bit too thin for the papp thickness. Then I tried snap pap, a vegan leather material made in south Germany as Janina happen to have it in her stock. It has a perfect thickness for papp prints, water resistance and very stable. After few try-outs, I decided to go with snap pap as kata base.
Cutting:
Kata papers are cut by hand with knife, and still is in current Katazome craftsman works. There are even cutting craftsman just specialized in stripes or dots.
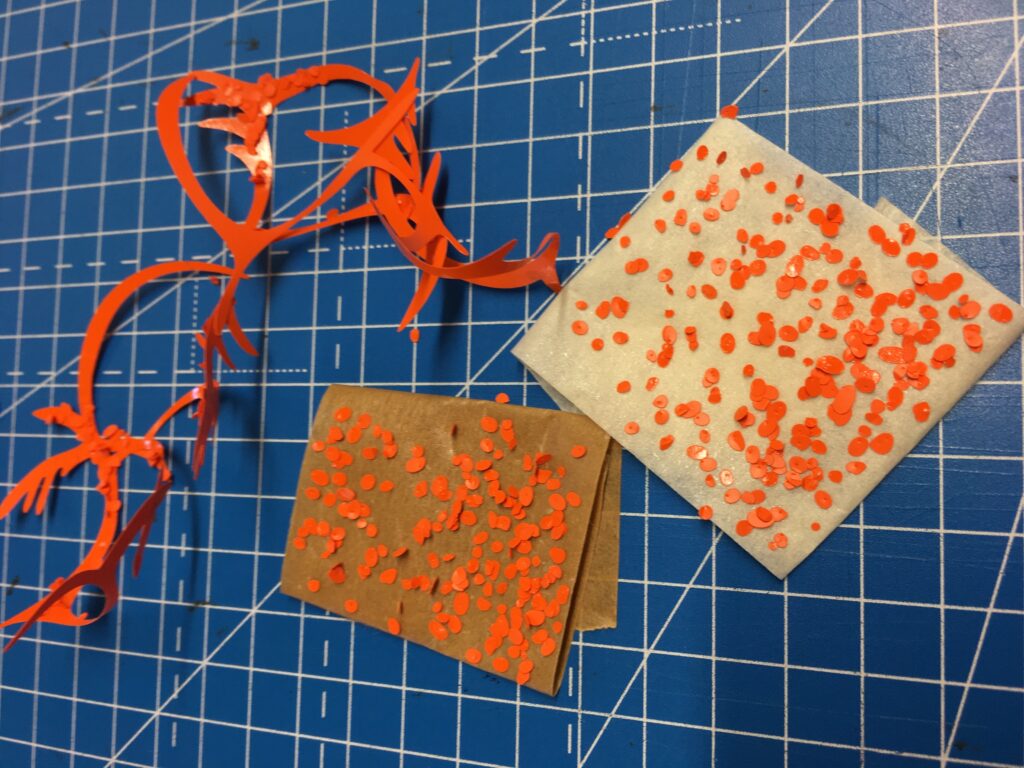
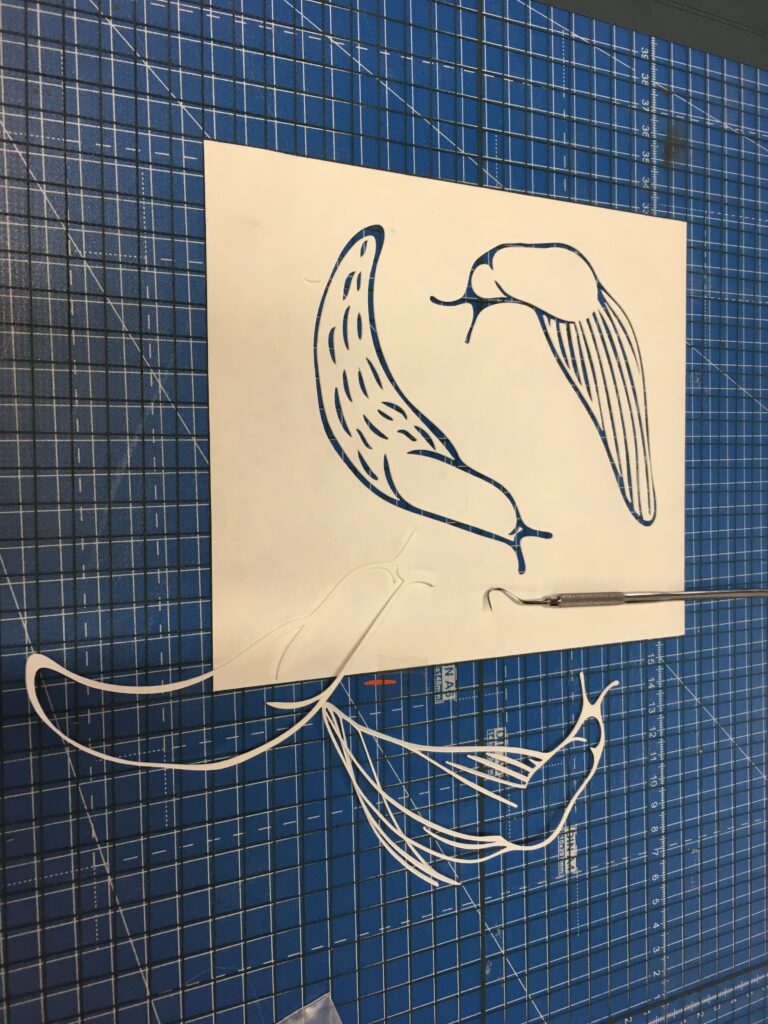
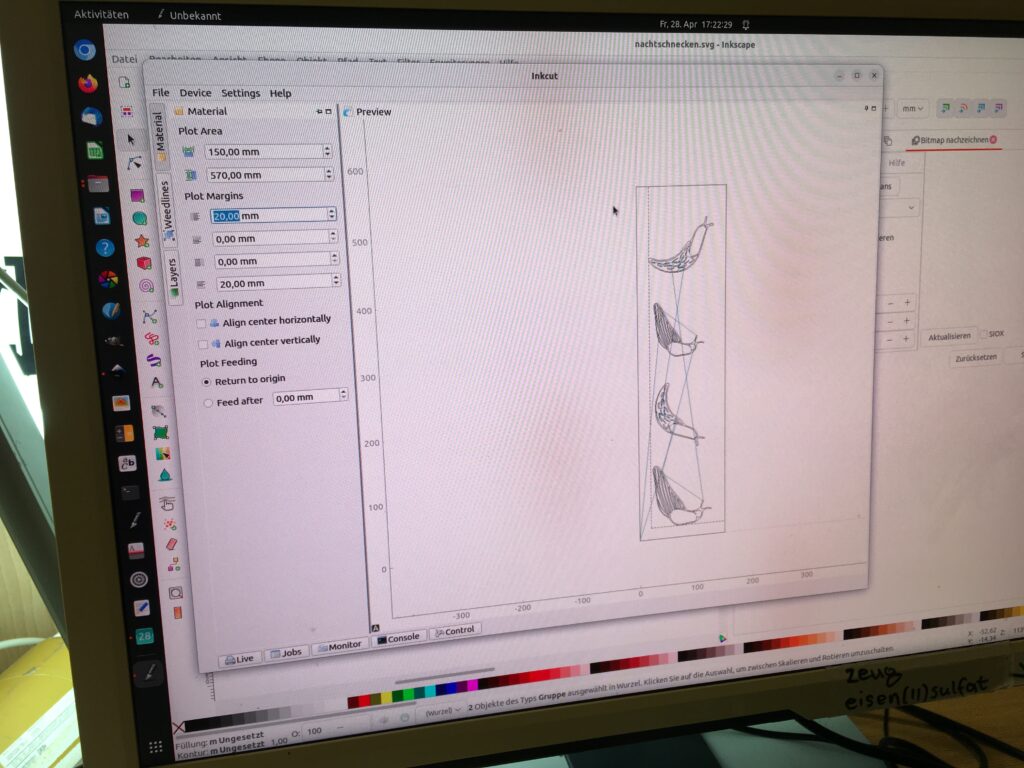
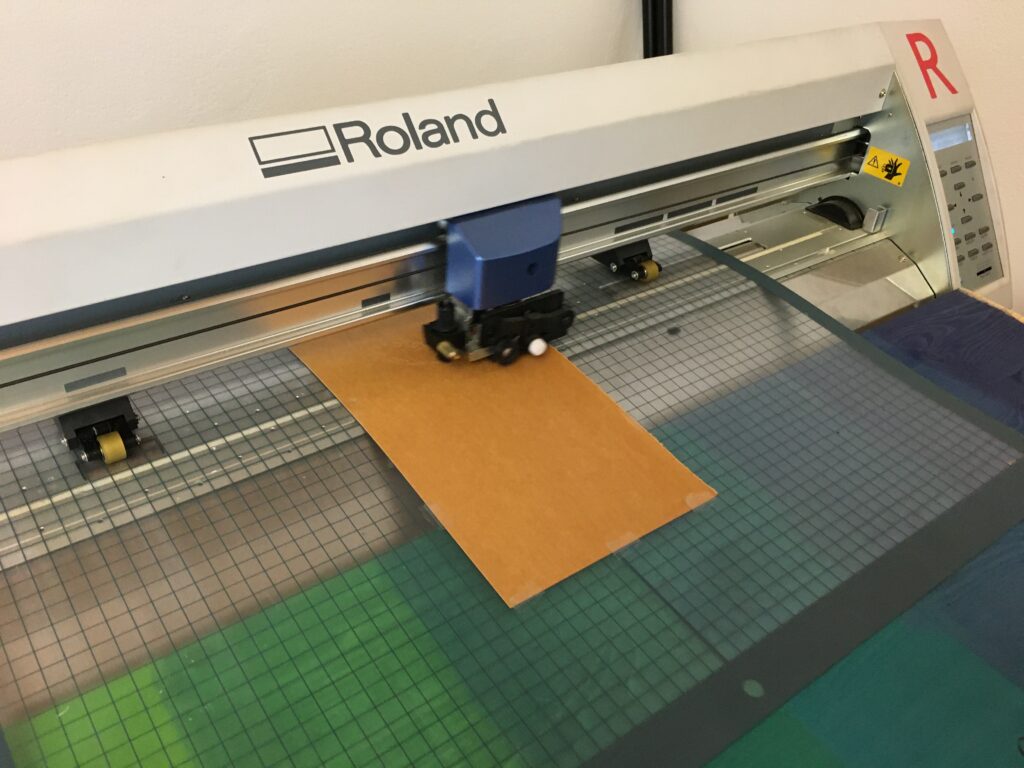
Austria version: Instead of cutting by hand, I use plotter to cut. At Zeugfäberei, they have Roland Plotter and can cut quite large surface. The patterns are first drawn on computer (I used iPad with pen with procreate software) then trace the outline with illustrator to make svg file for cutting.

Screen:
It is called “shya” in Japanese. This is rather a modern development and old kata did not have screens but was just a papers. By adding screens, it allows floating stencils (for example eye ball in the eyes). Also it makes the stencil stronger so it can be reused many times. The old type screens are made of silk threads, the current ones are mostly made with synthetic thread. They are not very dense like silk screens. The ones I found are ~8 thread/ cm. It is called Tetoron-shya.
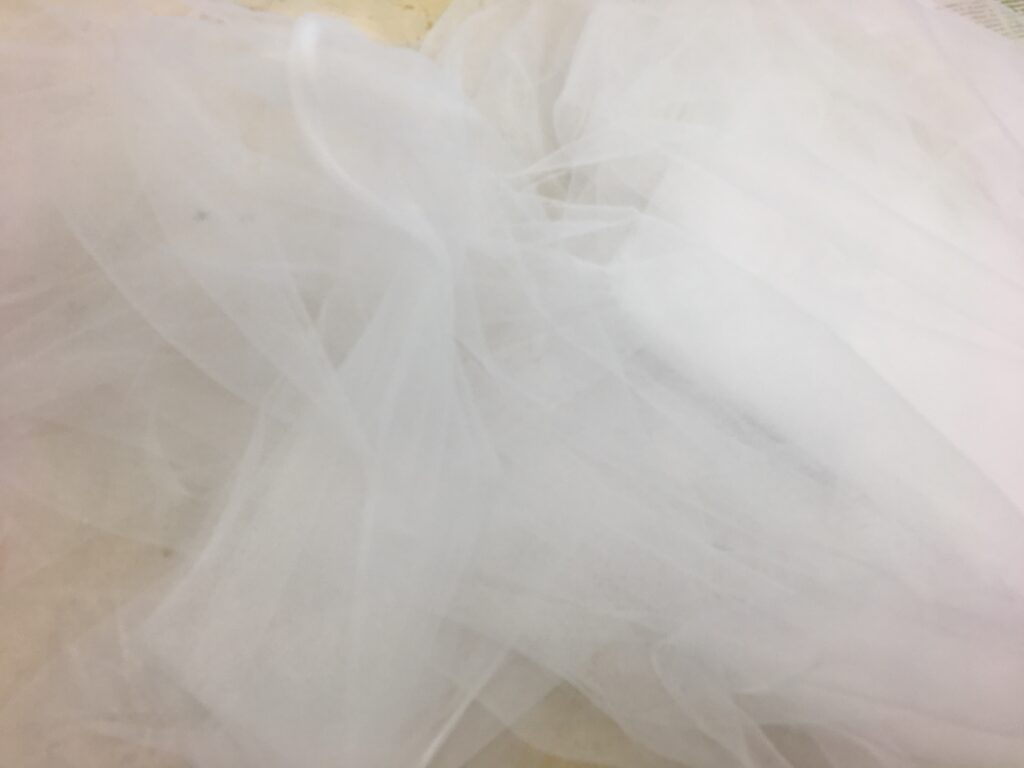
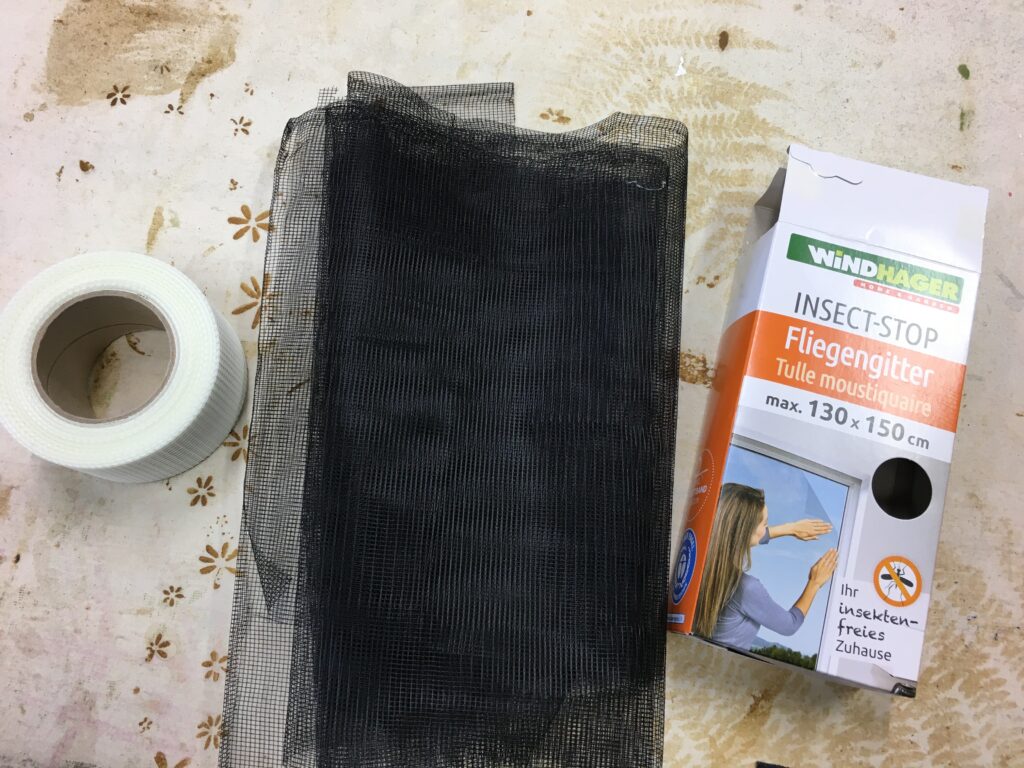
Austria version: I first tried mosquito net I found on amazon. The result was good, but I further tried different types of mosquito net I found in largerhaus (local austrian hardware shop) and construction band. All these had a problem that the net shape shows on papp prints. It will be ideal if it is more like silkscreen screens. Then the online silkscreen supply shop had 16 thread/cm screen, so I tried this one. At the end after many test prints, I concluded the mosquito net works the best though.
Glue:
The paper and the screen are glued together with cashew paint. Cashew is a synthetic Urushi paint made of cashew fruits, and is a common paint in Japan sold in hardware stores. I tried to find similar things in Europe, and could not find anything similar at all. The reason for the glue is to fix the net to the paper, and also to strengthen the paper against water.
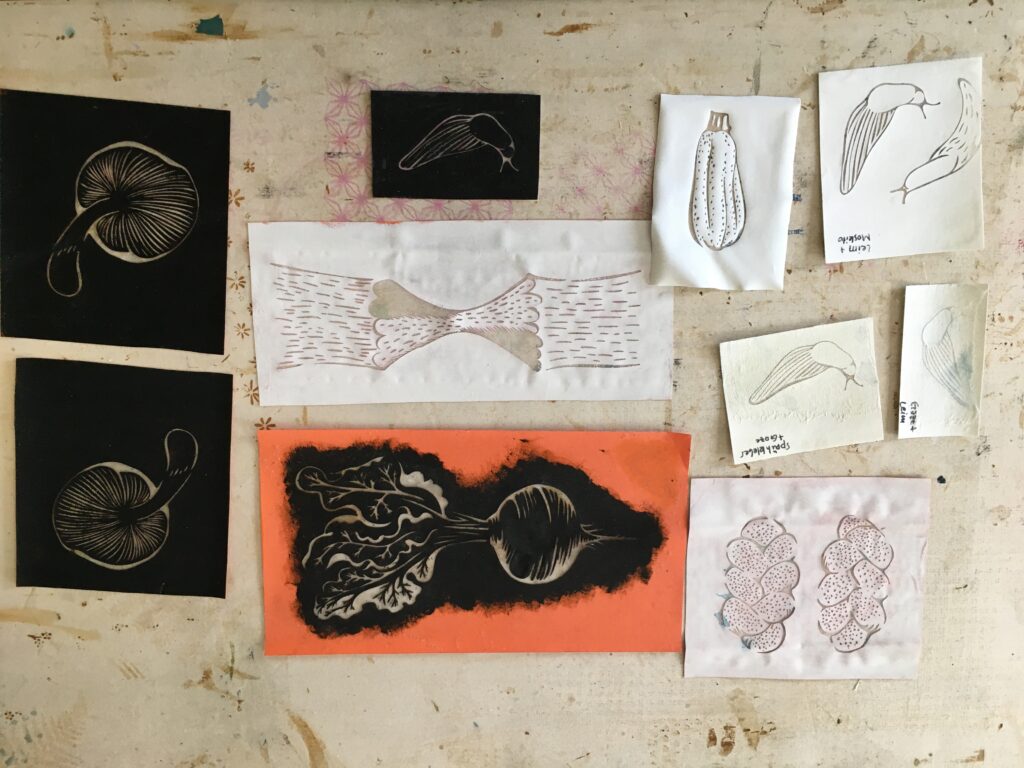
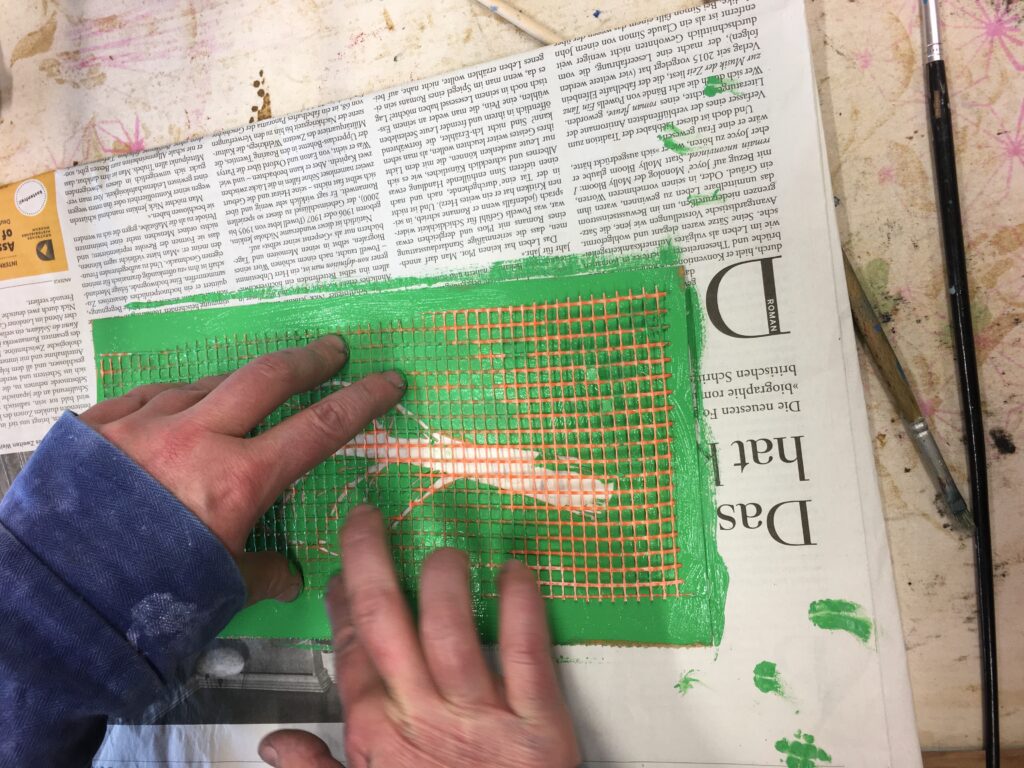
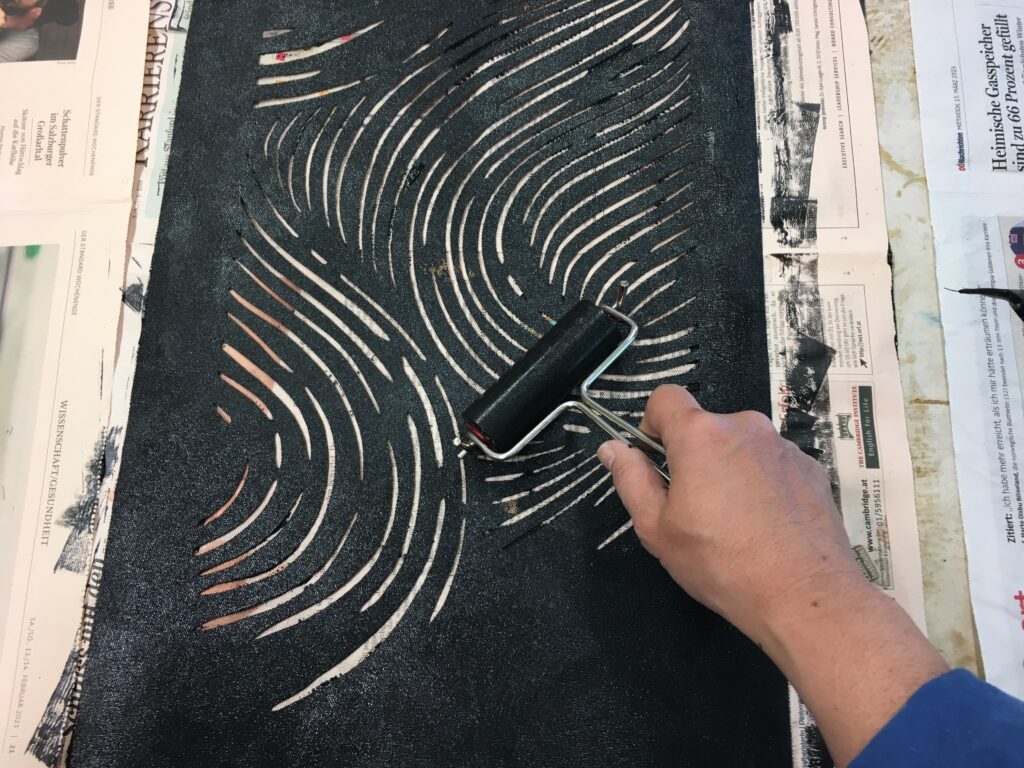
Austria version: This was a long process to find a perfect glue material. First, I tried non-water based paints, such as car paints, metal paints for outside.. so on. It works but the process is very messy and it stinks the whole room. also, it takes quite a while to dry. Then Janina had an idea to use silkscreen paints. The textile silkscreen paints are water resistant after it is fixed with heat. First we painted the paints, then used blank silkscreen… the challenge is that the kata-stencil is already cut and before the net is fixed, it is hard to lift it up in the air. After many tryouts, and also carefully studying how Japanese masters glue their screens we tried two step process. First glue the screen to the stencil with water based glue, then apply textile silkscreen paint with a gummy roller.
All the Kata/stencils I made for the project remains as “Open-Source” as open to use, and stays at the Zeugfärberei. If you want to make them yourself, you can visit Otelo (Open experimental workshop) day of the Zeugfärberei. It is on every last Sunday of the month.
The cut files (.svg) is posted here in case anyone needs to cut new Kata.
How to make your own Kata is documented here: