This is what I did on the day 14. Here is a step by step details of how you can place SMD LED on conductive thread and make a small flexible fabric LED display.
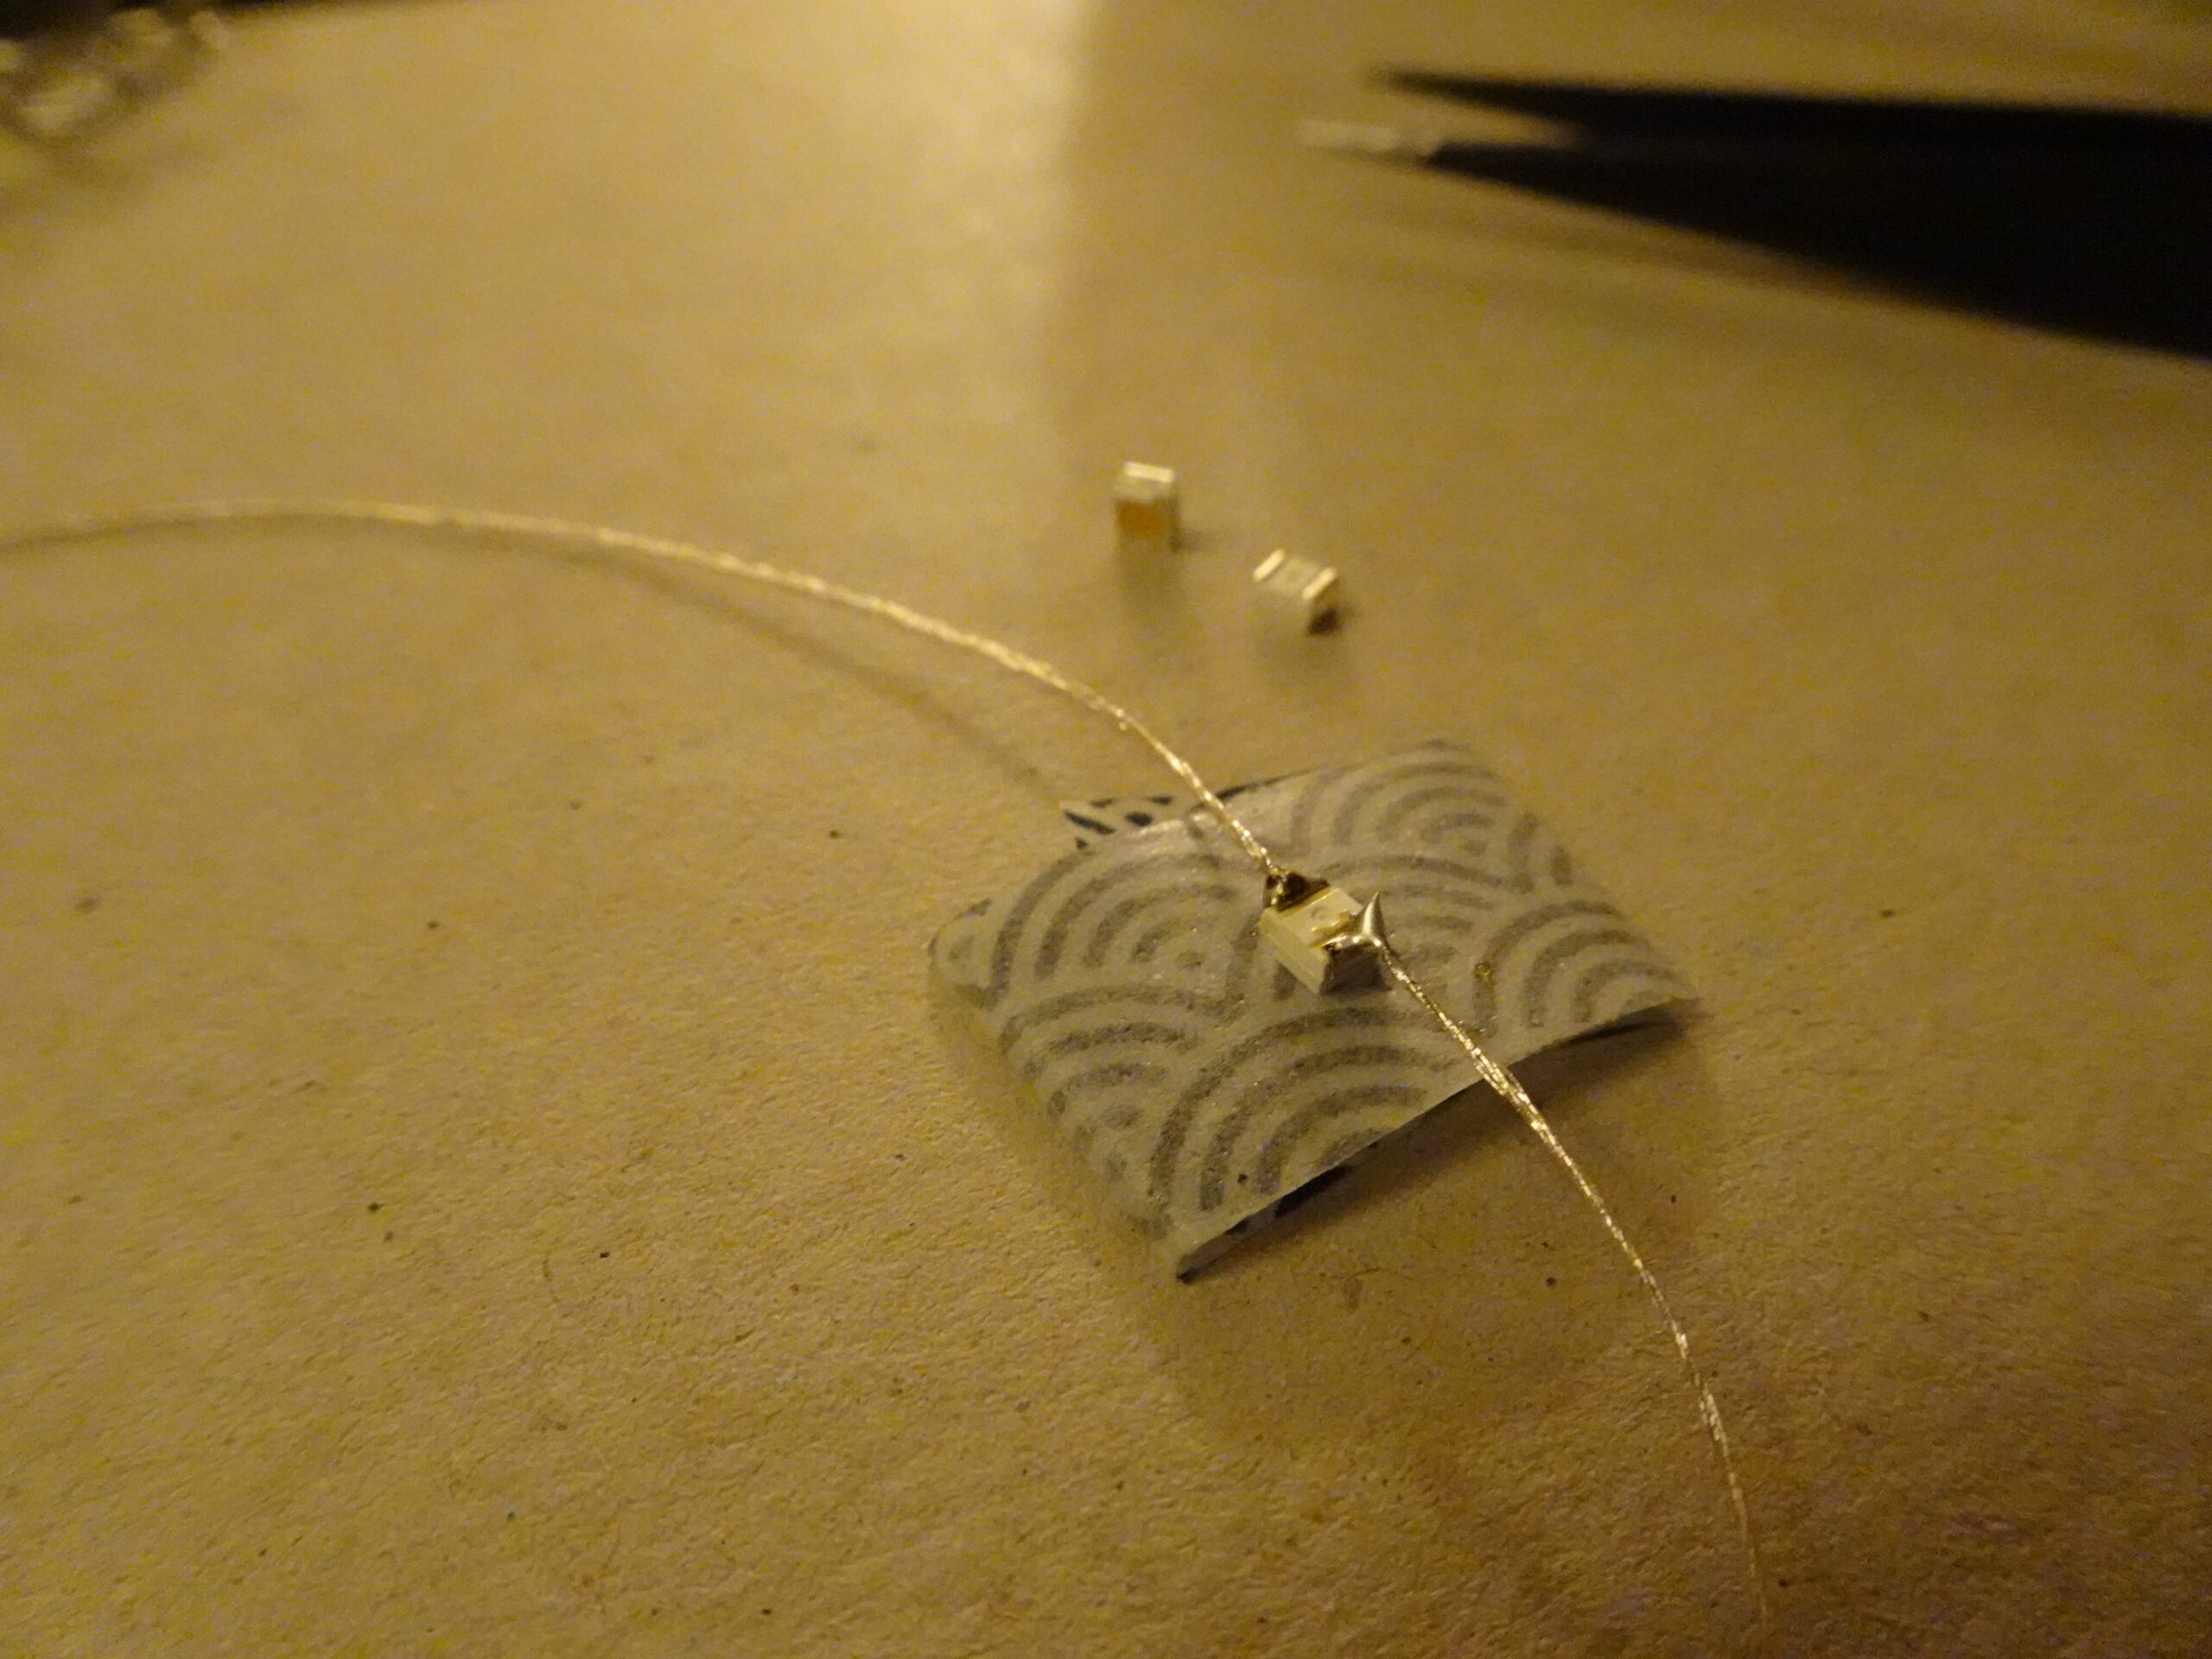
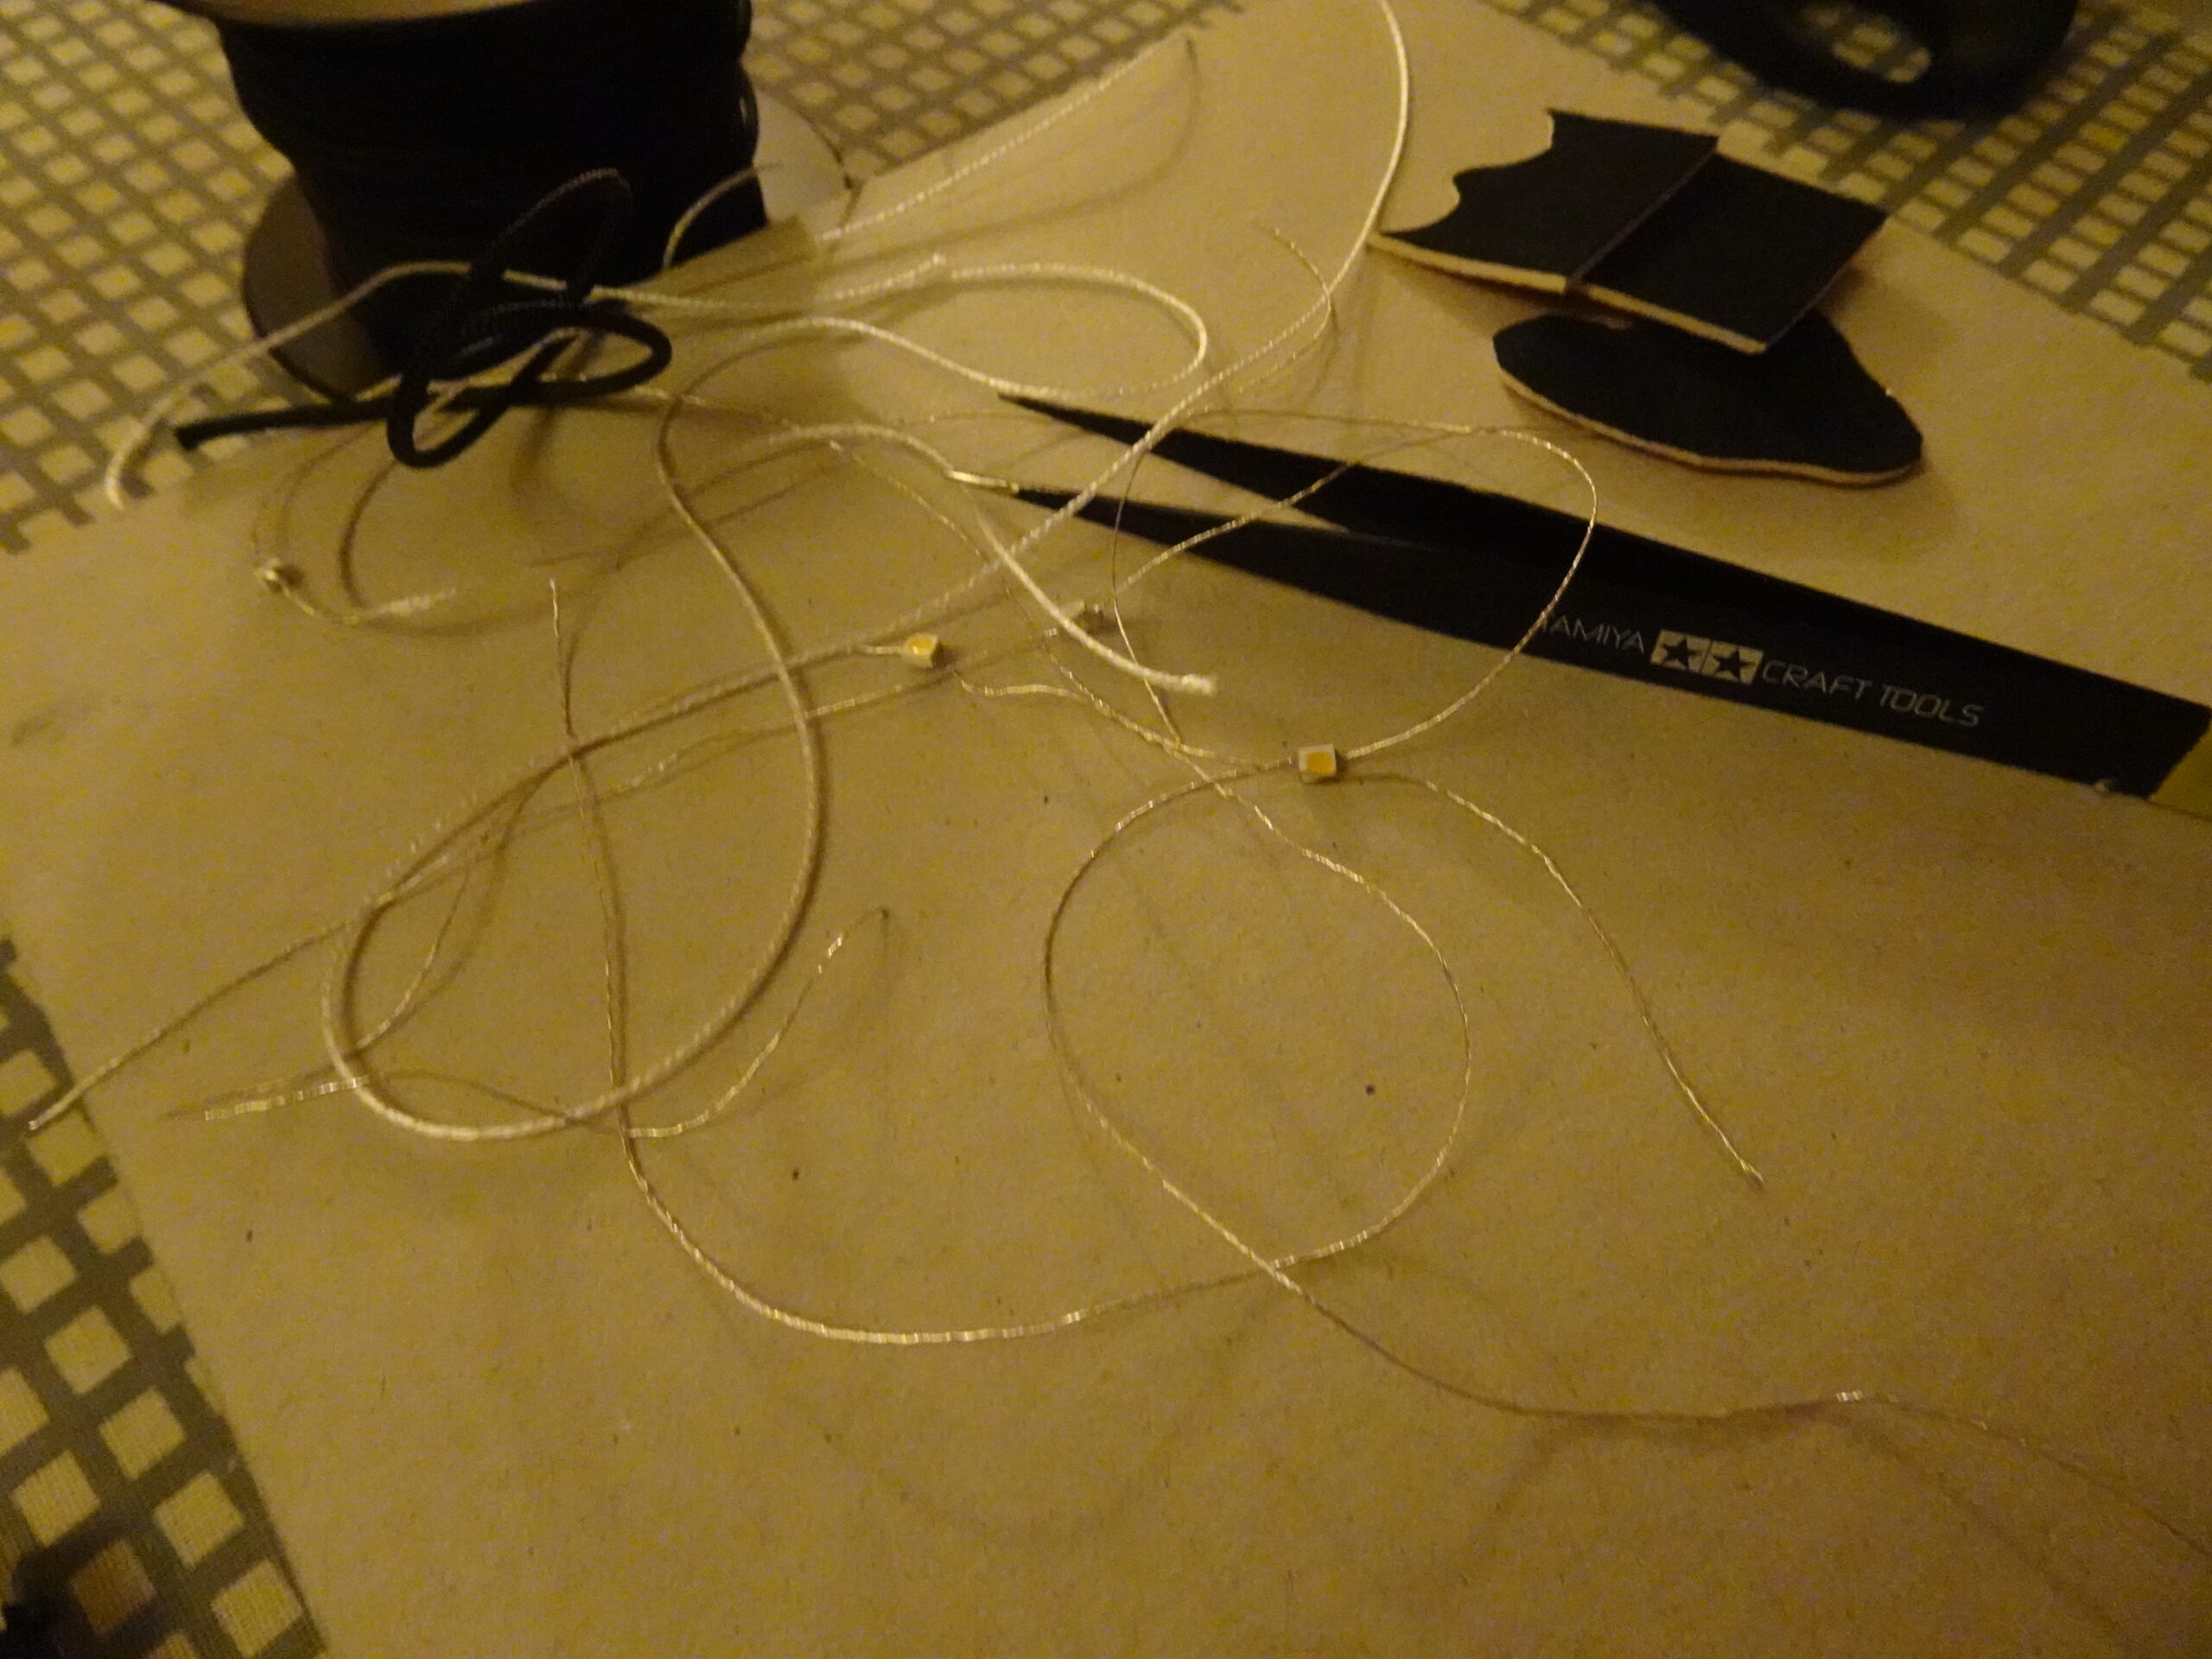
Solder smd LED directly onto KarlGrimm silver conductive thread. Make a note on the LED direction. The side the courner is cut is cathode (-).
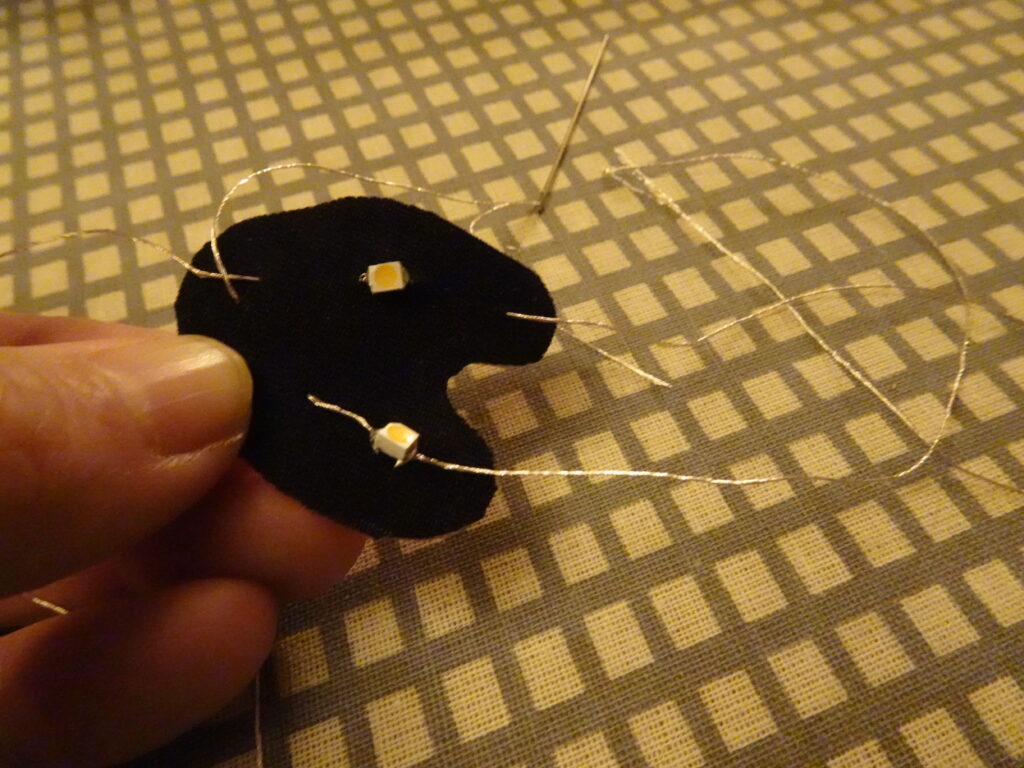
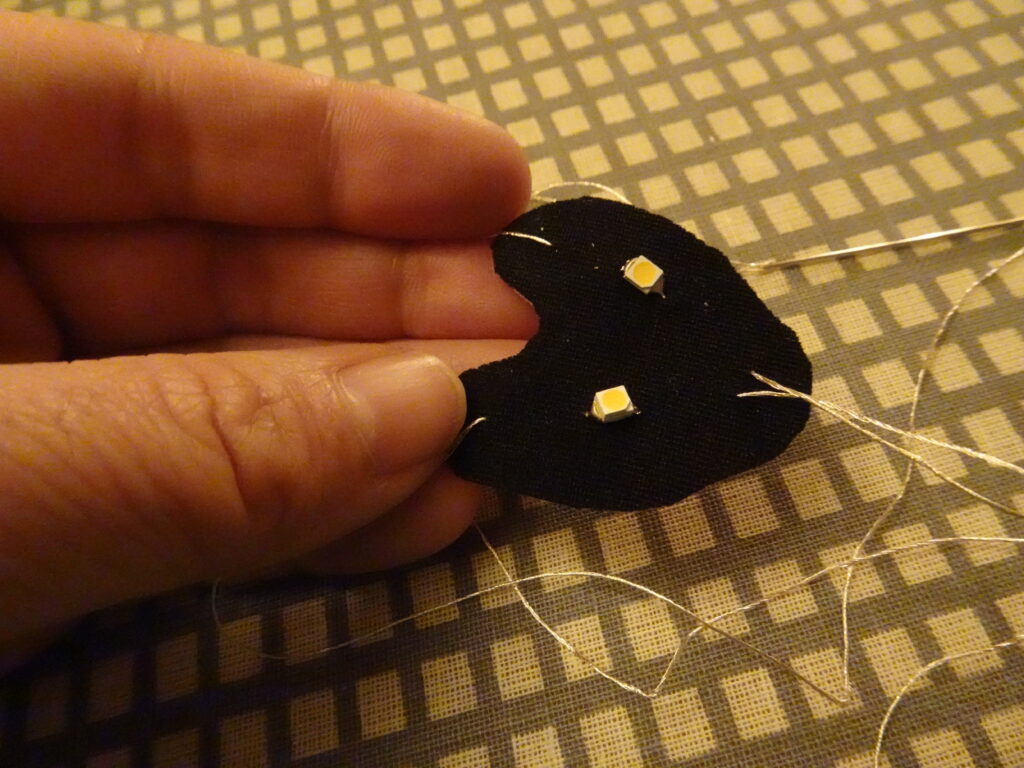
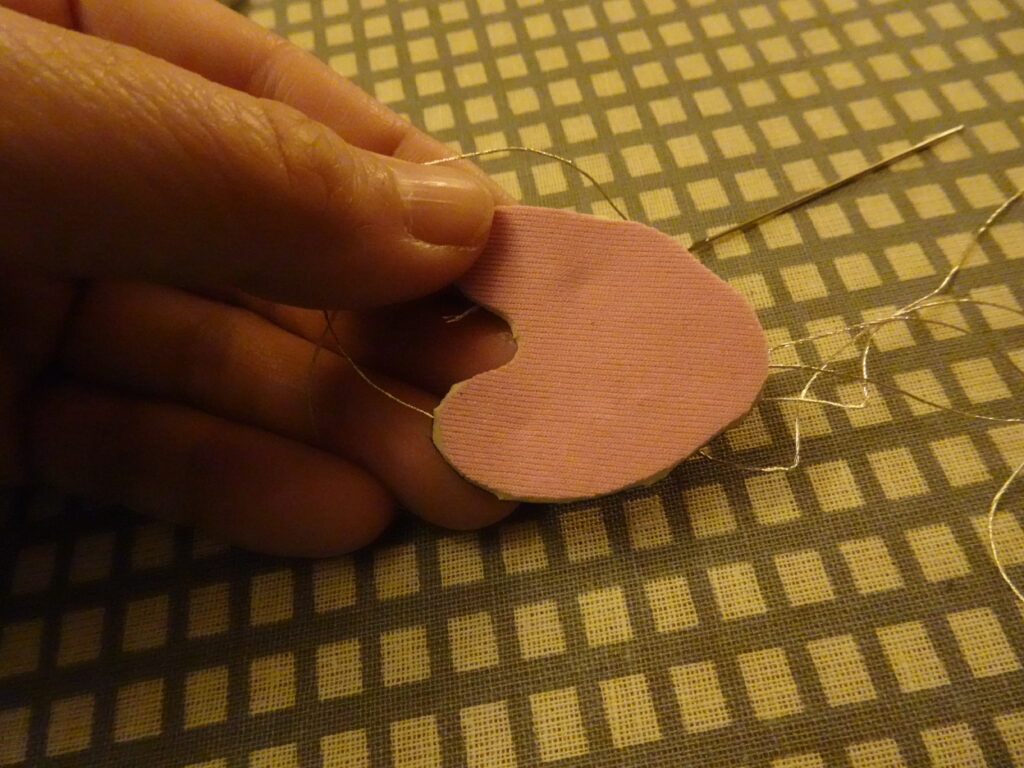
Cut out small neoprene pieces to be a base for the LED display, then stitch through the conductive thread connected to LEDs to the edge of the fabric, where I want to place the snap to connect with the cables. When stitching, make sure to not stitch through to the back so the conductive thread does not show on the back.
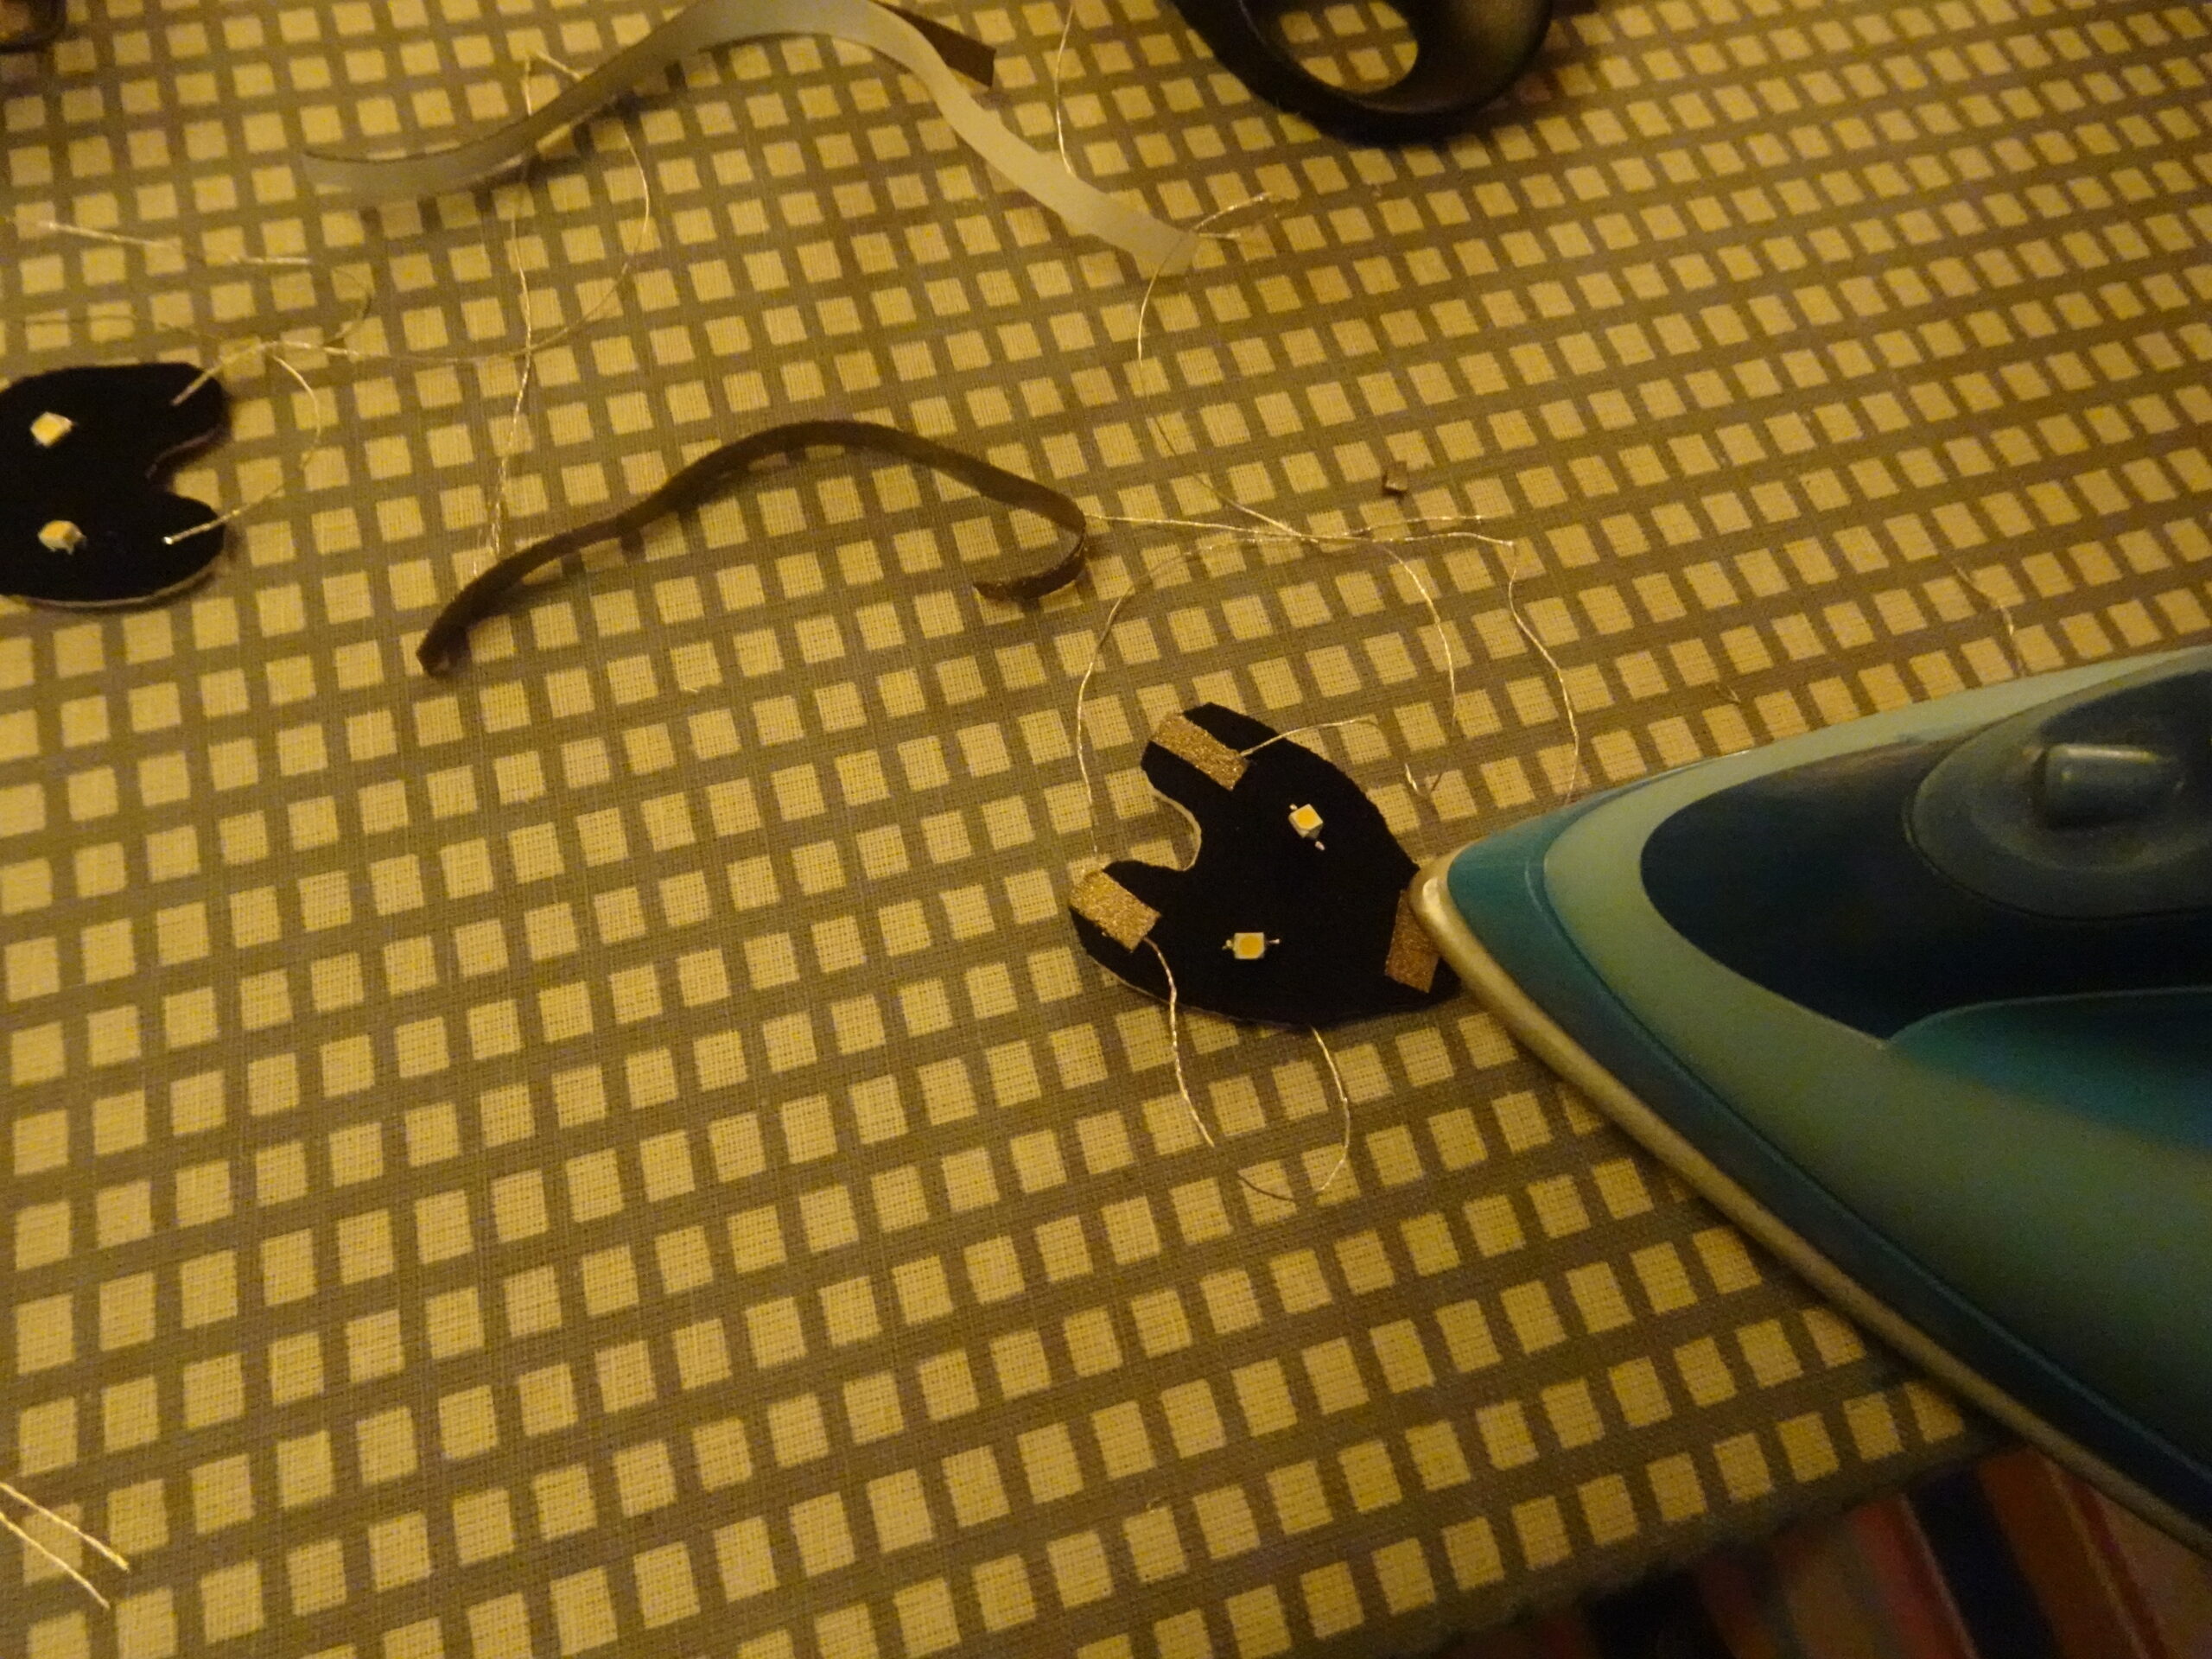
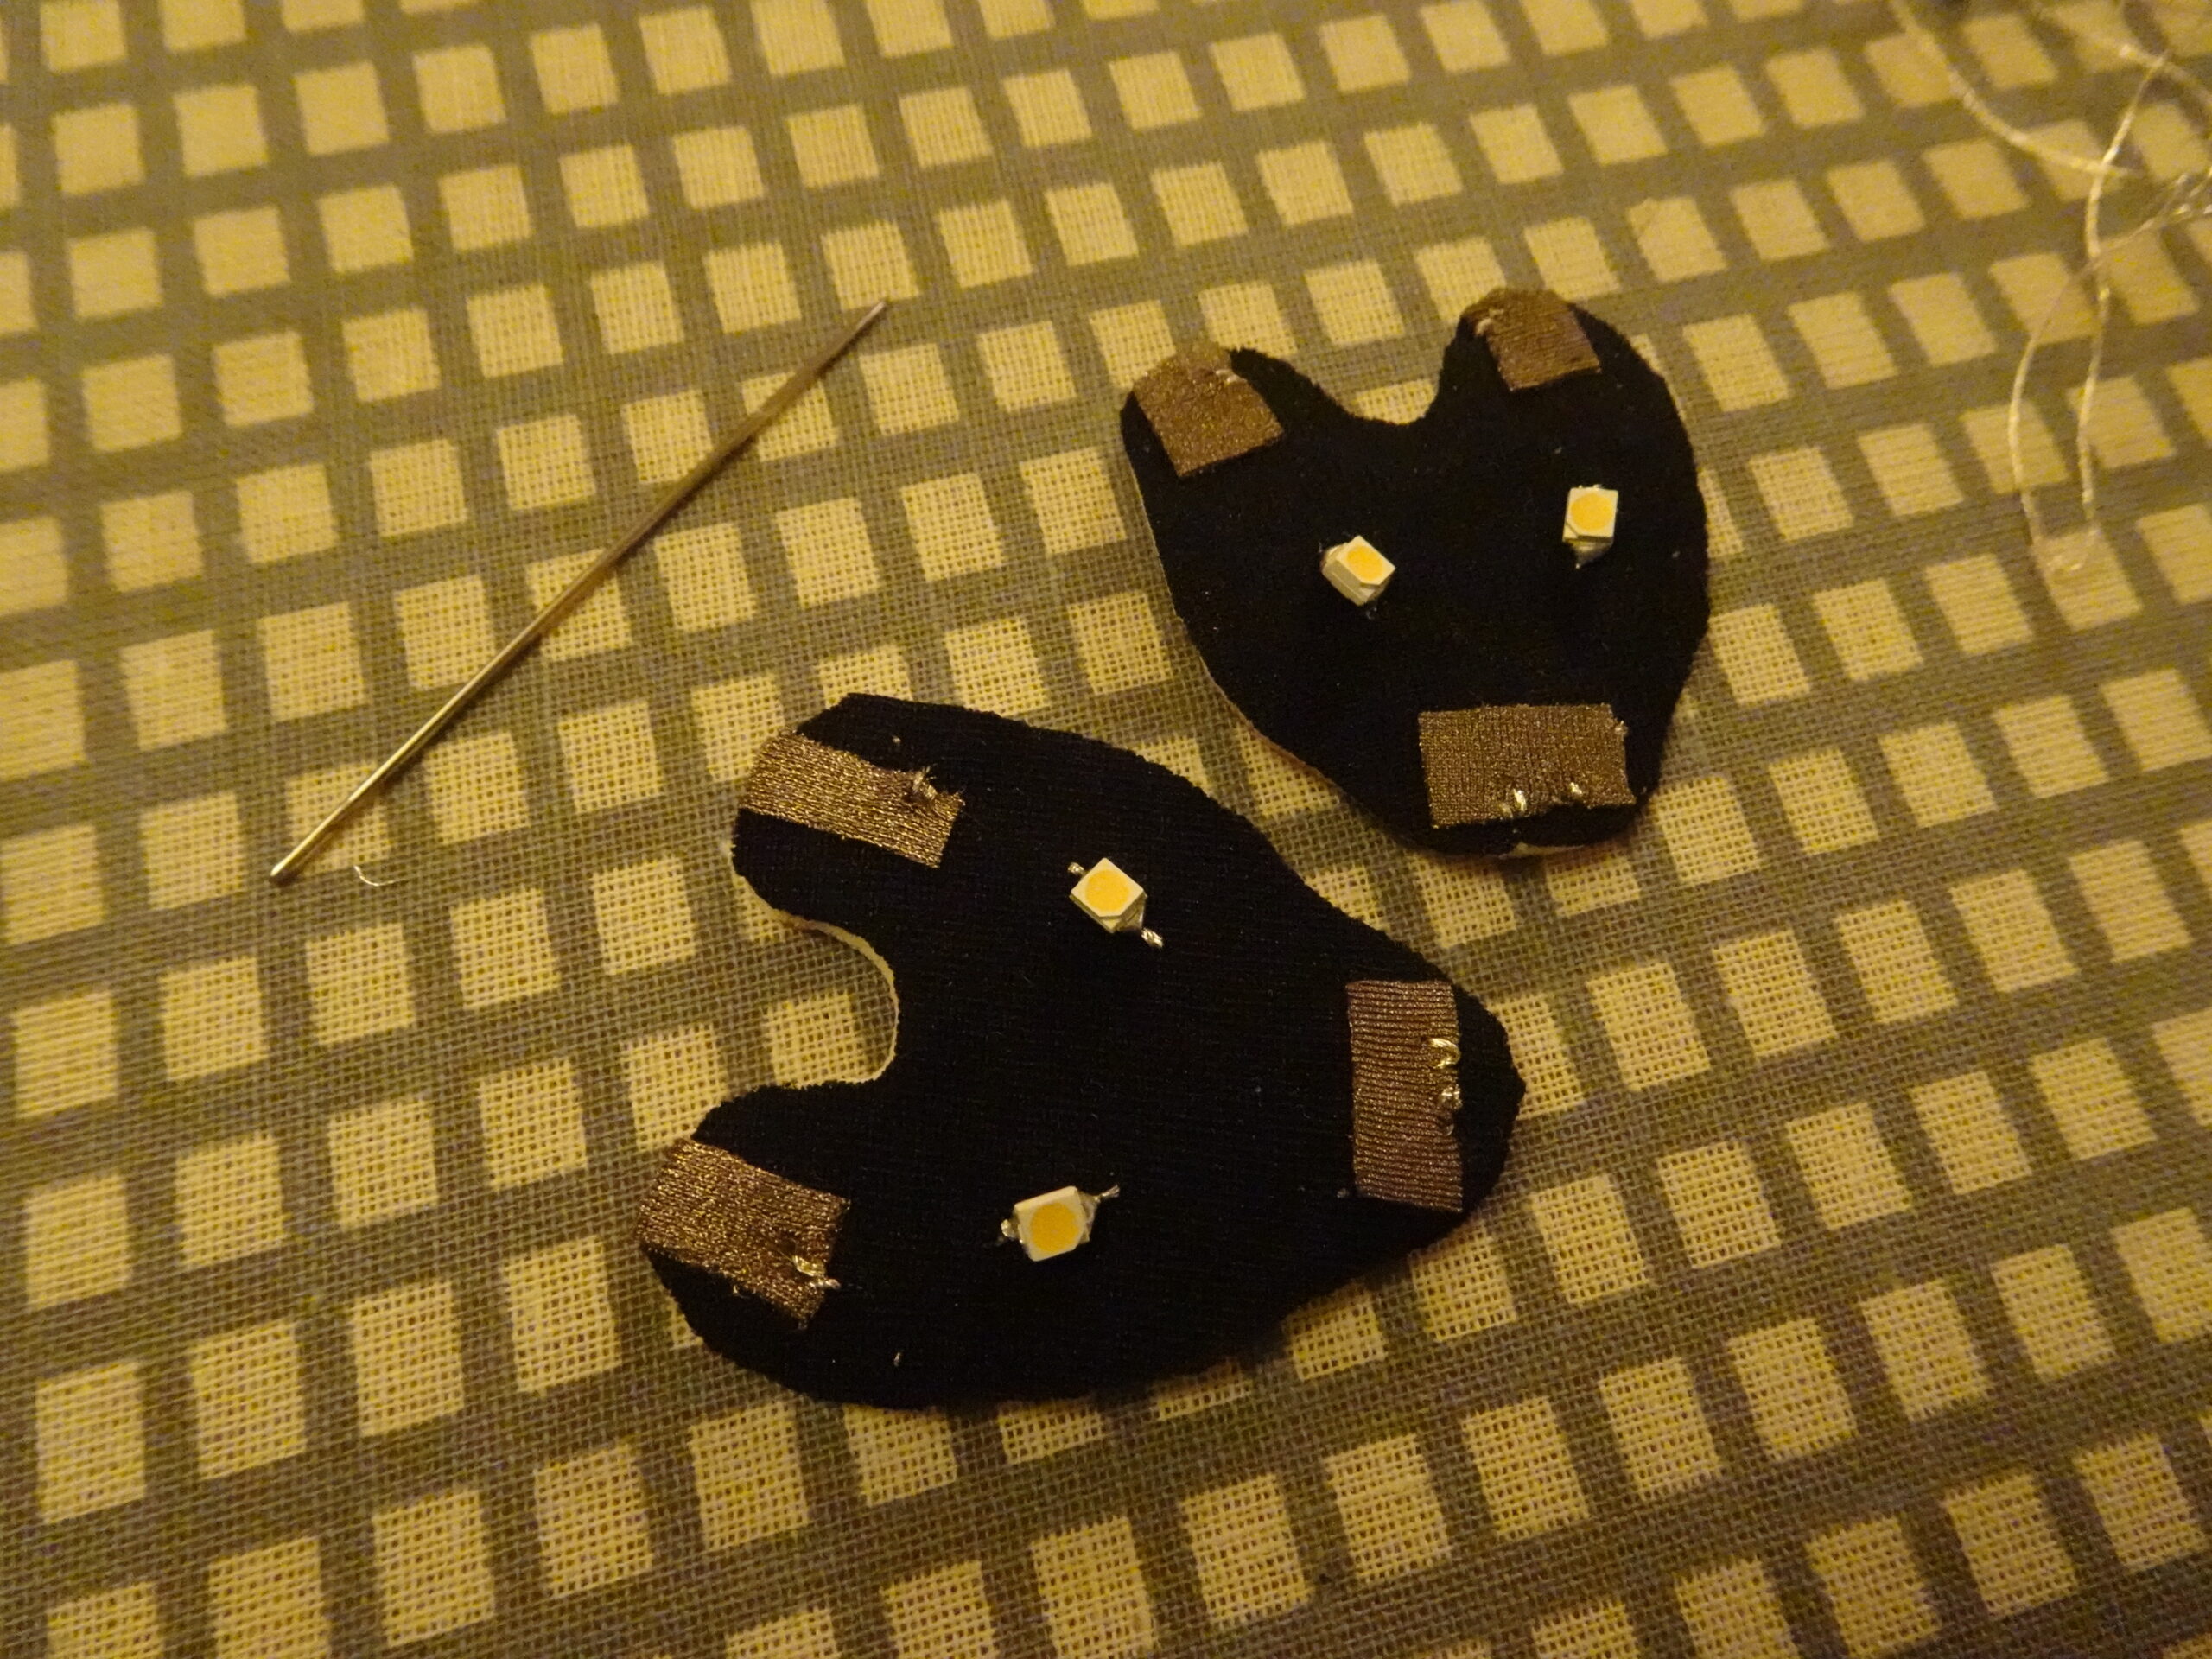
Then I iron on a little conductive fabric piece with fusible interface (iron on glue) onto the conductive thread at the edge. This is to make better contact with the snaps when I press them. I tread the needle with the extra length of conductive thread and stitch through the conductive fabric few times to make sure there are electrical connection between the fabric and thread that is connected to the LED. Then trim the extra thread.
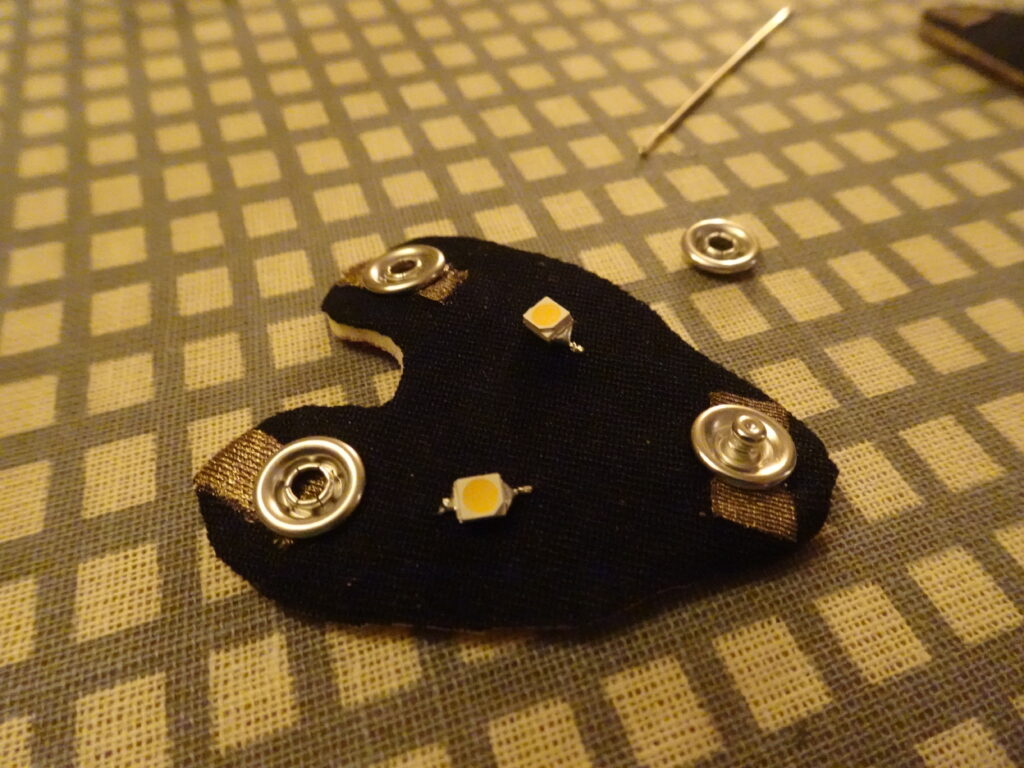
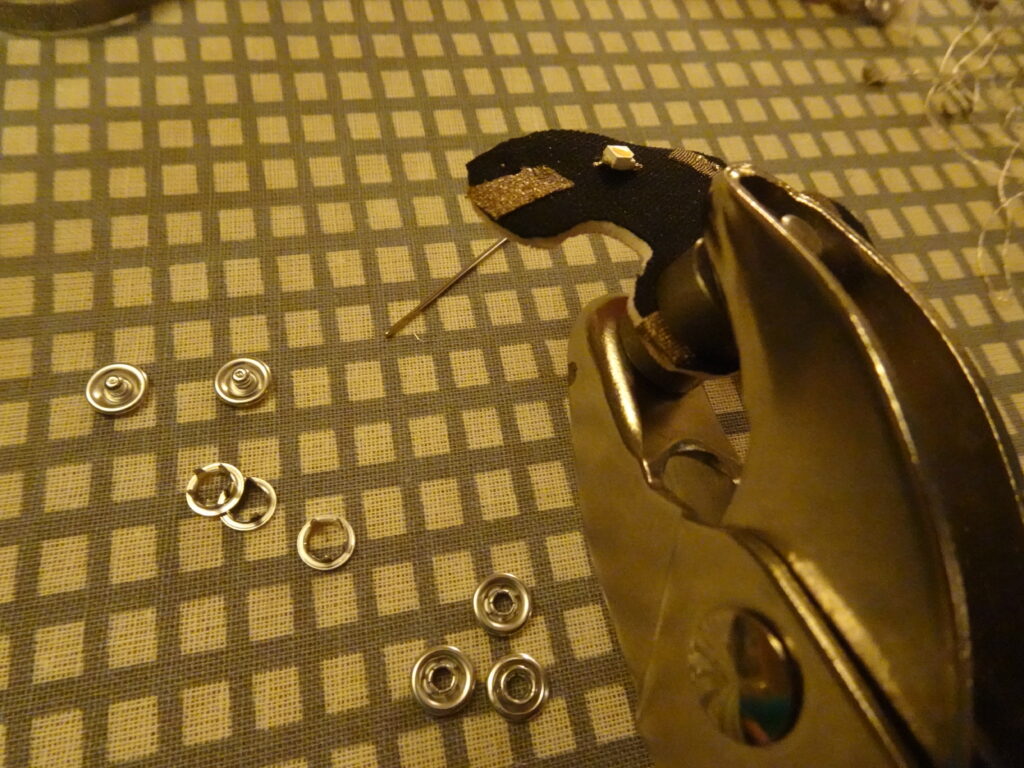
Then press a snap/popper onto the conductive fabric. This will make the connection to the paracord cables. I used hand snap press I brought.
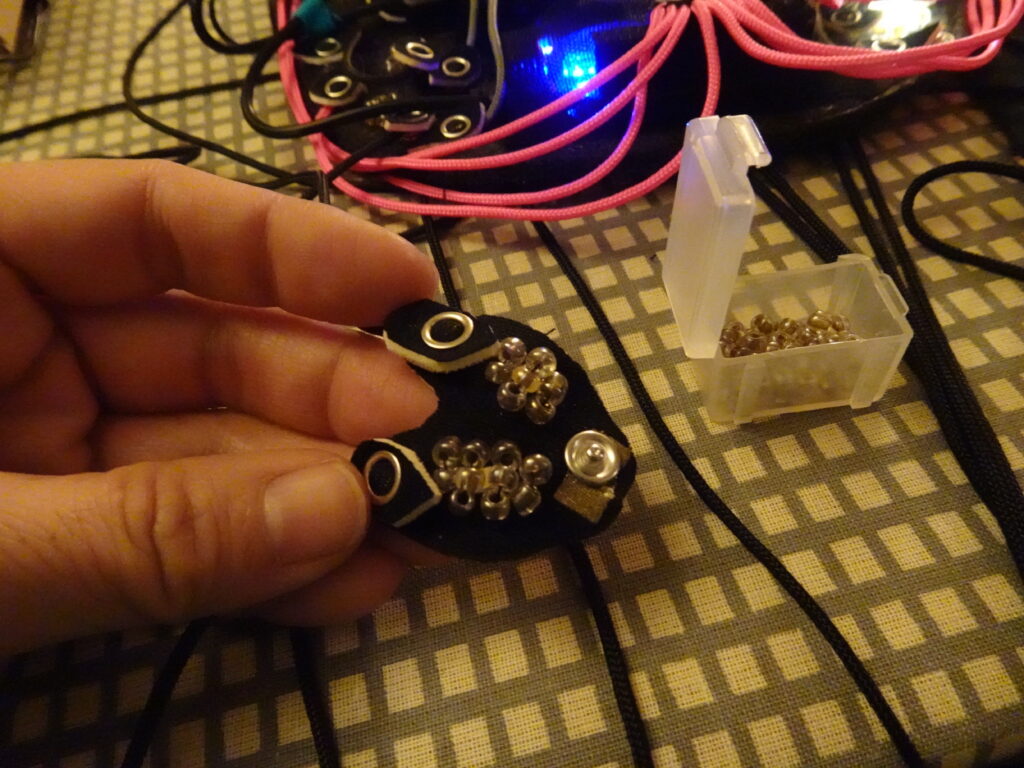
I stitched on some beads on LEDs to diffuse and protect them from scratching and snapping the solder joints.
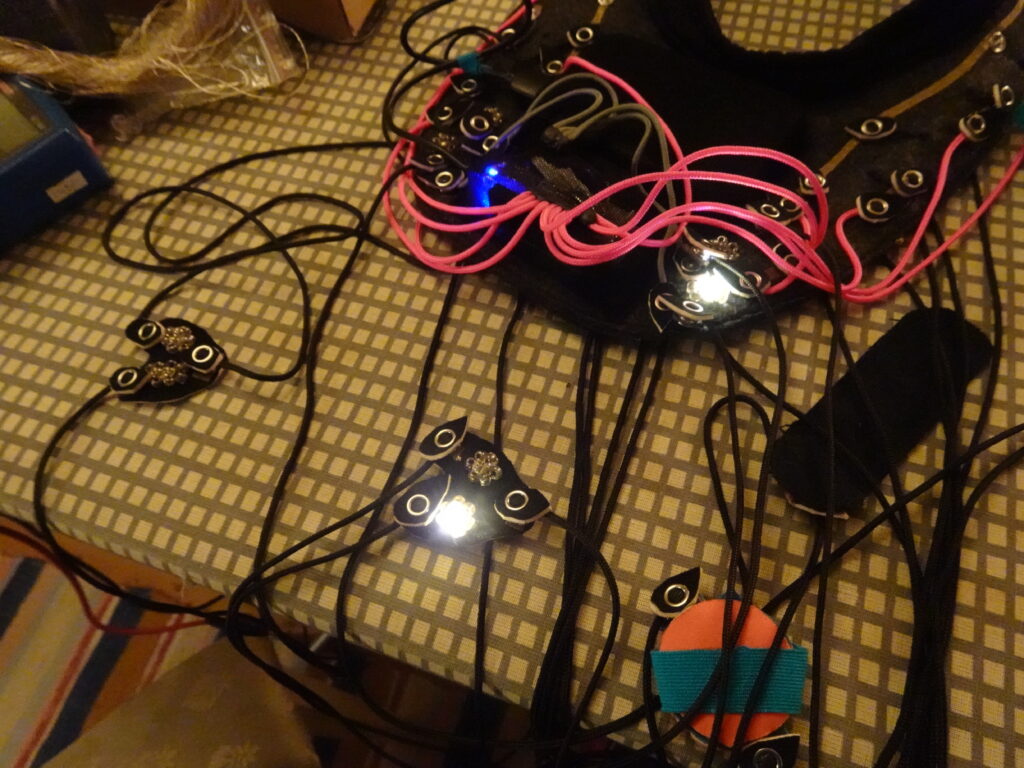
Added extra snaps on the collar side, connect the paracord cable to this small extra LED display.