June 14 13:00 – 16:00
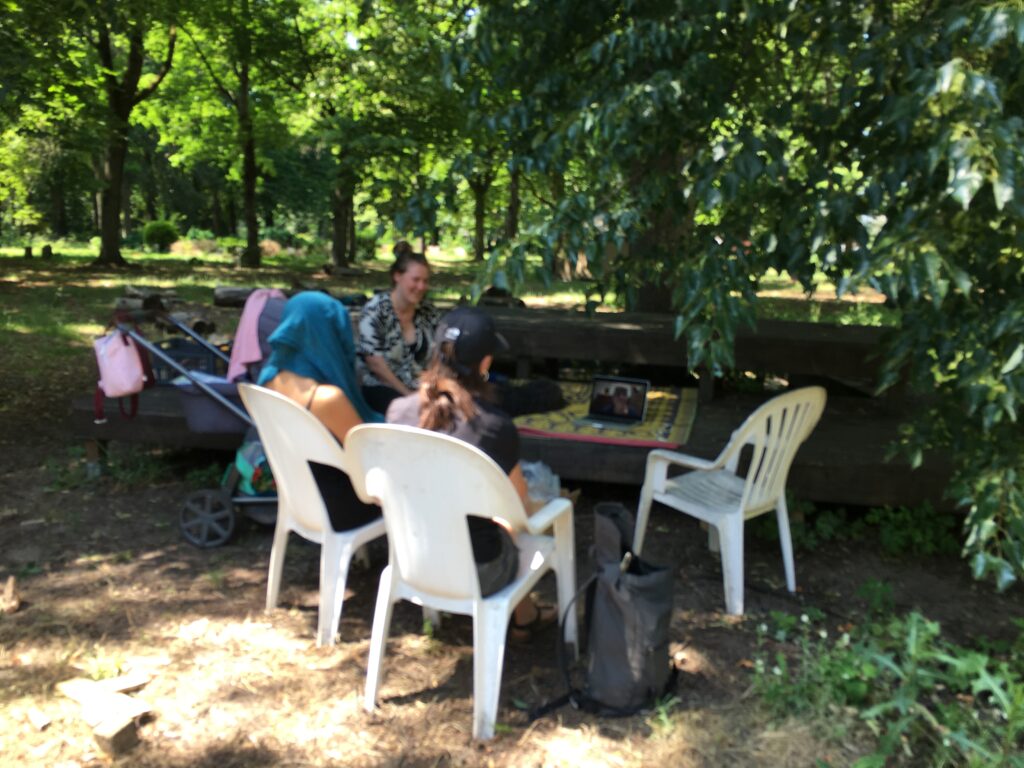
Our first Indigo fermentation Vat making. We started off with an online lecture from Melanie. She explained us how indigo color/pigment works, and how the vat and bacteria functions in dye process. Then she gave us details of the starting process, step by step, including how to mix the vat and how to maintain the vat in next days.
Pre-Step:
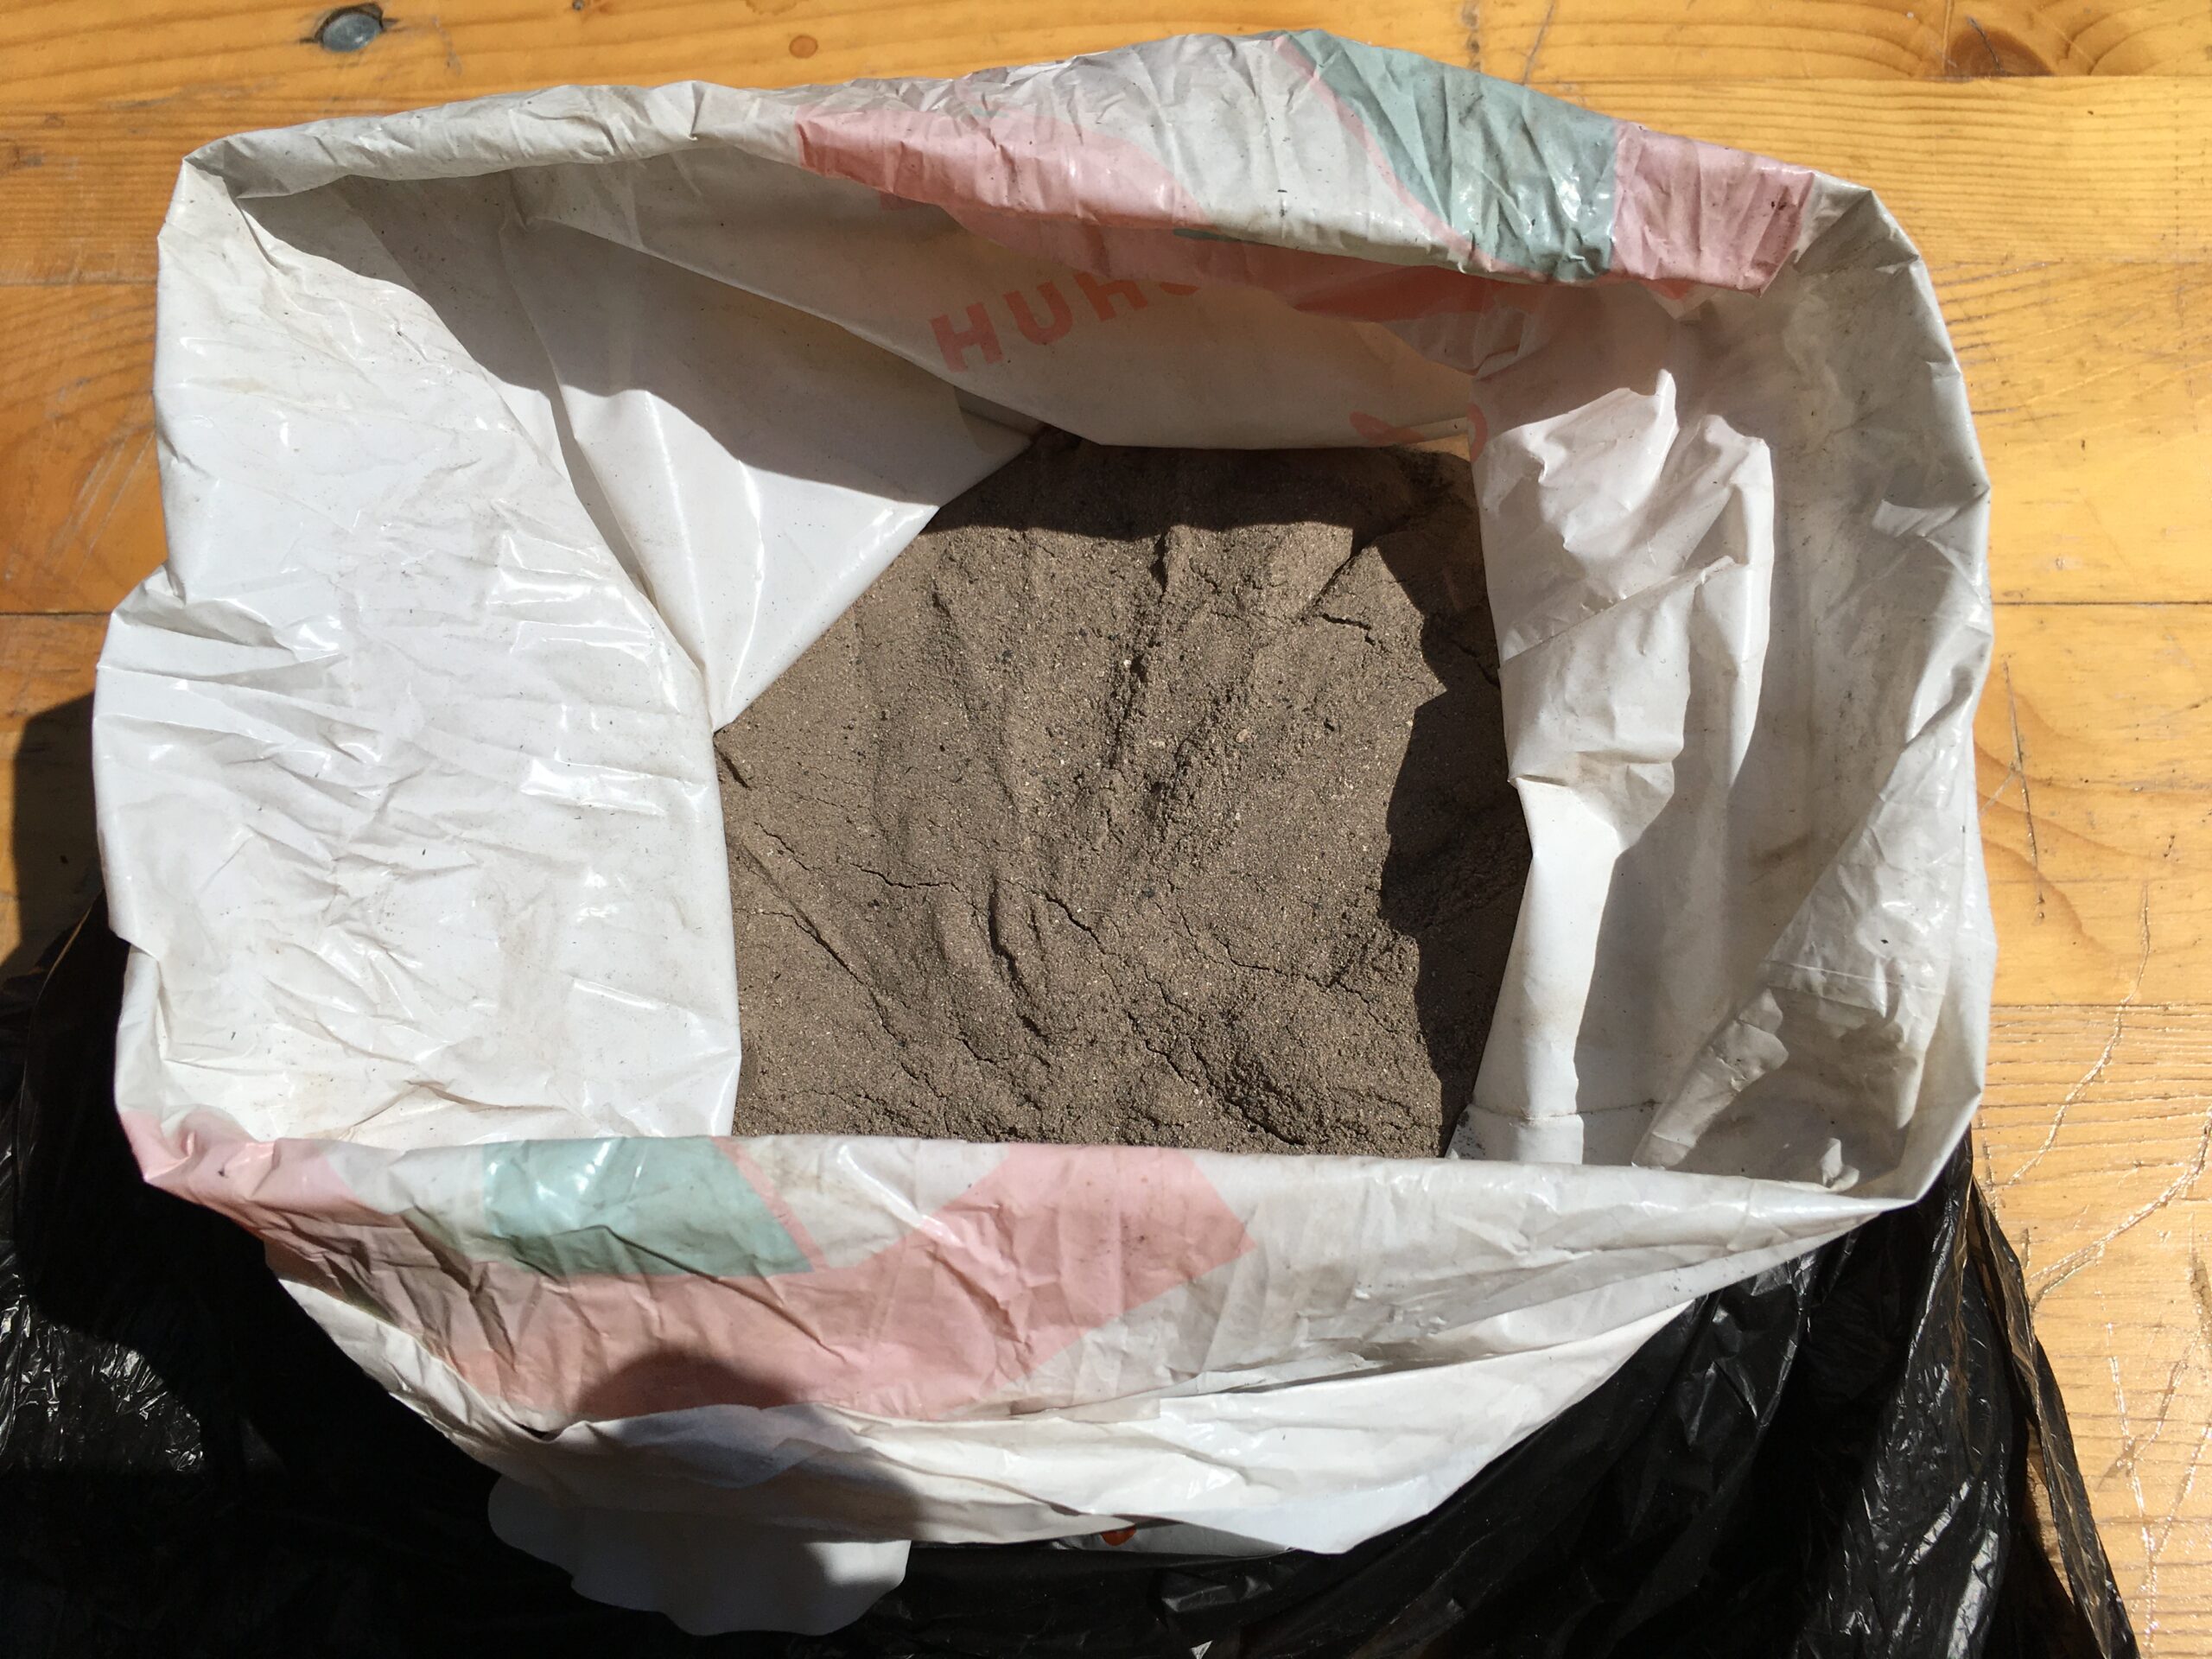
One has to make ash water for the vat. As we plan to make 70L vat, we need in total 70L ash water. Ash water or pot ash is literally water mixed with ash. When water is mixed with ash, it becomes basic (high in PH). It is said that ash from hardwood works better. Here, I brought ash I got from a friend in Austria. They use wood heating for their house with modern heating oven system that burns woods in efficient way. The ash is very fine and I noticed it works very good for making ash water.
I let the water we need for the ash water making in a bucket over night. This is because sometimes tab water has chemicals in it. I heard in Germany they actually do not put it in…. but just in case, I let it stay overnight.
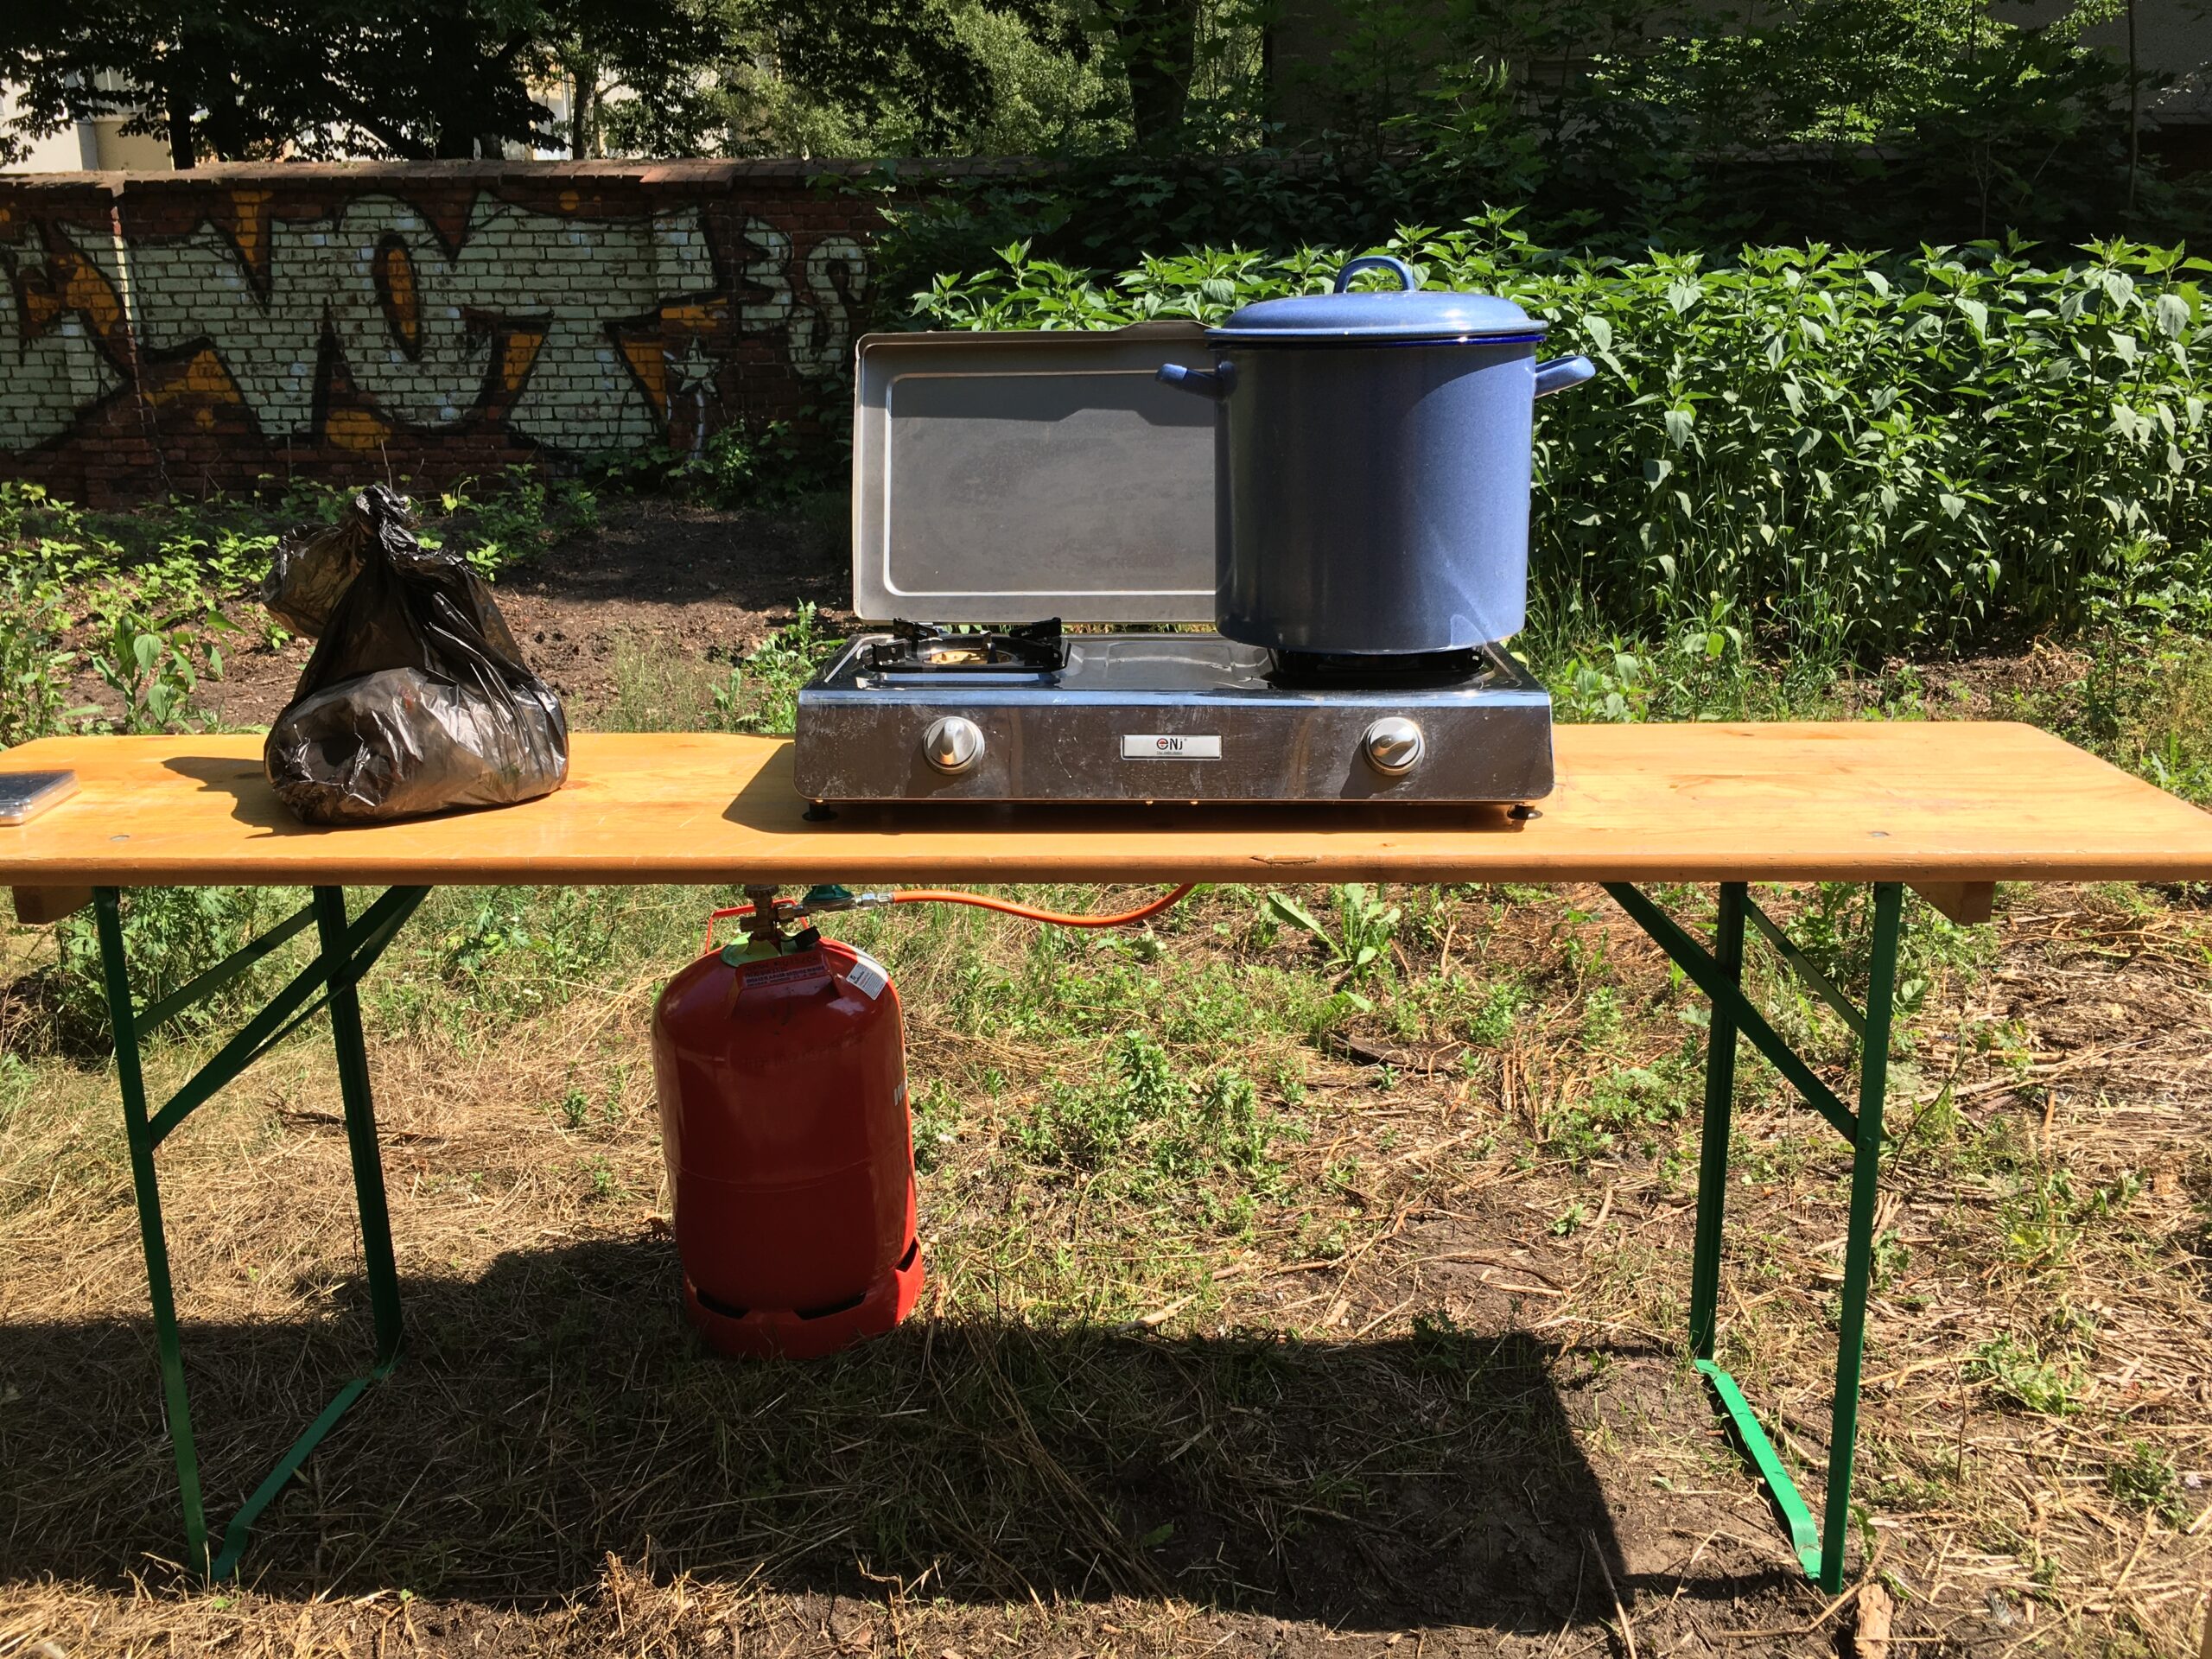
The water needs to be boiled first (I actually do not know why) before mixing with ash. I boiled the water with 20L pot. It takes quite long for it to get boiled. patience.
After the water is boiled, I pour the hot water into a 32L bucket that has ~1kg of ash in it. After pouring, I mix the ash and water well with wooden stick.
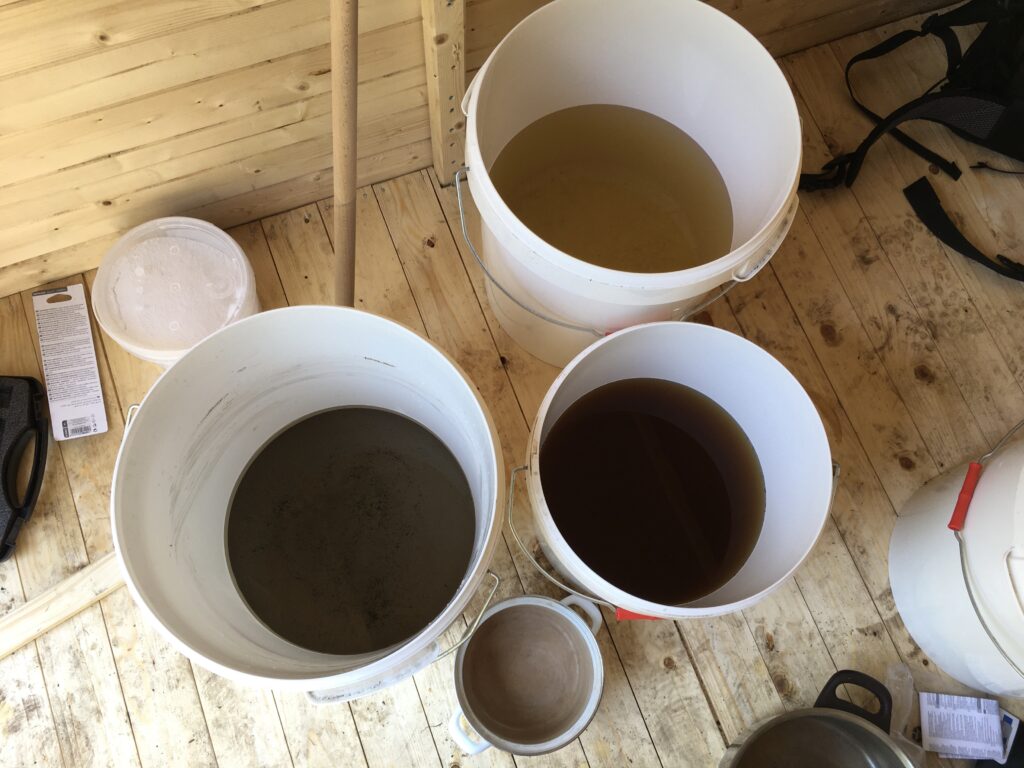
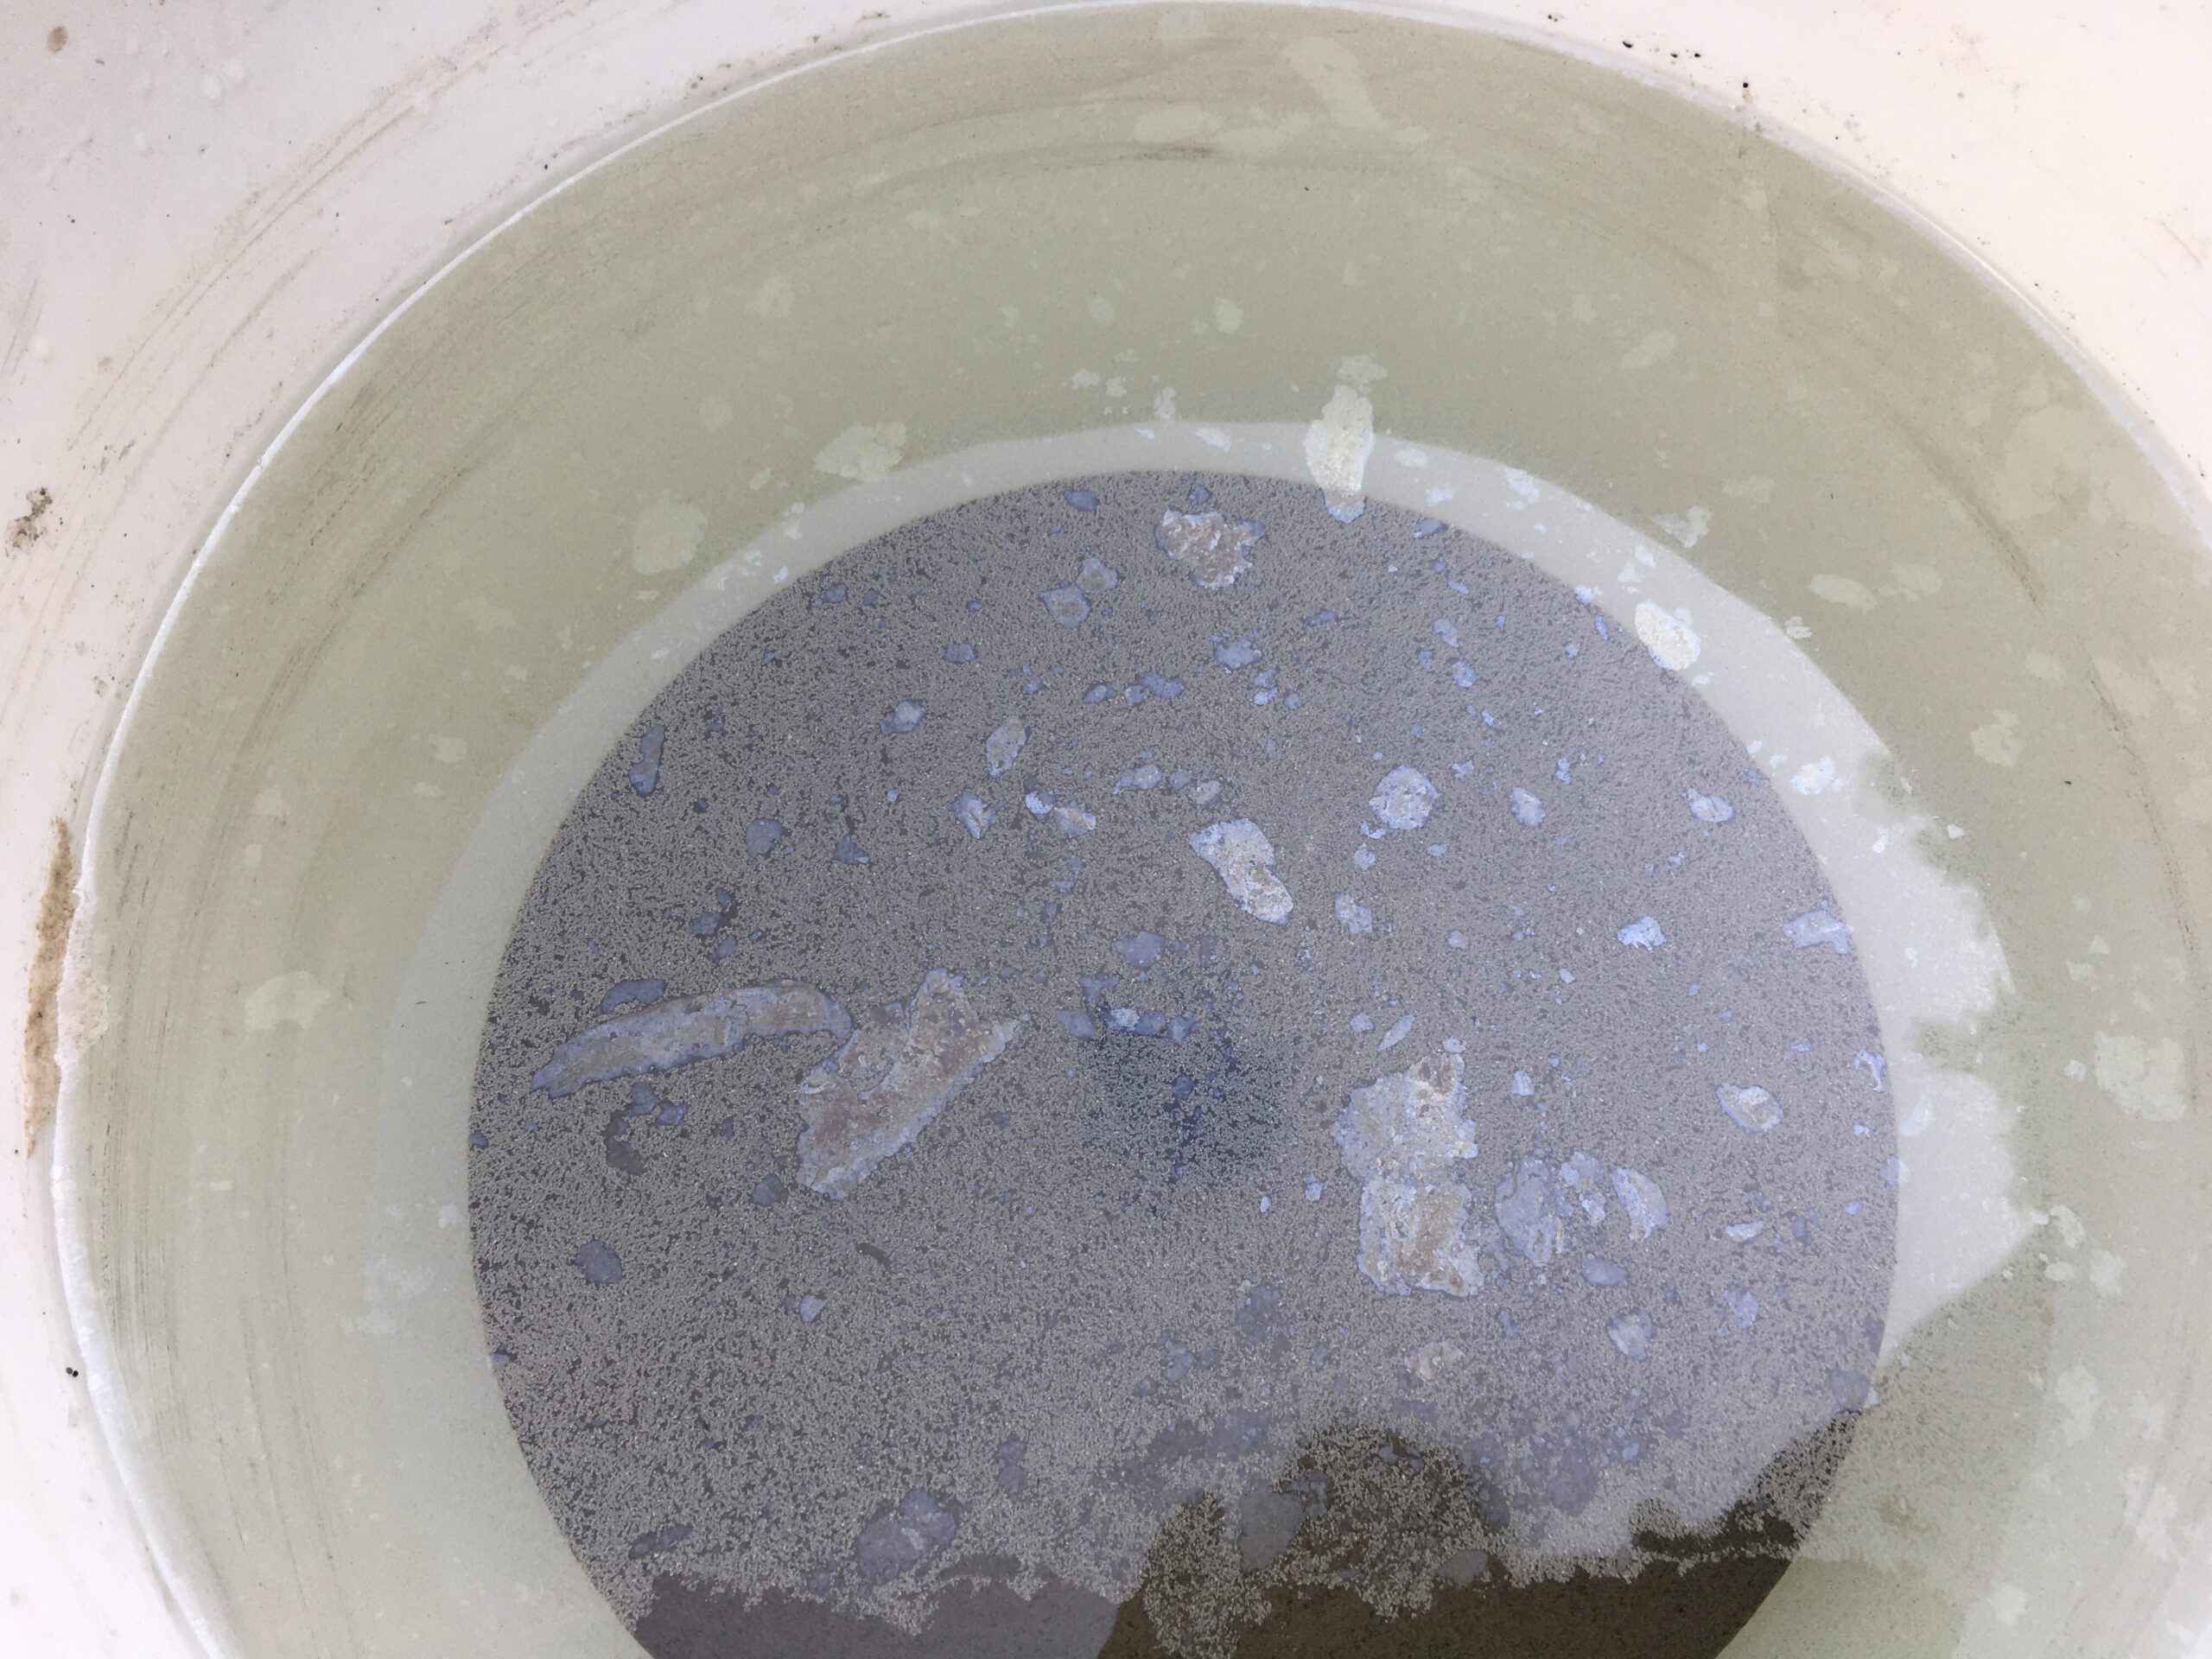
The first batch of 20L ash became very red-brown. PH is 12.9 I guess this is due to the charcoal inside the ash. I made ash water few times by now, and sometimes it becomes very red for the 1st batch and sometimes not. I do not know what makes the difference to be honest.
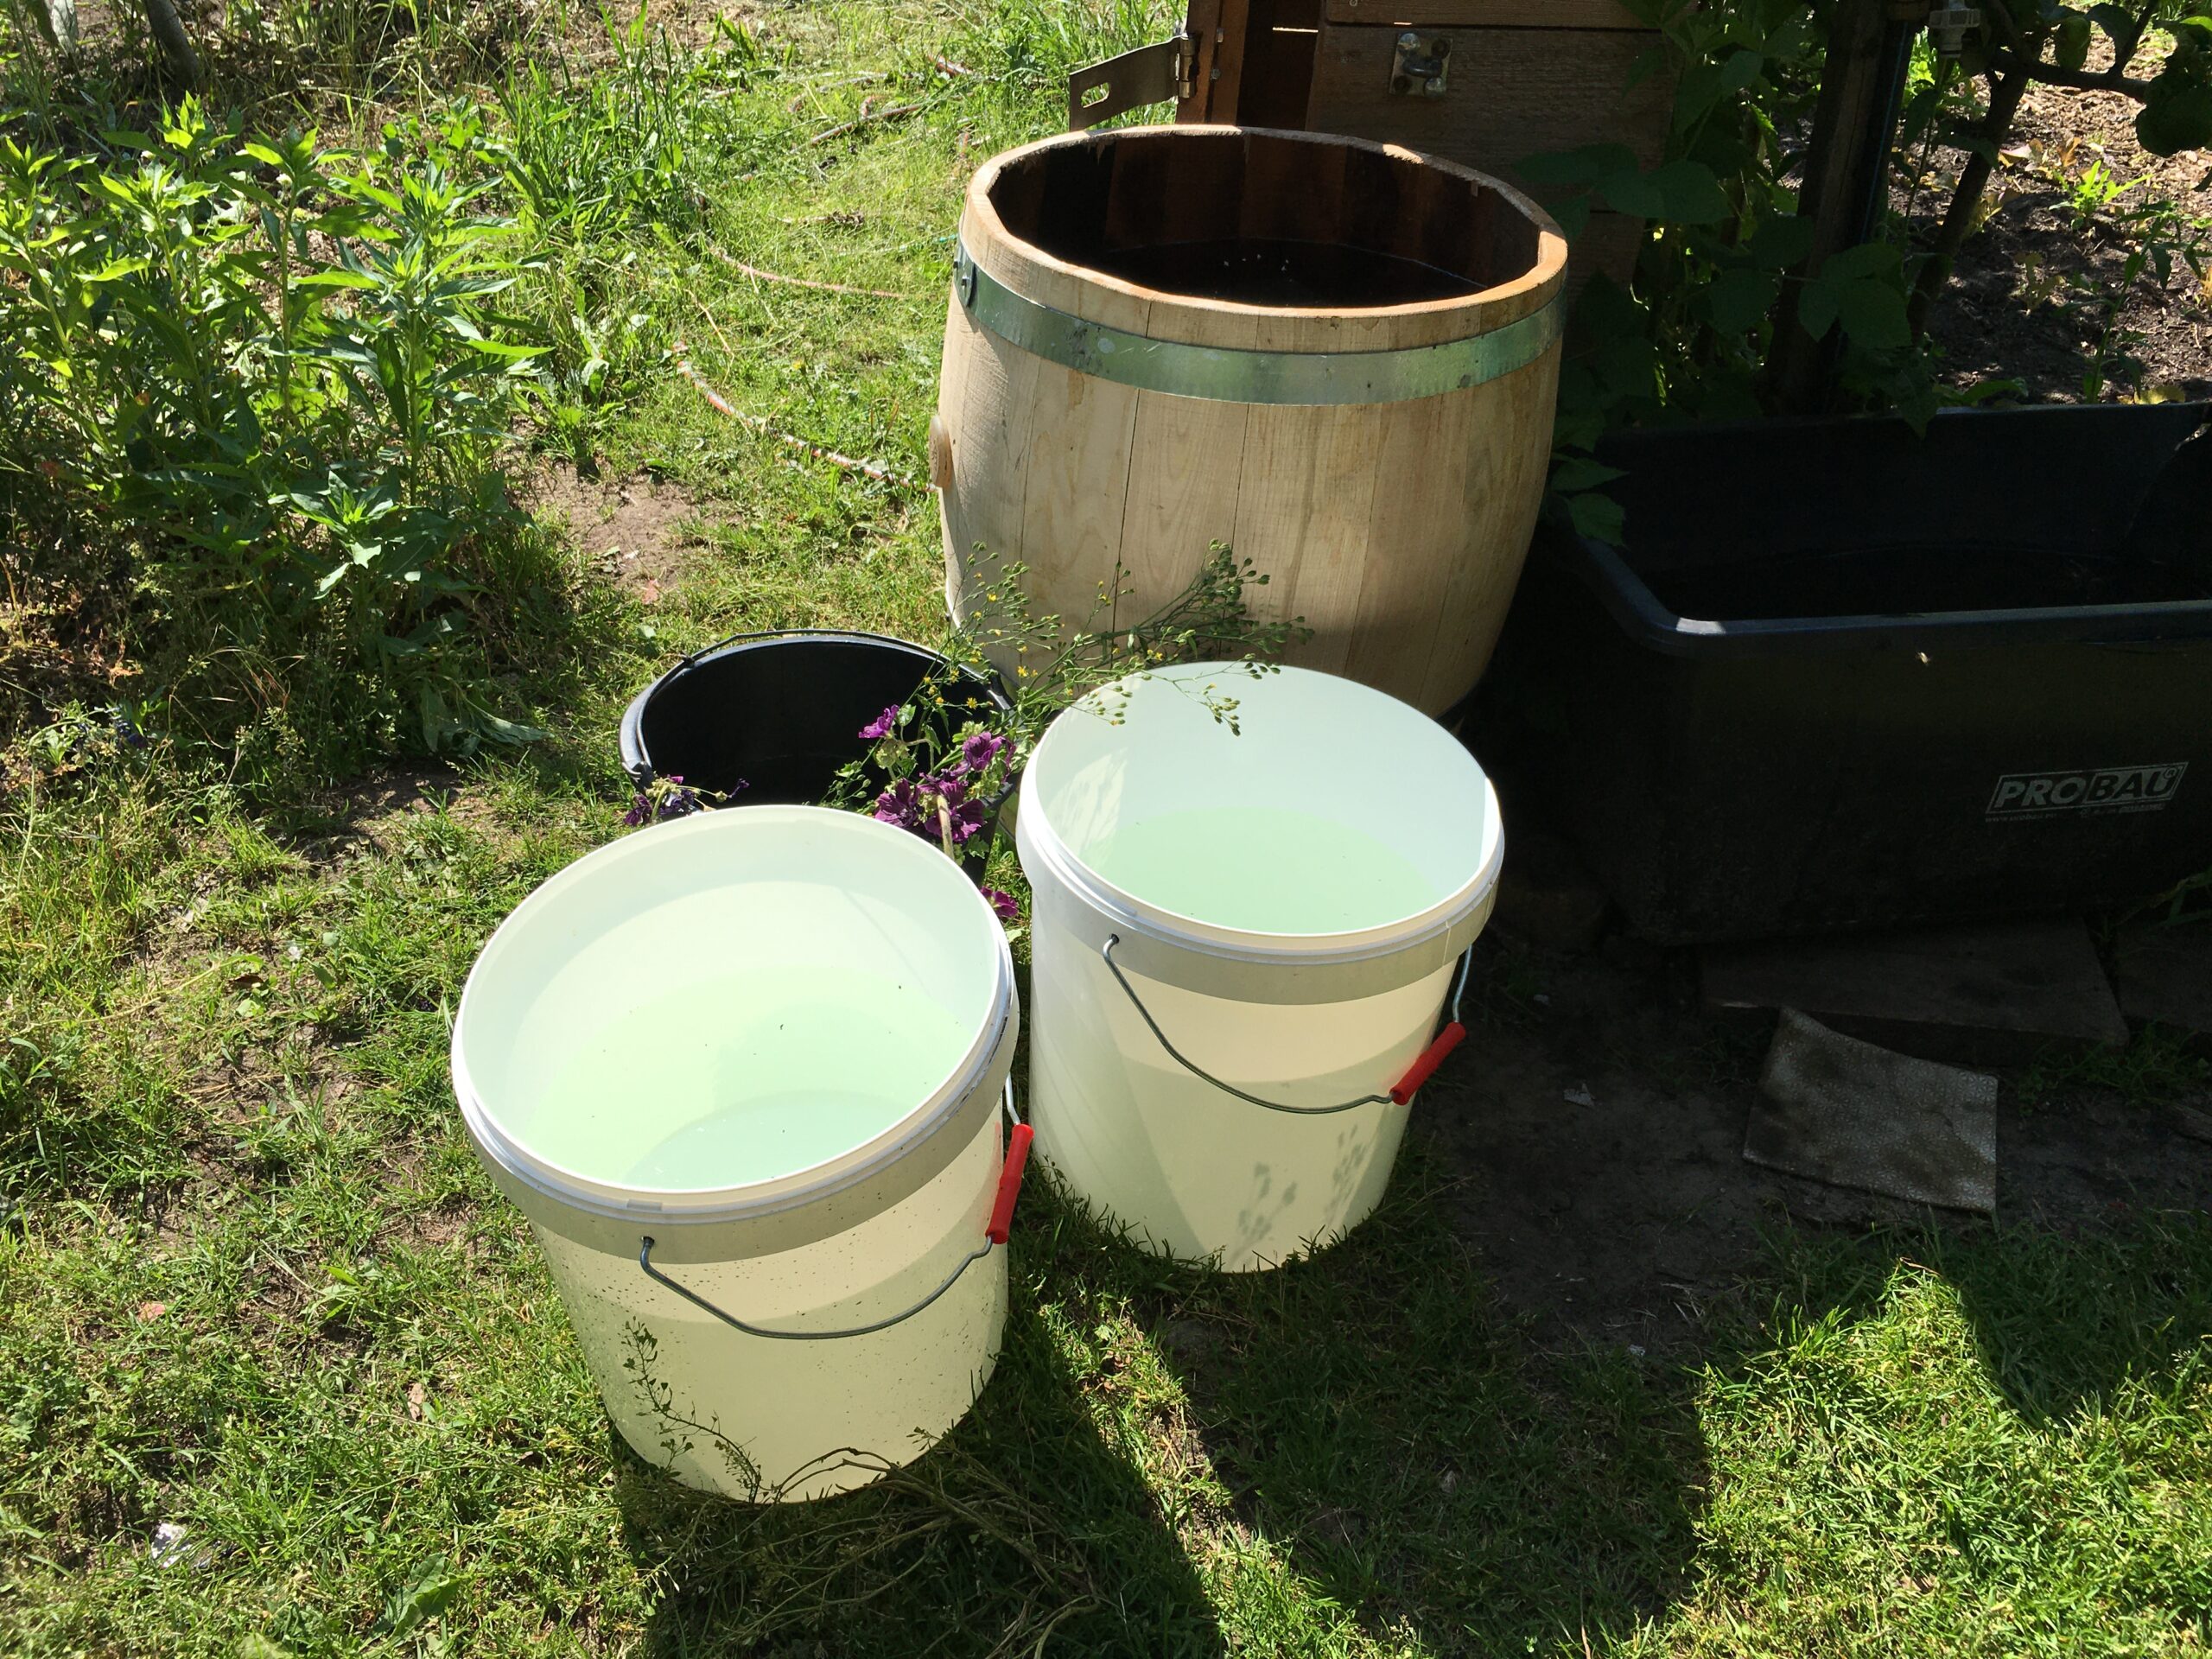
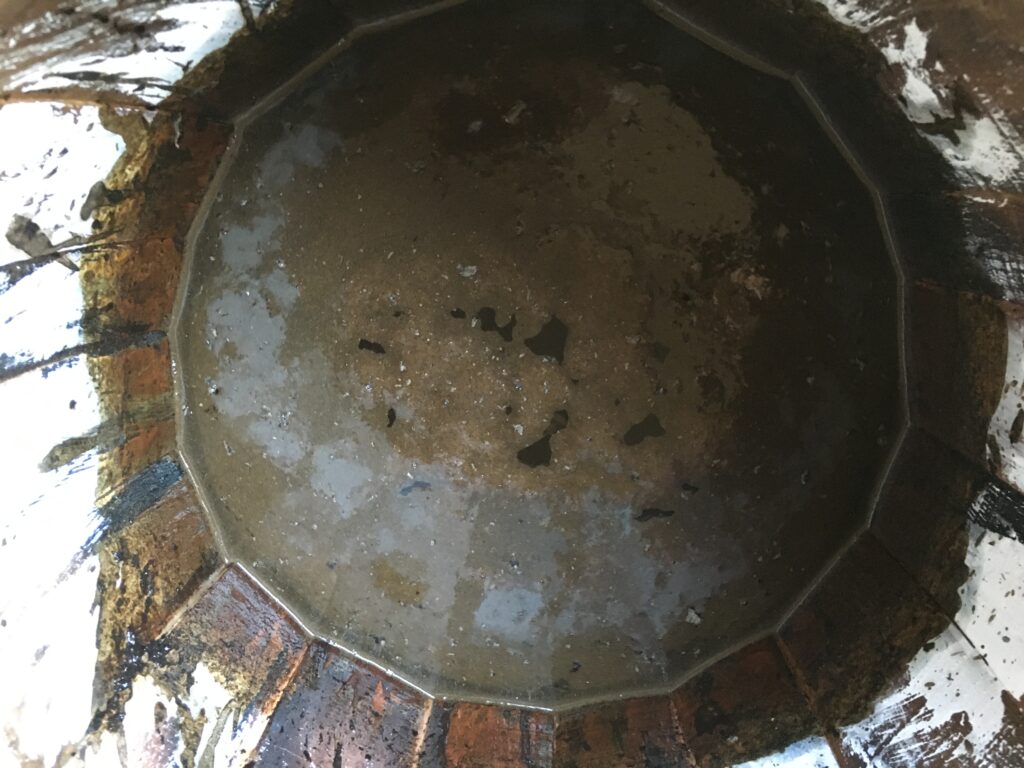
After the ash settles to the bottom and the ash water and ash separates in the bucket, I scoop out the ash water part to another 20L bucket. boil the 2nd batch of 20L water and pour it into the same ash in a bucket and mix it well. This time the water is not so brown-red but rather colorless. PH is 12.5. After it separates, take the clear part to another bucket using a smaller cup or bucket.
Repeat the process again until you get enough ash water. On this day, we made until 3rd batch (last photo). 3rd batch is much more clear. PH 12
Step 1:
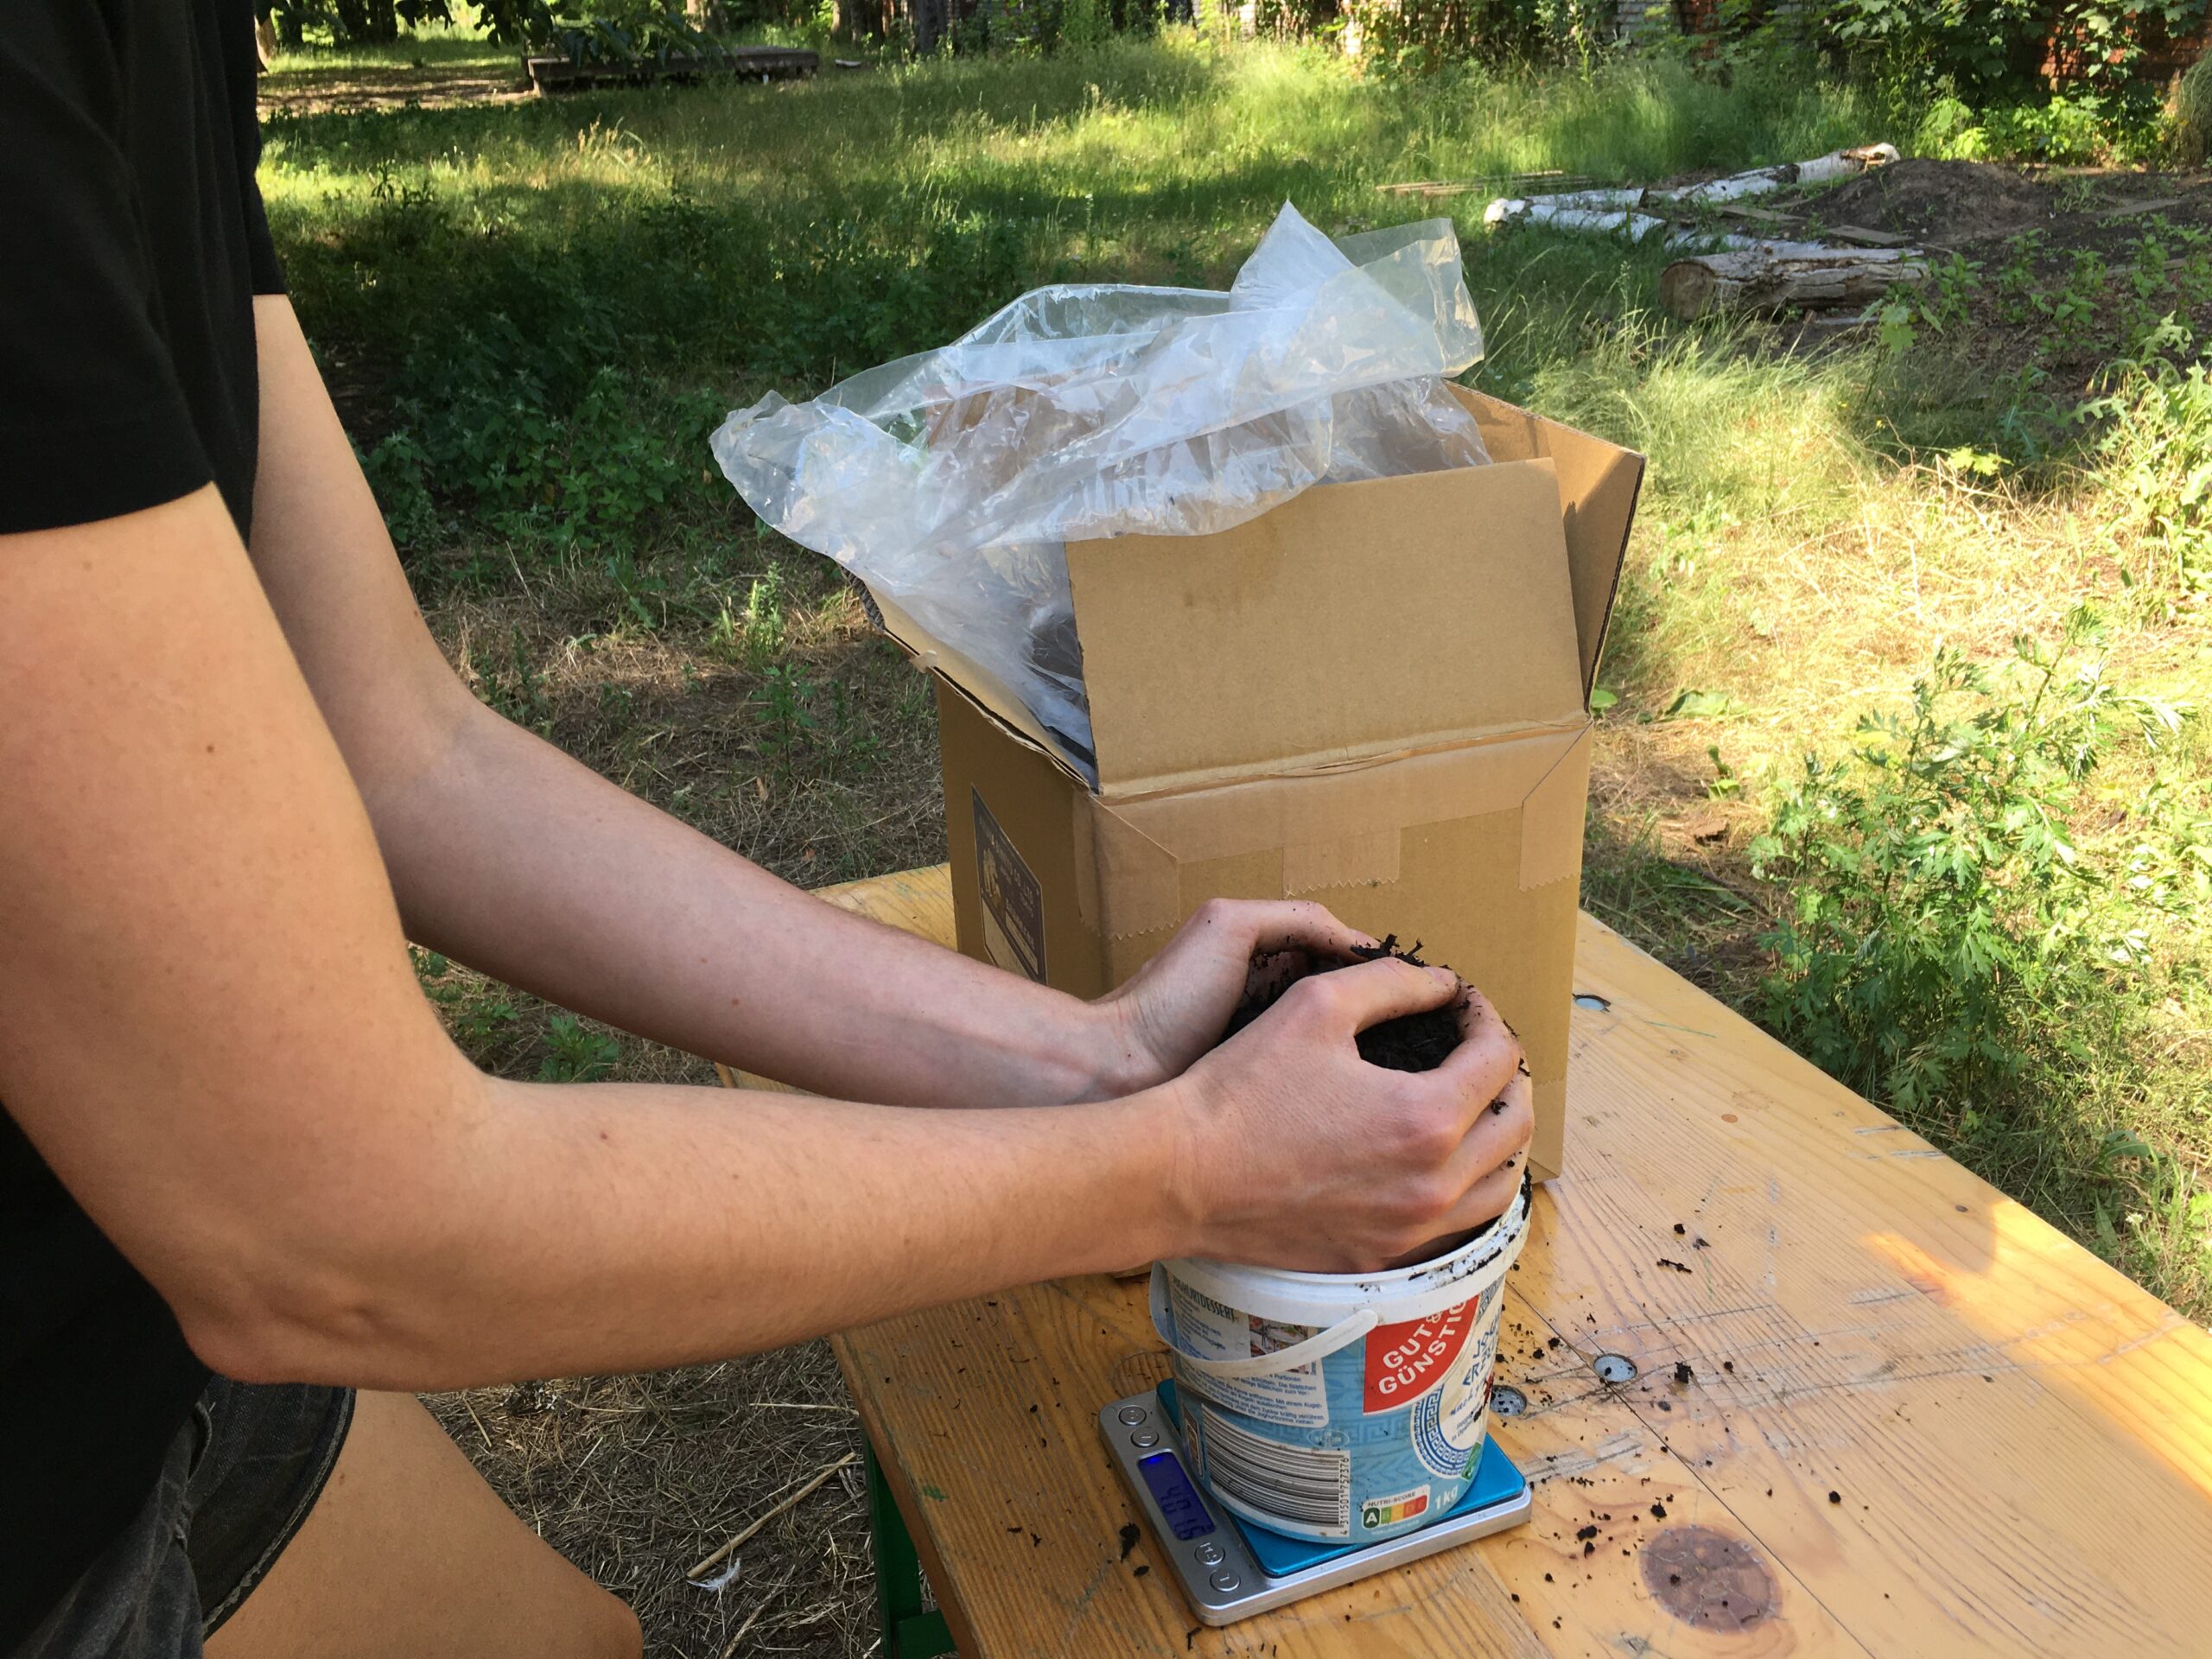
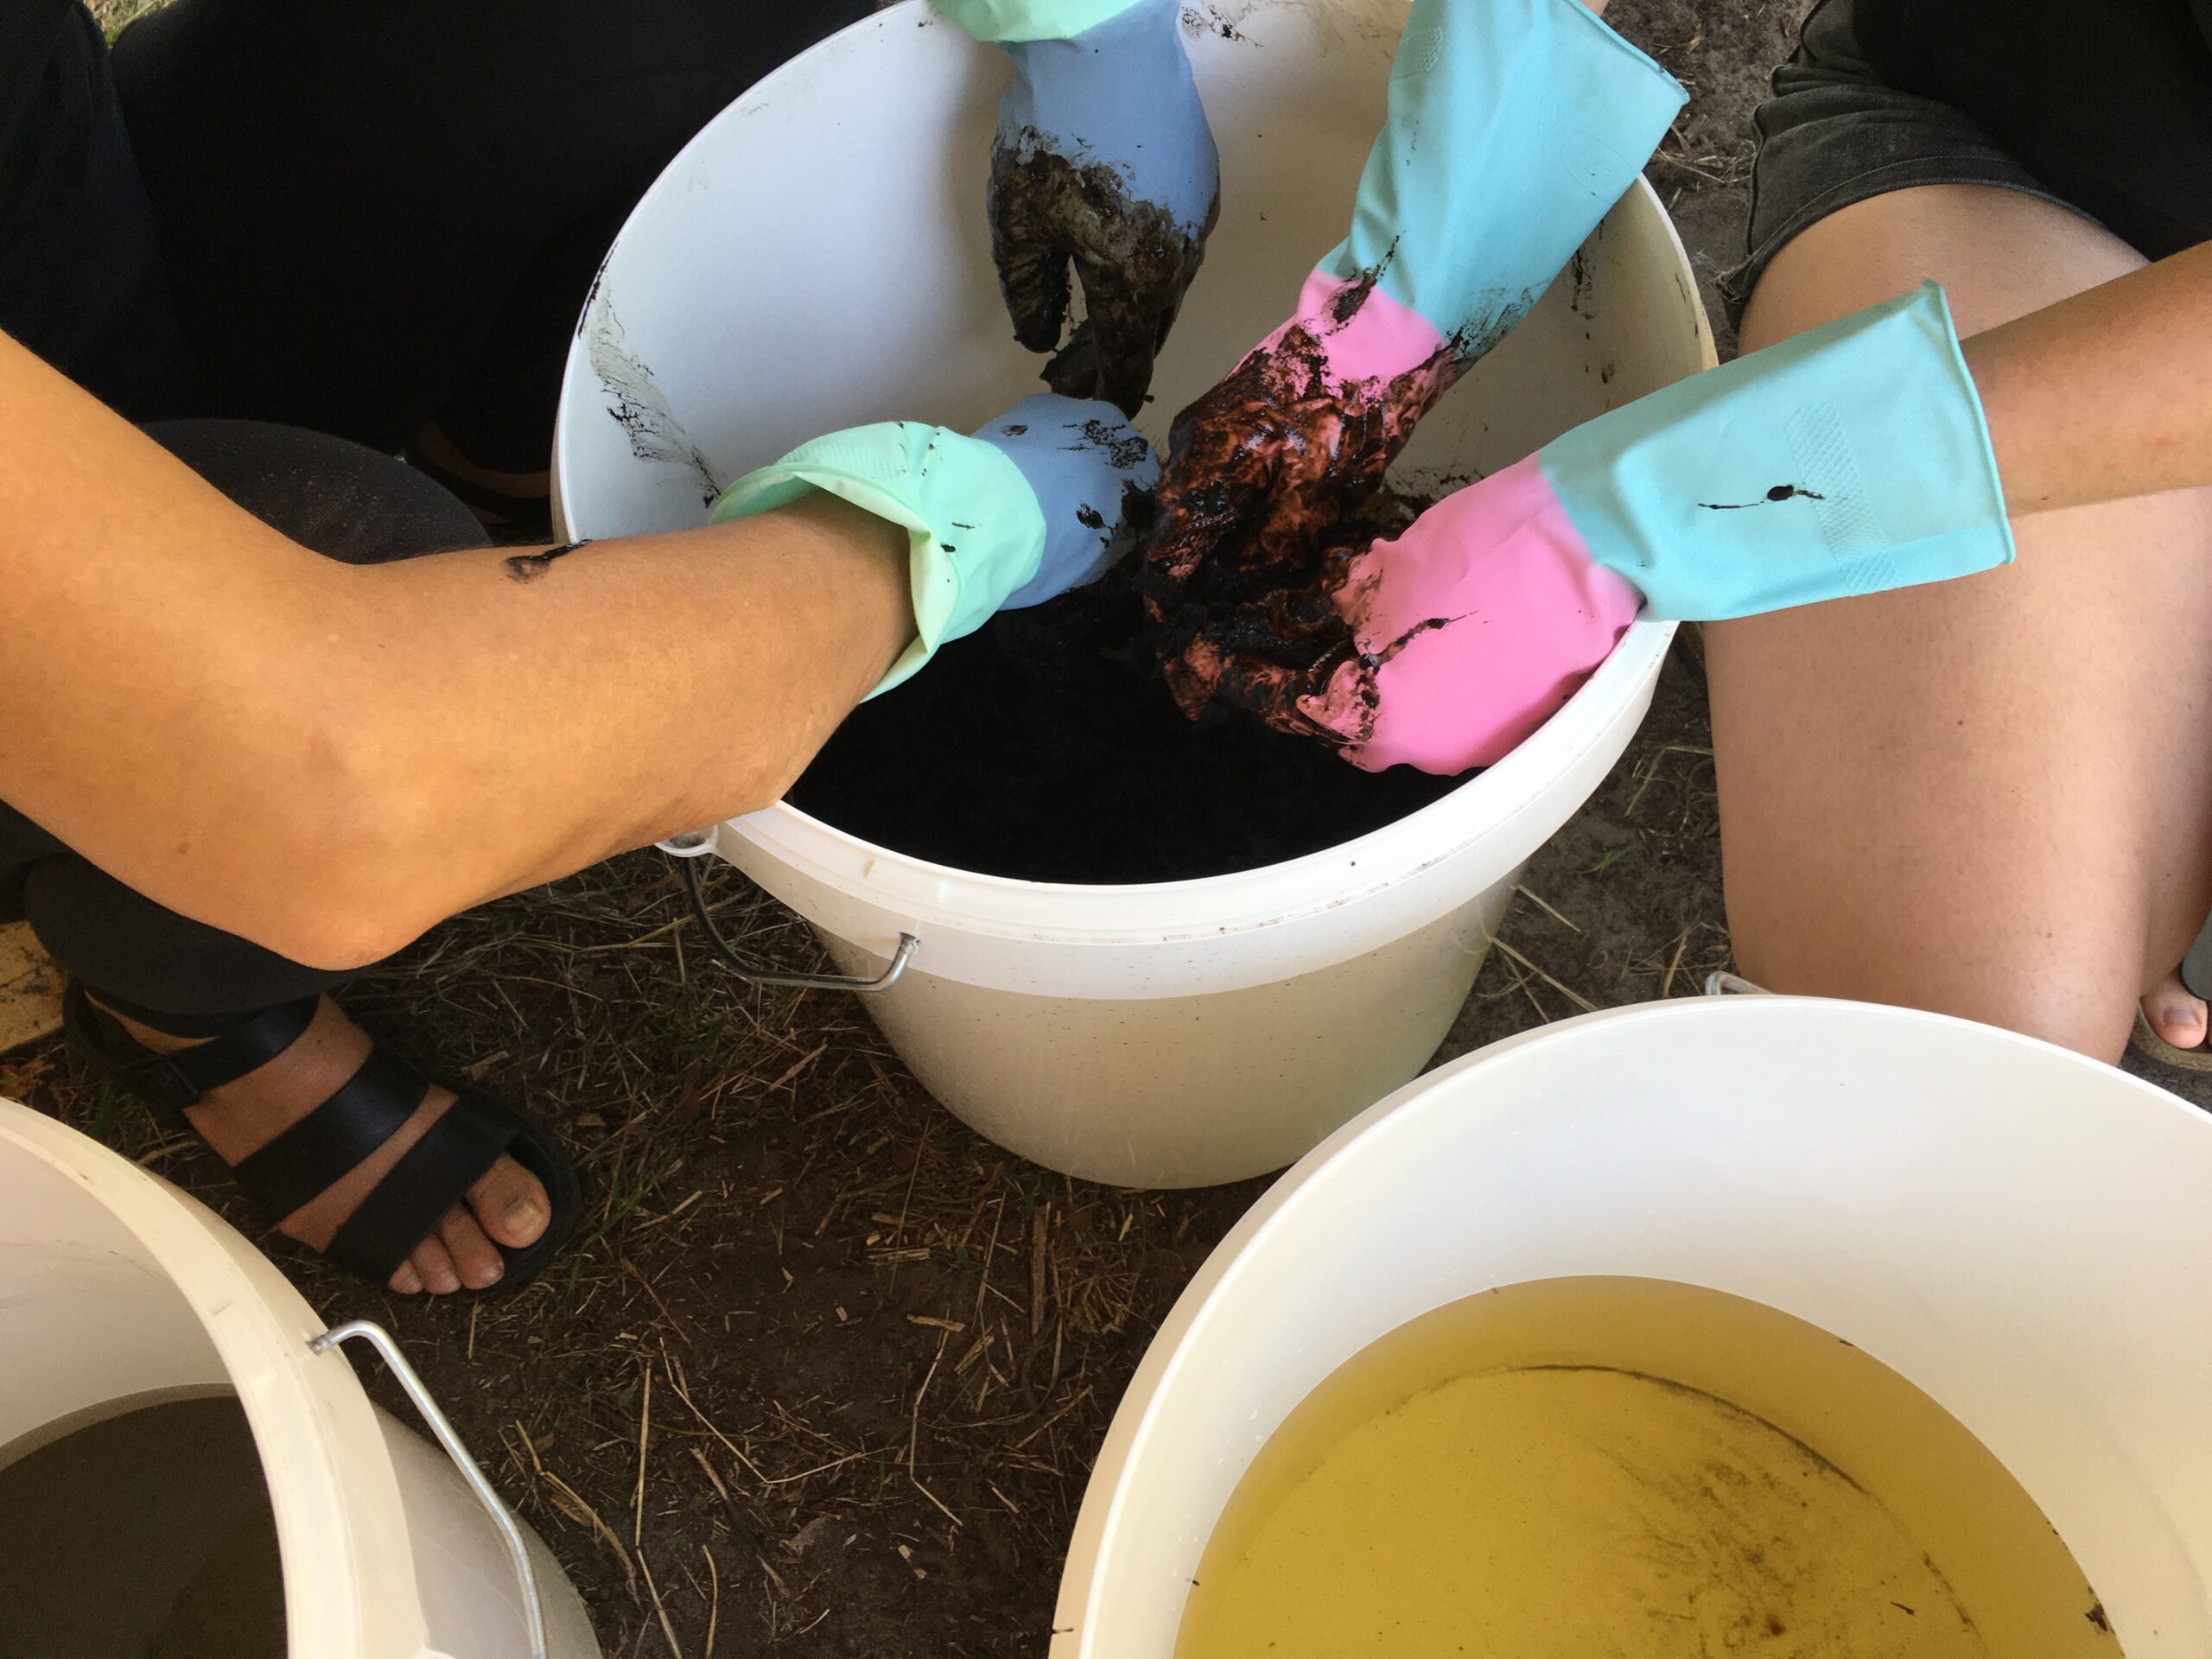
We plan to make 70L vat, in a 75L wood barrel. For this, we need 3.5kg of Sukumo. First the Sukumo we bought from Japan is measured and put in a bucket. At this point, still dry, we make sure to crush the big rumps in smaller pieces with hand (with or without gloves). Then add a bit of ash water (just enough to cover, ~ 5L) and mush/ knead them together until it is all wet and mixed. Melanie called it as “it becomes sticky”. The ash water we used here is the 2nd batch, which is about PH 12.5
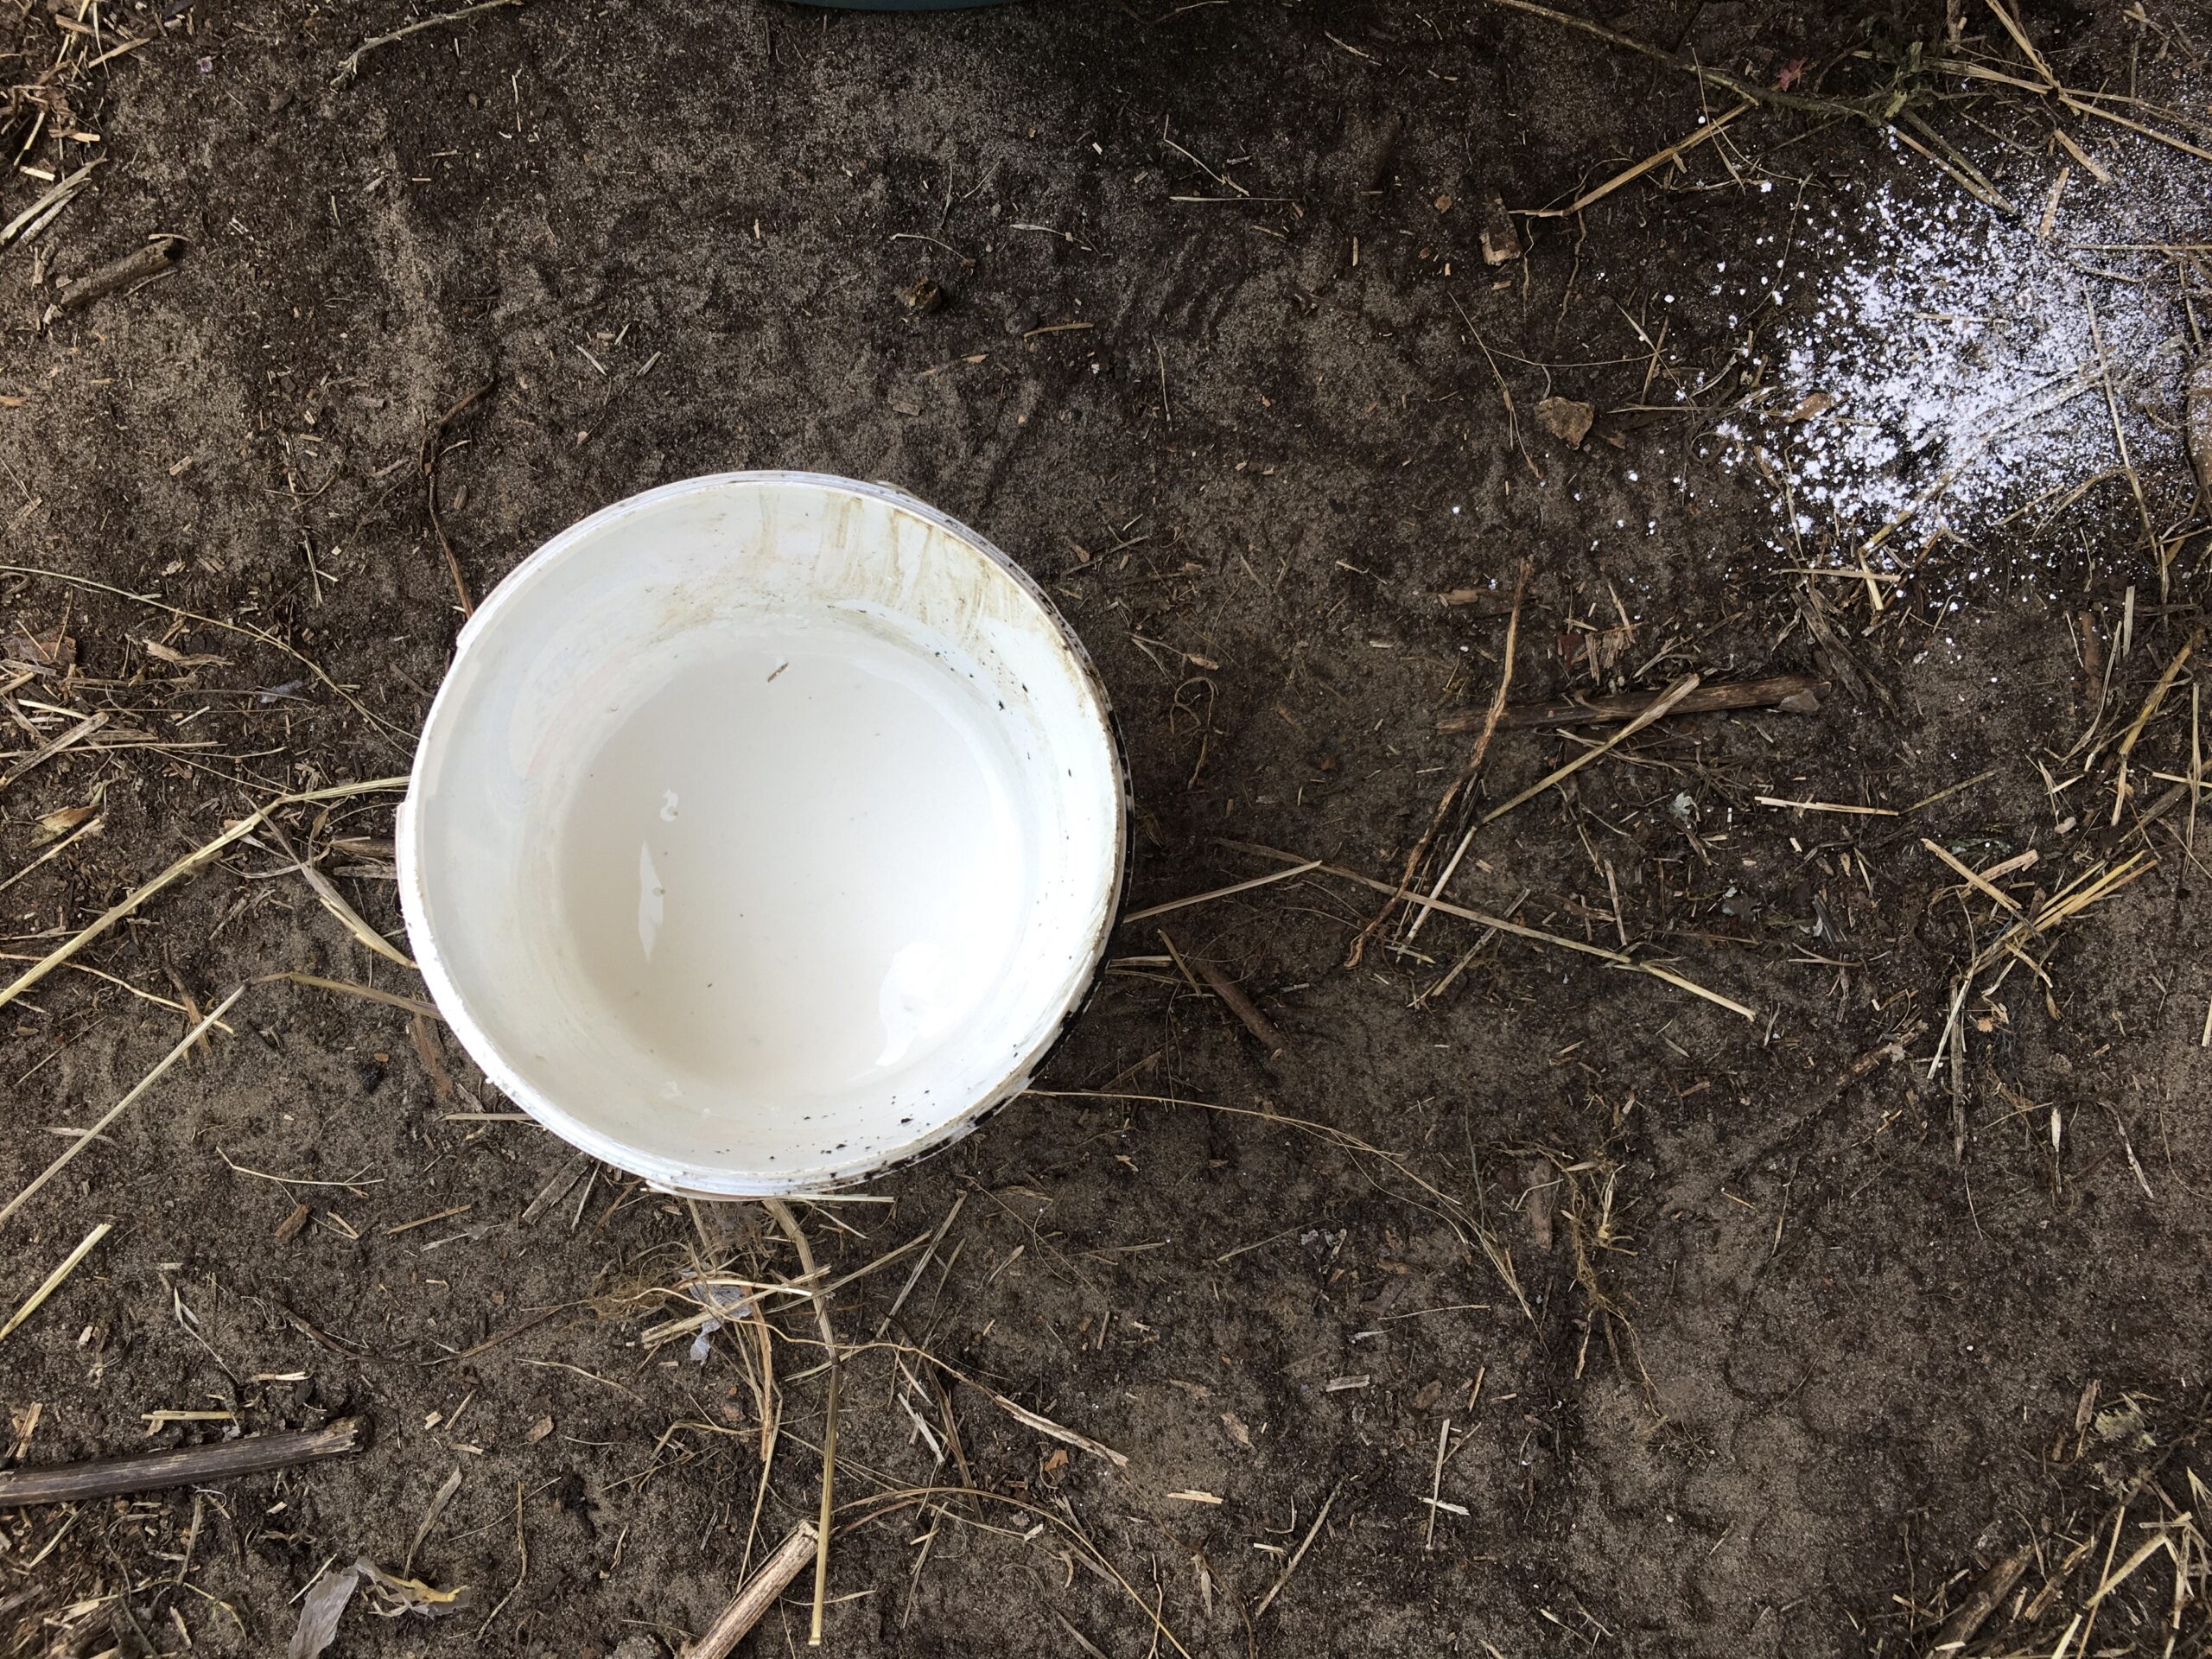
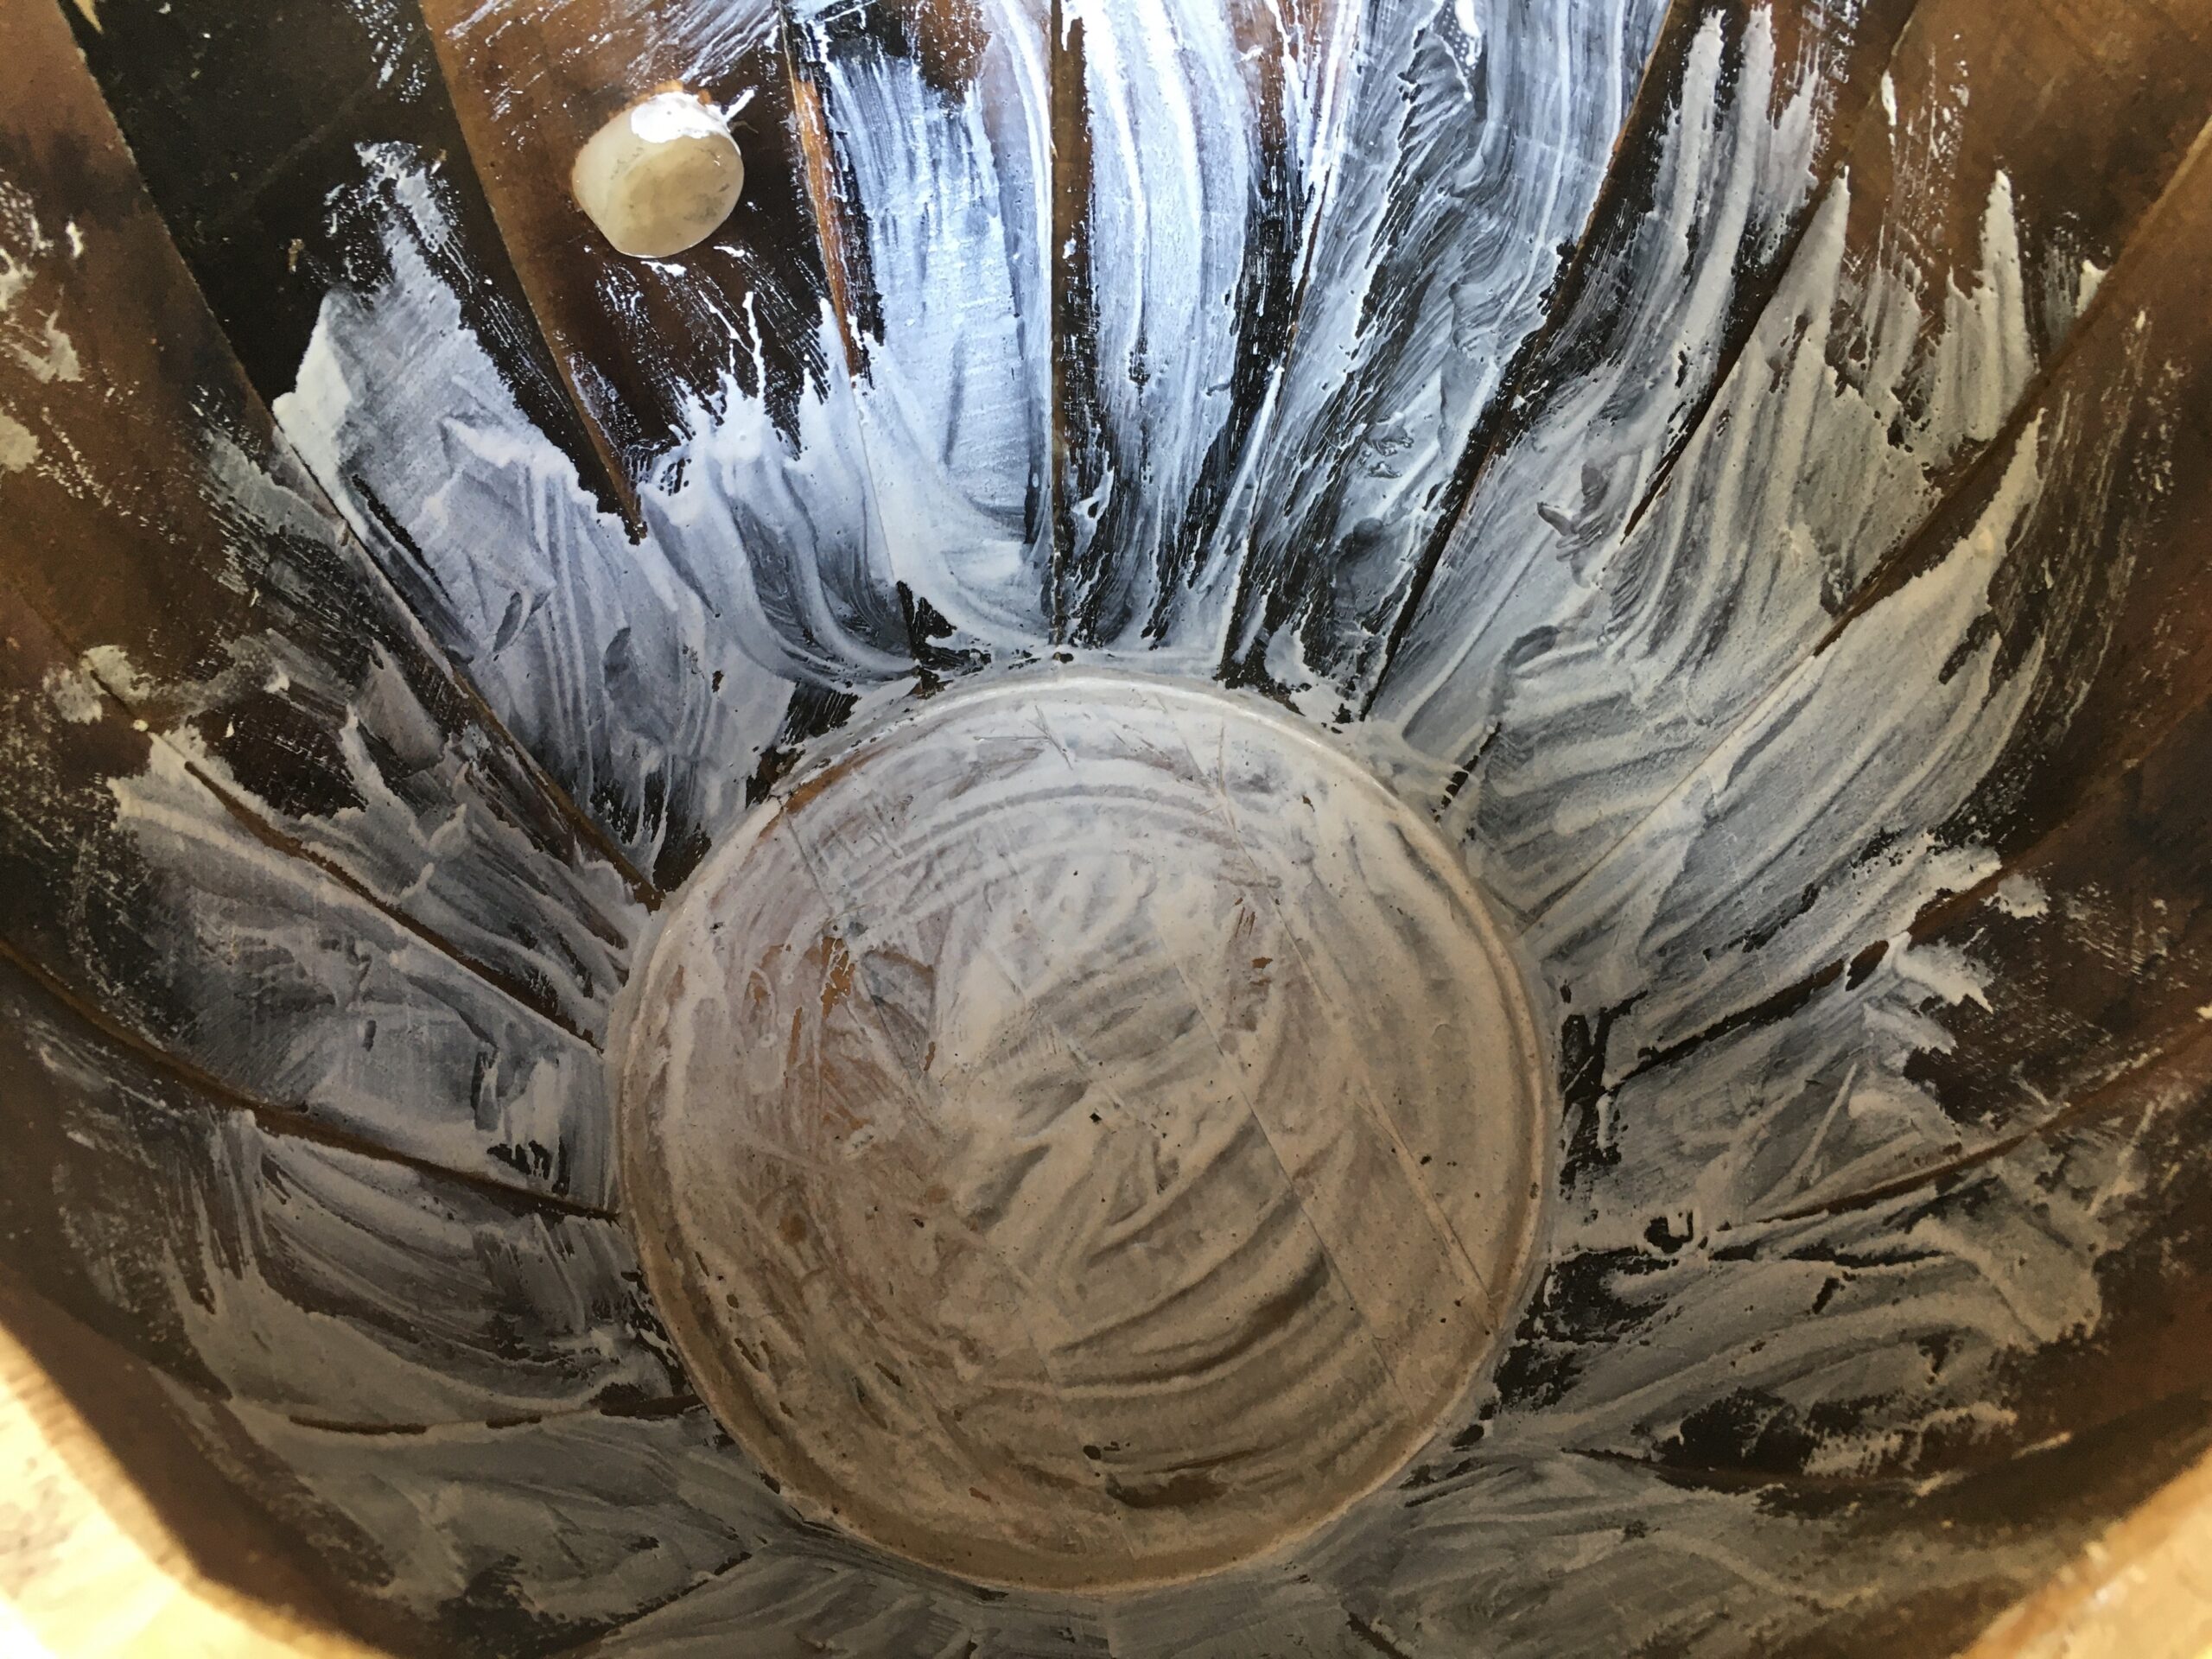
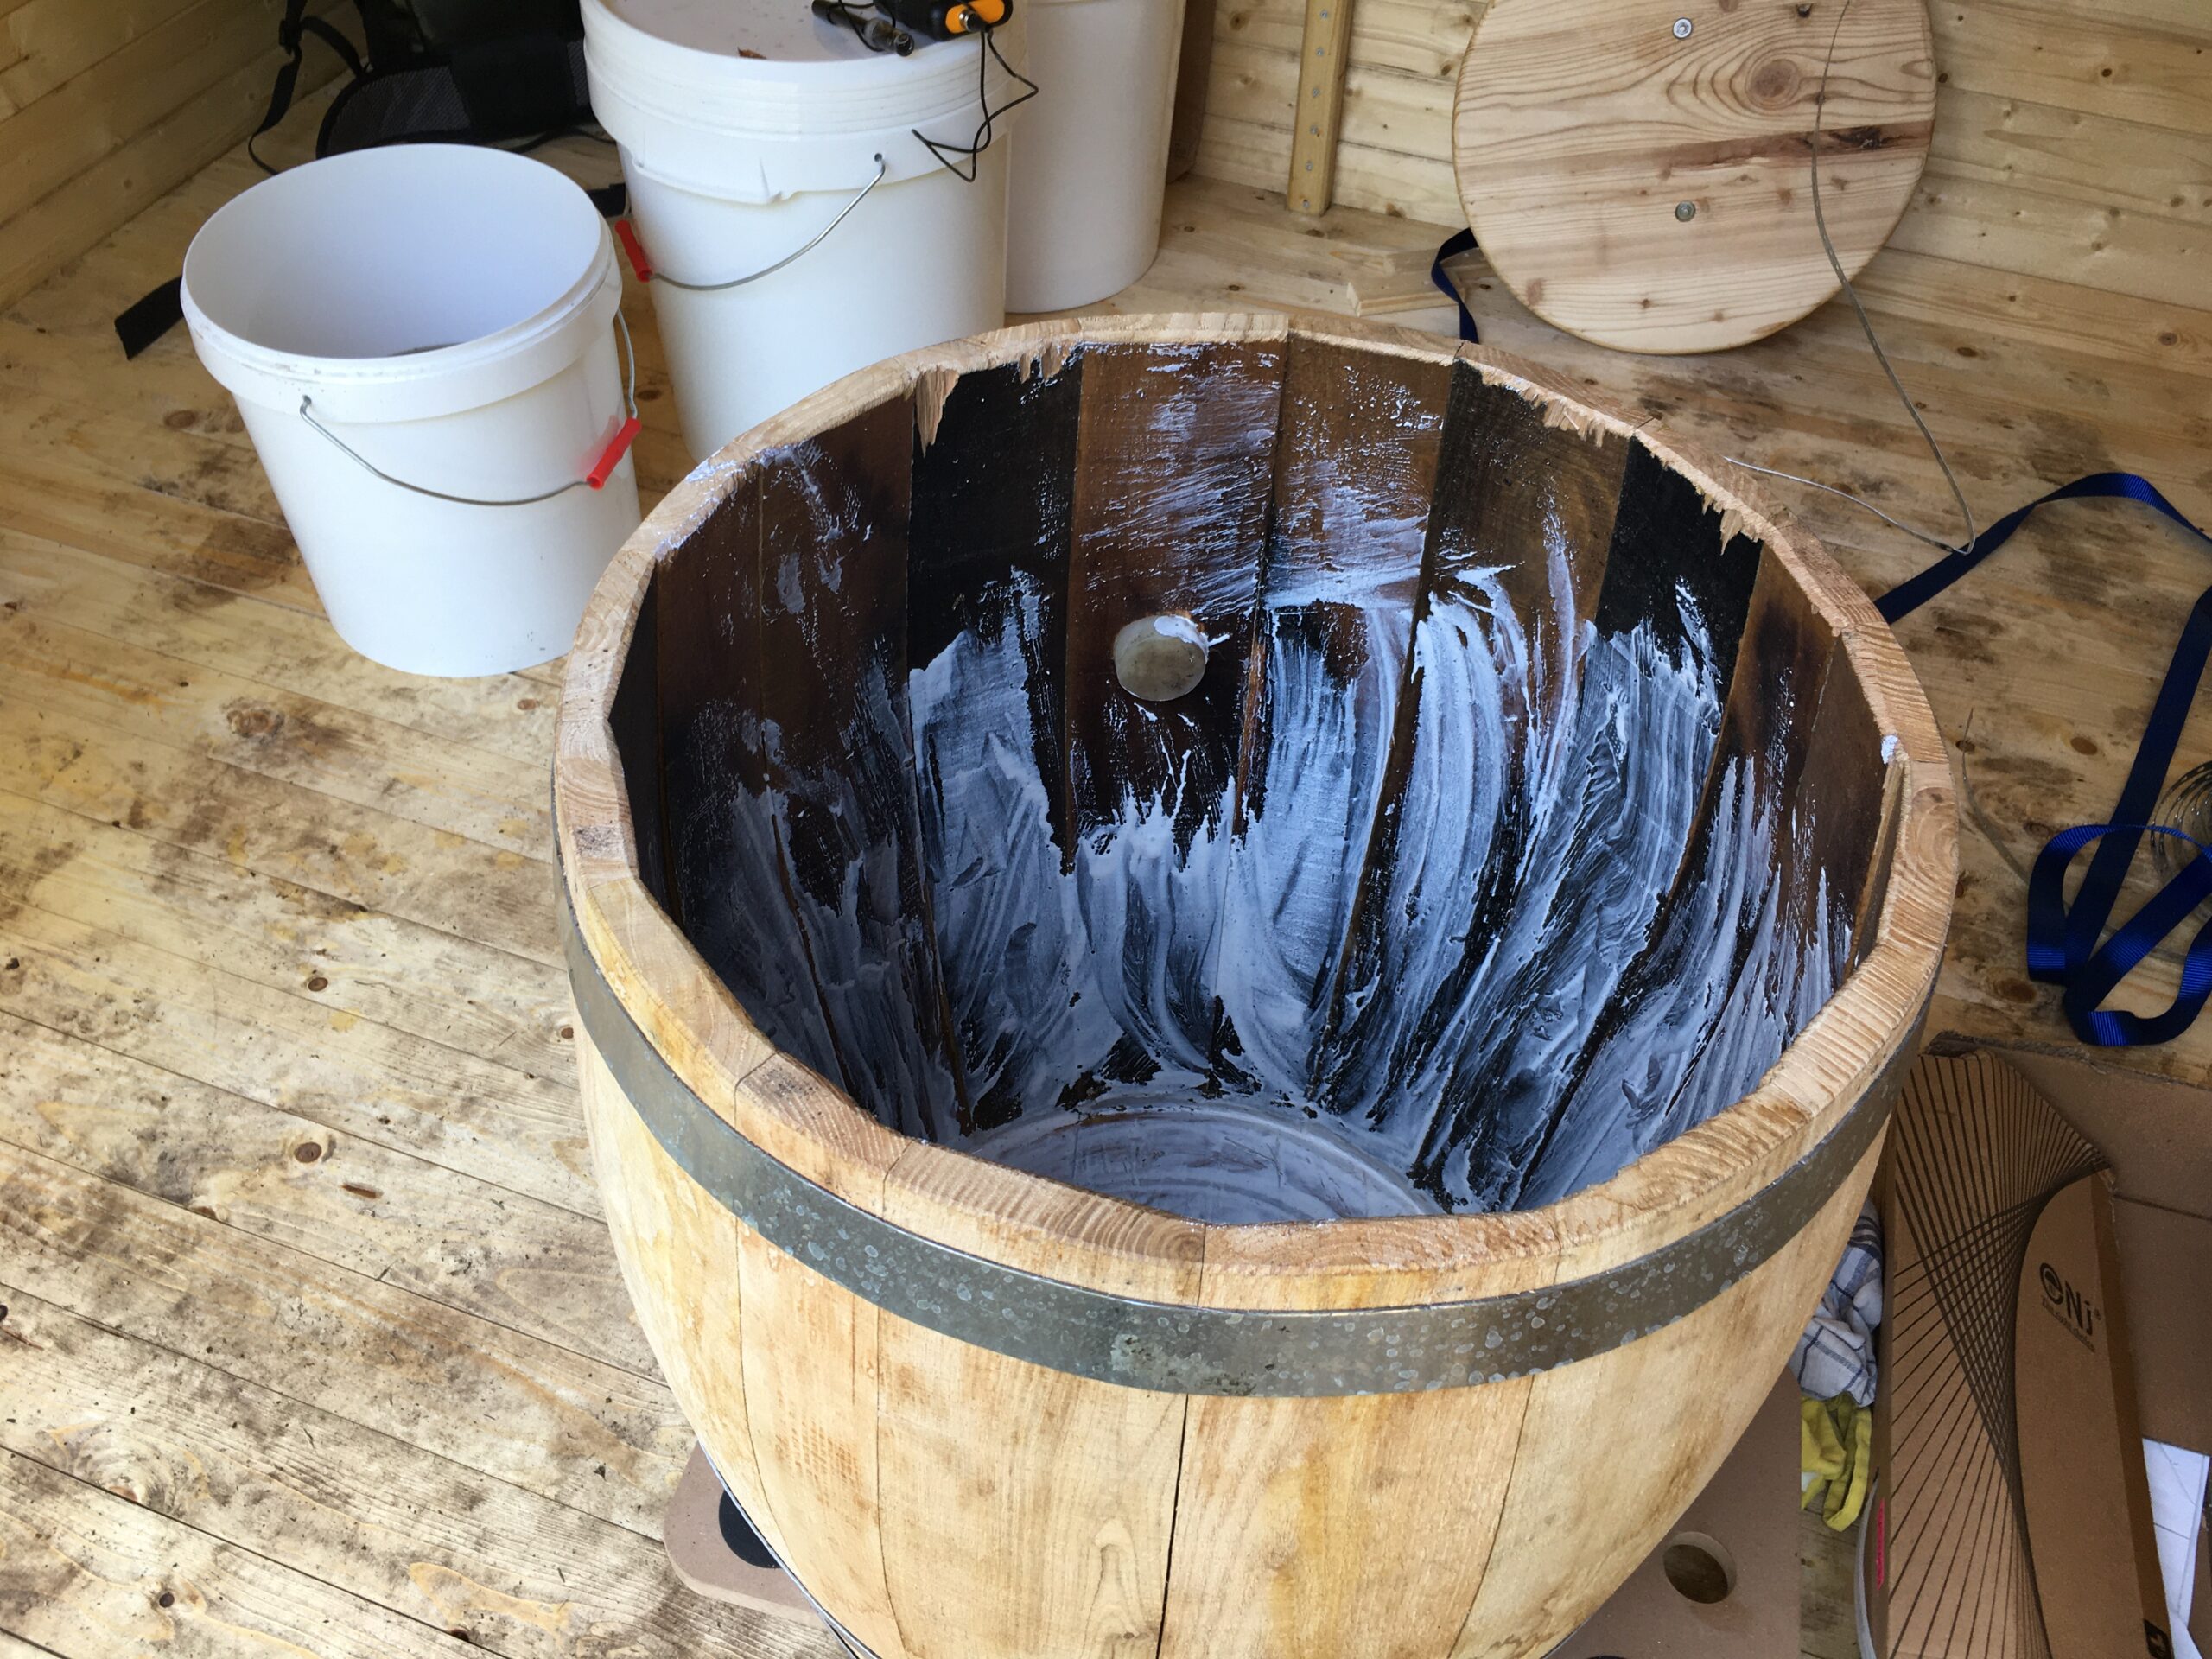
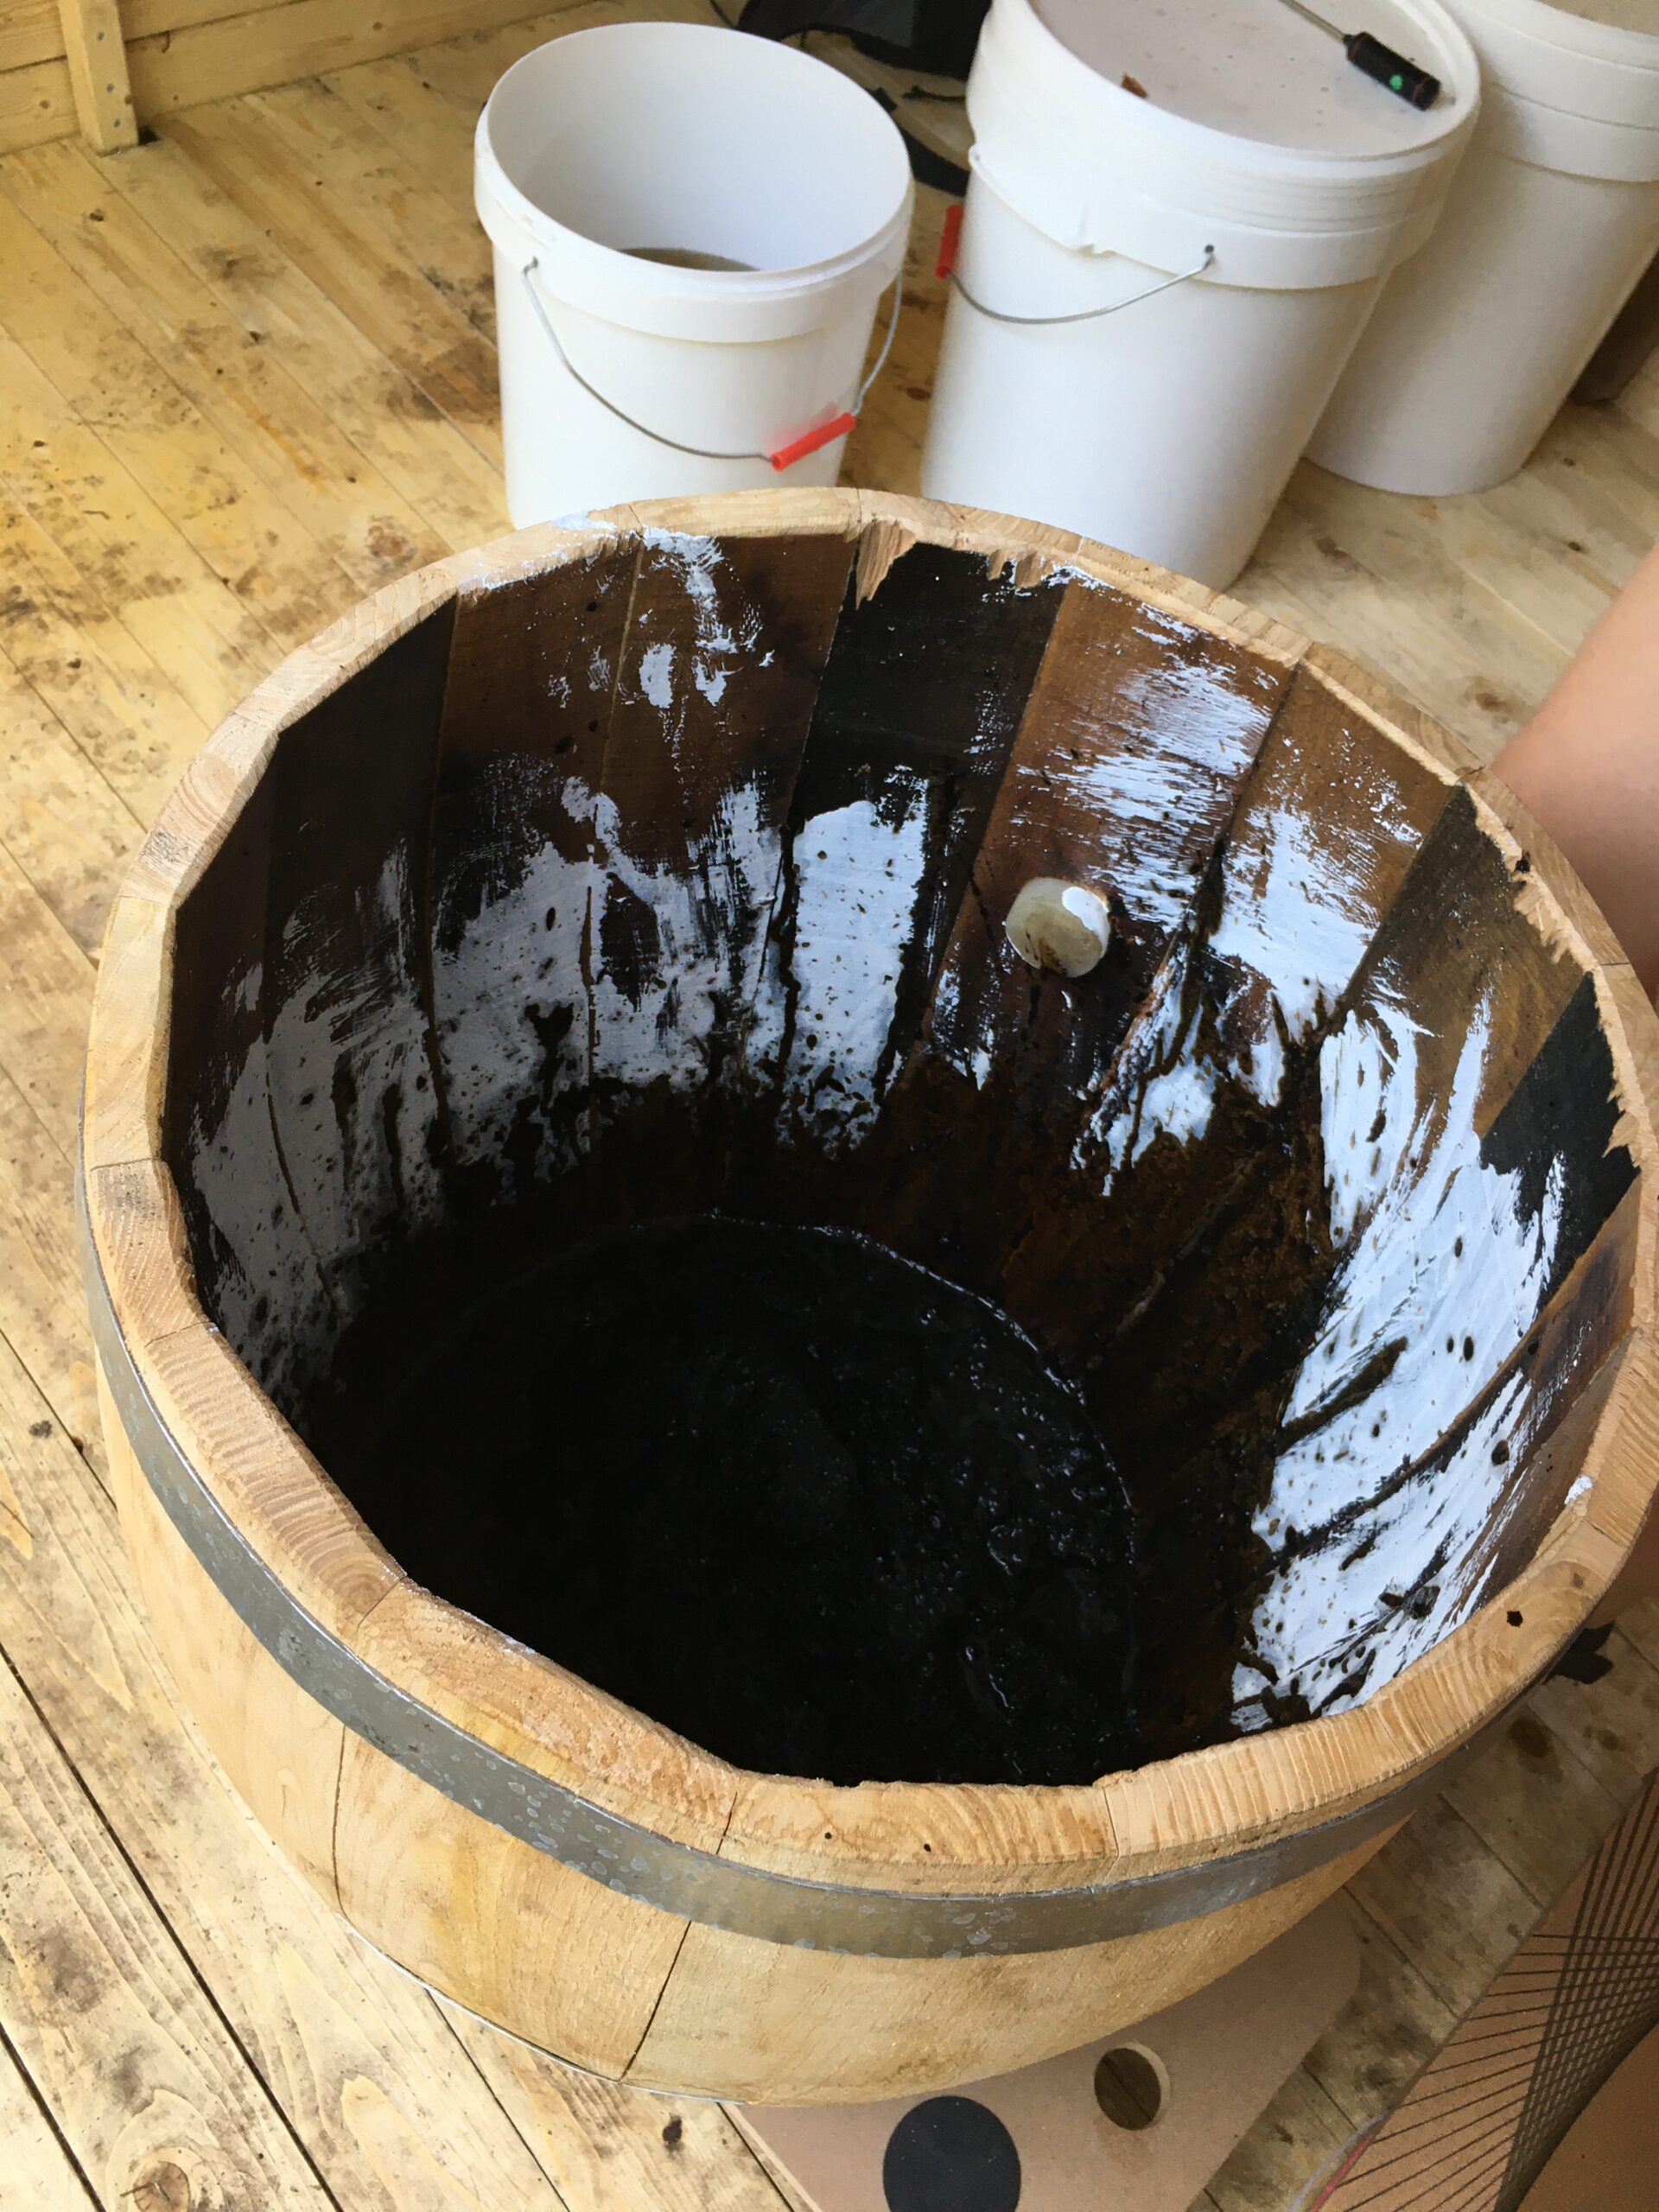
In the mean time, mix 45g of slaked lime / Kalk/ ca(OH)2 with small amount of water and make a paste. smudge it inside the wooden barrel so that the surface of the container is sterilized. (we got this tip from a book)
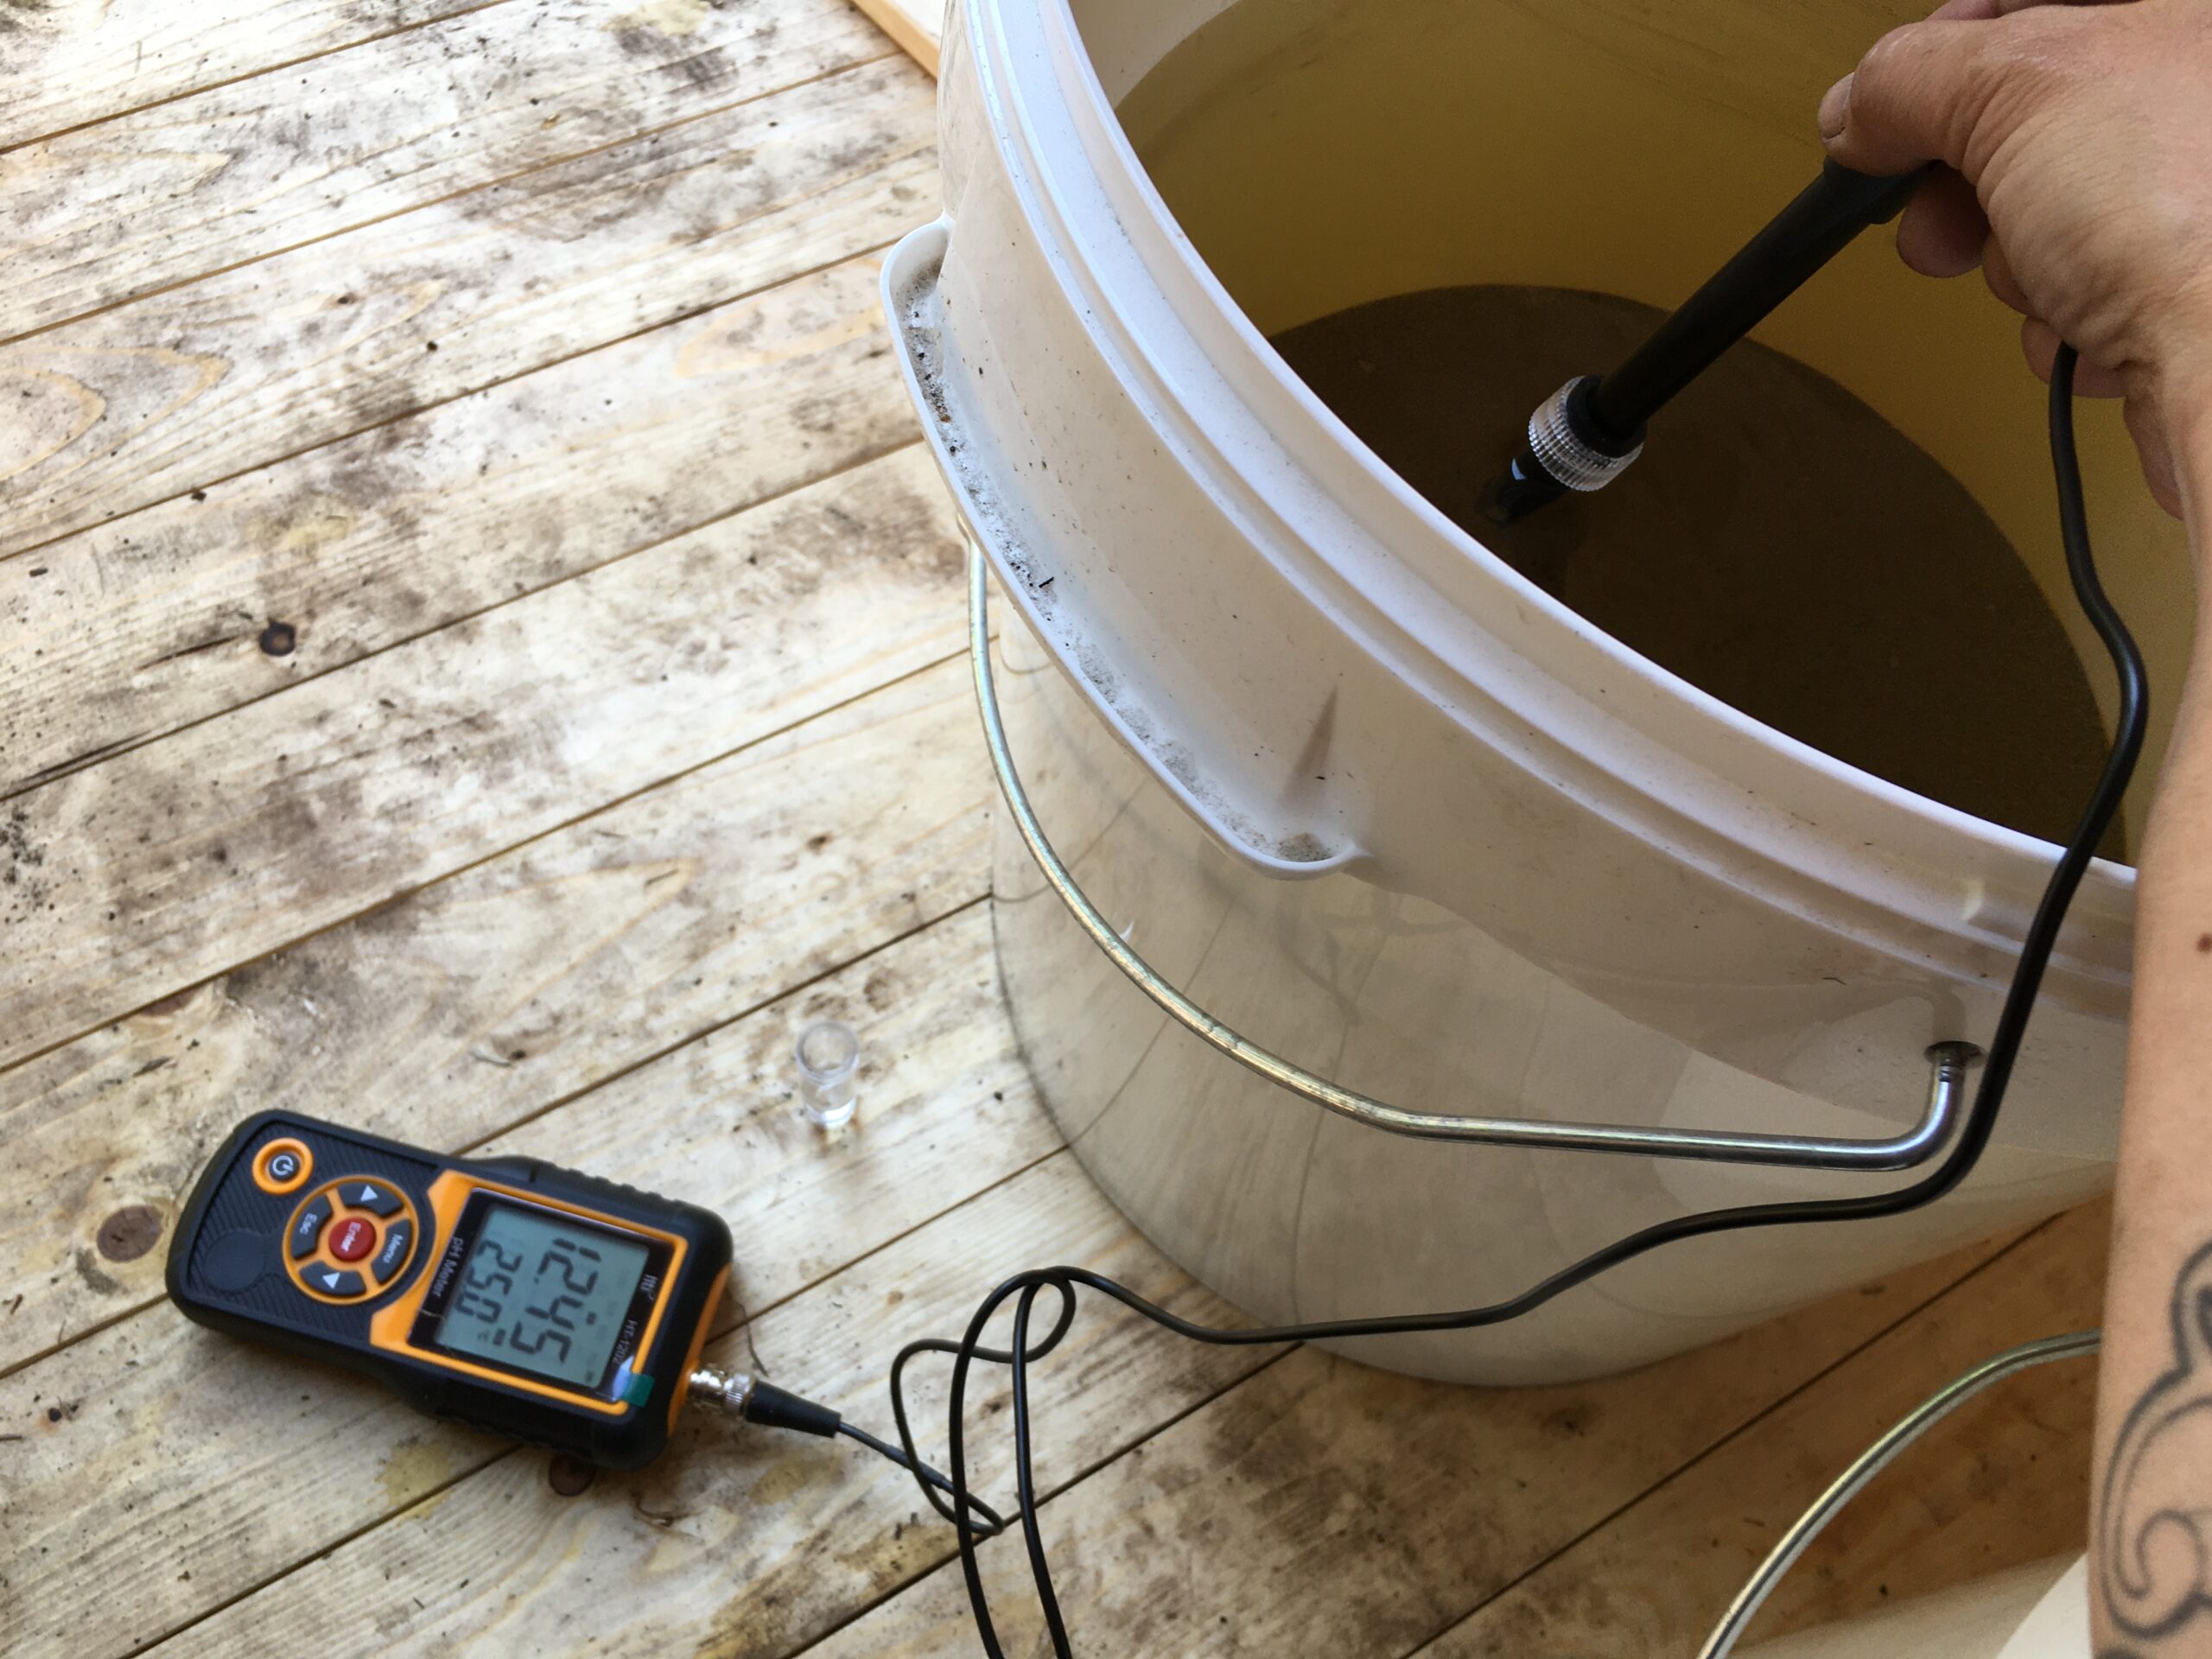
Actually, Melanie’s original recipe was to mix 100g of lime in the Sukumo mixing/kneading process, but as we used lime on the container, and after mixing sukumo the liquid tested PH11, we decided not to add lime at all. I am not sure if this was a good idea. Maybe next time, we shoudl add 55g of lime in sukumo and 45g on the container surface so the total lime used in this process becomes 100g.
Step 2:
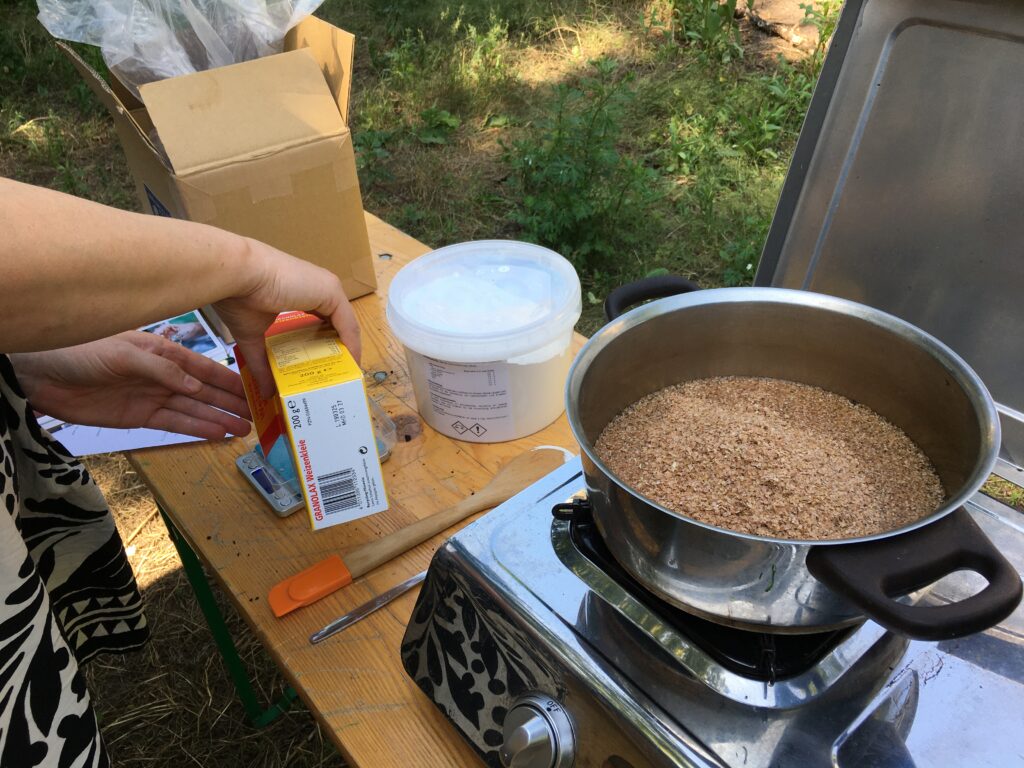
In the meantime, cook 100g of wheat bran/ weizenkleie with ~100g ash water. Cook it for 5-10min until it becomes like porridge and not like soup. After cooking is done, let it cool to 40 degrees.
Step 3
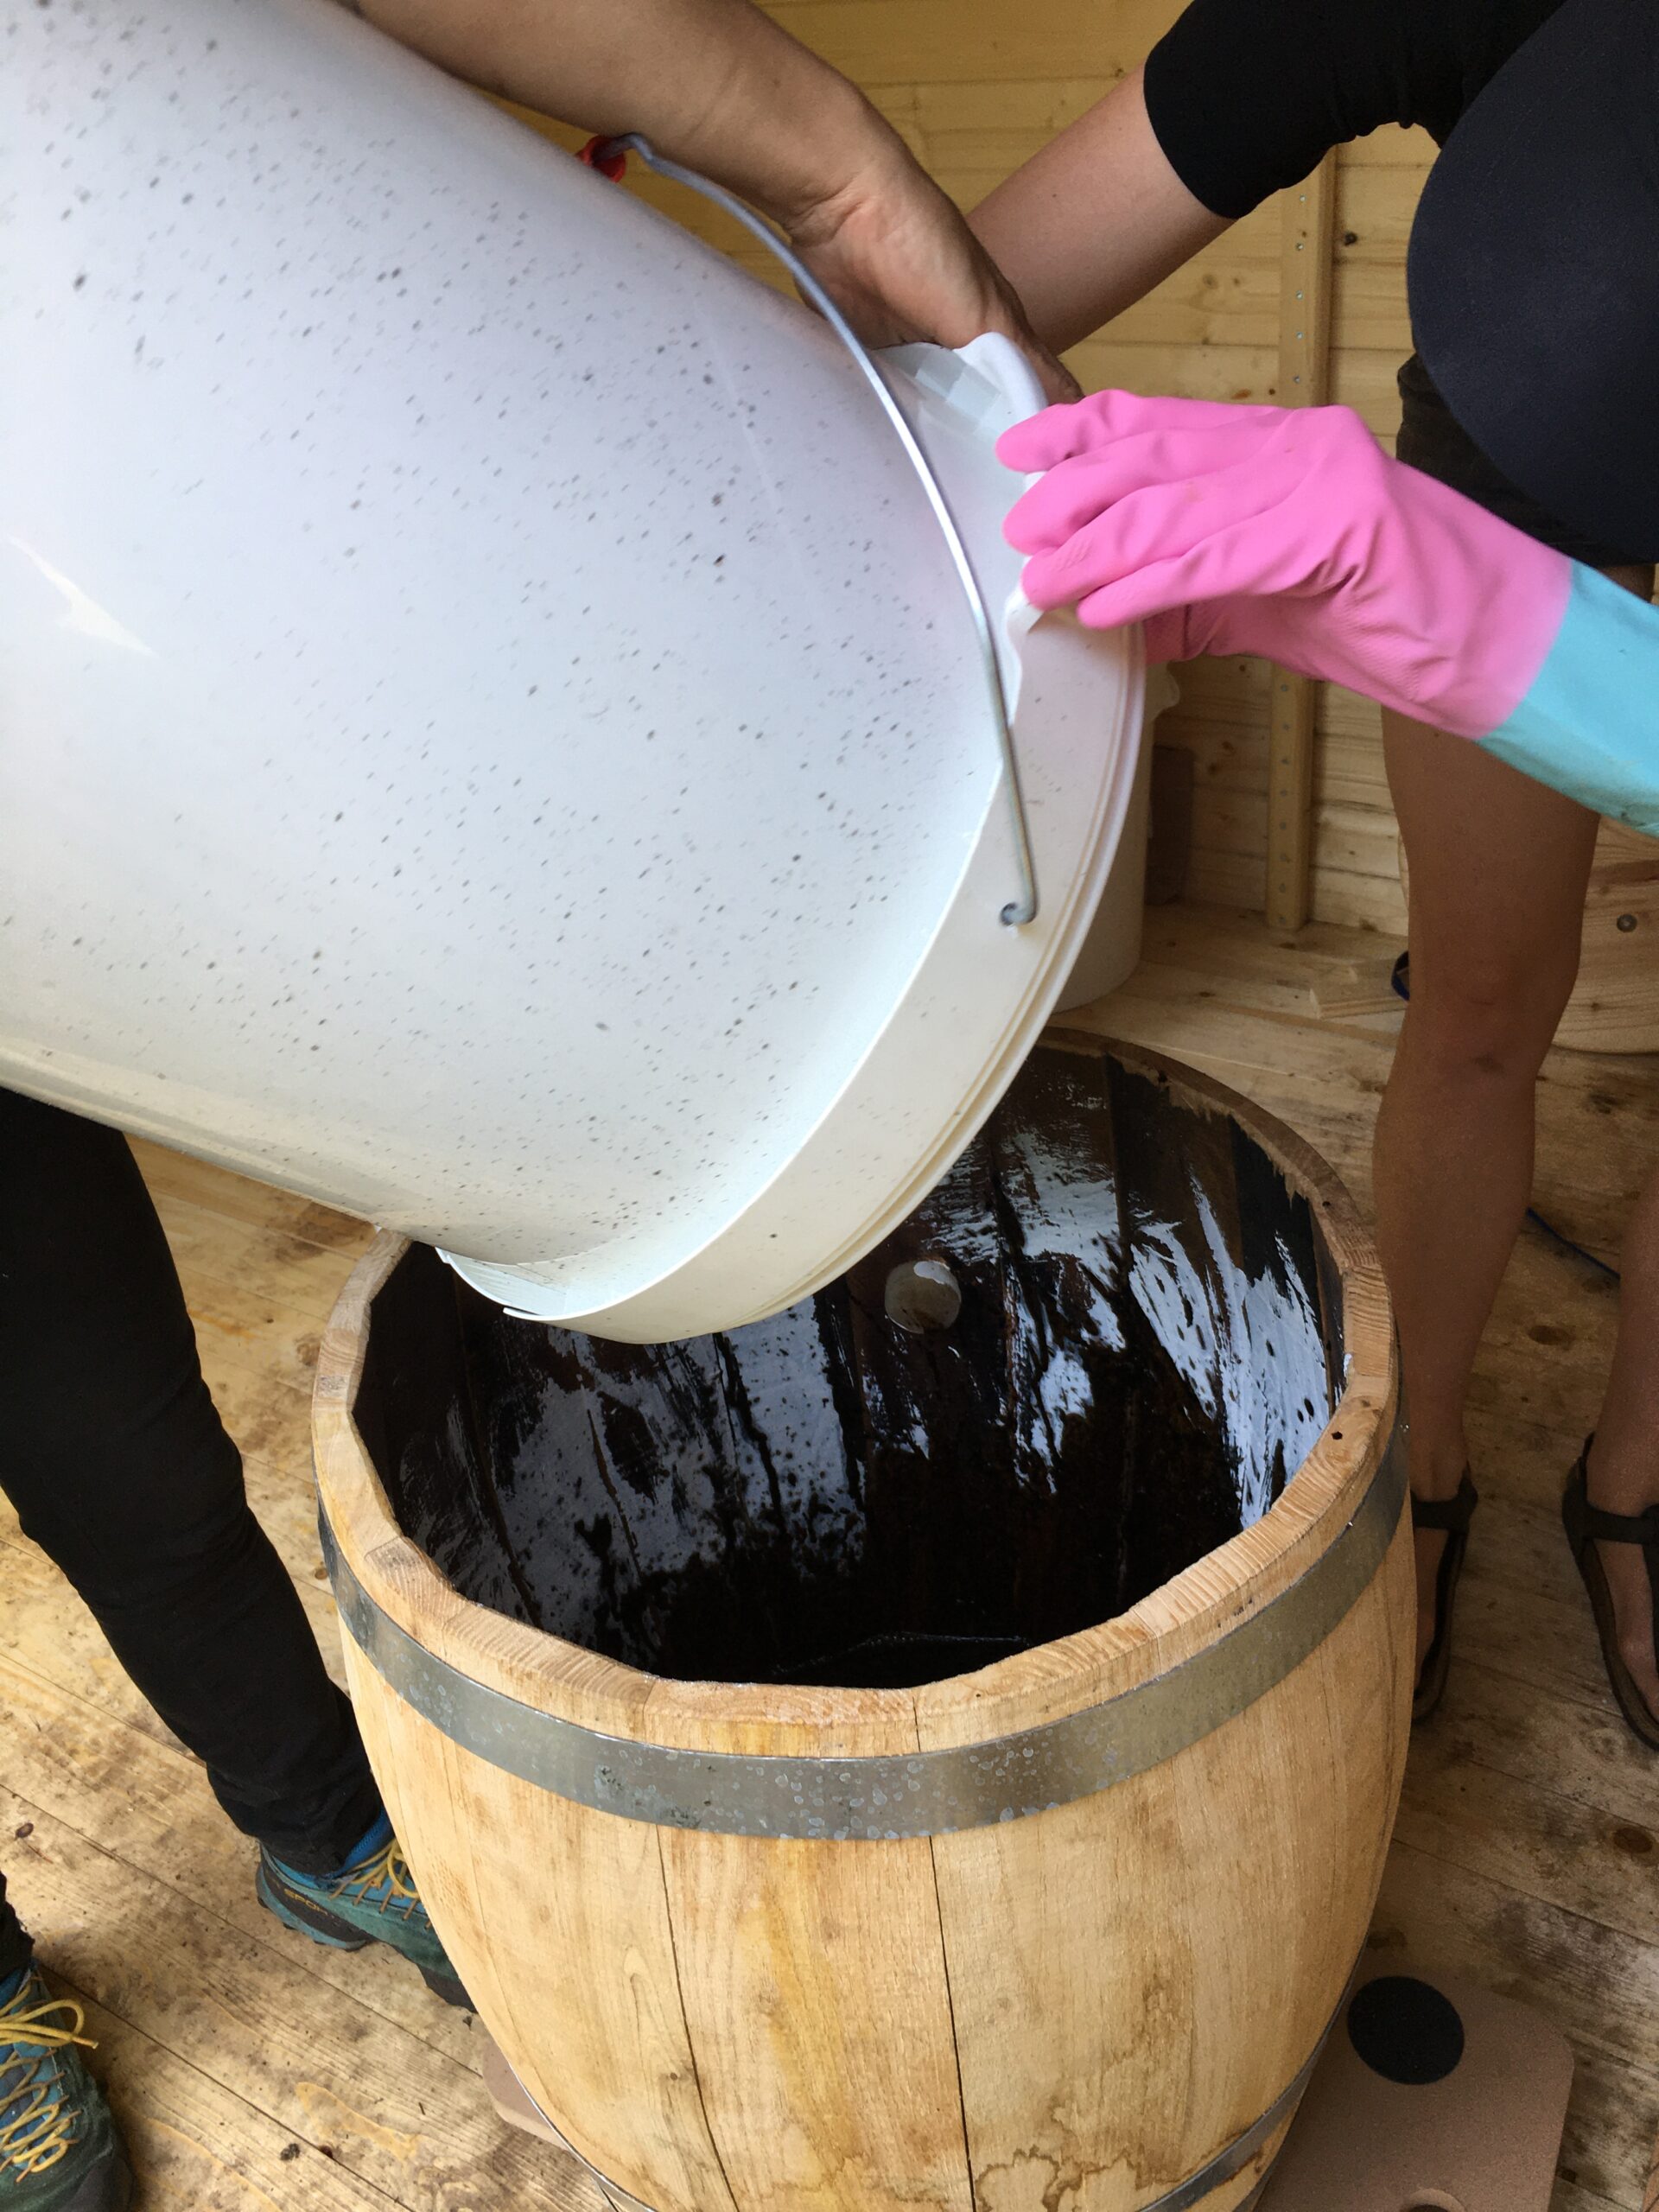
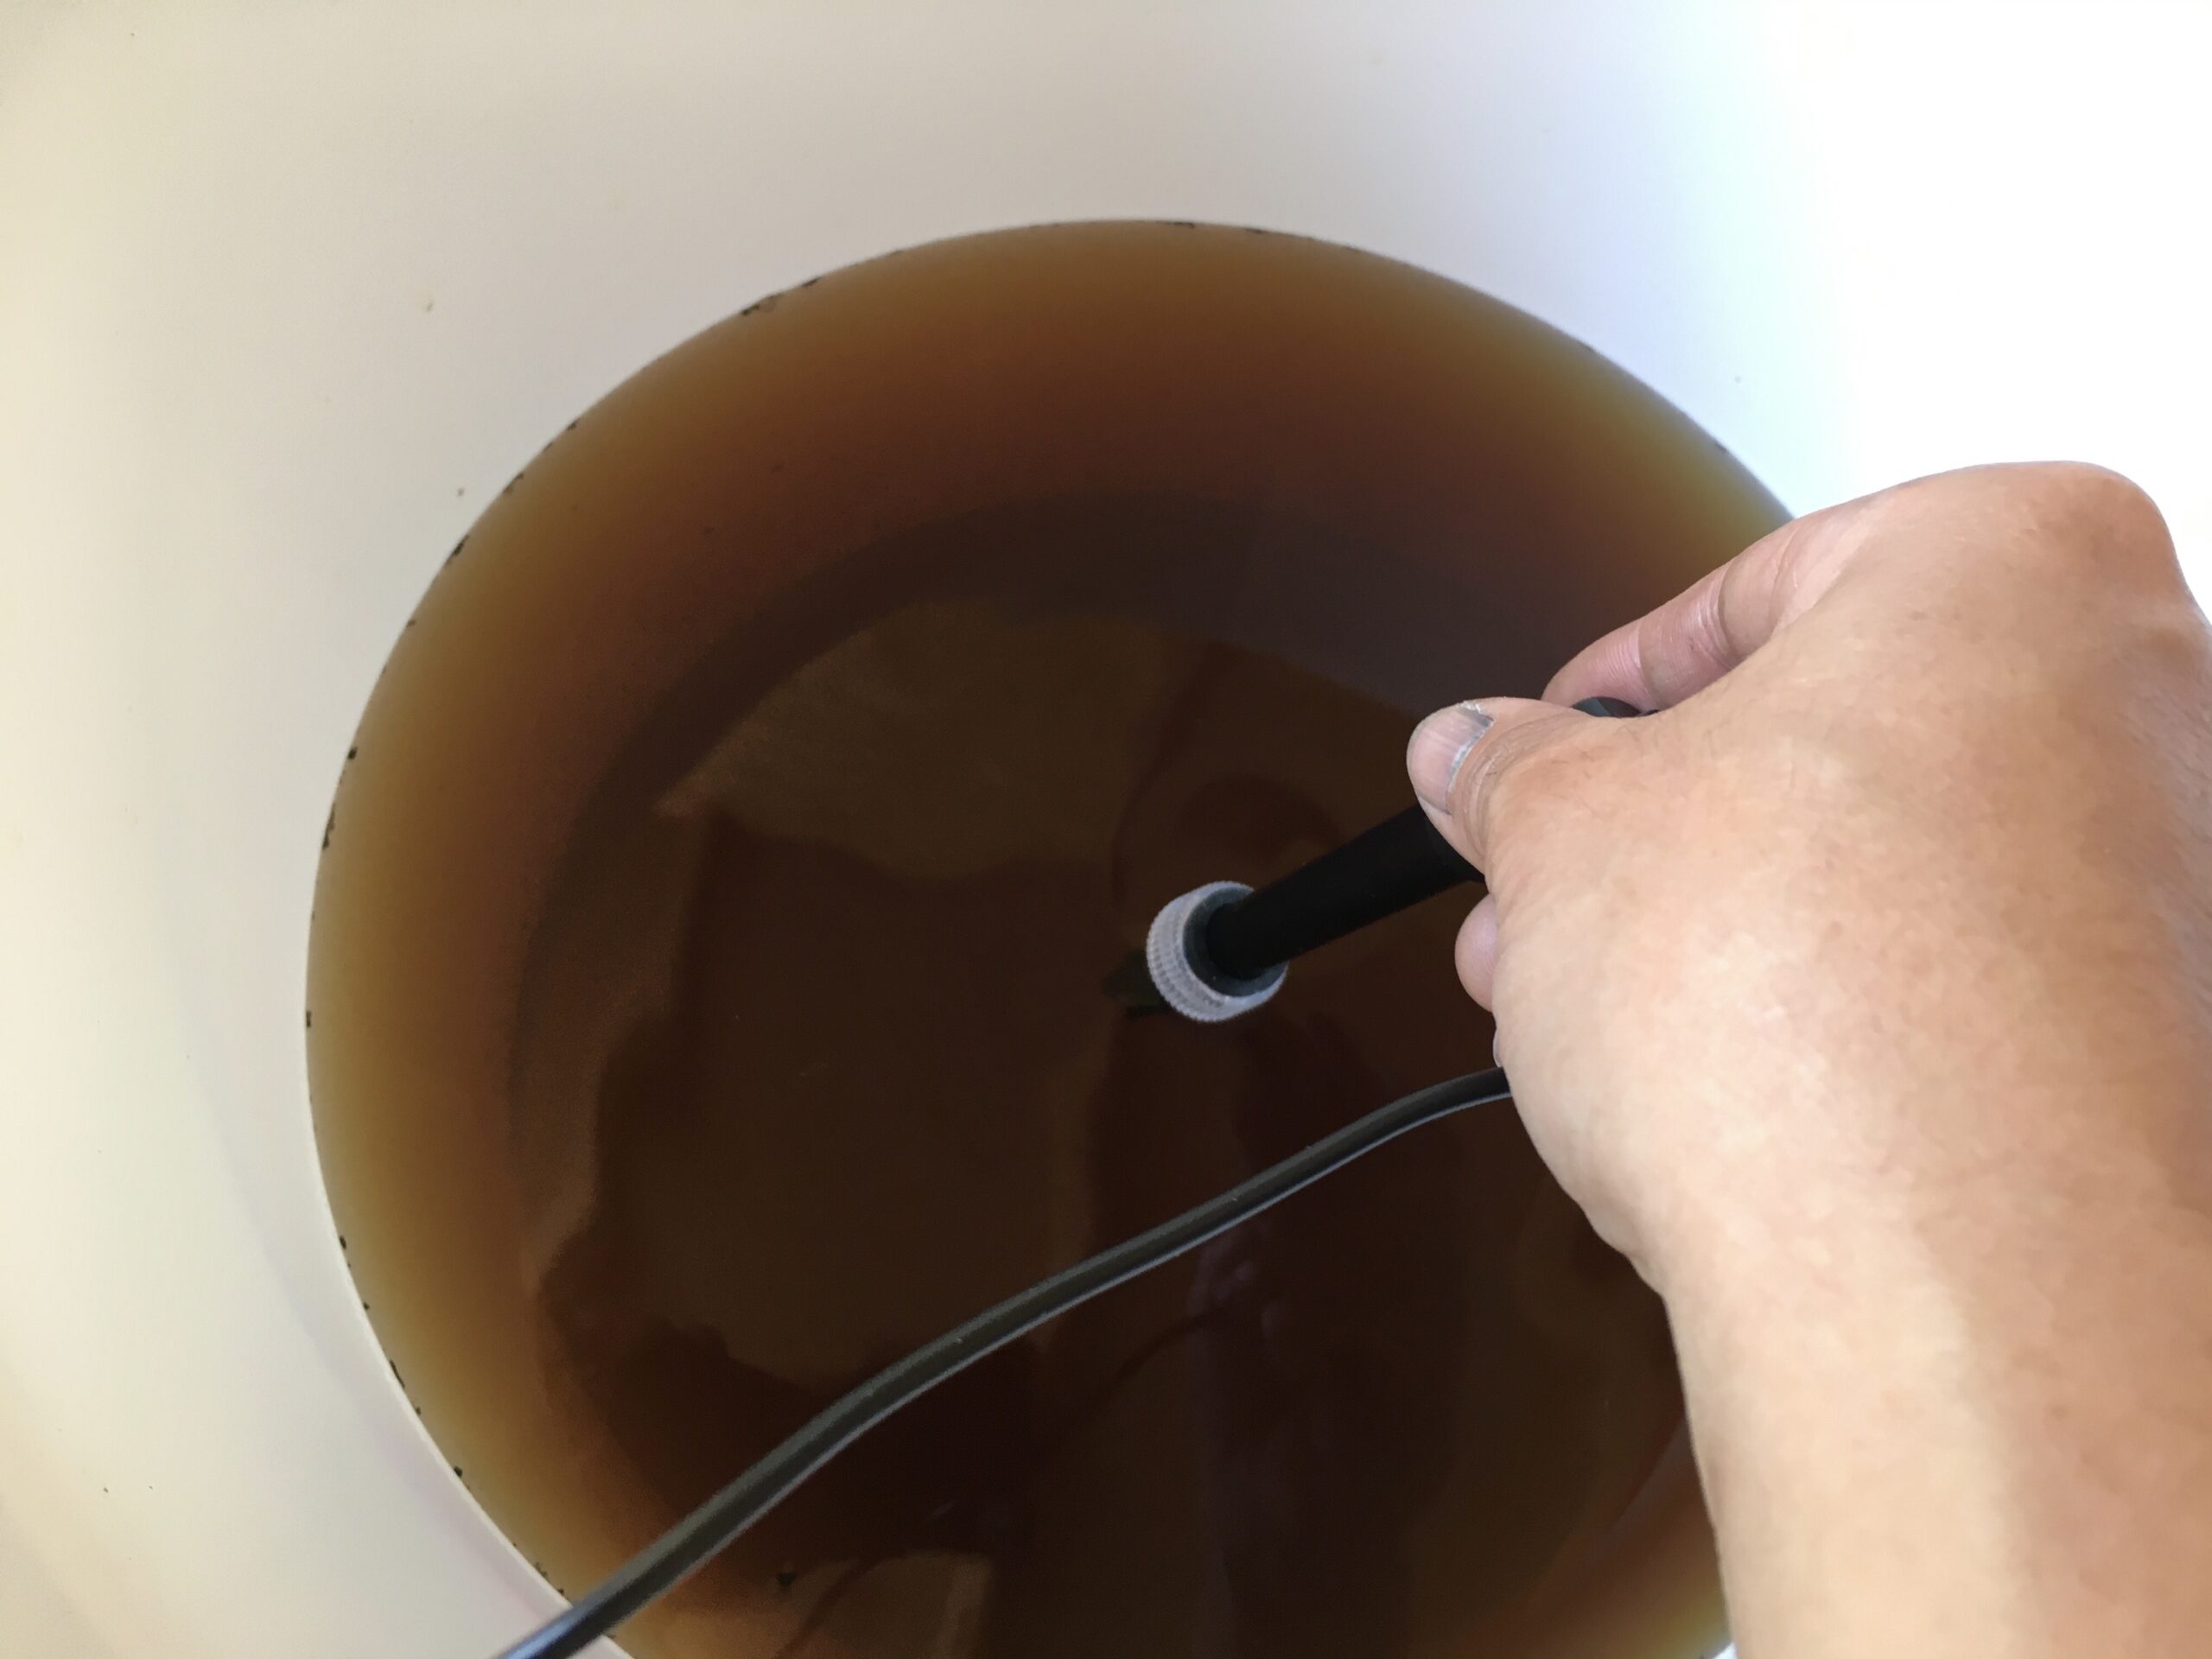
Pour in the Sukumo mix into the vat container. Then add ash water to fill it for ~35L. At this point, one needs to warm up the ash water to ~ 50 degrees. Make sure that it is not hotter than 50. Melanie said, when she uses ash water made sometime ago, she first boils them to make sure there are no other bacteria growing in the ash water, then let it cool to 50 degrees before using it. As this ash water was freshly made, it was just about 50 degrees, so we did not extra warm it up.
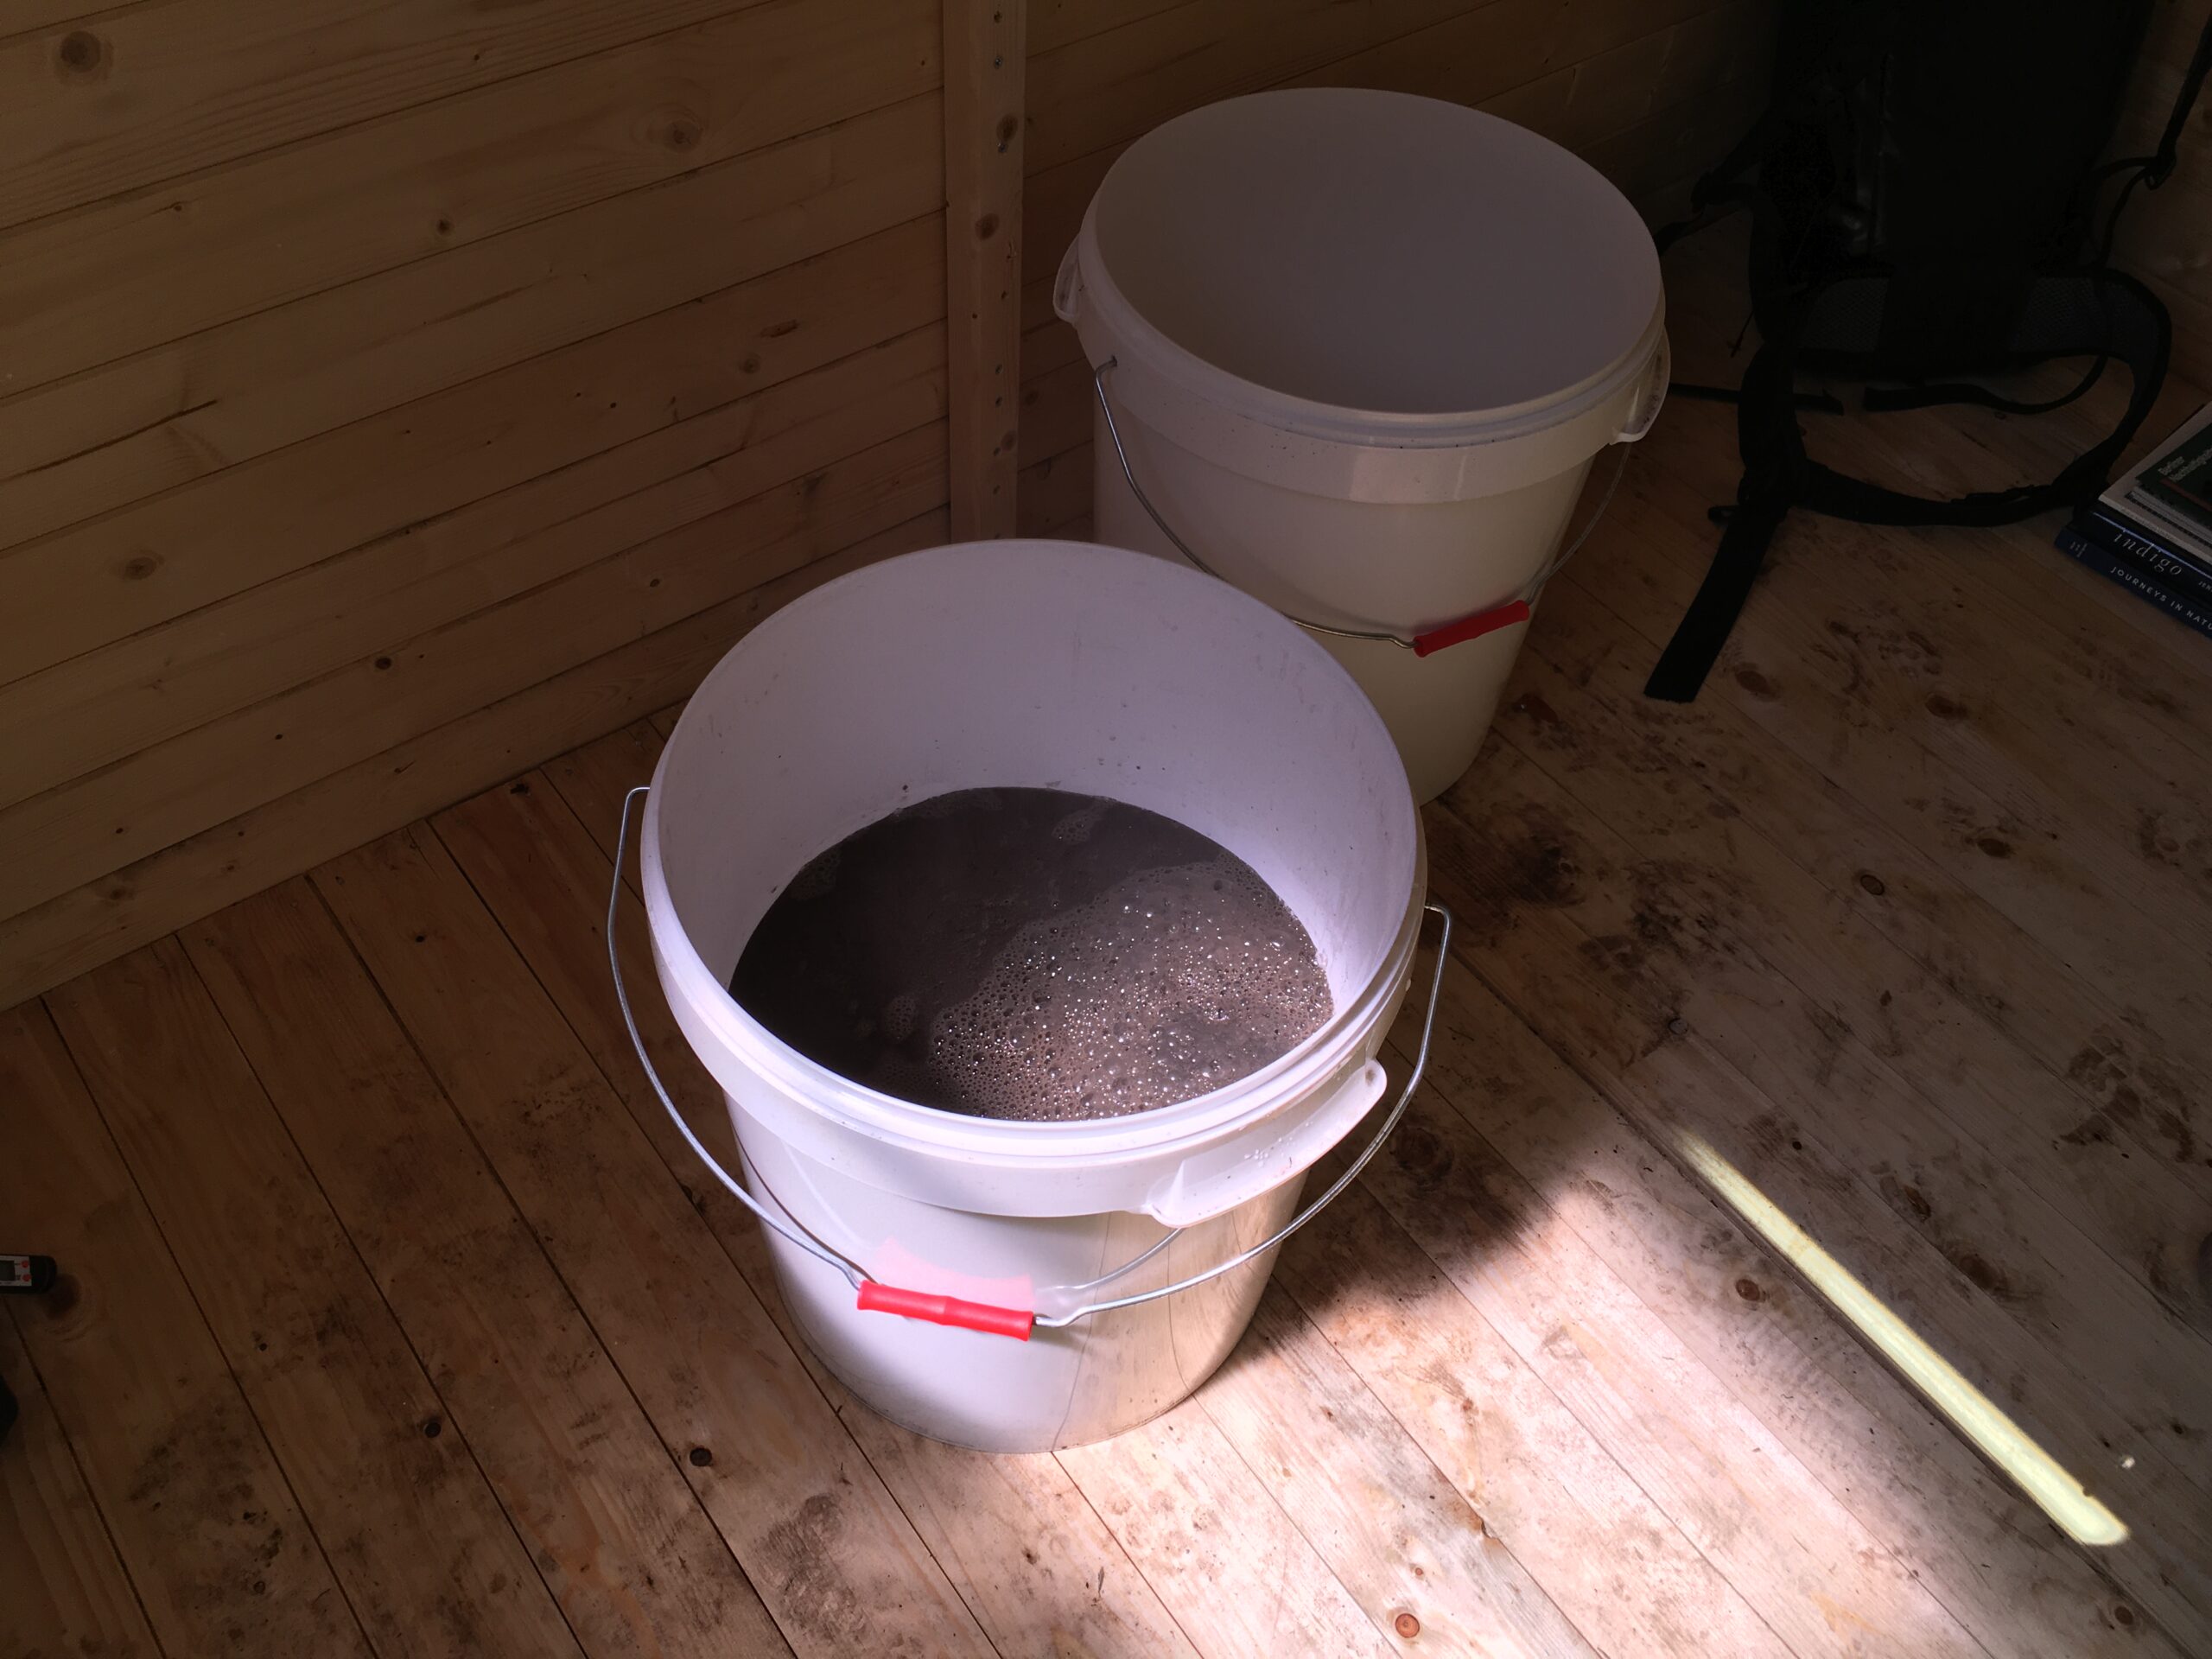
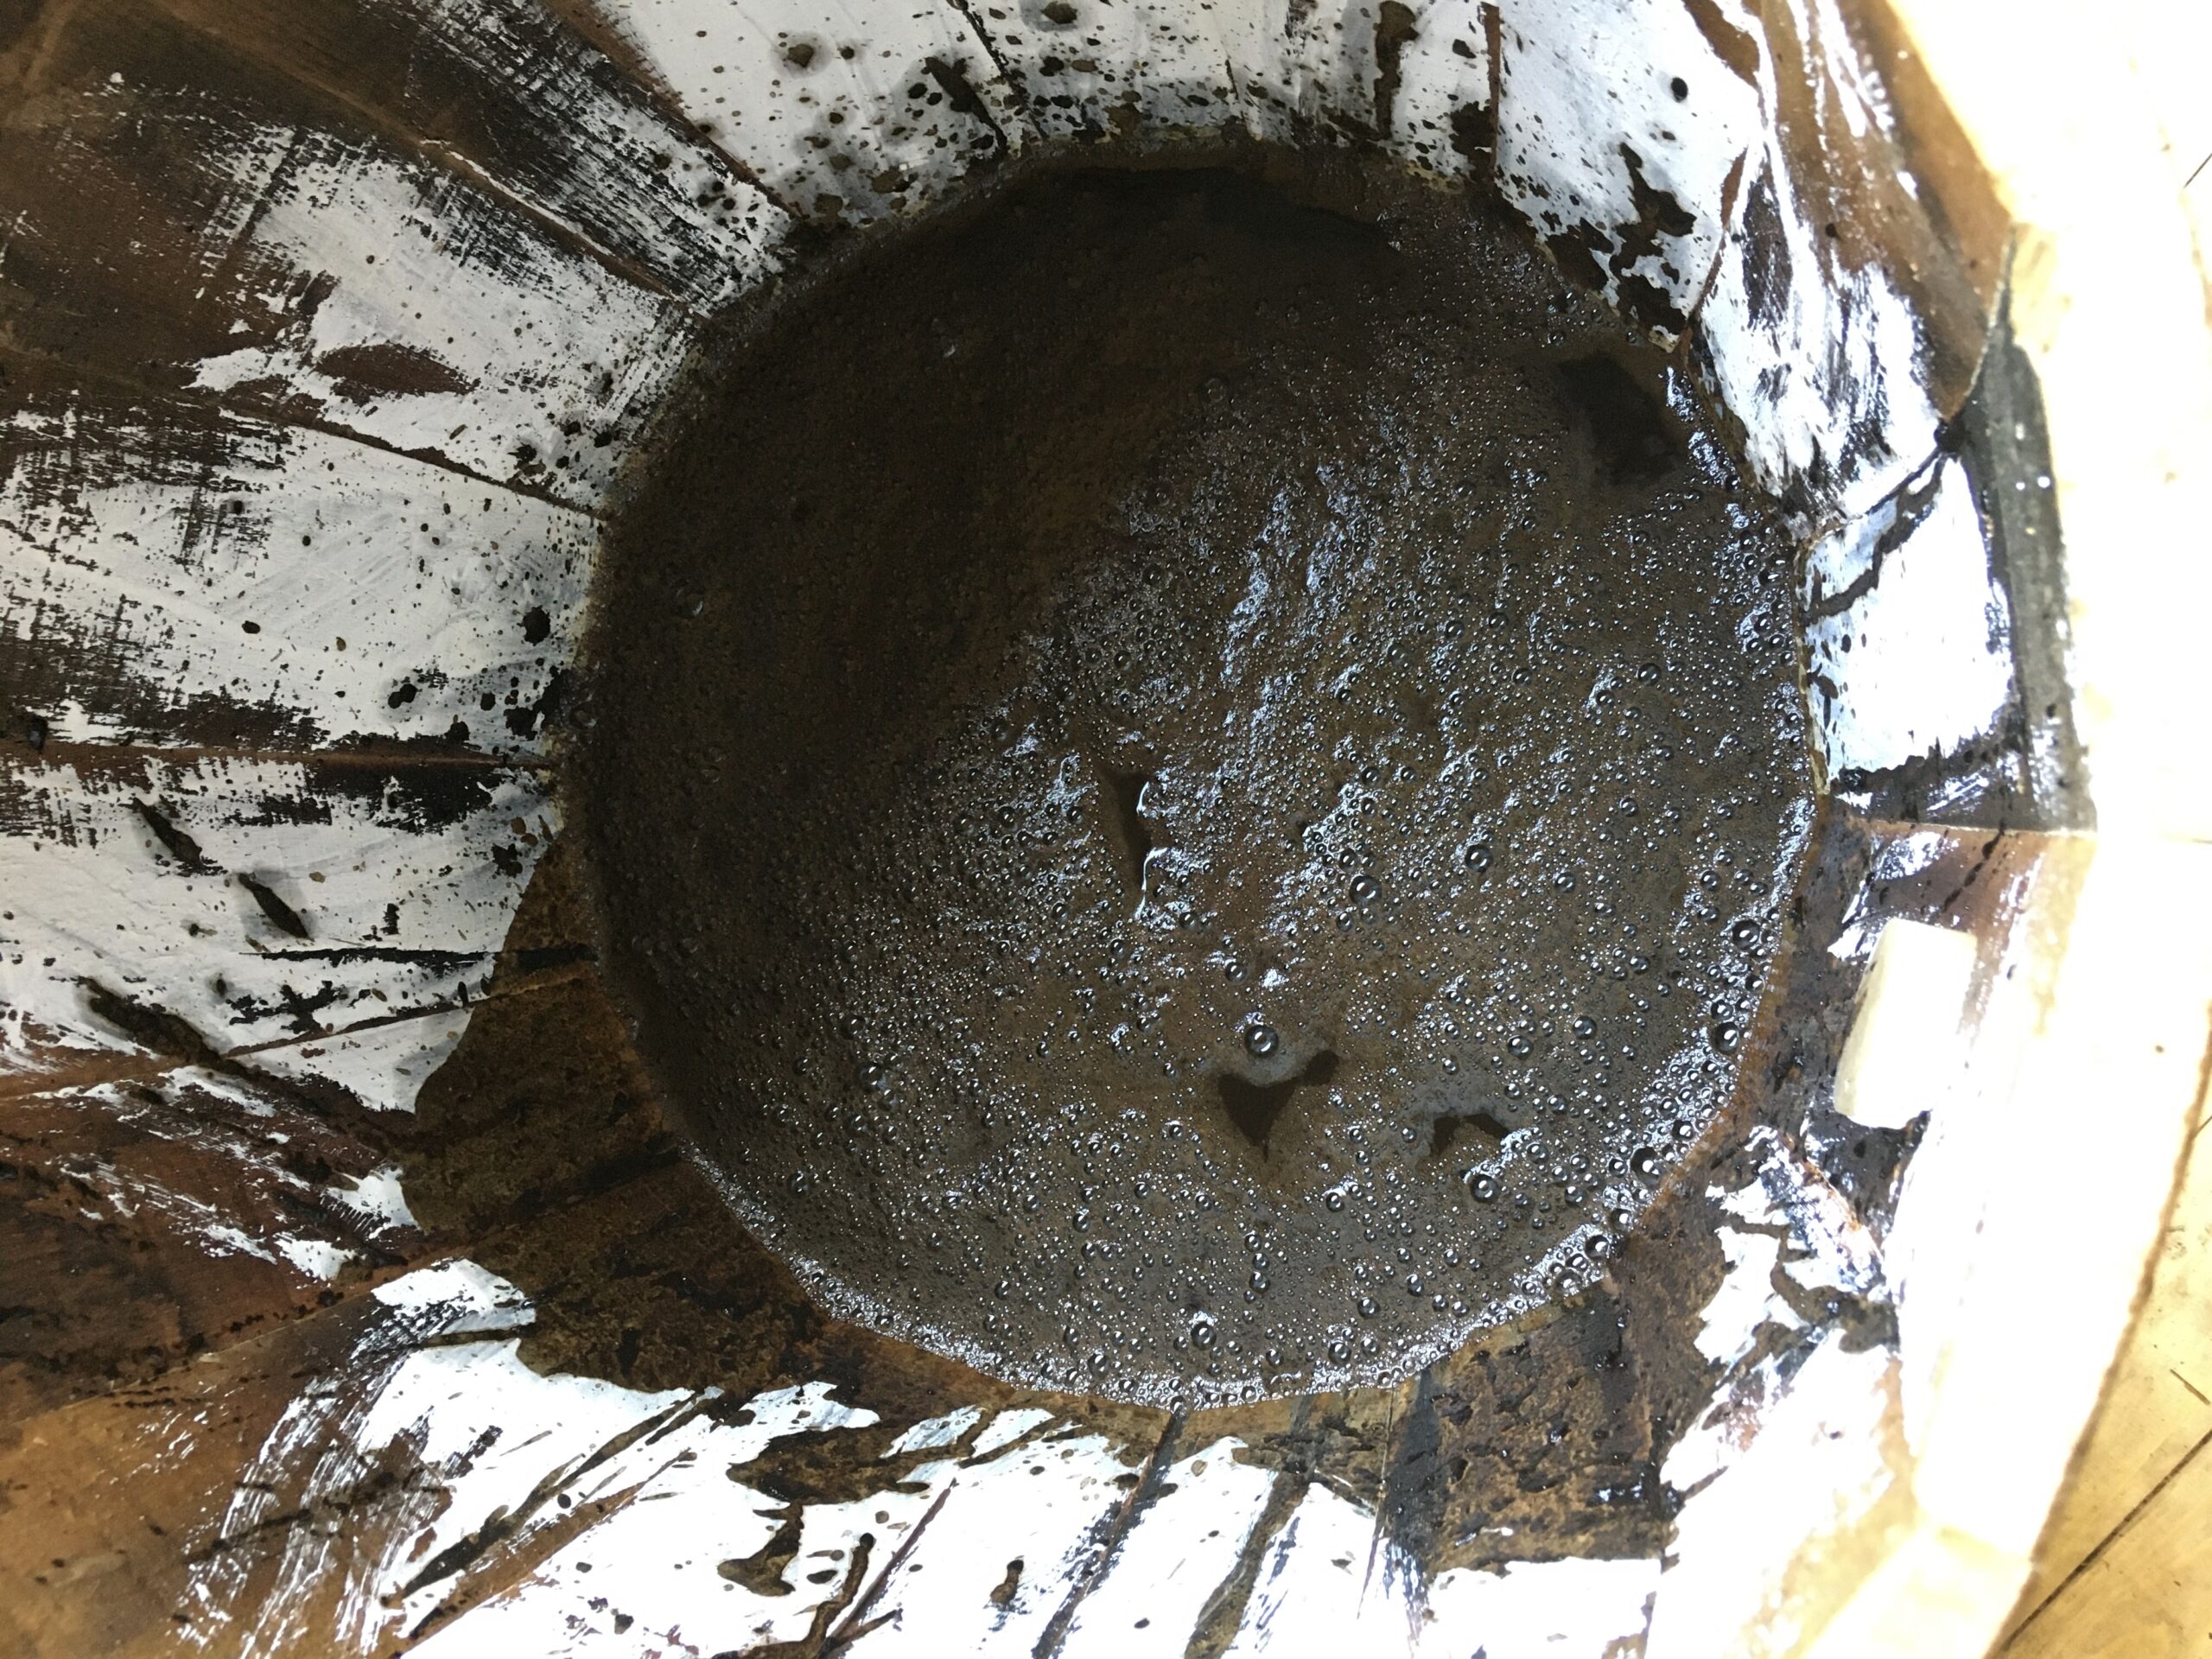
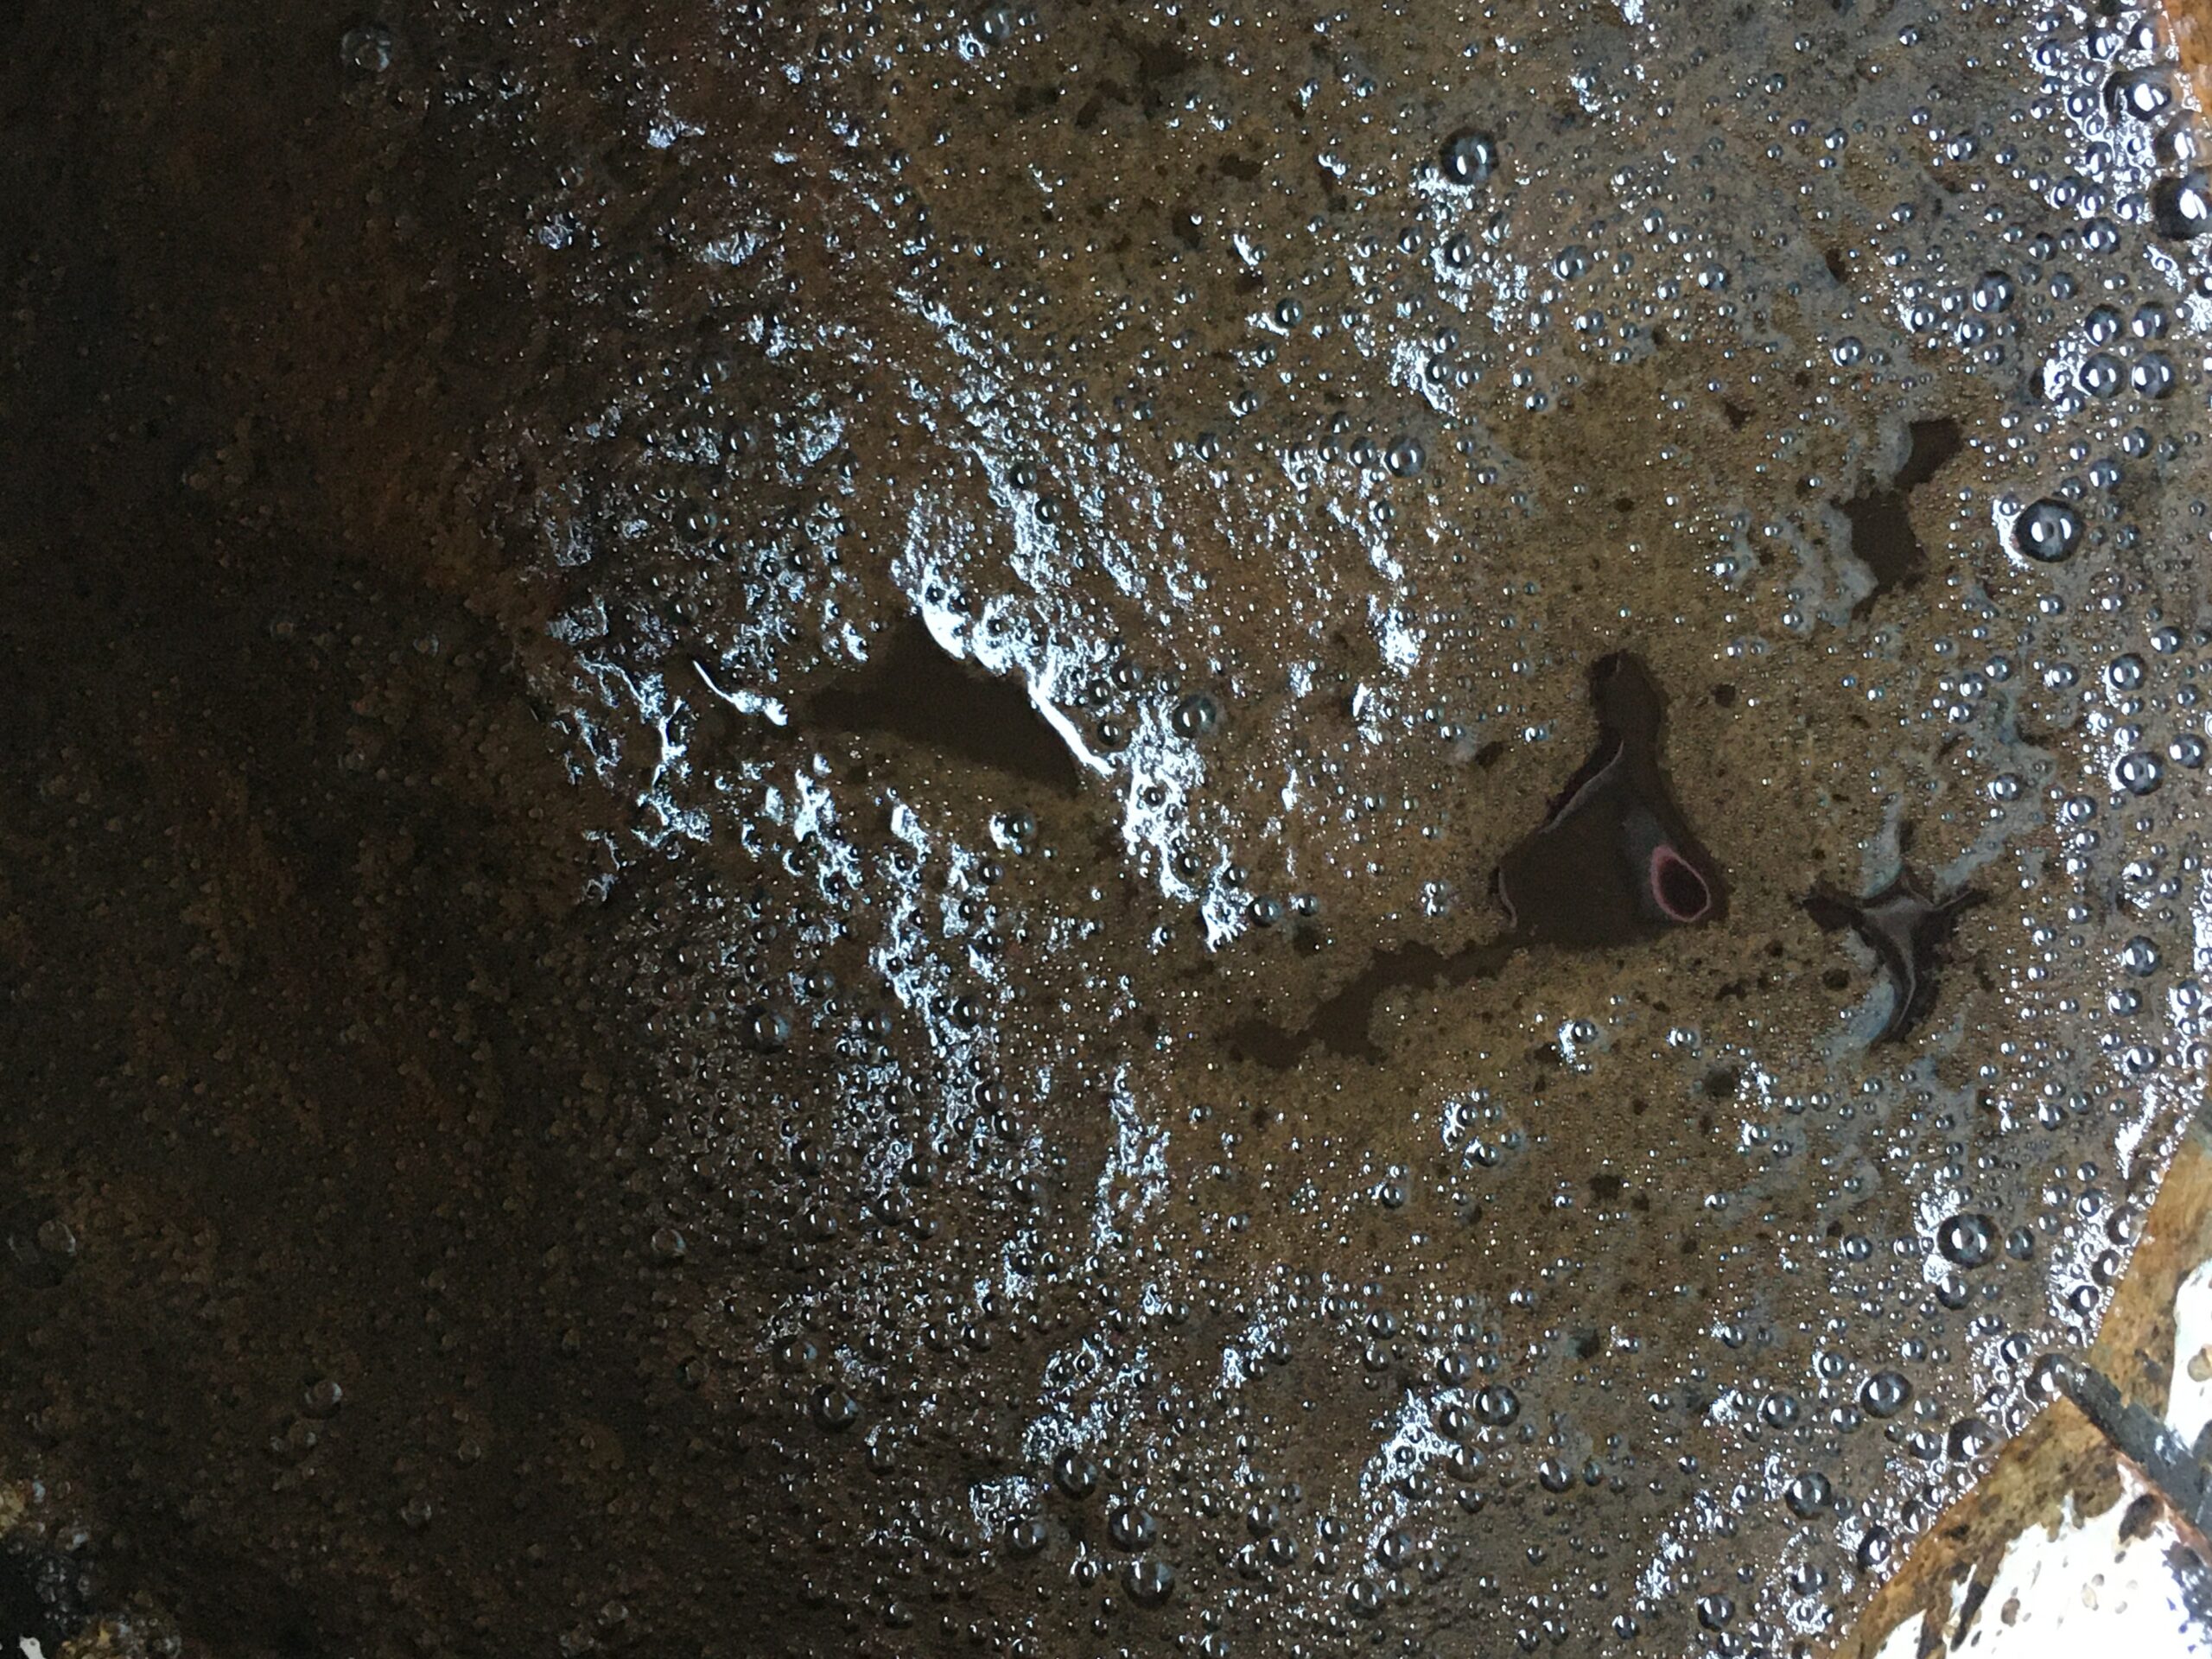
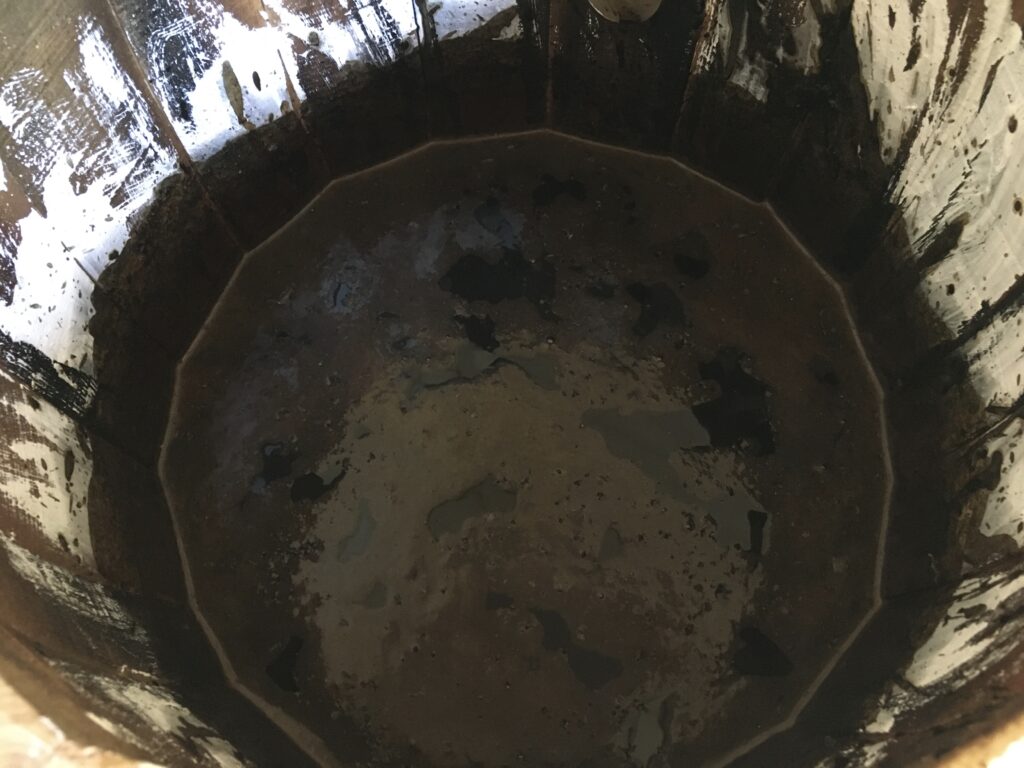
Probably we have less than 35L here. It is hard to tell as the barrel has its shape. After we pour the ash water in, it looks quite bubbly inside.
Step 4
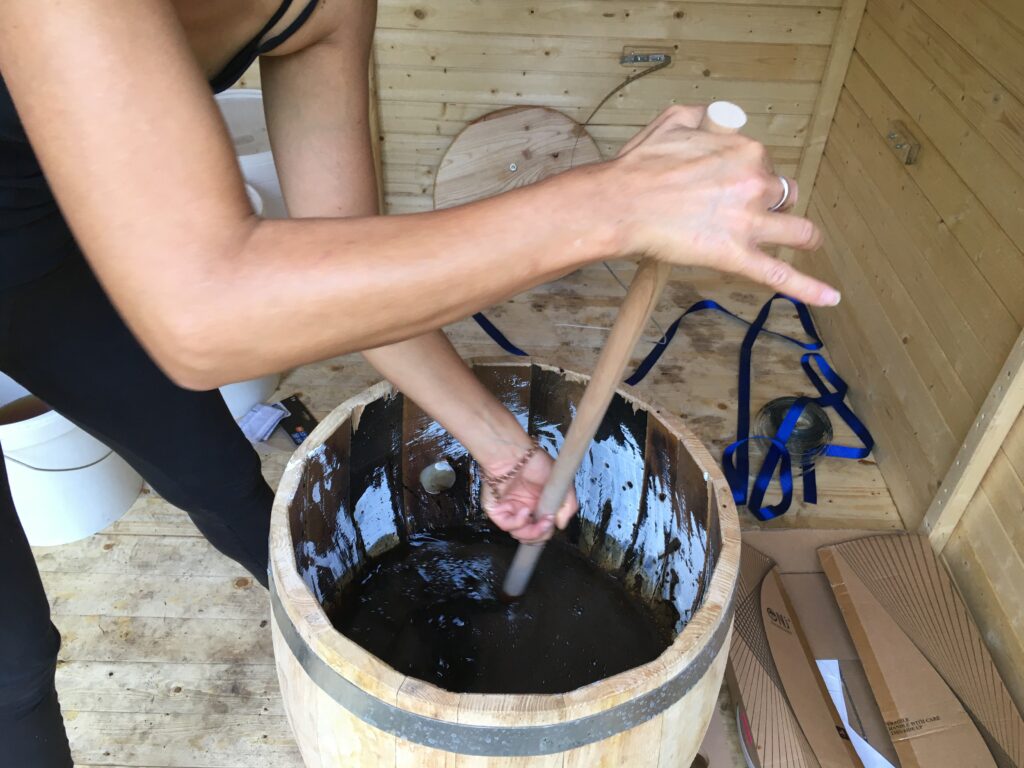
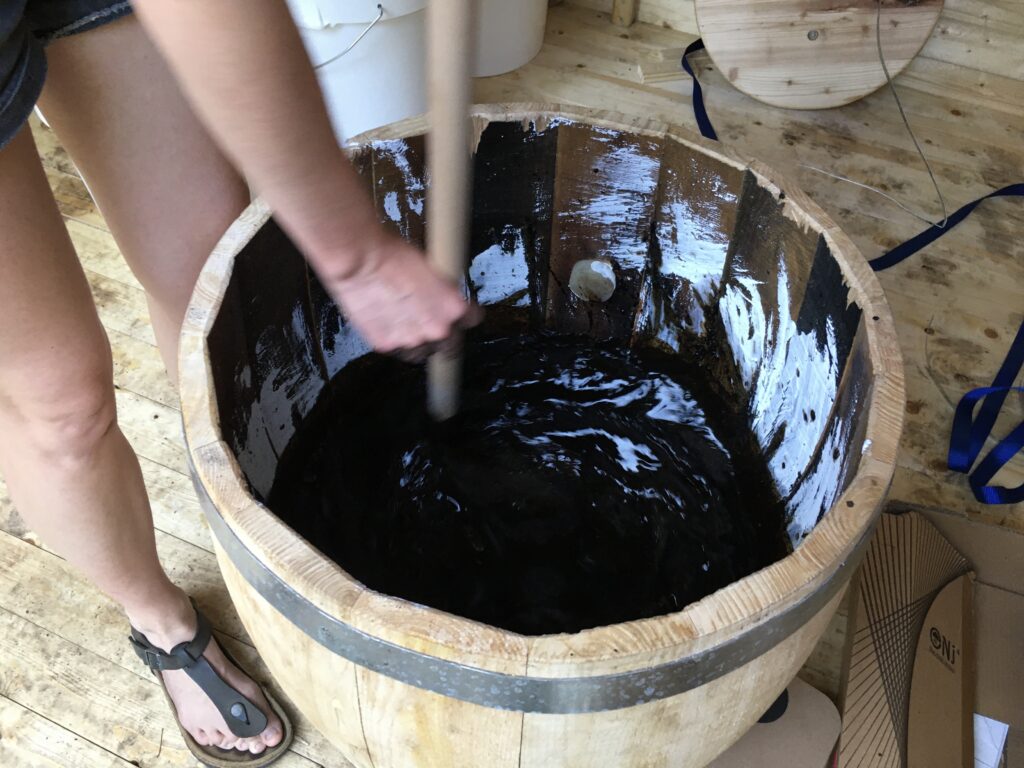
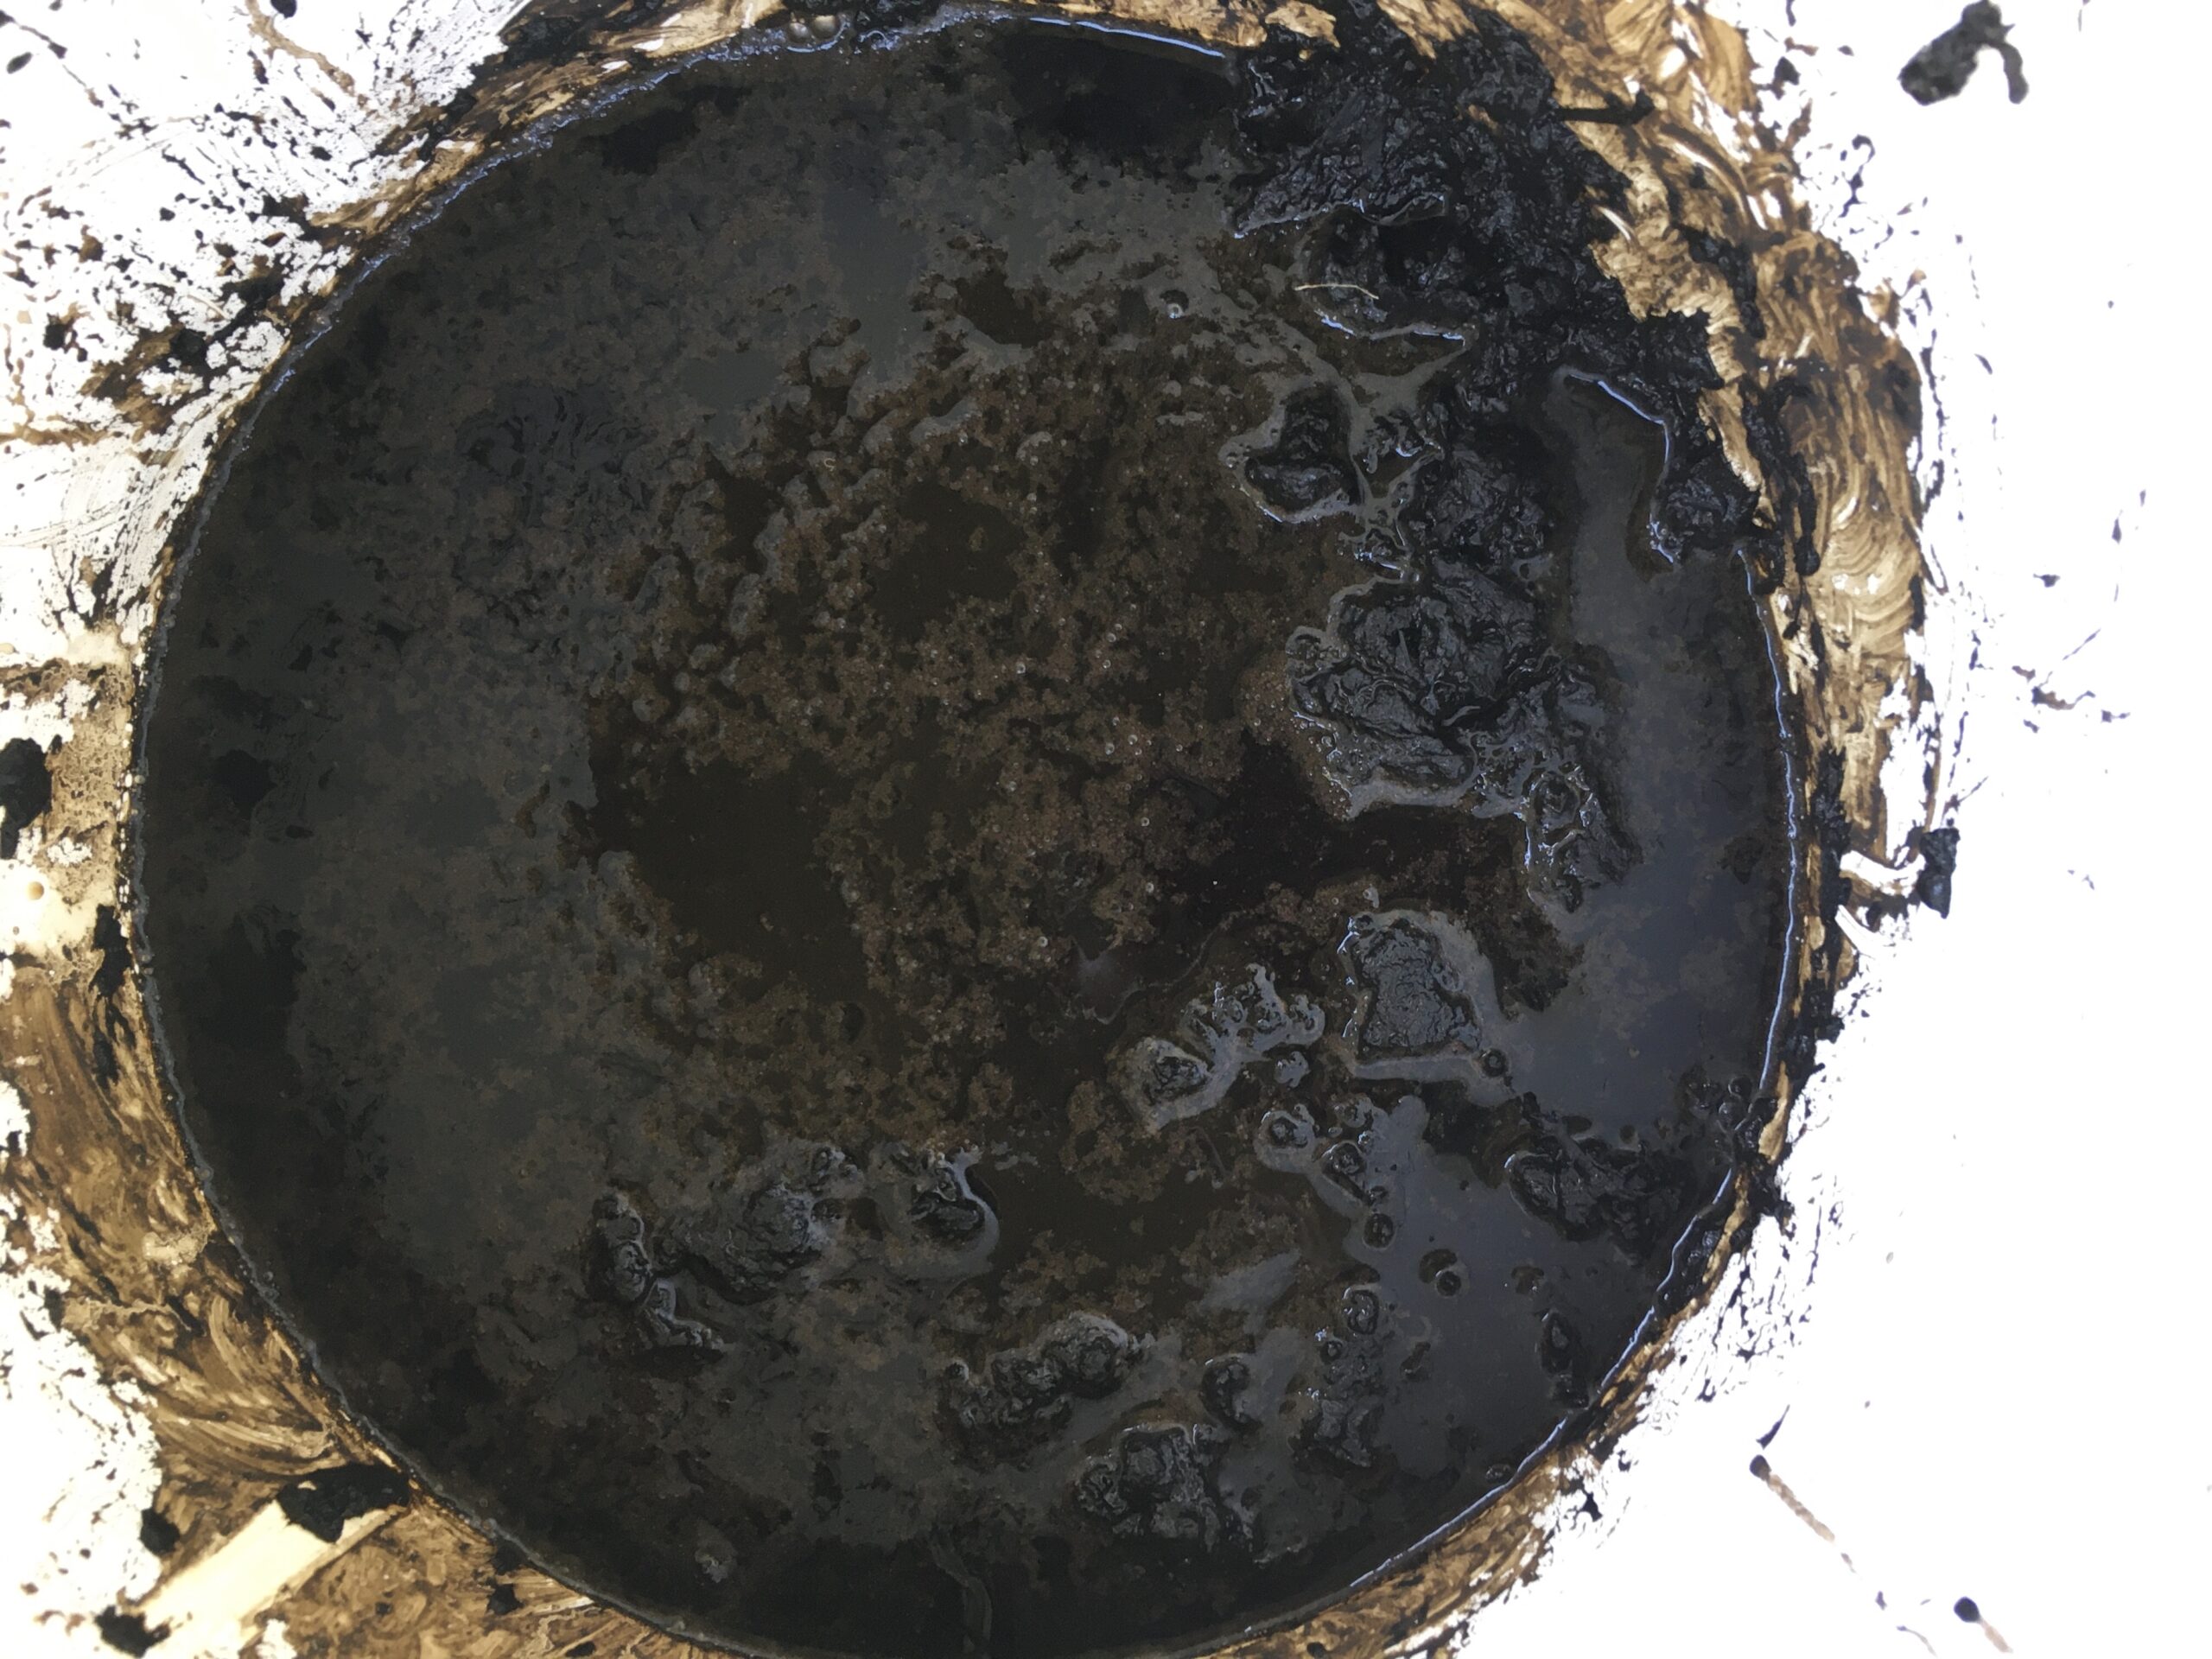
Now, it is the time to mix the vat. Melanie showed us video of how she does it… and we try to do it the same: 30 times to the right, 30 times to the left, and 30 times to the right again. We try to turn it fast as she was doing, but as our vat is wood barrel, it is not easy to turn fast. After some try-outs, we kind of got it. We are now calling it as “galaxy mixing” as the turning dark liquid and bubbles looks like the galaxy.
During the vat making period (before the fermentation starts), we need this galaxy mixing in order to promote oxygen in the liquid as some of the bacteria we want to promote likes oxygen. (we learned this from Melanie). After the fermentation takes place, the way one mix the vat changes.
Step 5
Feed the vat with the wheat bran we cooked earlier. Sorry, not photos of feeding… Make sure the bran is below 40 degrees so it is not too hot for the bacteria. Scoop out the bran porridge with a spoon and drop it one spoon by one spoon into the vat. Do not stir after feeding so it slowly dissolve in the vat.
This is the end of the fermentation vat starting day 1. After this, we mix/stir the vat 2 times a day, check the temperate and PH (and add lime when too low) until the fermentation starts.