16. June 2014
For my final project I’d like to make an interactive pattern maker.
I’ve always been really interested in and inspired by handcraft and the time, skill and tradition it represents. Although I’m fully intrigued and in awe of this time intensive and skillful work, I also think that it is rooted in time. What would the artful and skilled objects of today look like, when we can use “2.0 machines” as our tools, lasers, computers, programming, etc. For me another aspect, that best represents the theme of today is adaptability. So with this project, I’d like to apply this idea to creating a current handcraft.
In the past I’ve slightly scratched the surface of this idea using old fashioned analog techniques and now I’d like to approach it from a new and exciting technology perspective.
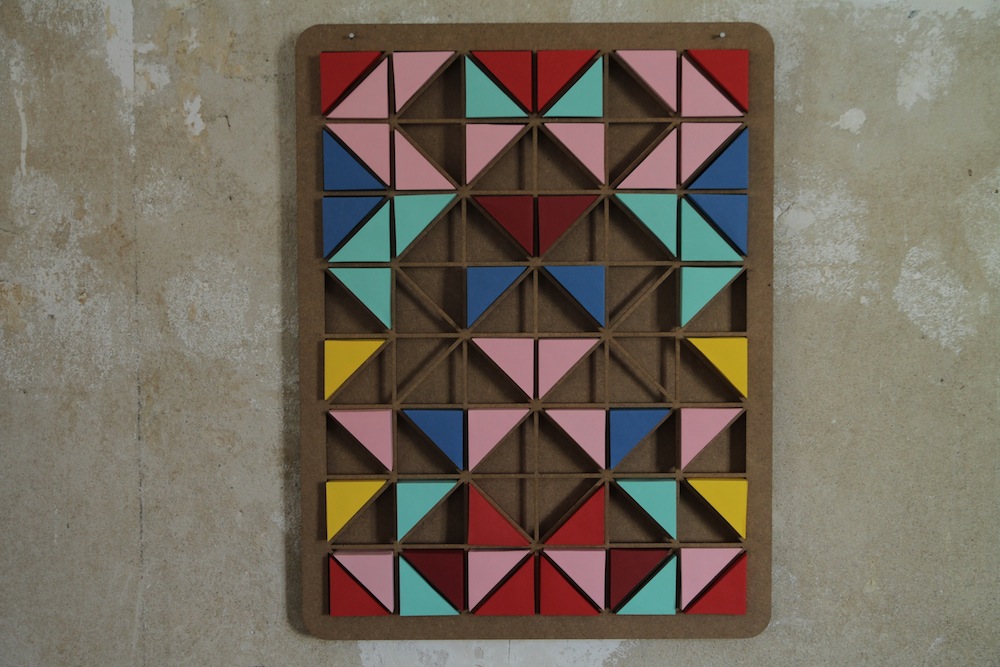
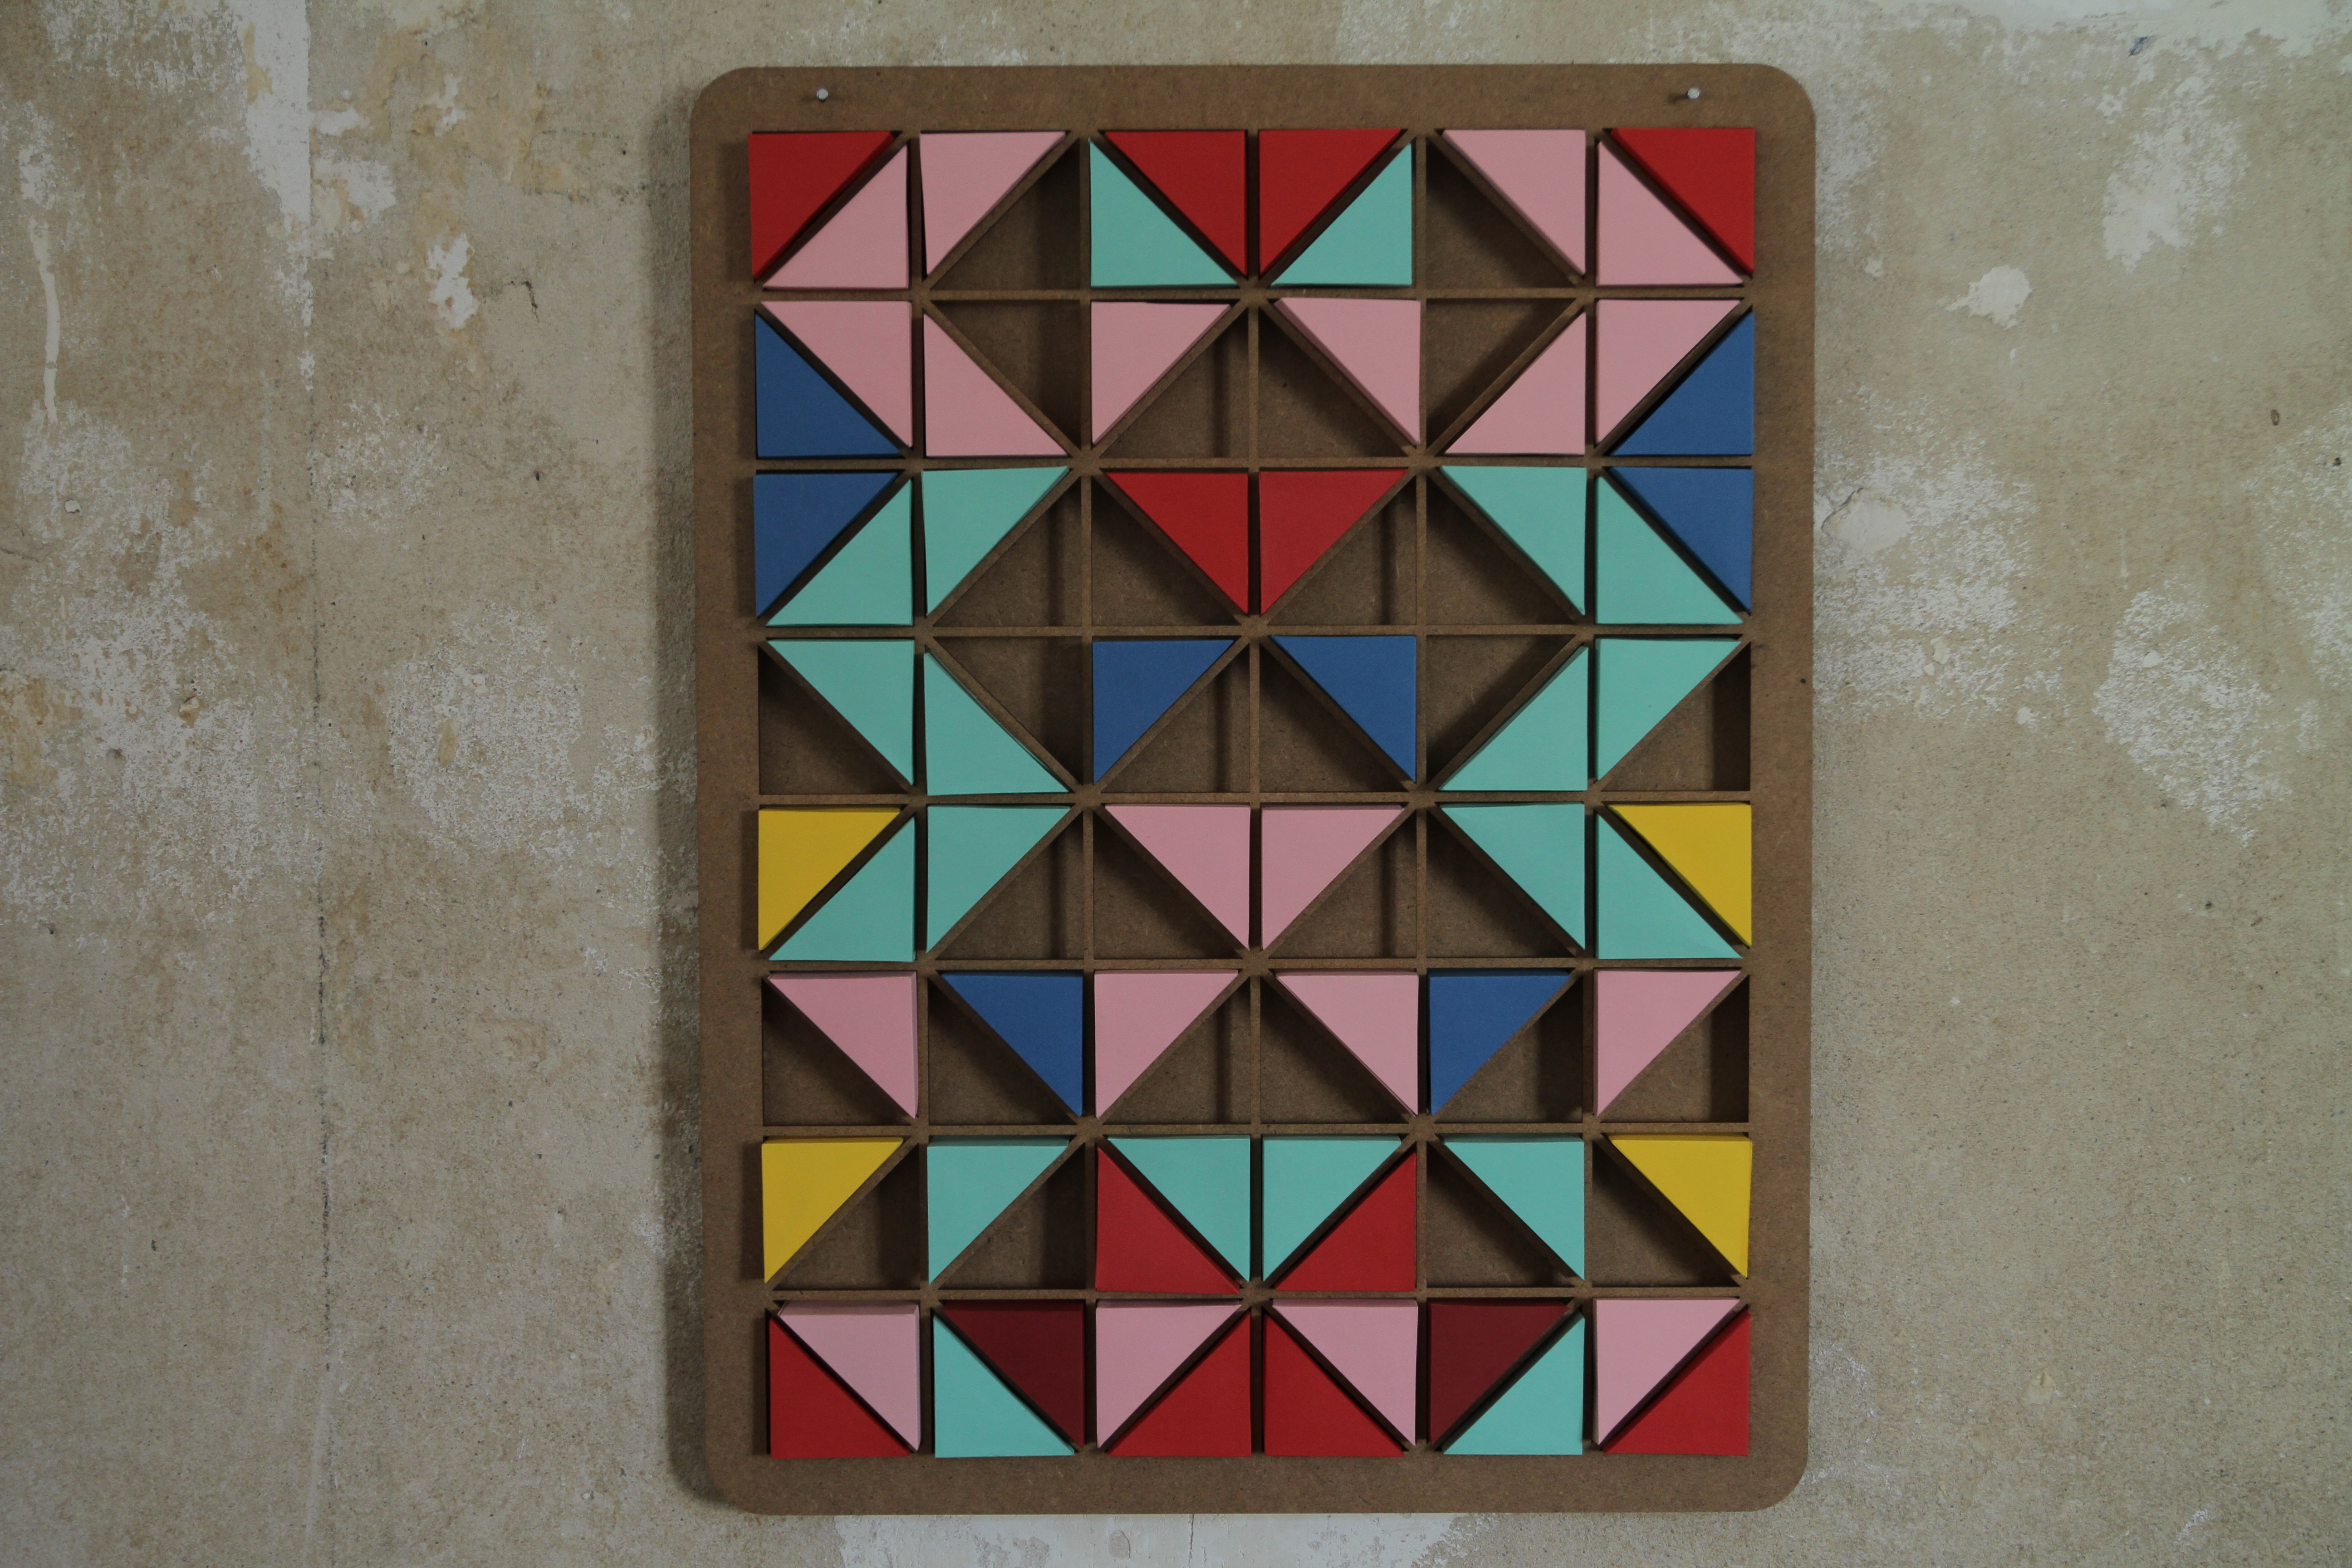
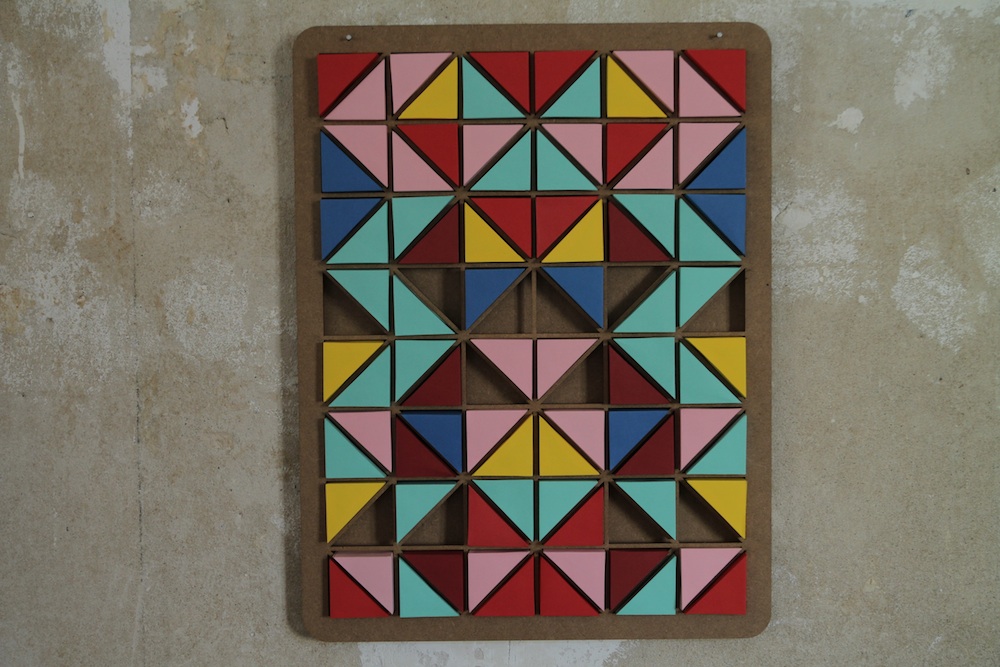
This is a prototype of a pattern maker I made with wood and paper. You can manually move the blocks to create your own patterns. This works to a degree, by variation of color, but you are still limited by the wooden frame the blocks sit in.
I’m interested in using the techniques of:
2.0
- chromatic inks
- fiber optics
- a 3d frame with LEDs
analog
- weaving
- sewing
- building
Here are some inspirations so far:
http://www.designboom.com/design/super-nature-new-angles-interactive-light-installation/
http://www.designboom.com/design/interactive-textiles-symbiosiso-voxel-at-tribeca-issey-miyake/
—
Feedback after first idea presentation:
- Because of the short amount of time, focus on the changing of patterns.
- Is it about play?
- Continue to develop another aspect that keeps peoples interests, rather than just making a <one hit wonder> type piece.
- How to add interactivity for future projects: To print it out, to actually make a quilt based on the pattern – “keep your own pattern”, a pattern based on the symmetry of the viewer.
- Research pattern creation – based on technique why a certain pattern is so.
—–
30. June 2014
First Steps
To focus on pattern making, I’m concentrating on working with the two materials: fiber optics and thermochromatic paints.
Thermochromic paints:
-Prepared some sketches for the patterns.
- I will print the thermochromatic paints on fabric on Tuesday (1.7.14)
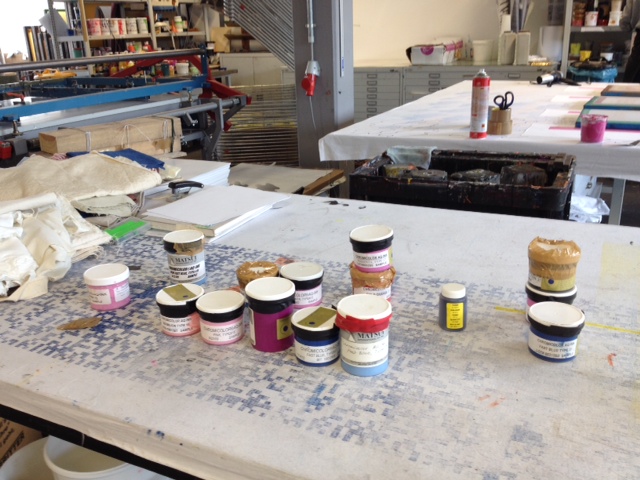
- Thermochromic paints available:
http://www.cornelius.co.uk/search
- Chromicolor® AQ Ink Type 10 Magenta
colour change occurs between 8-16C.
- Chromicolor® AQ Ink Type 27 Magenta
colour change occurs between 24-33C.
- Chromicolor® AQ Ink Type 15 Fast Blue
Colour change occurs between 11-19C.
- Chromicolor AQ Ink Type 27 Fast Black2
Colour change occurs between 24-33C.
- Chromicolor® AQ Ink Type 15 Vermillion
Colour change occurs between 11-19C.
- Chromicolor® AQ Ink Type 27 Gold Orange
Colour change occurs between 24-33C
Once I have big blocks of colored fabric, I can start making a quilt with it and experiment with heat patches and programming how it will heat up and change the pattern above.
Fiber optics:
I prepared a warp that alternates between nylon and cotton.
(I’ll add pictures of the process)
This allows me to do a double weave with the top layer being totally see through, only made from nylon and the fiber optic material, but with a soft cotton under layer.
I will use the double plain weave pattern that Mika posted:

From there, with the double layered fabric I will cut it into a quilt pattern and sew it together. The fiber optics will stick out from the seams and I will attach LEDs like in my last project here.
I can program the LEDs to change which will in turn change each of the quilt shapes color.
I’m really excited to focus on this project and start a lot of experiments and prototypes this week!
15. July 2014
There’s been a lot of development since my last update! After the last presentation it was pretty clear that I should focus on one of the materials, either thermochromic ink or weaving with fiber optics. I decided to go for working with thermochromic inks.
My goal was to create a quilt pattern with thermochromic printed fabric. The pattern should be be adjustable by using a controlled heating mechanism from the back.
—
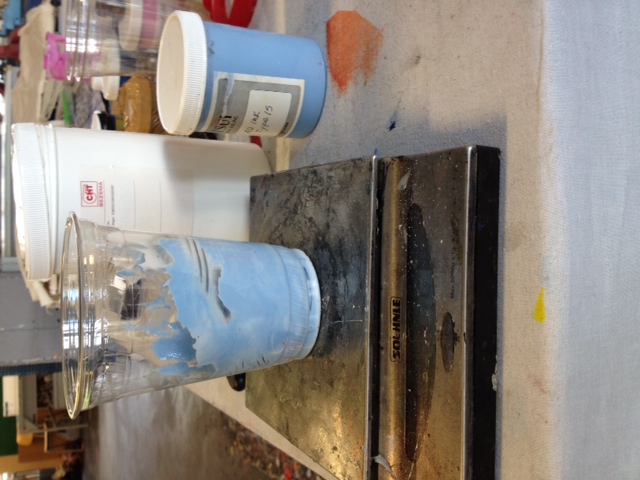
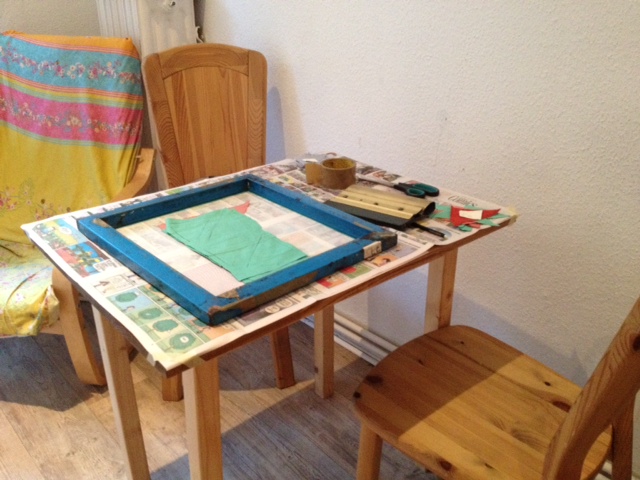
As mentioned, I had already had an appointment to print in the printing and I tried to prepare a method to printing patterns before my appointment, although it was sort of difficult before I knew the characteristics and behavior of the paint. So the first day I ended up really just doing some tests.
I tested which screens work best and how normal pigments mixed with other thermochromic colors.

Findings:
- 36 gauge screen worked best
- Thermochromic Type #27worked best due to it’s higher temperature resistant rate.
- It works very well to mix with other colors, but best with pure pigment.
- You can also mix colors by layering.
For more information on working with Thermochromic paint, have a look at my tutorial!
—
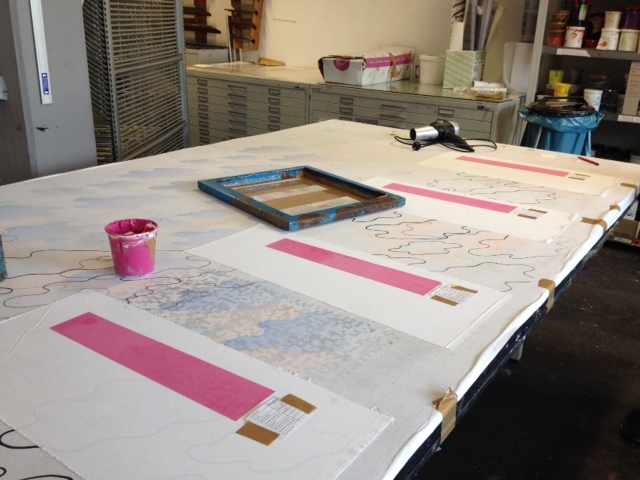
After I a had a better idea of how the paint reacted to heat, other pigments and which type of ink worked best I was able to start designing patterns.
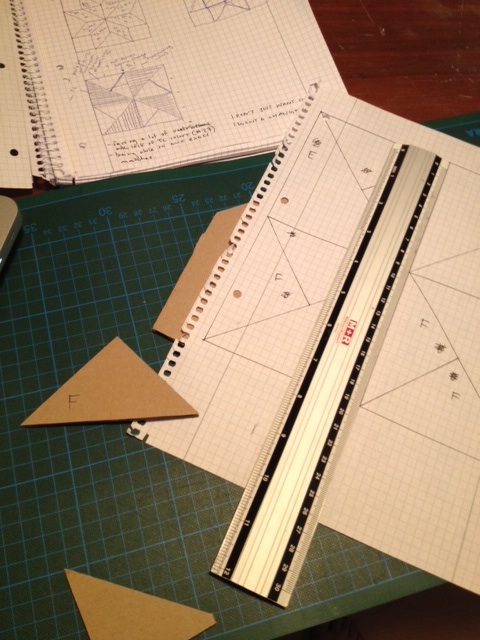
I was ready to print with a more structured, better idea how to create a pattern, using colored fabric as a base and a test run with normal pigment.
—

I didn’t end up having enough time in the workshop to print with mixing different pigments but it worked out quite well with the colored fabric bases.
—
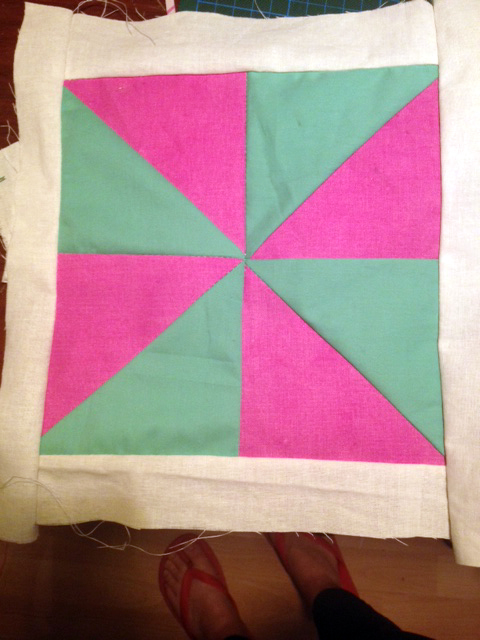
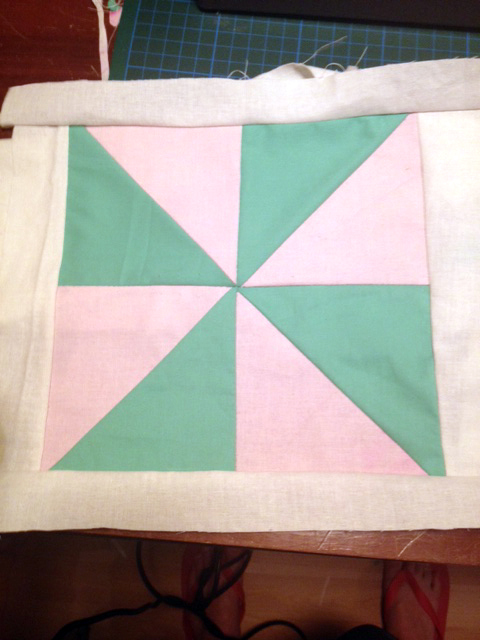
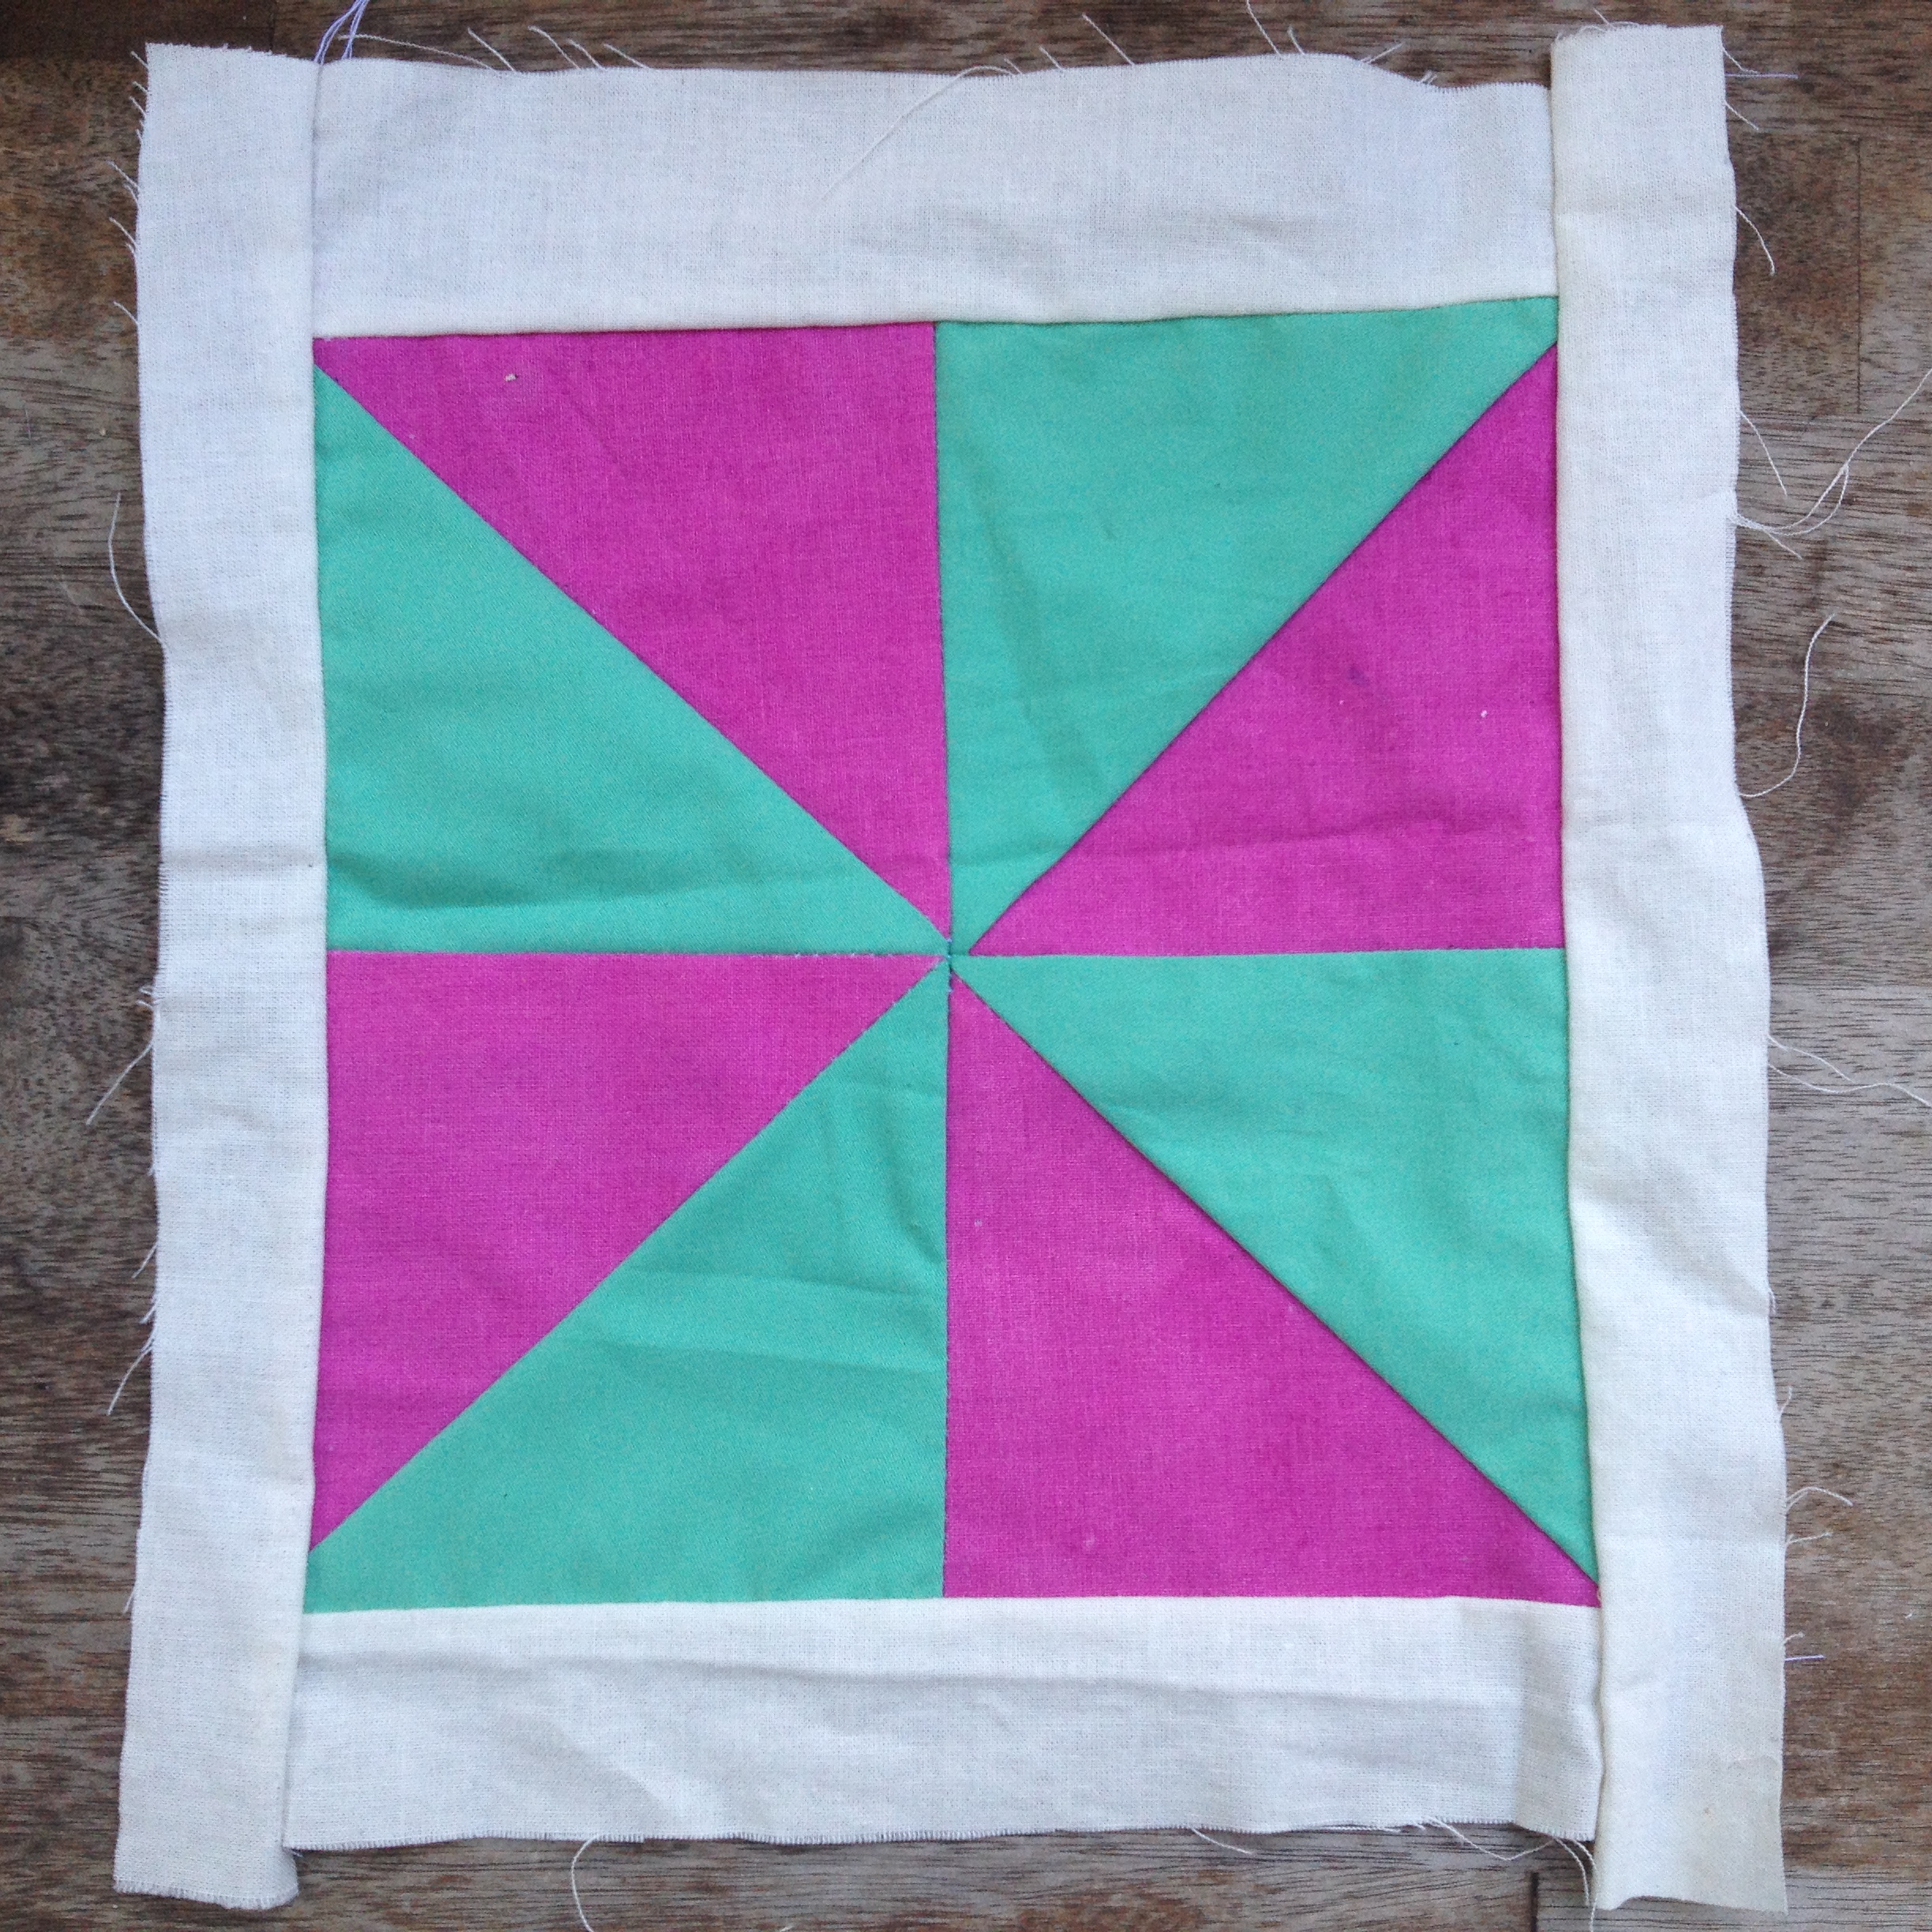
I made my first prototype with a quilt pattern. I used one normal colored fabric (the green one) and one natural cotton with the magenta #27 chromotatic ink.
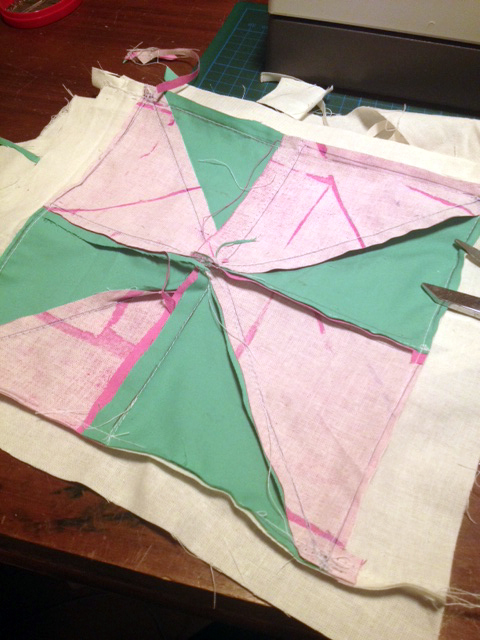
Original state:
After using a hairdryer:
This was an okay start, but it wasn’t a pattern change really, just a color change.
—
Next step, heating mechanism!
I met with Mika and discuss the heating and technical aspect.

Mika suggested using Mos Fet and a very low Ohm resistor with copper foil to create a flexible heated plate.
The very first technical try:
I needed to do a little more printing, but on such notice, I had to turn my kitchen into a print shop.
—
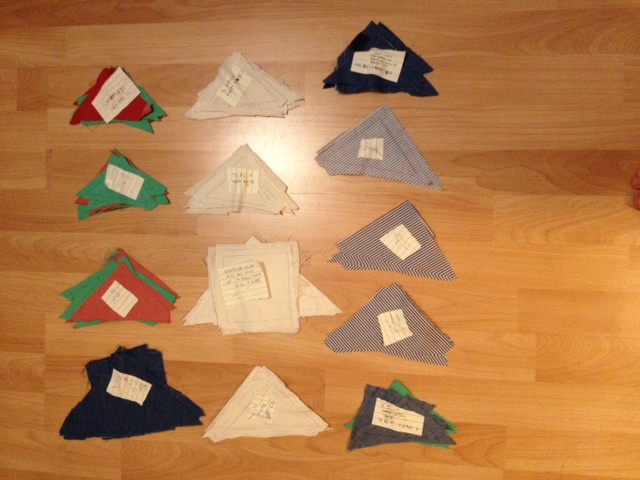
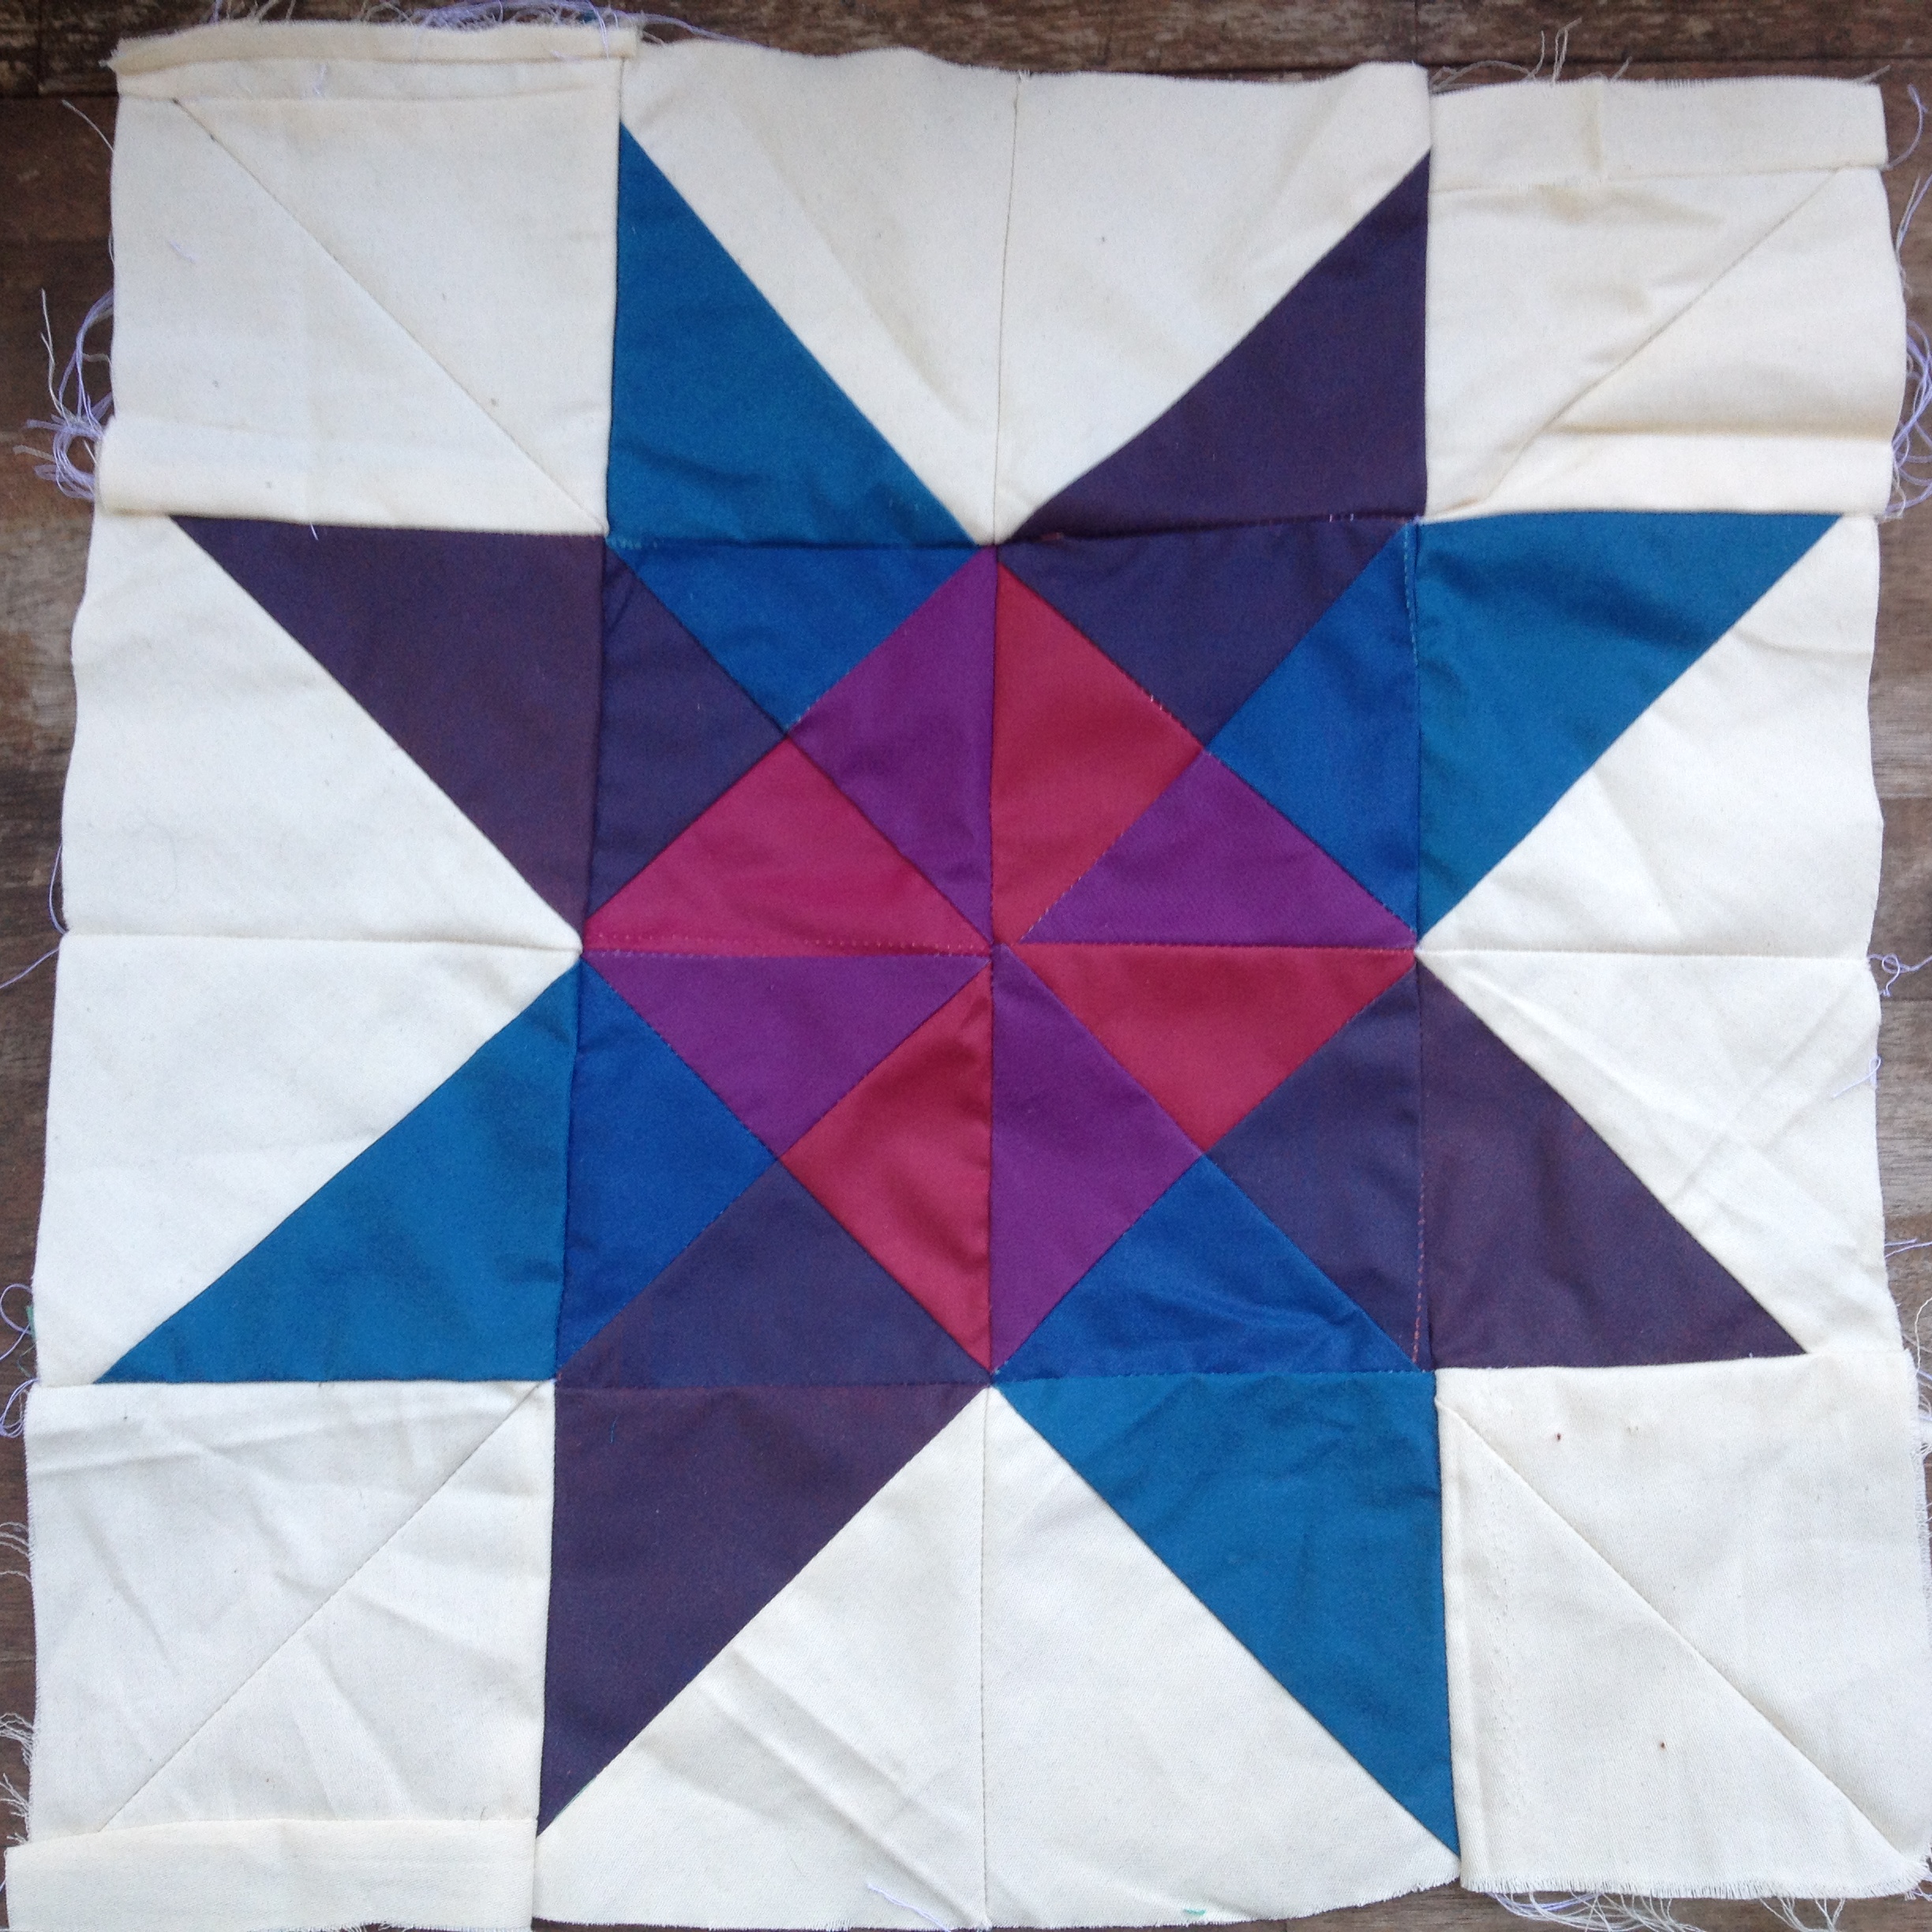
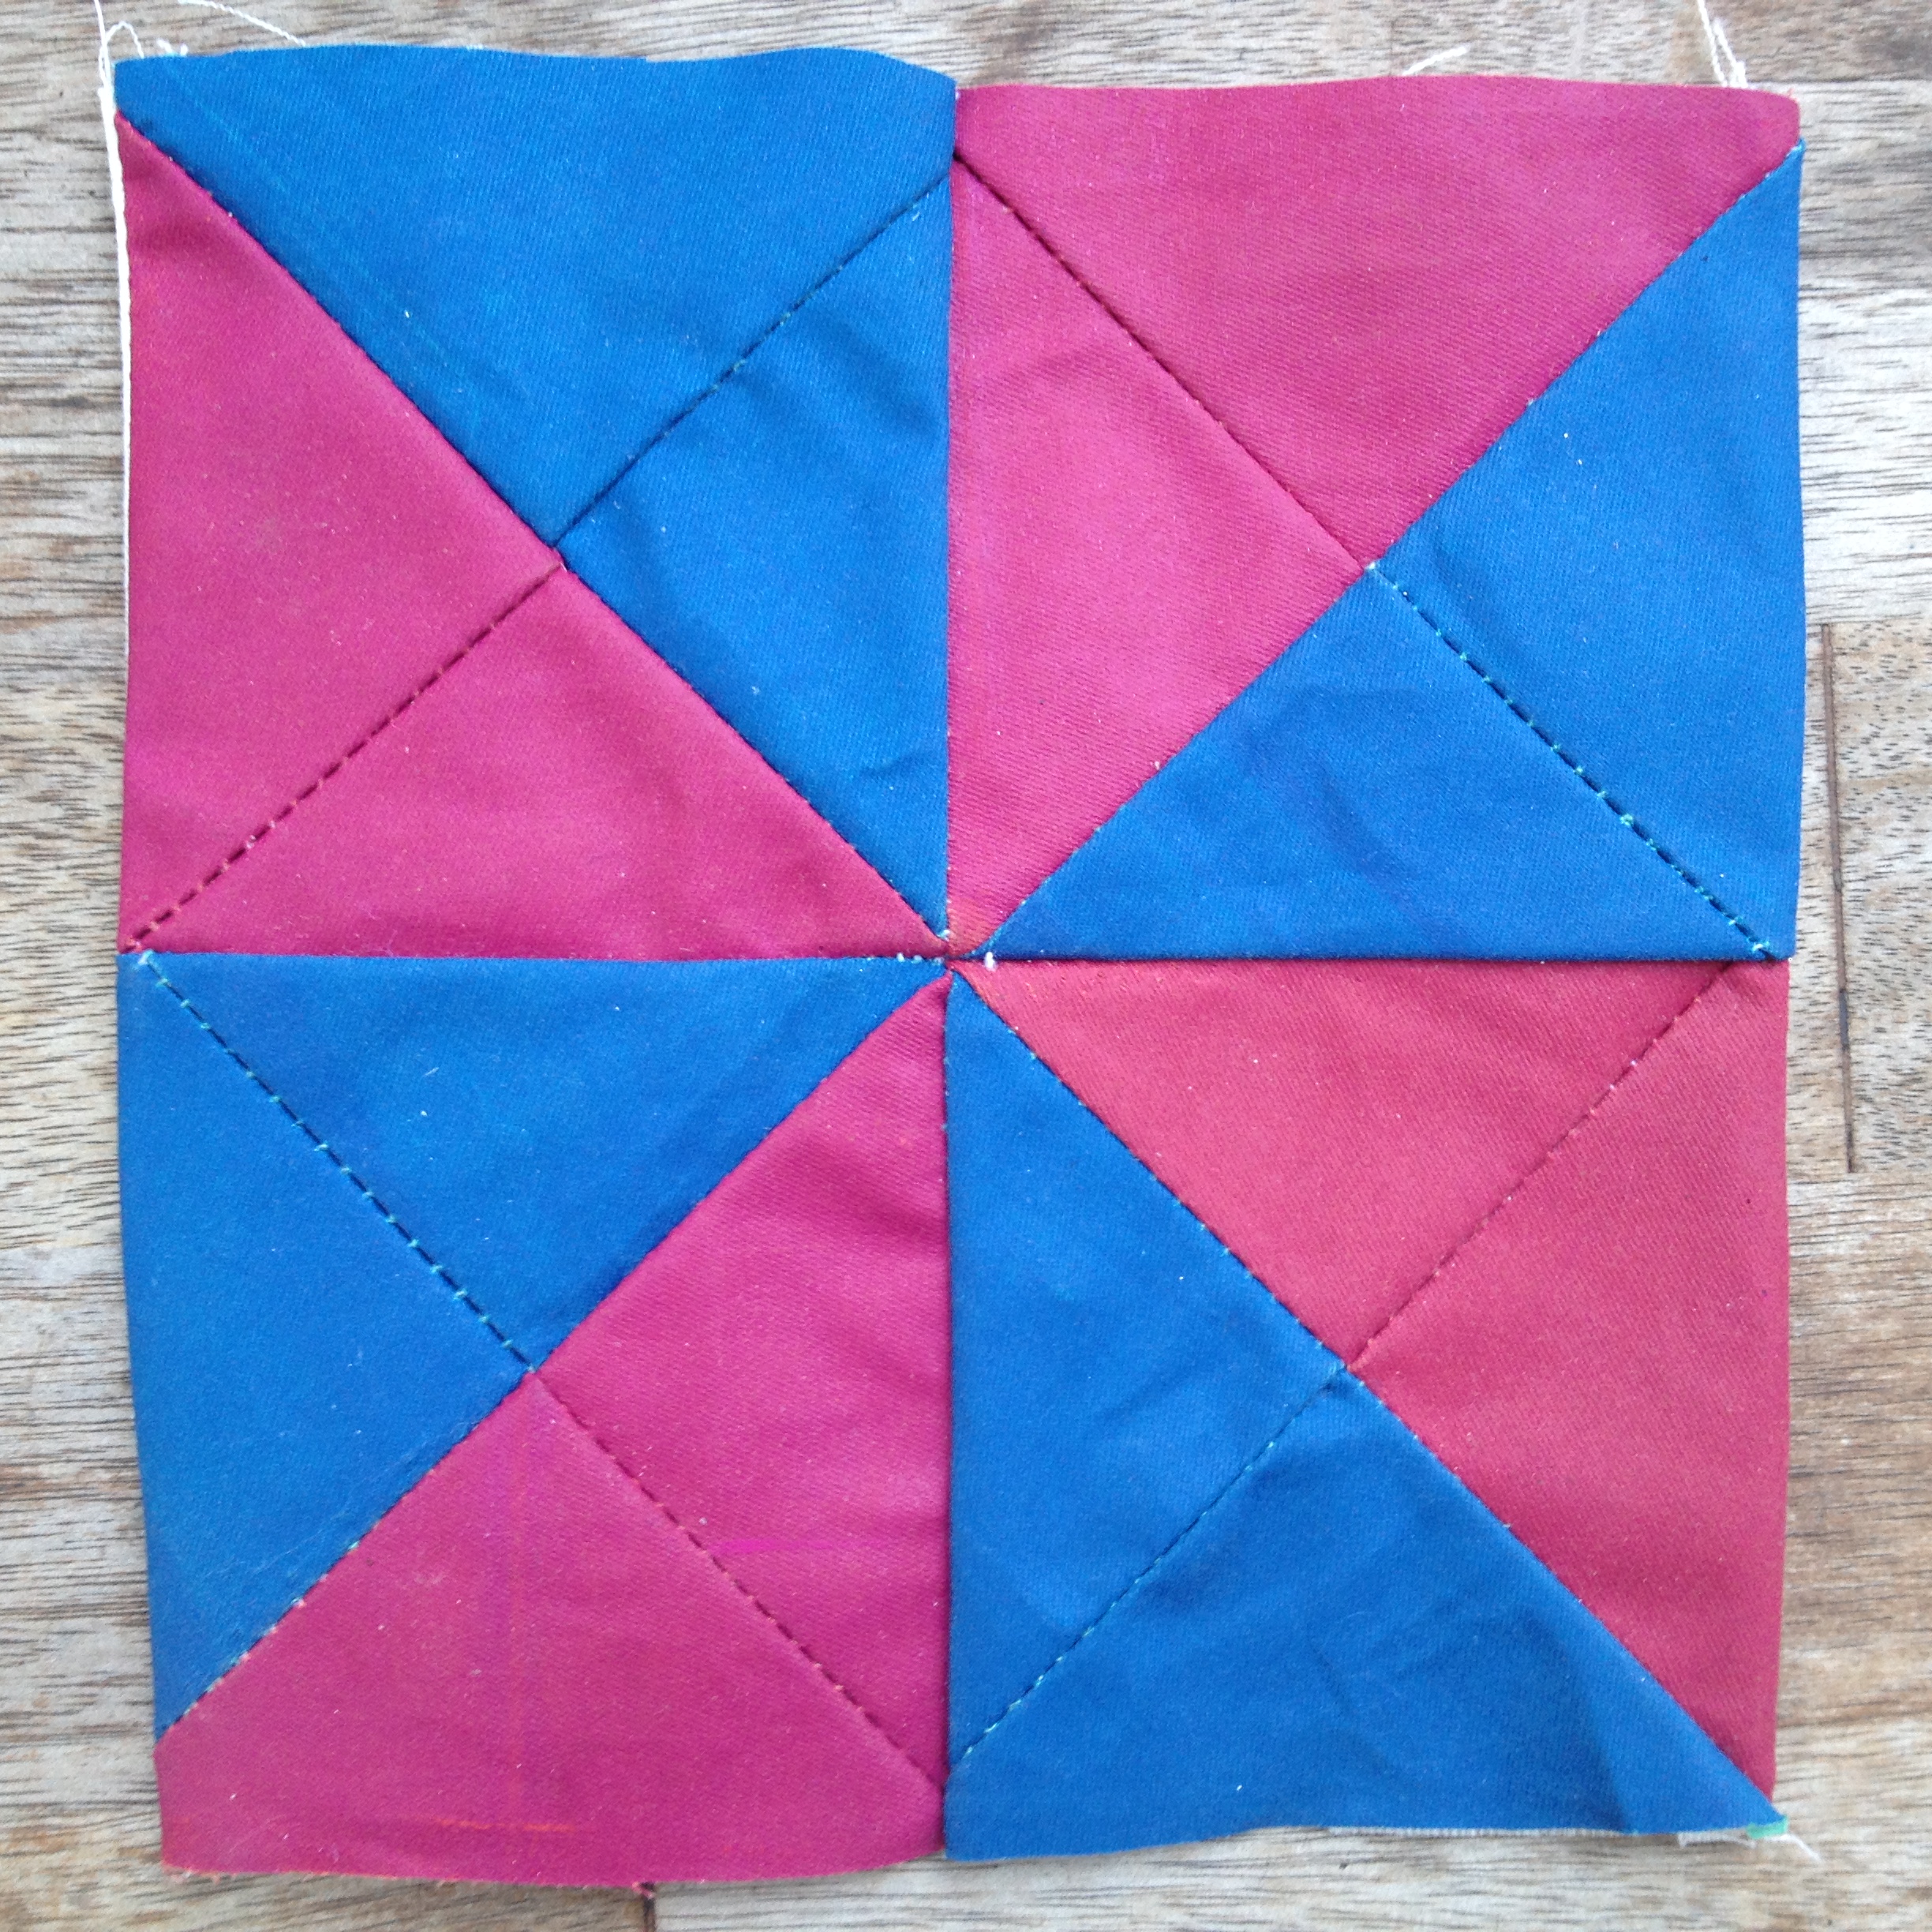
After my next round of printing, I was able to determine that I was going to make the following patterns:
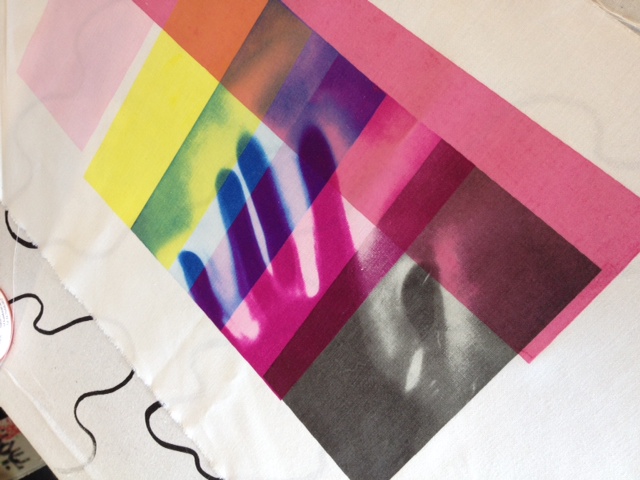
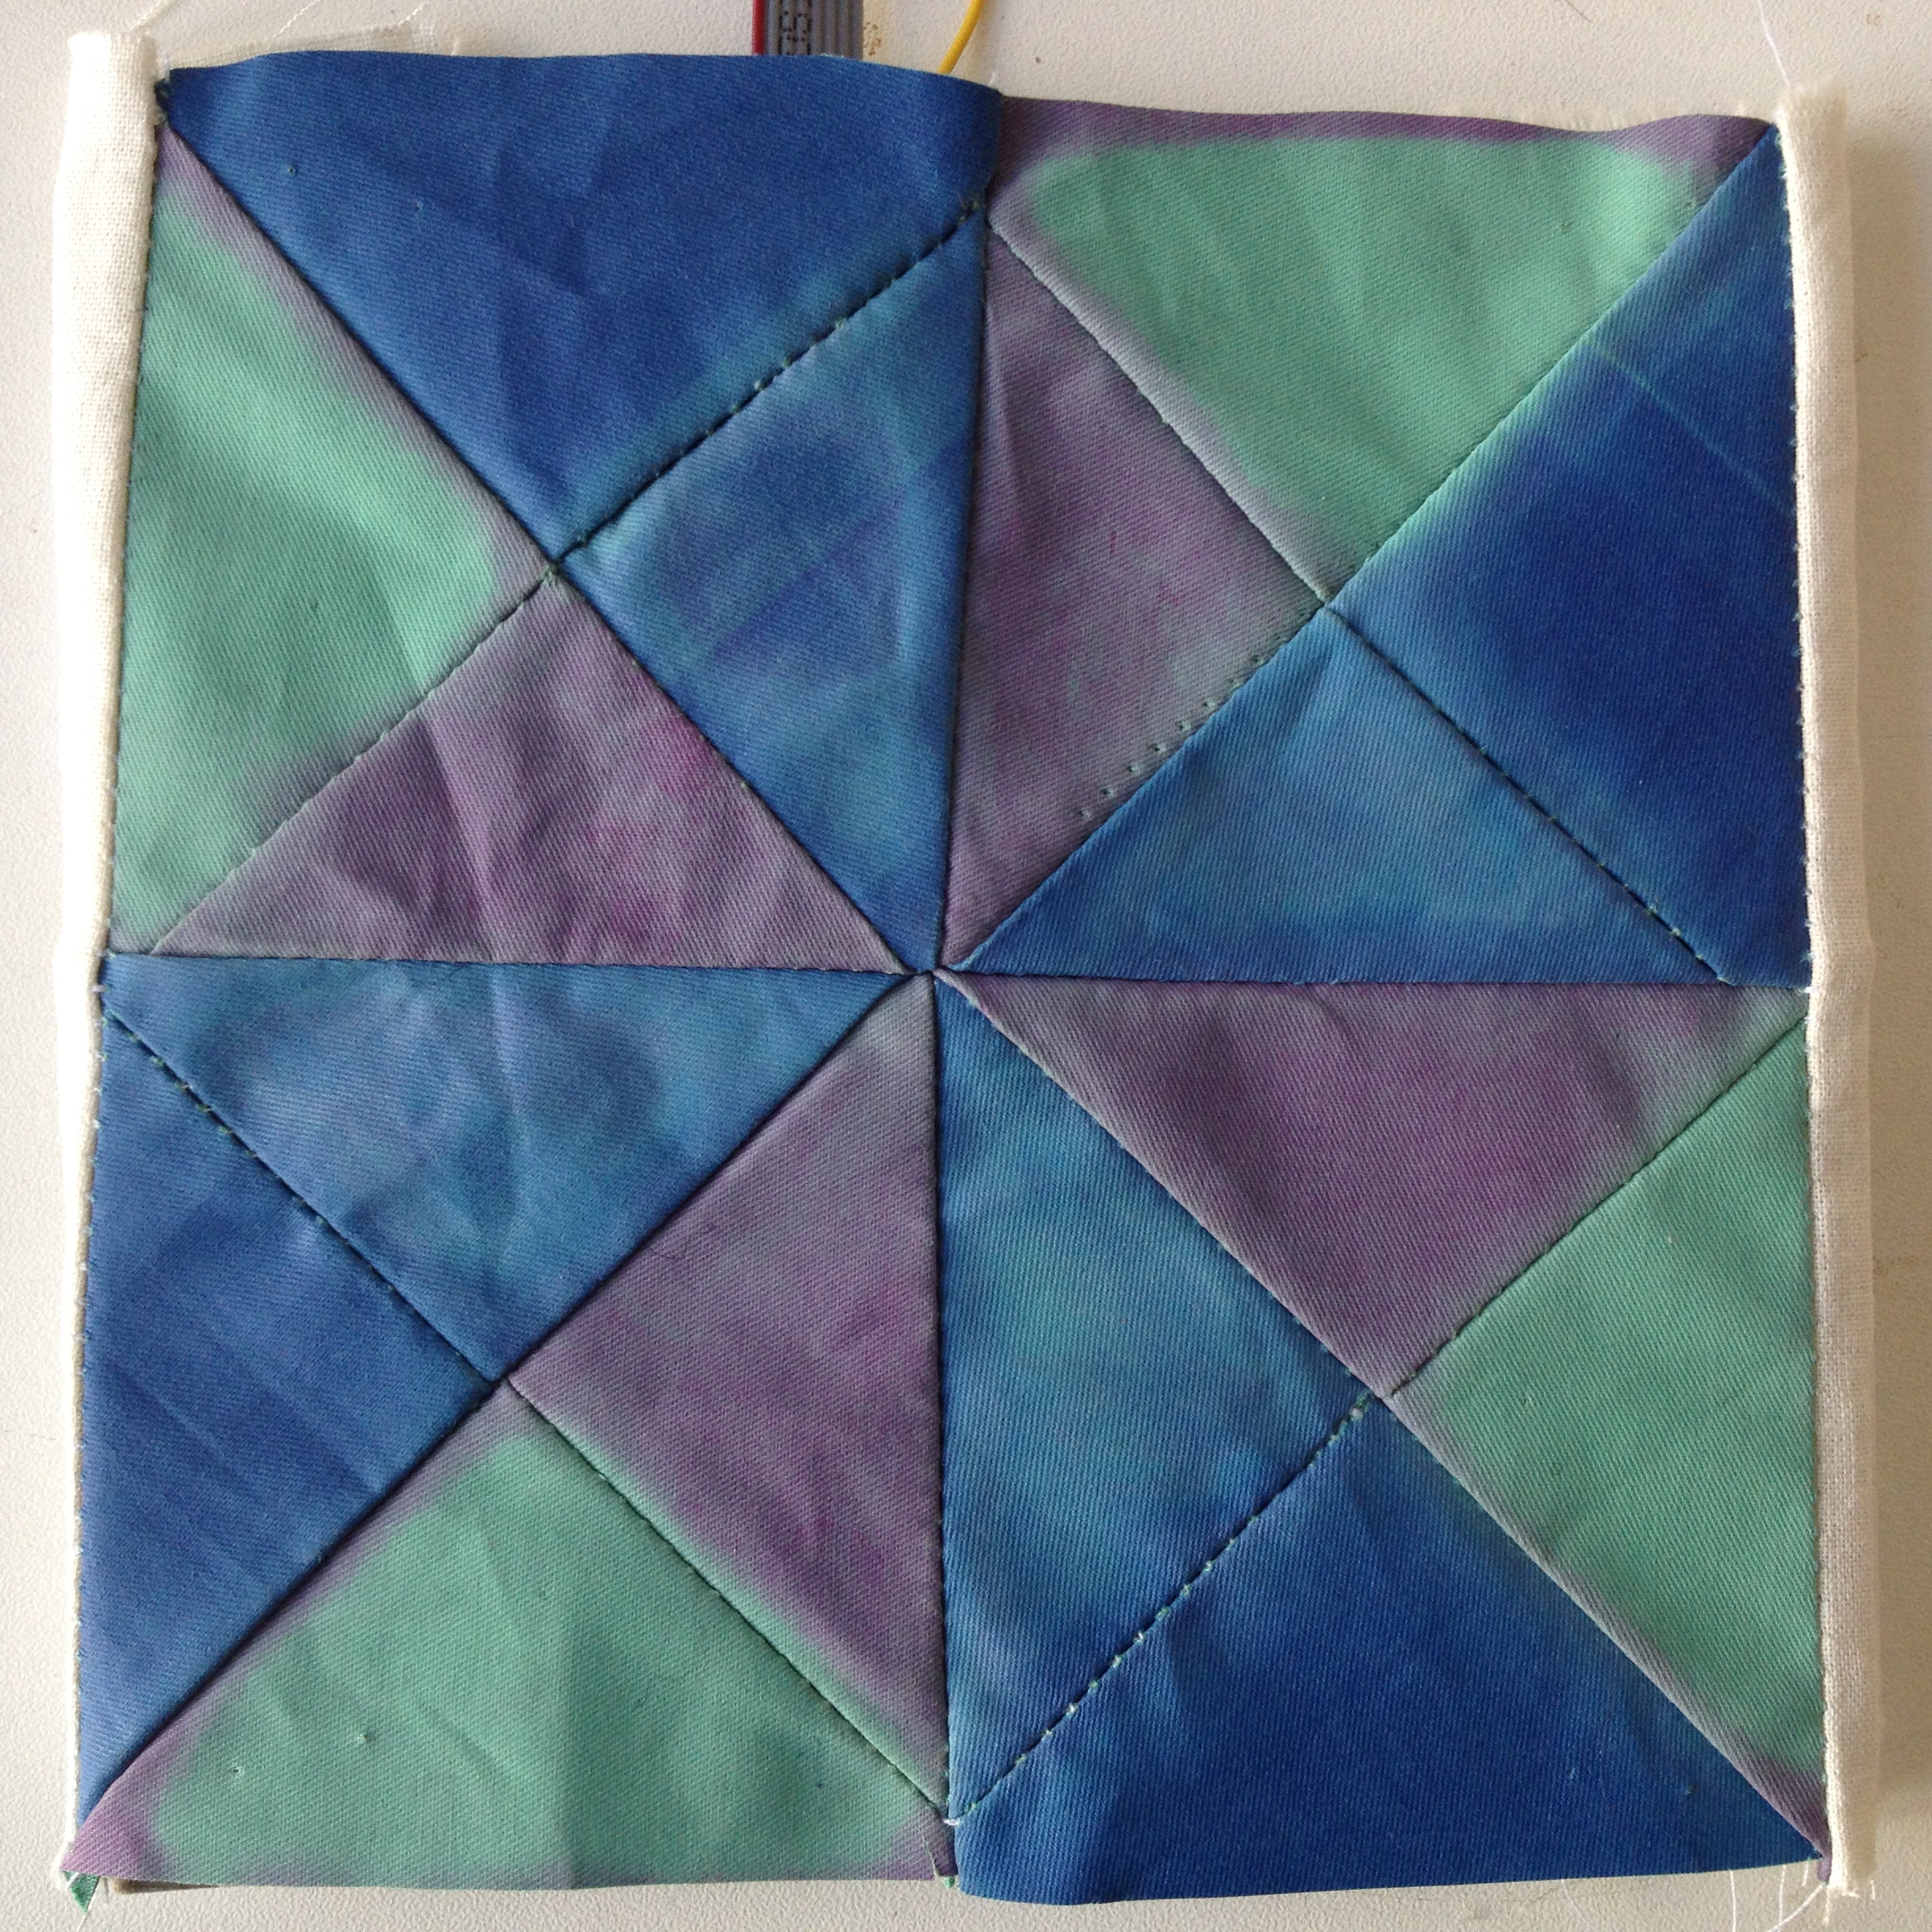
1. Total change pattern – pure TC (mix & non-mixed) ink printed on 2 colored base fabrics // heat source: hairdryer
2. Heat specific change pattern – on 1 color base fabric with using 1 pure TC printed color and a 2 TC pure mixed colors // heat source: copper foil back plate
3. Heat specific change patter -on 2 color base fabrics with 2 pure TC printed colors // heat source: copper foil back plate
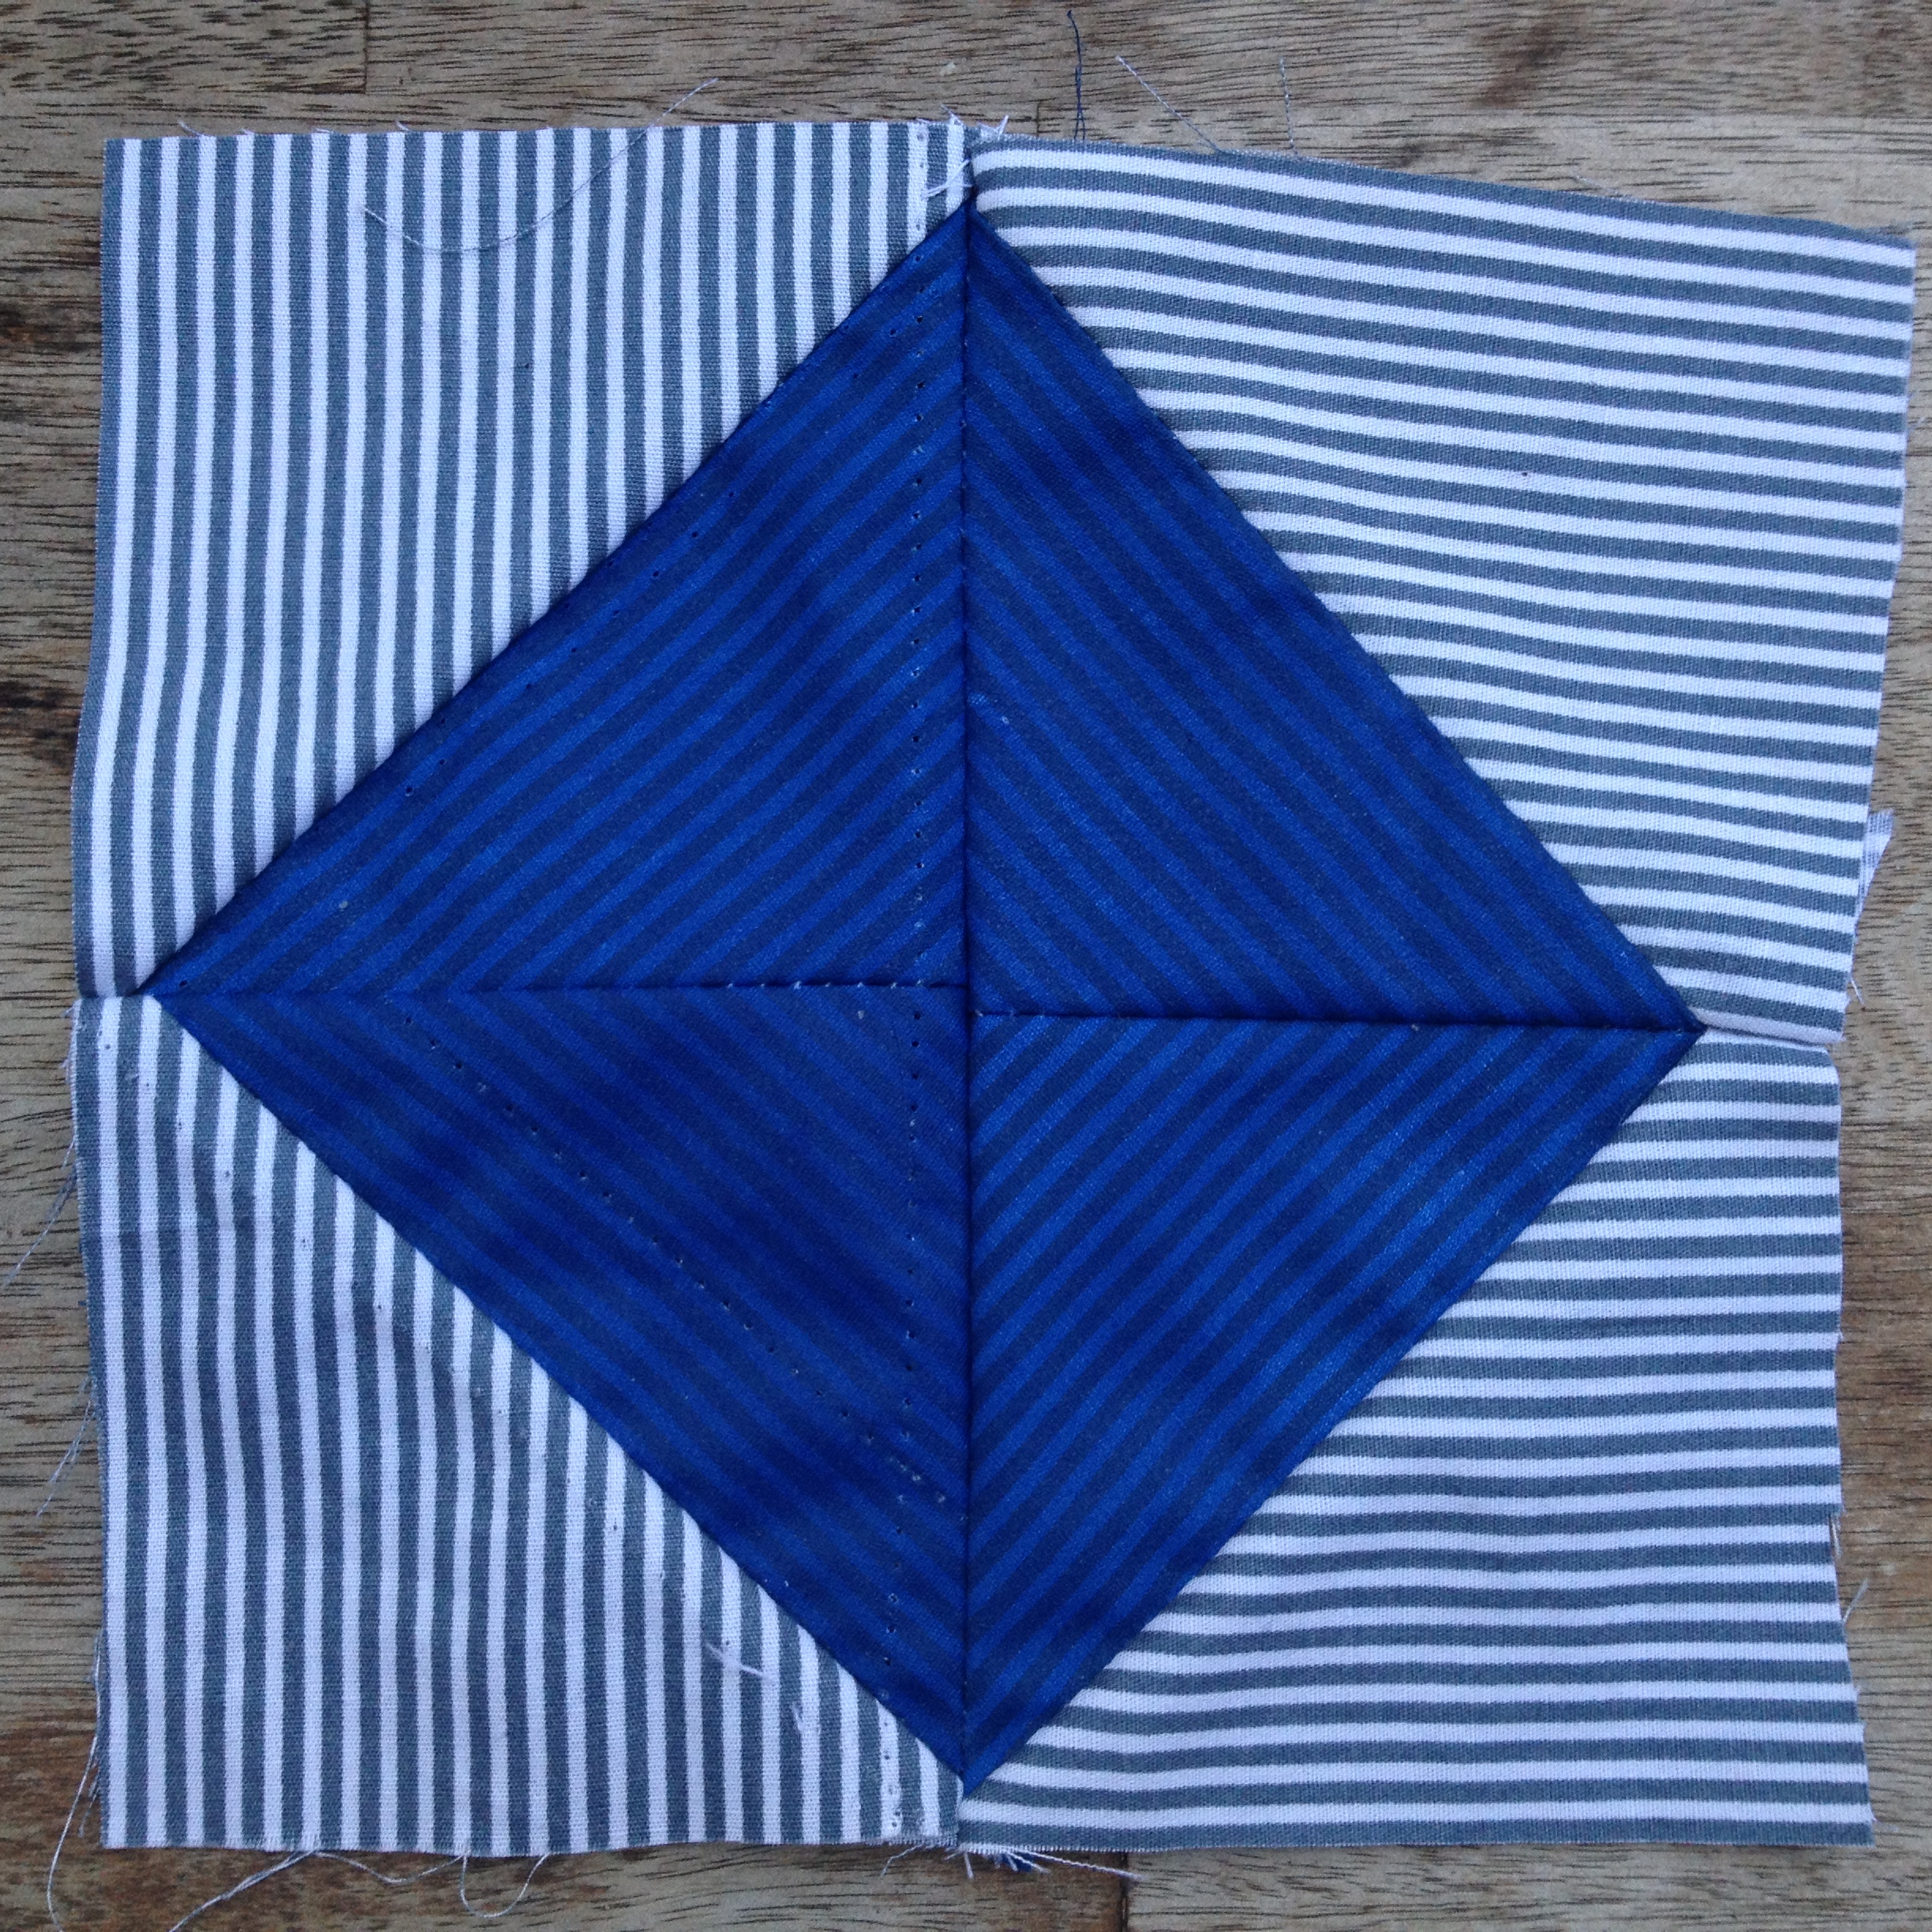
4. & 5. Partial change optical pattern – Striped fabric and pure TC printed fabric
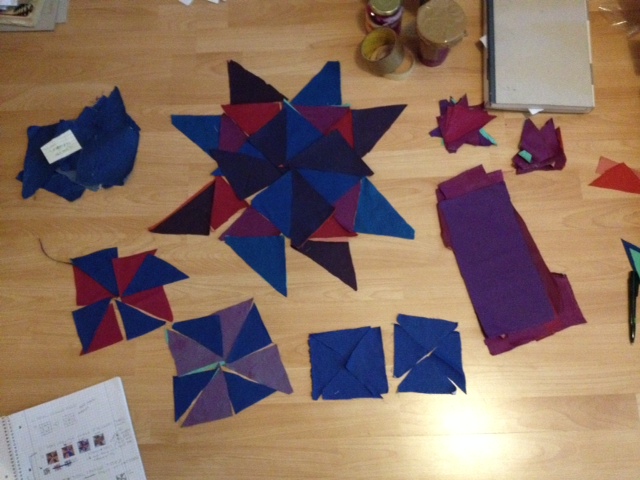
Start sewing !
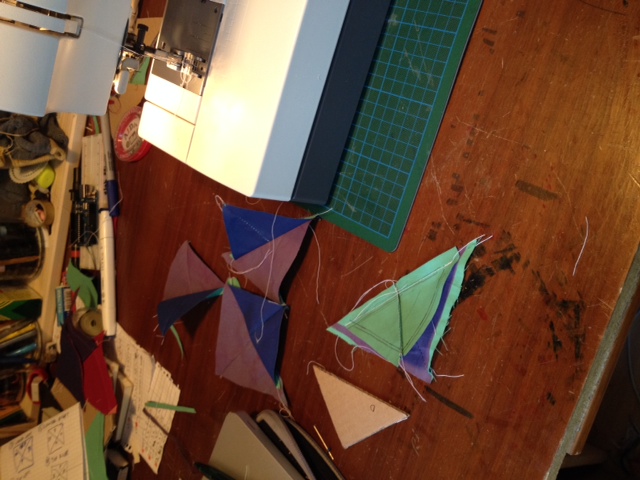
—
Once I had the finished patterns, it was time to build the heating plate.
I started with an 42 Ω SMD resistor, a N Mos Fet & copper foil.

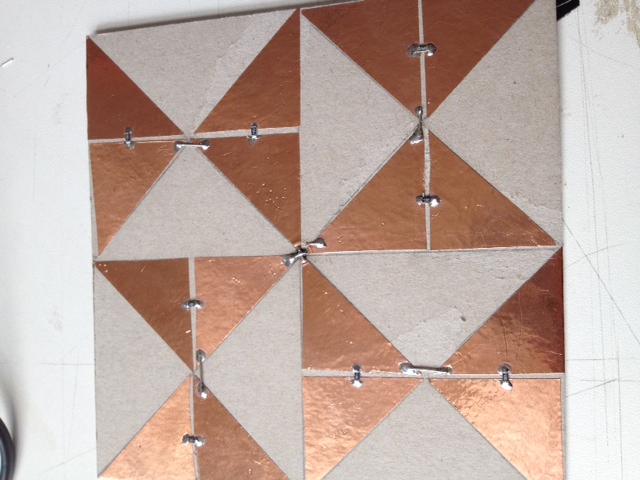
I stuck the copper foil onto a piece of cardboard in a patter that relates to the sewn quilt block. I left a small space in between each of the copper pieces so the resistor can complete circuit between each side. One of the sides of the copper foil is connected to the voltage and the other side is connected to the Mos Fet (ground & Arduino). The resistor heats up and the copper foil spreads the heat.
Front:
Back:

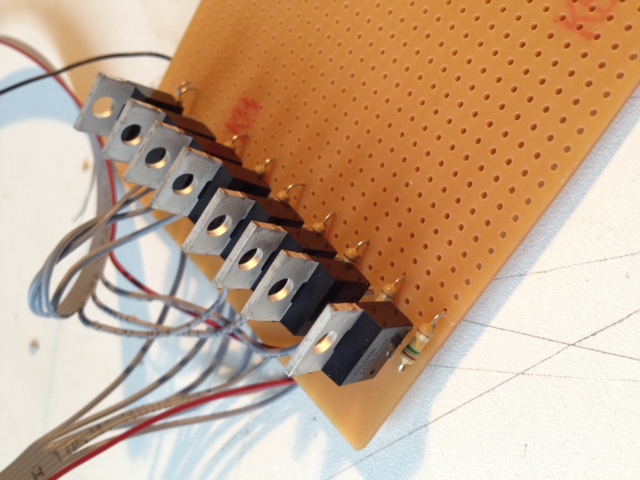
Board with 8 N Mos Fets & 120 K Ω resistors:
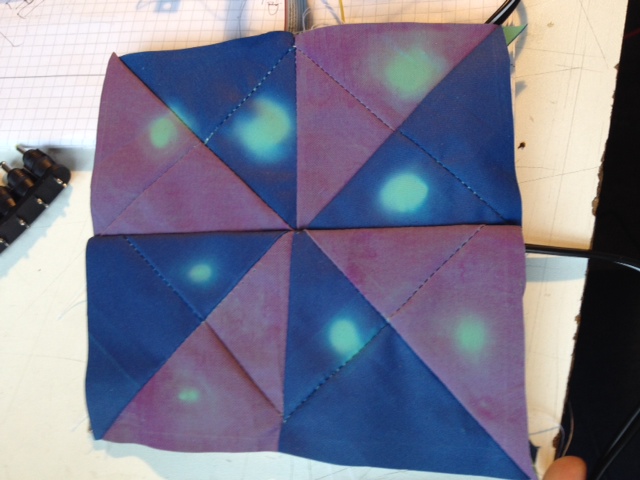
The first test with the fabric block on top of the heated copper foil:
The start:
 \
\
After about a minute:
 \
\
At this point, I was pretty happy that the technical aspect was working, but I was’t completely satisfied with the solution. It was started from a central point (the resistor) and moved outward but it wasn’t really very controllable and didn’t spread the heat all that well.
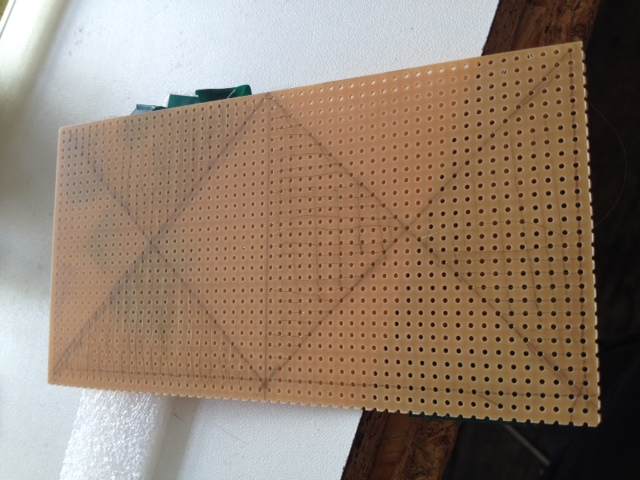
With a little bit of help & research, I found that there is resistor wire, which if you cut at a certain length has a specific amount of resistant. I came up with the plane to use an uncoated PCB board and thread the wire in the shapes needed for the pattern.
The wire I used is 100 Ω resistance for 1 meter of wire with a isolation coating.
Front, left side:
Using the wire works in the same way, one side attached to the voltage and the other to the Mos Fet.
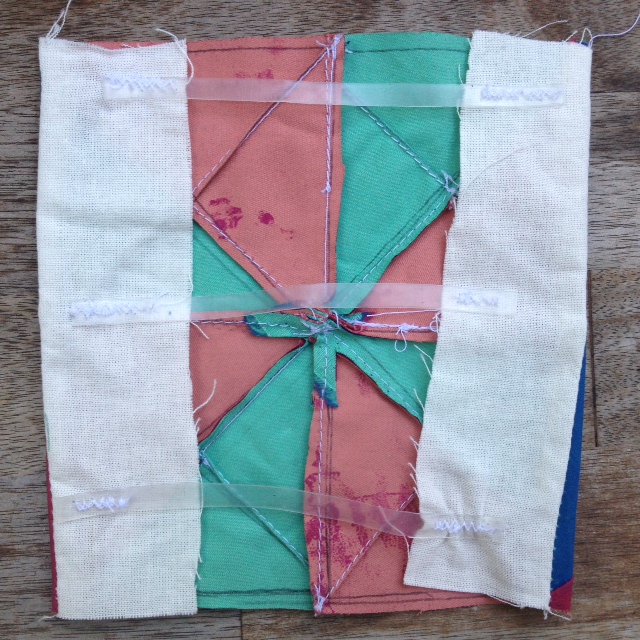
Back:
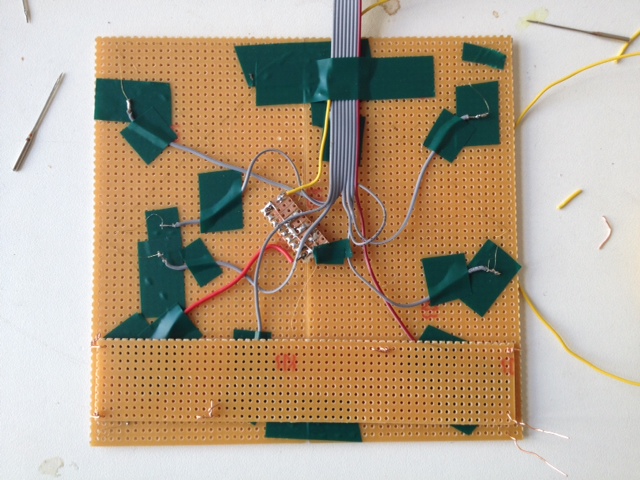
In order for the fabric to heat, there needs to be proper contact. I used a rubber band and a velcro sleeve to create more contact between the board and the fabric.
I also added a push button in the connection to control the pattern. The function is as follows:
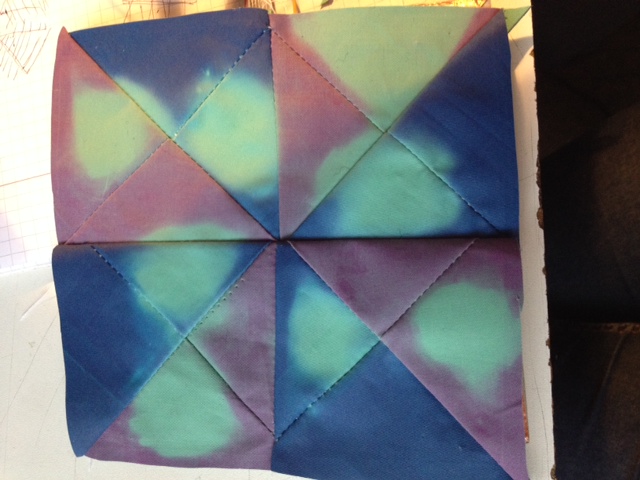
When you press once, the inner triangles heat up:

The result is a much more controllable and even temperature change.
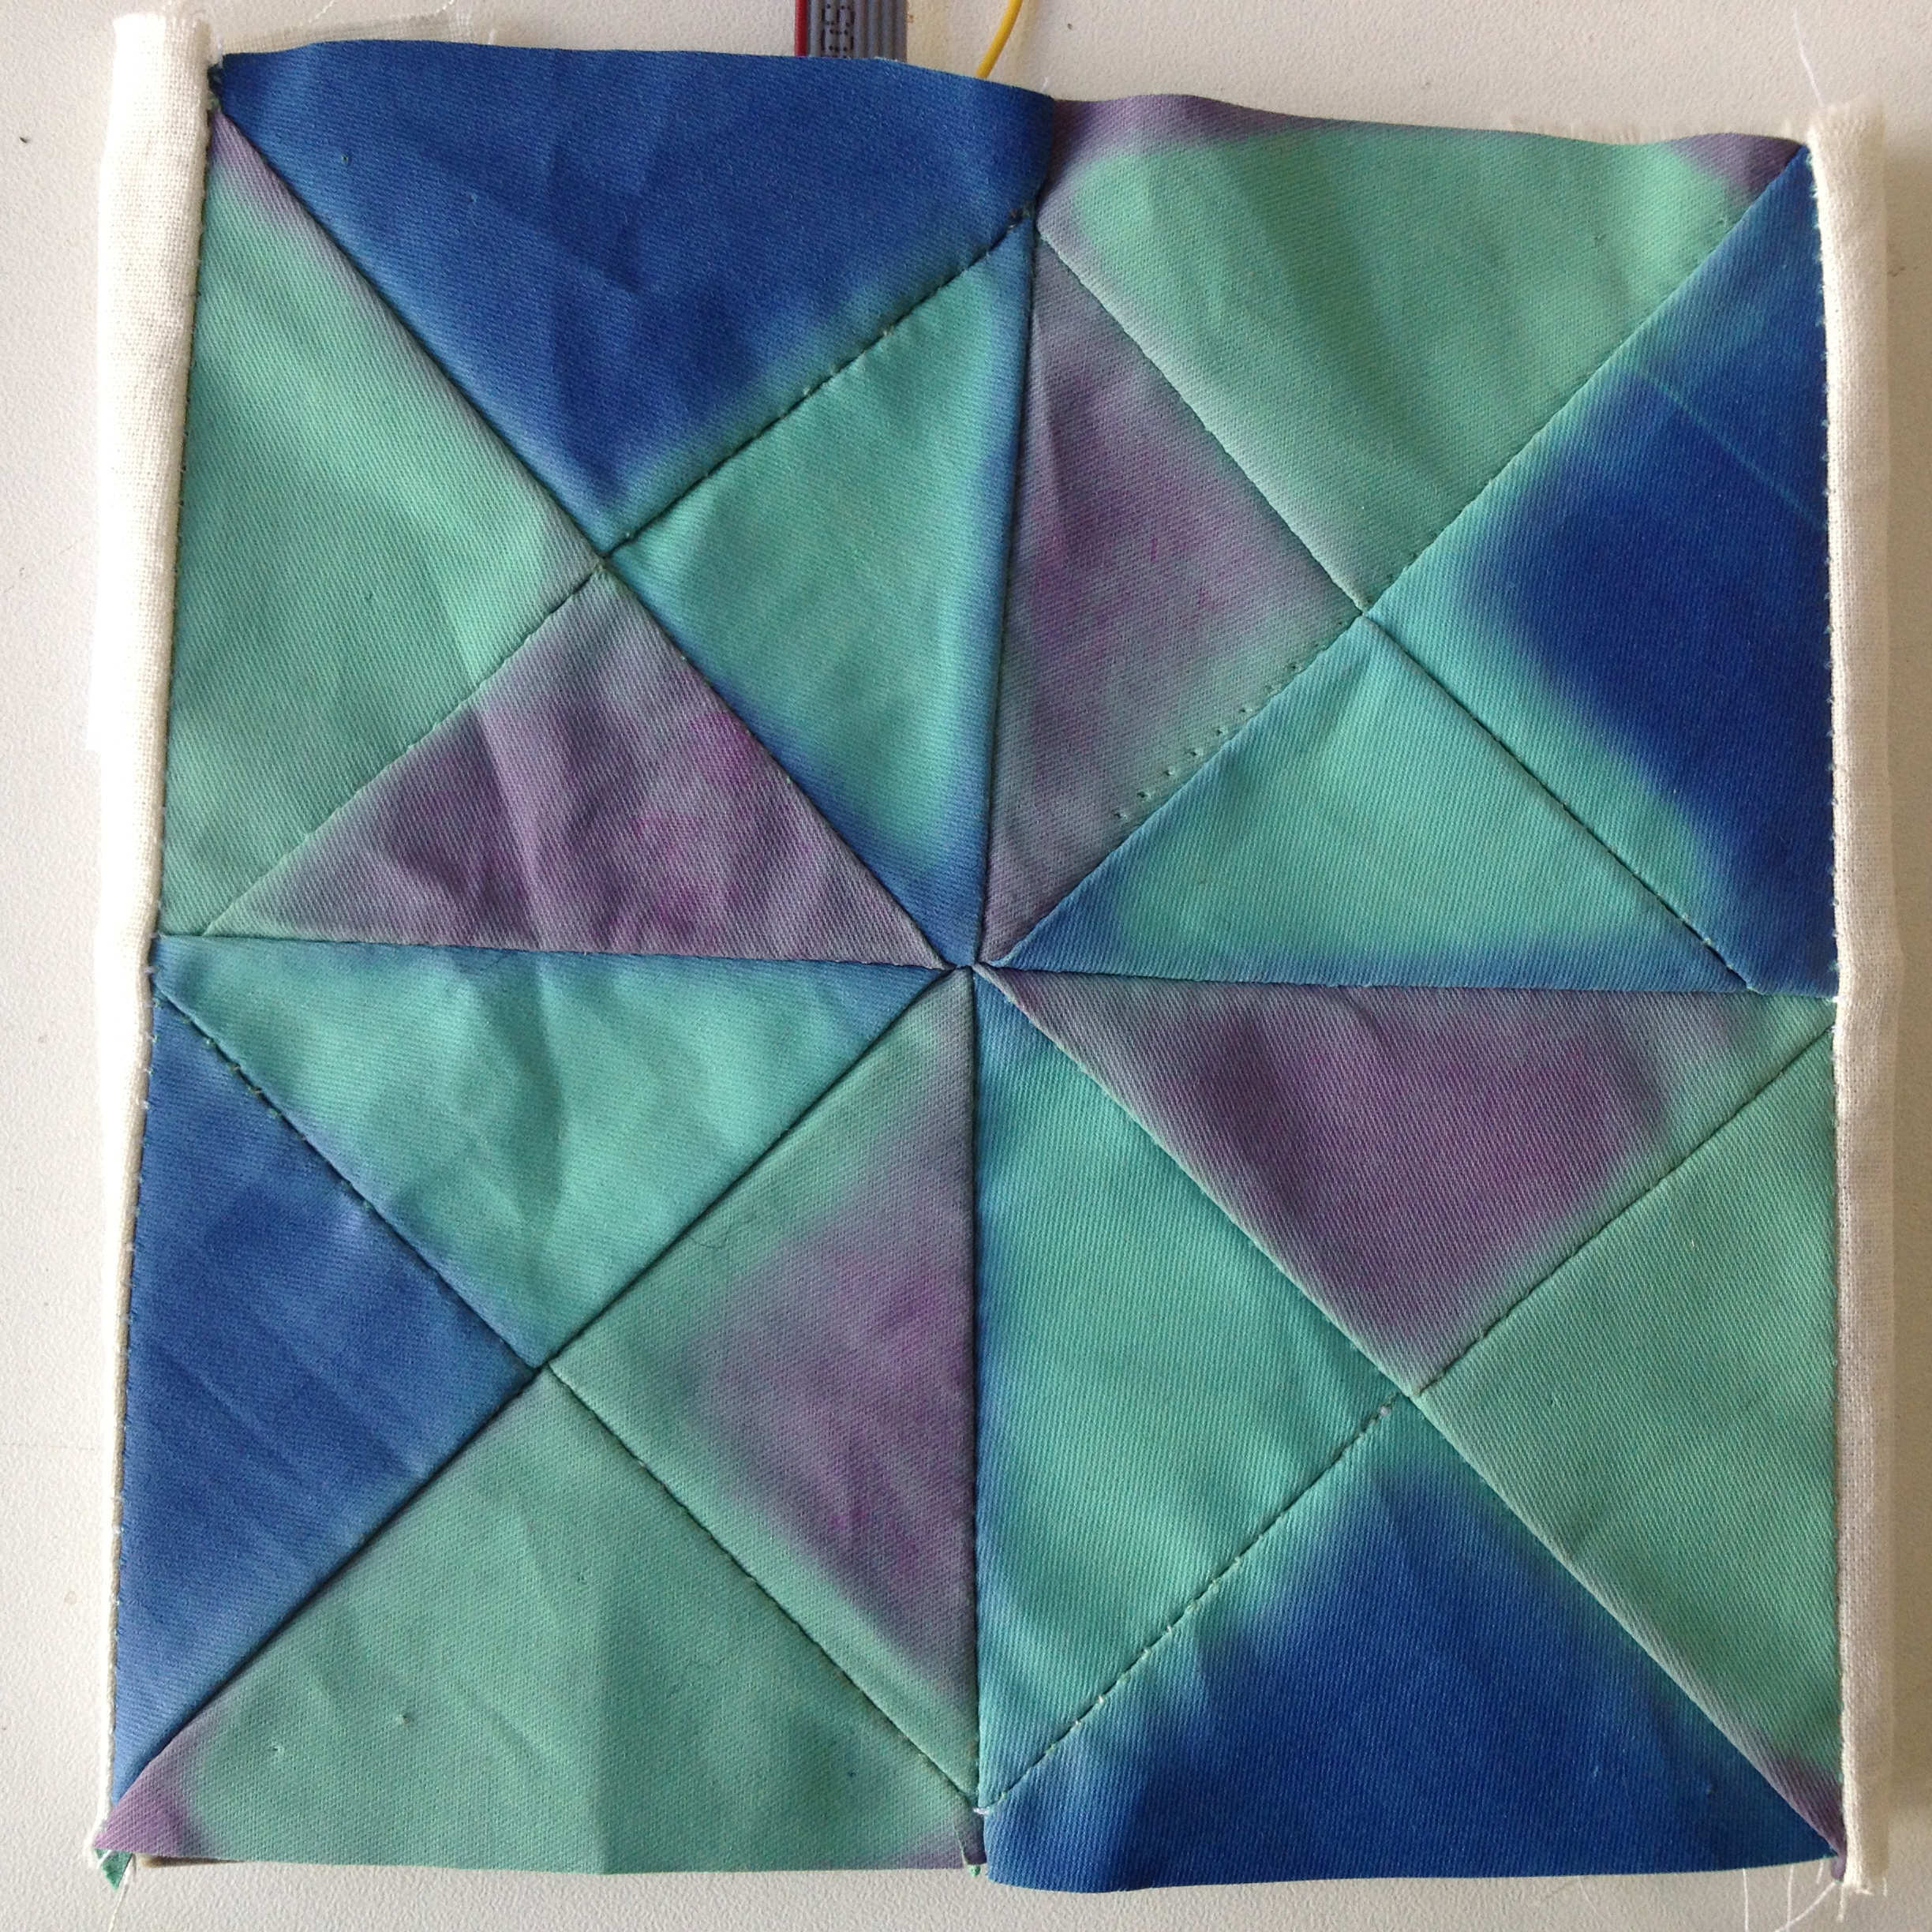
Press twice, all triangles are off. It does take time, but press again and only the outer triangles start to heat up:
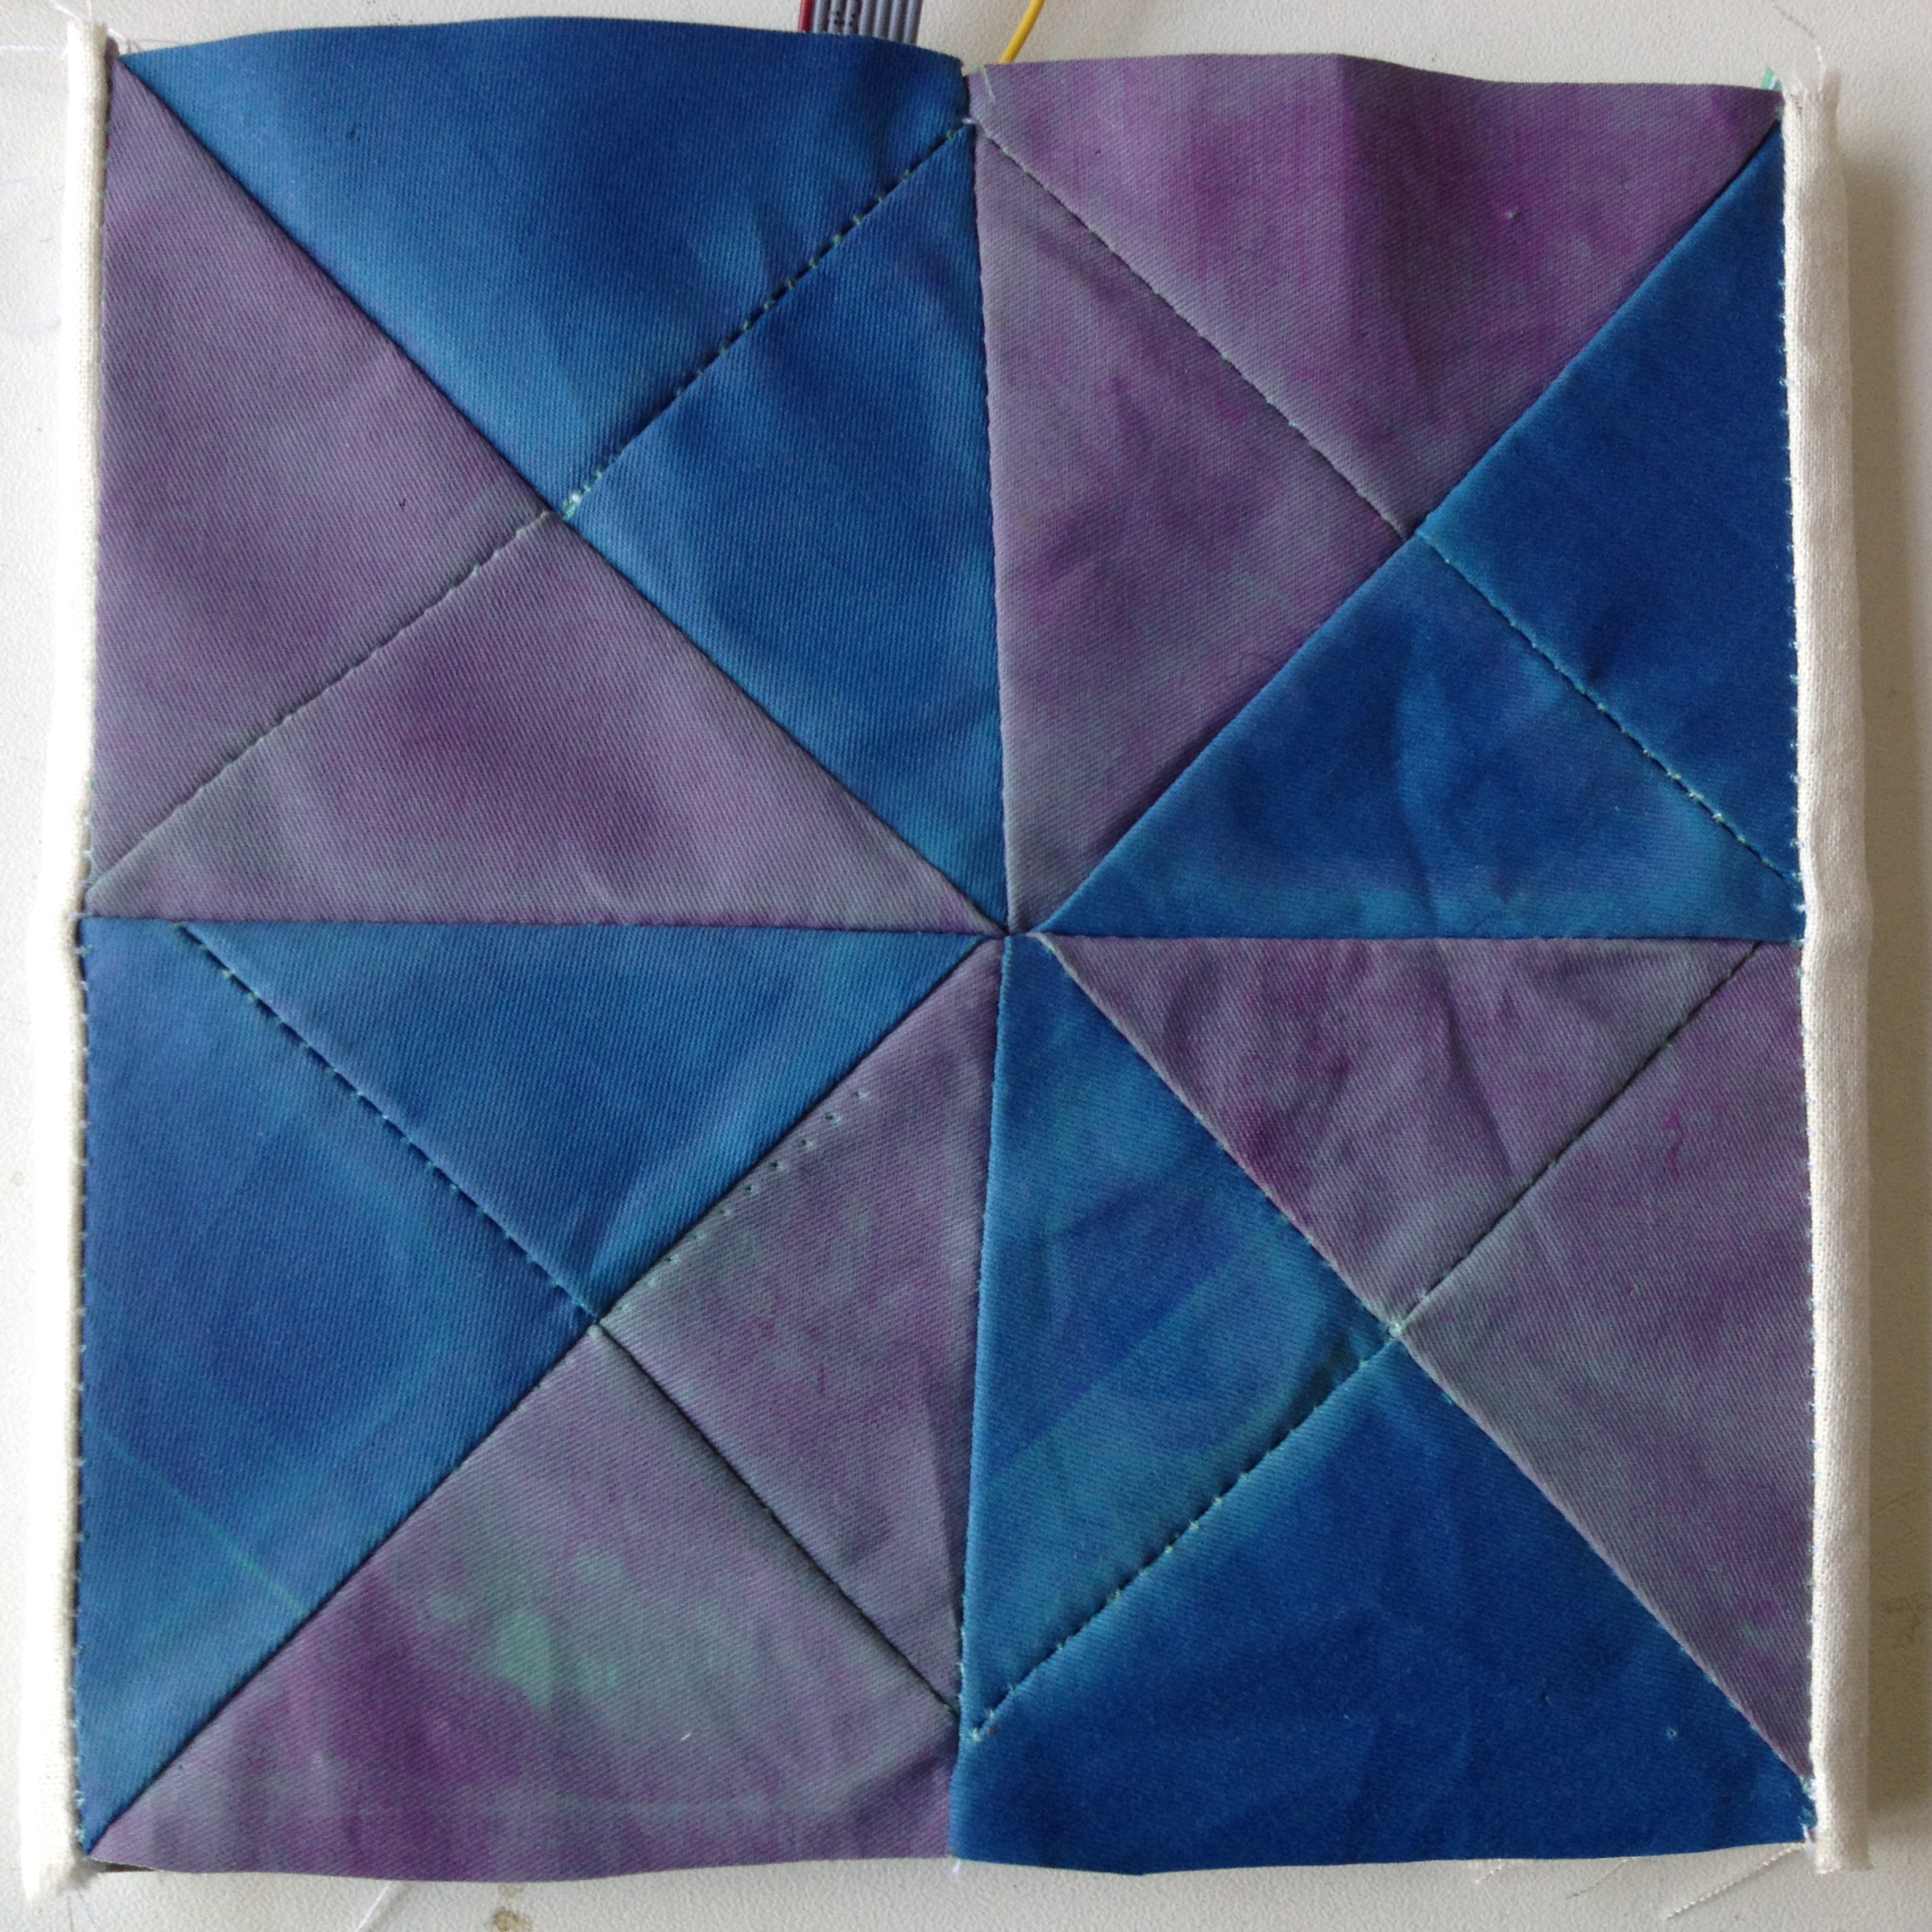
Press again, and they are all off. Press again and all triangles are on:
Again and all triangles are off, back at the starting point:
At the moment I am only controlling the triangles with digital high and low, but in the future, I could also connect using PWM. Then I could control temperature much more precisely to create even more varied color arrangements. Here a simple example, taken from the cooling period of the middle triangles:

This project was really fun and I see a lot of potential for future projects in what I learned.
And a big thank you to Mika & Jasch for all your help!
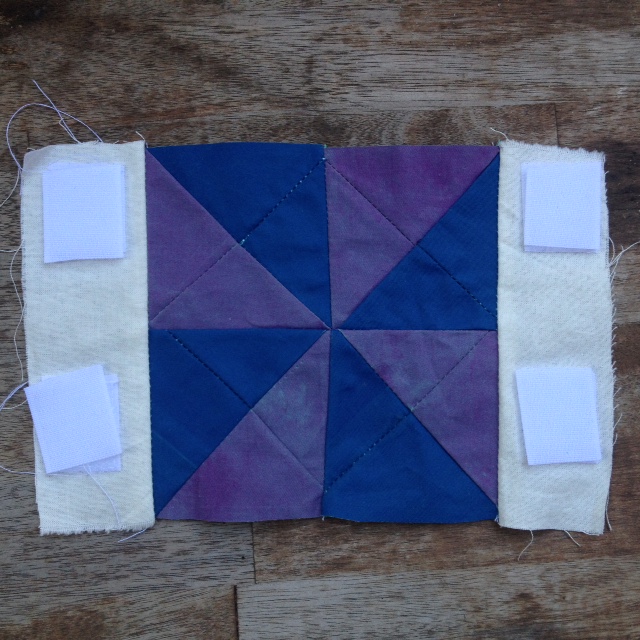
1st prototype: Cotton with Magenta #27 thermochromic Ink & green fabric base
1. Total change pattern – pure TC (mix & non-mixed) ink printed on 2 colored base fabrics // heat source: hairdryer

2. Heat specific change pattern – on 1 colored base fabric with using 1 pure TC printed color and a 2 TC pure mixed colors // heat source: resistor wire heat plate
3. Heat specific change patter -on 2 color base fabrics with 2 pure TC printed colors // heat source: resistor wire heat plate

4. & 5. Partial change optical pattern – Striped fabric and pure TC printed fabric