I decided to silk screen print Thermochromic Ink of fabric. Here’s how I worked with the material!
Thermochromic paints that were available:
(http://www.cornelius.co.uk/search)
- Chromicolor® AQ Ink Type 10 Magenta
colour change occurs between 8-16C.
- Chromicolor® AQ Ink Type 27 Magenta
colour change occurs between 24-33C.
- Chromicolor® AQ Ink Type 15 Fast Blue
Colour change occurs between 11-19C.
- Chromicolor AQ Ink Type 27 Fast Black2
Colour change occurs between 24-33C.
- Chromicolor® AQ Ink Type 15 Vermillion
Colour change occurs between 11-19C.
- Chromicolor® AQ Ink Type 27 Gold Orange
Colour change occurs between 24-33C
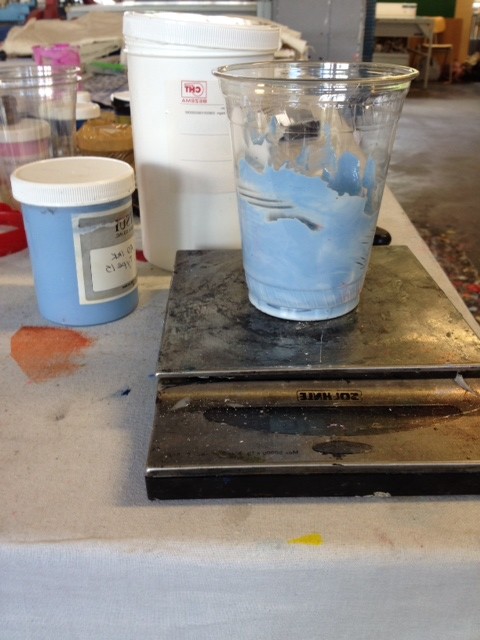
The first step was to mix the Chromicolor with a binder.
I mixed 15 g of Chromicolor to 85 g of Tubivinyl (clear paste binder).
After mixing my paint, the first thing I tested was which silk screen worked best. I found that the bigger 36 gauge screen (for textile) with 2 pulls was quite successful. It allowed enough paint through that best covered the area.

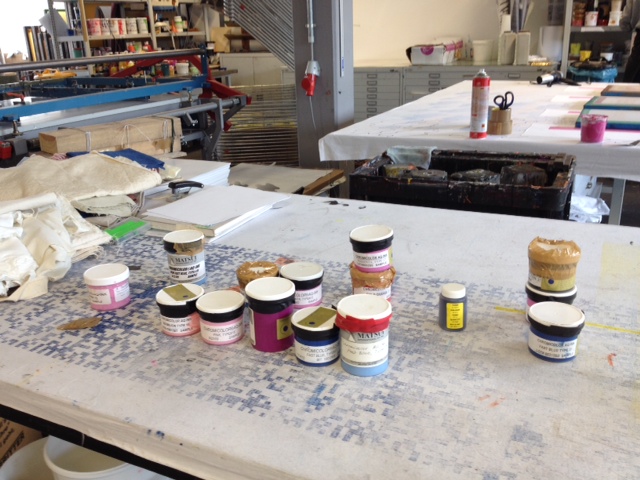
I found that although it wasn’t very warm outside on the day I was printing, Type # 27, which reacts at a higher temperature, worked much better. After the color change, the color came back faster.
In the picture above, on the left side, the blue started the same color as on the right, but after the color change, the return back wasn’t visible at room temperature. At first I thought the ink wasn’t working, until I realized the lower temperature reaction point with the Type #15 & # 17, I put it in the fridge to check and sure enough with the cold the original color came back.
—
Experimenting with the ink
Once I got printing, I found it really interesting to understand the behavior of the ink.
One of the coolest things is mixing the ink with a non-thermochromatic pigment. I found that pure pigment (just a drop!) worked best.
For example, when you mix a thermochromic blue with a normal pigment yellow your color turns green. When you heat the color though, the thermochromic blue disapears and you’re left with only the yellow pigment.
An okay (not great example) is the stripe under the yellow one in the video above. The yellow stripe is actually mixed with a thermochromic blue but a lower temperature reacting type #15 so you can’t see the initial change from green to yellow in the video because it hasn’t change back (it’s not cold enough). However, the change you see from blueish-green to yellow is because the blue thermochrom ink in layered (yellow printed first, then thermo blue) on top of the already changed yellow pigment.
What I used for my project a lot, was also rather than mixing non-thermochrom pigment and thermochrom pigment, I was using colored fabric as the base. This way when the thermo color disappeared, I was left with the fabric color.
Doing it this way, you run the risk of VERY different end colors. Although you print with the same thermo color, on each different color fabric, it will look very different. So if you are trying to go for different base colors, but the same over color, I would suggest mixing colors to match each other.
As a heat source I used resistor wire and Arduino to control it. You can have a look at my project using Thermochromic Ink here!