In week 4 of the course we had a look at textile sensors.
For challenge 3, to develop your own prototype for a sensor - I recreated a zipper switch sensor using fabric, a zipper, 4 LEDs and conductive thread.
The first thing I did was decide where the 4 circuits would be on the zipper. I made 4 small stitches on the left side of the zipper and one long continuous thread from top to bottom on the right side of the zipper. I used the thread double ply and had to go over the left, smaller stitches more than 1 time. When sewing make sure the thread is thick enough to make contact but thin enough that the zipper can still run over it.
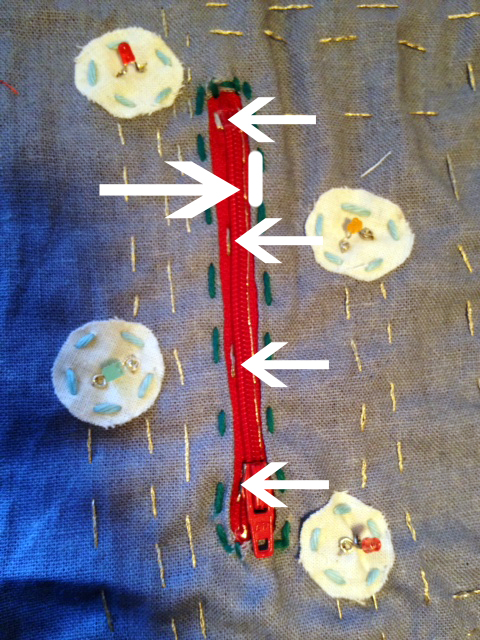
When the zipper runs over one of the smaller stitches on the left side a circuit is made because the zipper acts as a bridge and allows the electricity to flow from the stitch on the left side (connected to Arduino) and complete the circuit from the stitch on the right side (which connect to the LEDs).
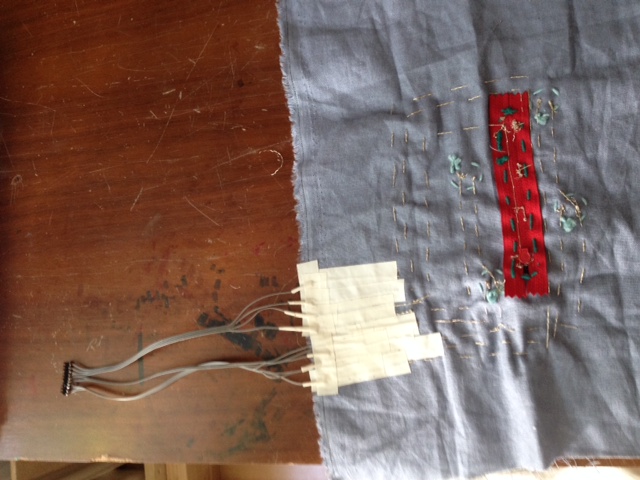
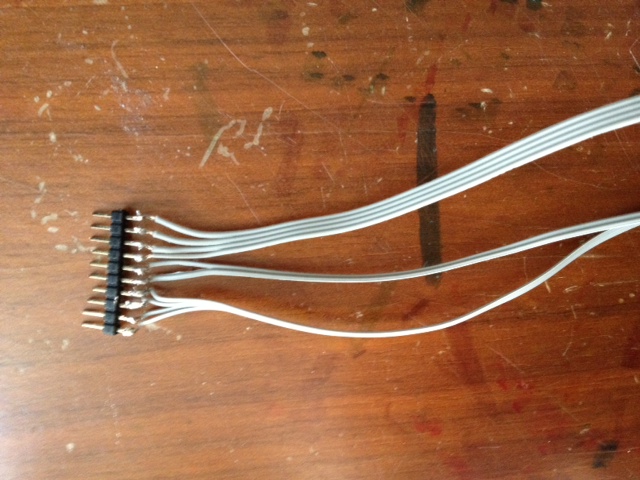
Then I continued the stitch (making sure not to cross over any other stitches to wires that lead to pins, where you can connect it to your Arduino.
Textile Zipper from Jessica Snidersich on Vimeo.
Here is the code I used for Arduino:
*/
// constants won’t change. They’re used here to
// set pin numbers:
// the number of the pushbutton pin
const int buttonPin1 = 7;
const int buttonPin2= 6;
const int buttonPin3= 5;
const int buttonPin4= 4;
const int ledPin1 = 9;
const int ledPin2 = 2;
const int ledPin3 = 10;
const int ledPin4 = 12;
// the number of the LED pin
// variables will change:
int buttonState = 0; // variable for reading the pushbutton status
int pressCount = 0;
int lastbuttonState=0;
void setup() {
// initialize the LED pin as an output:
pinMode(ledPin1, OUTPUT);
pinMode(ledPin2, OUTPUT);
pinMode(ledPin3, OUTPUT);
pinMode(ledPin4, OUTPUT);
// initialize the pushbutton pin as an input:
pinMode(buttonPin1, INPUT);
pinMode(buttonPin2, INPUT);
pinMode(buttonPin3, INPUT);
pinMode(buttonPin4, INPUT);
}
void loop(){
// read the state of the pushbutton value:
buttonState = digitalRead(buttonPin1);
// check if the pushbutton is pressed.
// if it is, the buttonState is HIGH:
if (buttonState == HIGH) {
// turn LED on:
digitalWrite(ledPin1, HIGH);
digitalWrite(ledPin2, LOW);
digitalWrite(ledPin3, LOW);
digitalWrite(ledPin3, LOW);
}
else {
// turn LED off:
digitalWrite(ledPin1, LOW);
digitalWrite(ledPin4, LOW);
digitalWrite(ledPin2, LOW);
digitalWrite(ledPin3, LOW);
}
buttonState = digitalRead(buttonPin2);
if (buttonState == HIGH) {
// turn LED on:
digitalWrite(ledPin1, LOW);
digitalWrite(ledPin2, HIGH);
digitalWrite(ledPin3, LOW);
digitalWrite(ledPin4, LOW);
}
else {
// turn LED off:
digitalWrite(ledPin1, LOW);
digitalWrite(ledPin4, LOW);
digitalWrite(ledPin2, LOW);
digitalWrite(ledPin3, LOW);
}
buttonState = digitalRead(buttonPin3);
if (buttonState == HIGH) {
// turn LED on:
digitalWrite(ledPin1, LOW);
digitalWrite(ledPin2, LOW);
digitalWrite(ledPin3, HIGH);
digitalWrite(ledPin4, LOW);
}
else {
// turn LED off:
digitalWrite(ledPin1, LOW);
digitalWrite(ledPin2, LOW);
digitalWrite(ledPin3, LOW);
digitalWrite(ledPin4, LOW);
}
buttonState = digitalRead(buttonPin4);
if (buttonState == HIGH) {
// turn LED on:
digitalWrite(ledPin1, LOW);
digitalWrite(ledPin2, LOW);
digitalWrite(ledPin3, LOW);
digitalWrite(ledPin4, HIGH);
}
else {
// turn LED off:
digitalWrite(ledPin1, LOW);
digitalWrite(ledPin4, LOW);
digitalWrite(ledPin2, LOW);
digitalWrite(ledPin3, LOW);
}
}
And a video of the behavior before it was all sewn into place: