FINAL PROJECT UPDATE 1
I was working with movement sensors and connected it with Processing to make interesting pattern drawing applications. I decided to work with bend sensors, custom made textile sensors, potentiometers, accelerometer and gyro. At the beginning I connected each sensor with Arduino to read the value and then to Processing and coded different drawing application. I realised that Processing output is related to value range and mapping. For example if I mapped it from 0 to 1023 I get less saturated colours and if I mapped the exact min and max value I get saturated colours.
ACCELEROMETER
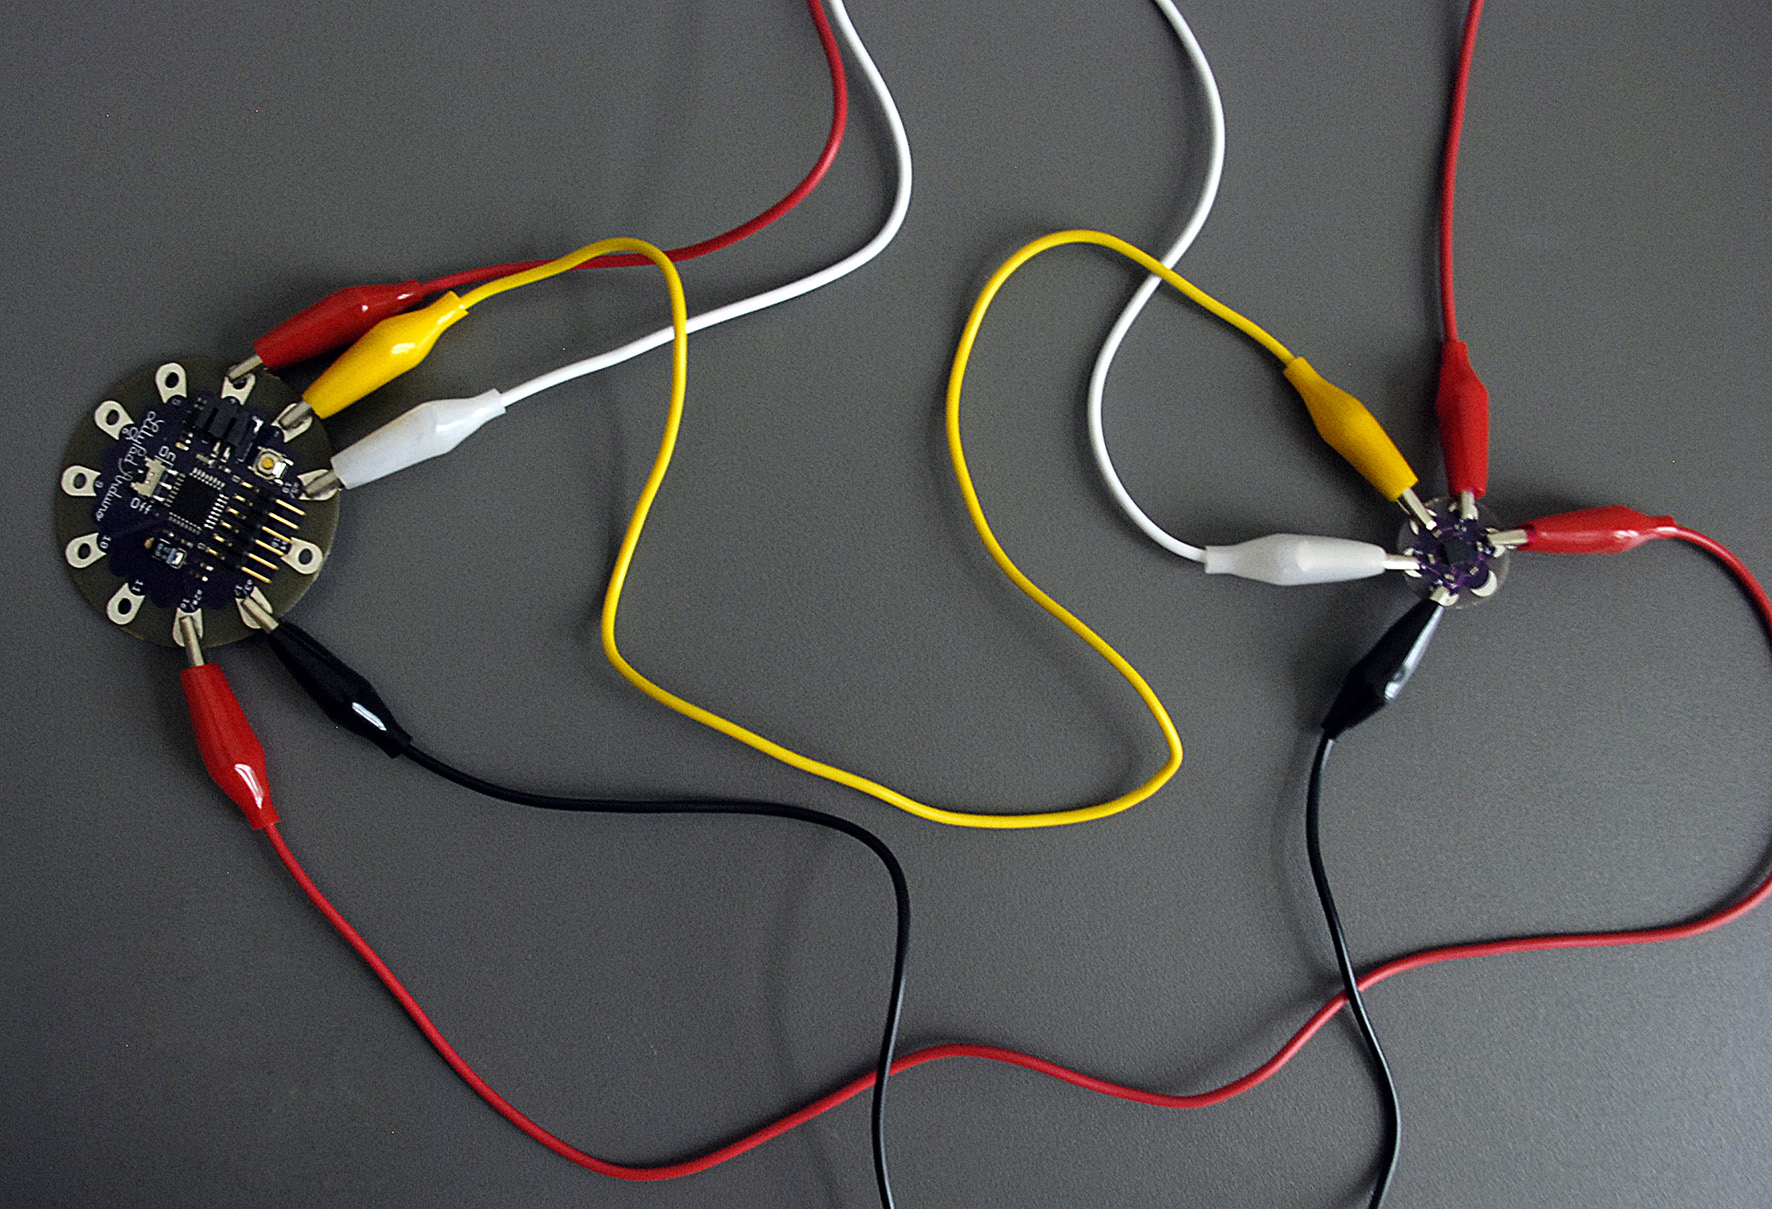
I used LilyPad Simple Board which is based on the ATmega 328 LilyPad main board. It’s default voltage is 3,3V. For connecting LilyPad with computer you can use FTDI cable, FTDI basic or wireless modem. It has 4 analog pins and 5(or9) digital pins. Maybe it’s not the best board to use if you want to connect more analog sensors.

Accelerometer detects acceleration. You can use it for movement, tilt or vibration sensor. X,Y and Z axis are connected to analog pins and minus to GND, plus to 3,3V.
The code for Arduino it’s just modified AnalogReadSerial code.
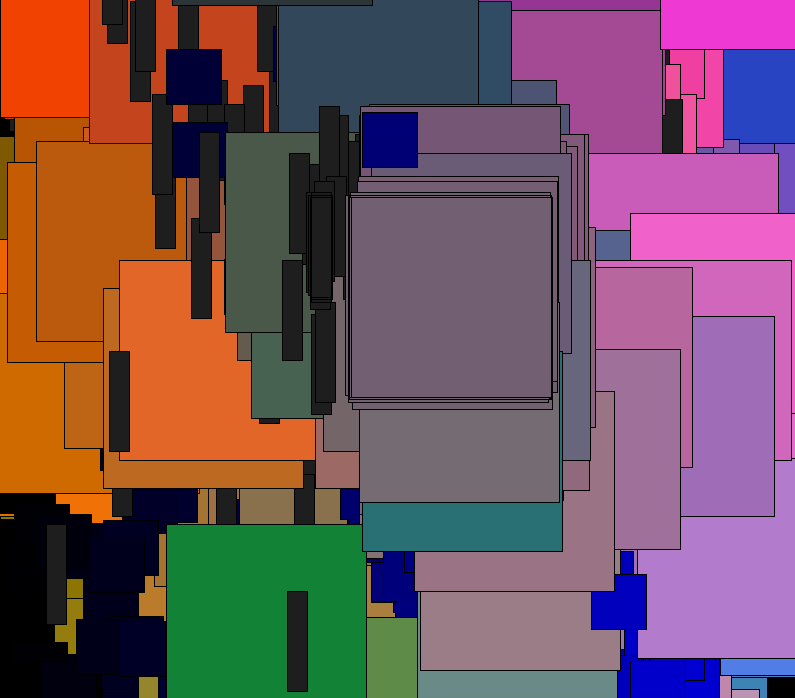
Here is Processing drawing application and the code. While filming the screen were flickering and I couldn’t make a good video. I video screened Processing output while using sensors.
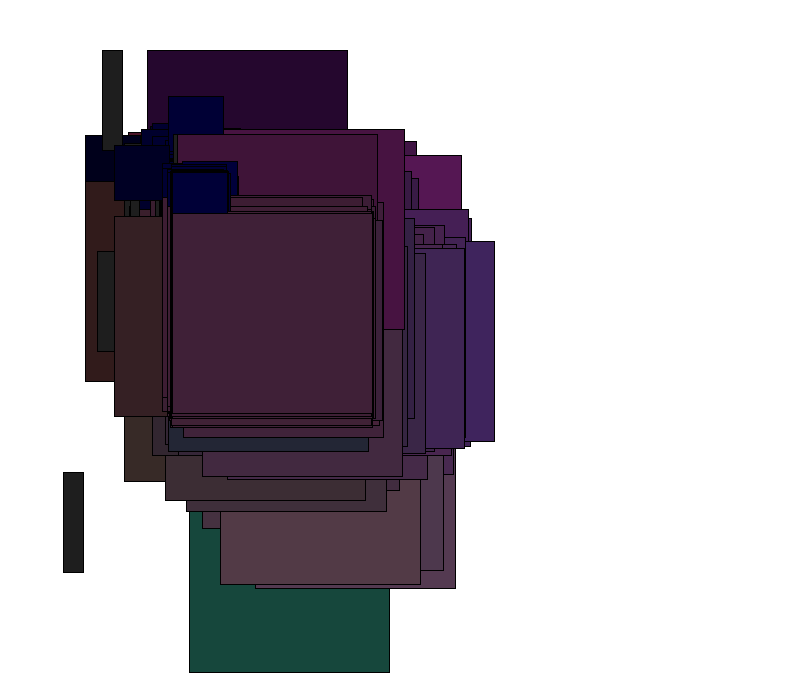
White background
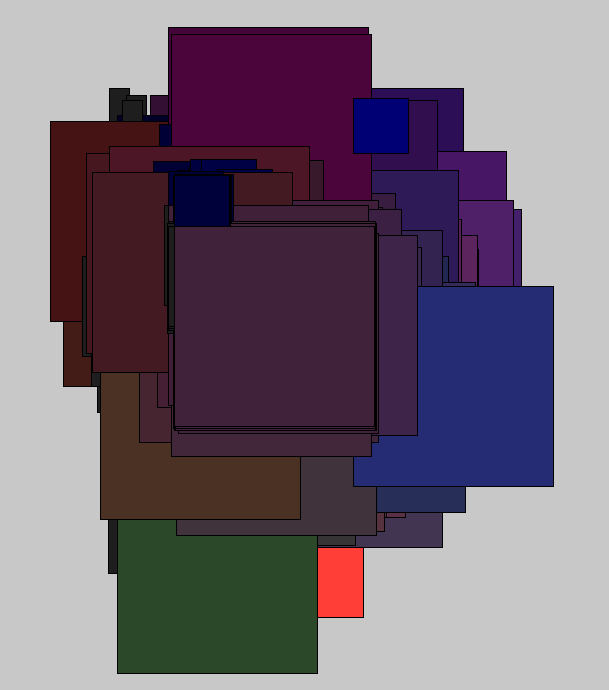
Black background, different colour mapping and without clearing the canvas below
With acceleration you get more saturated colours and with slowly moves less saturated colours and more tones of the same colour. I was wondering why objects on the screen are adding and not just moving around the screen. The big rect is changing colour according to accelerometer movement and the blue one is mapped just for blueValue and changing accordingly.
Processing code:
import processing.serial.*;
float a;
float redValue = 0;
float greenValue = 0;
float blueValue = 0;
float xPos=0;
float yPos=0;
float zPos=0;
Serial myPort;
void setup() {
size(800, 700);
background(0);
stroke(255);
a = height/2;
println(Serial.list());
myPort = new Serial(this, Serial.list()[4], 9600);
myPort.bufferUntil(‘\n’);
}
void draw() {
line(0, a, width, a);
a = a – 0.5;
if (a < 0)
a = height;
fill(30, 30,30);
rect(yPos, zPos, 20, 100);
fill(0, 0,redValue);
rect(xPos, yPos, 55, 55);
fill(greenValue, blueValue,redValue);
rect(xPos, zPos, 200, 200);
}
void serialEvent(Serial myPort) {
String inString = myPort.readStringUntil(‘\n’);
if (inString != null) {
inString = trim(inString);
float[] colors = float(split(inString, “,”));
if (colors.length >=3) {
redValue = map(colors[0], 0, 1023, 0, 255);
greenValue = map(colors[1], 0, 1023, 0, 255);
blueValue = map(colors[2], 0, 1023, 0, 255);
xPos=map(colors[0], 0, 1023, 0, width);
yPos=map(colors[1], 0, 1023, 0, height);
zPos=map(colors[2], 300, 600, 0, height);
}
}
}
SEWING LILYPAD
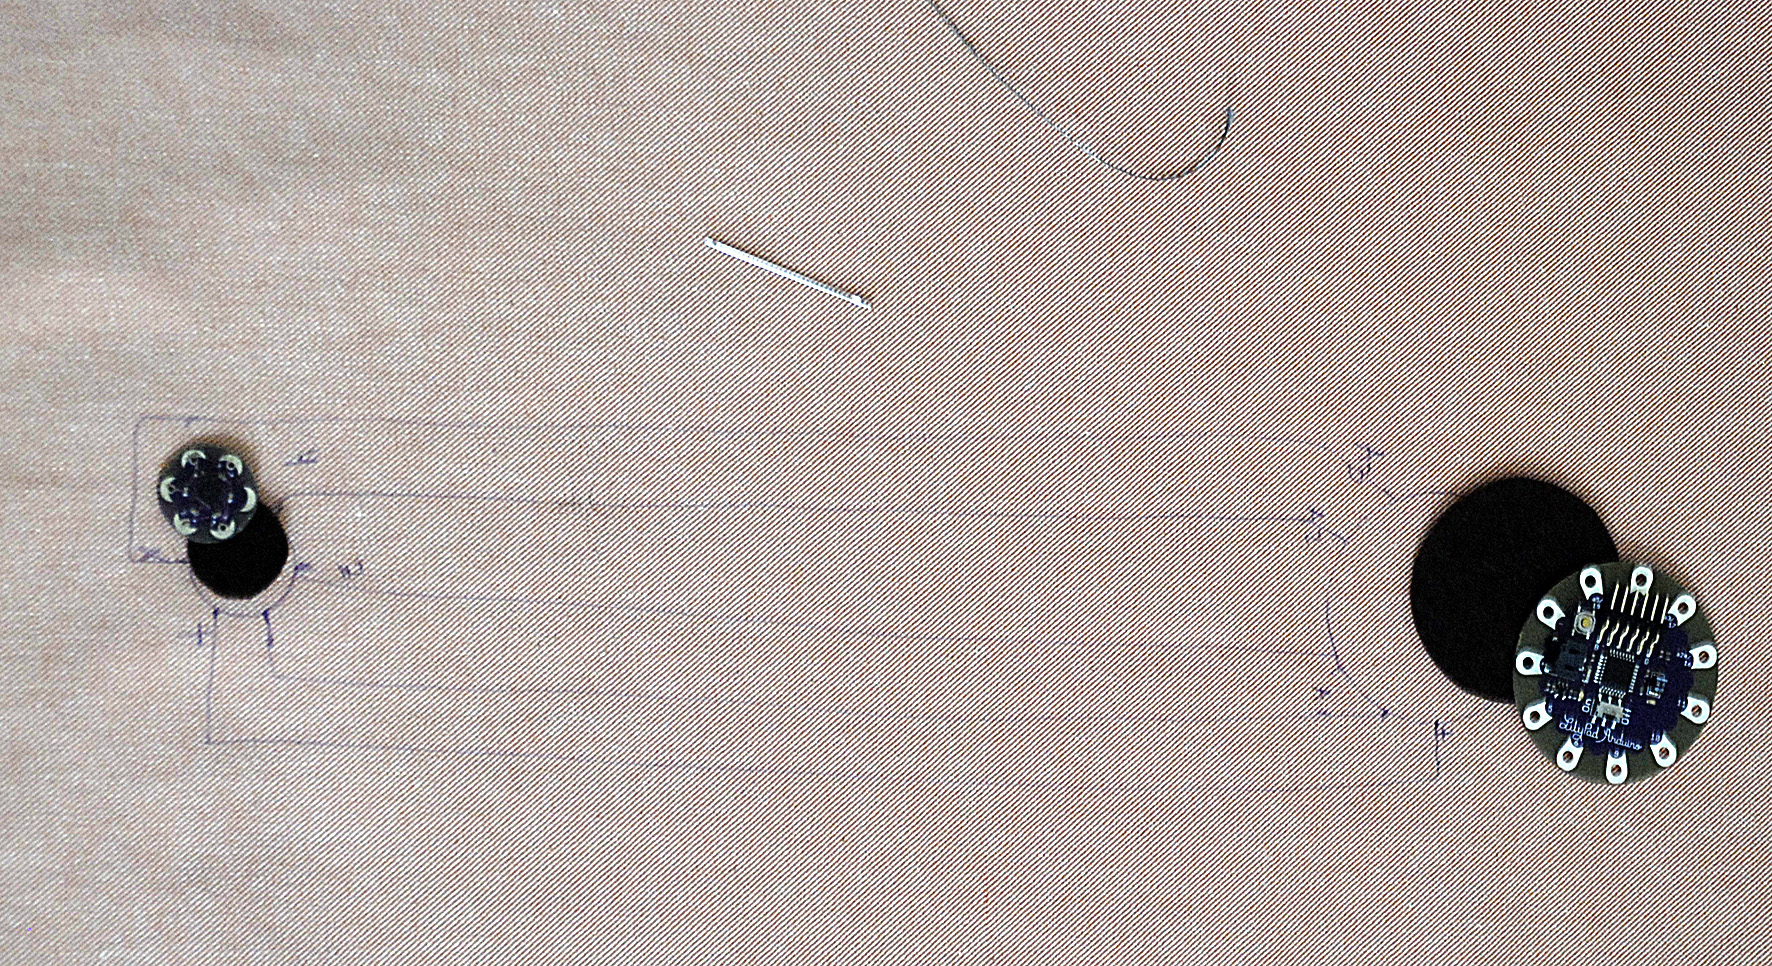
I sew accelerometer and LilyPad board to textile and realised that it’s take too much time to sew every sensors so I will sew just final piece.
Here are few important rules when sewing LilyPad:
- put power supply (battery) close to the board
- make good connections with conductive thread by using felt between textile and boards and make knots at the end. Ends of the threads need to be short. If necessary you can use fabric glue at the ends.
- isolate the threads (with fabric glue, fabric…)
- threads shouldn’t cross (use bridge or sew on other side of the fabric when crossing)
LilyPad boards are washable, remove battery and hand-wash.